
Spring Cleaning, But Make It Pretty: 10 DIY Touches to Refresh Your Home
Every year, as the last of the winter slush melts off my front steps, I get this itch to shake off the heavy blankets, dark colors, and cozy-but-dull vibes that kept us warm all season. This year was no different,except I decided to actually do something about it instead of just scrolling Pinterest for inspiration. The result? A home that feels lighter, brighter, and way more inviting, without breaking the bank or requiring a full-scale renovation.
If you’re anything like me, you don’t want a “spring refresh” that sounds like a design magazine’s idea of perfection. You want real, doable projects that make your space feel fresh,even if it means learning the hard way that patching drywall isn’t as easy as it looks (spoiler: it’s not). So let’s skip the fluff and get into the nitty-gritty of how I transformed my home this spring, complete with the mistakes, the shortcuts, and the tools that actually saved me time.
Whether you’re dreaming of a full makeover or just want to sprinkle in a few easy updates, this guide is for you. No “game-changer” buzzwords here,just real projects, real results, and a few laughs along the way.
Why I Decided to Tackle a Spring Makeover (And What Went Wrong)
Last winter, my home felt like it was stuck in a time capsule. The deep blues and grays on the walls, the chunky wool throws, and the heavy drapes had all been cozy in their time, but by March, they just felt… tired. I wanted my space to reflect the season,light, airy, and full of life,but I also knew I couldn’t (or wouldn’t) gut my entire house.
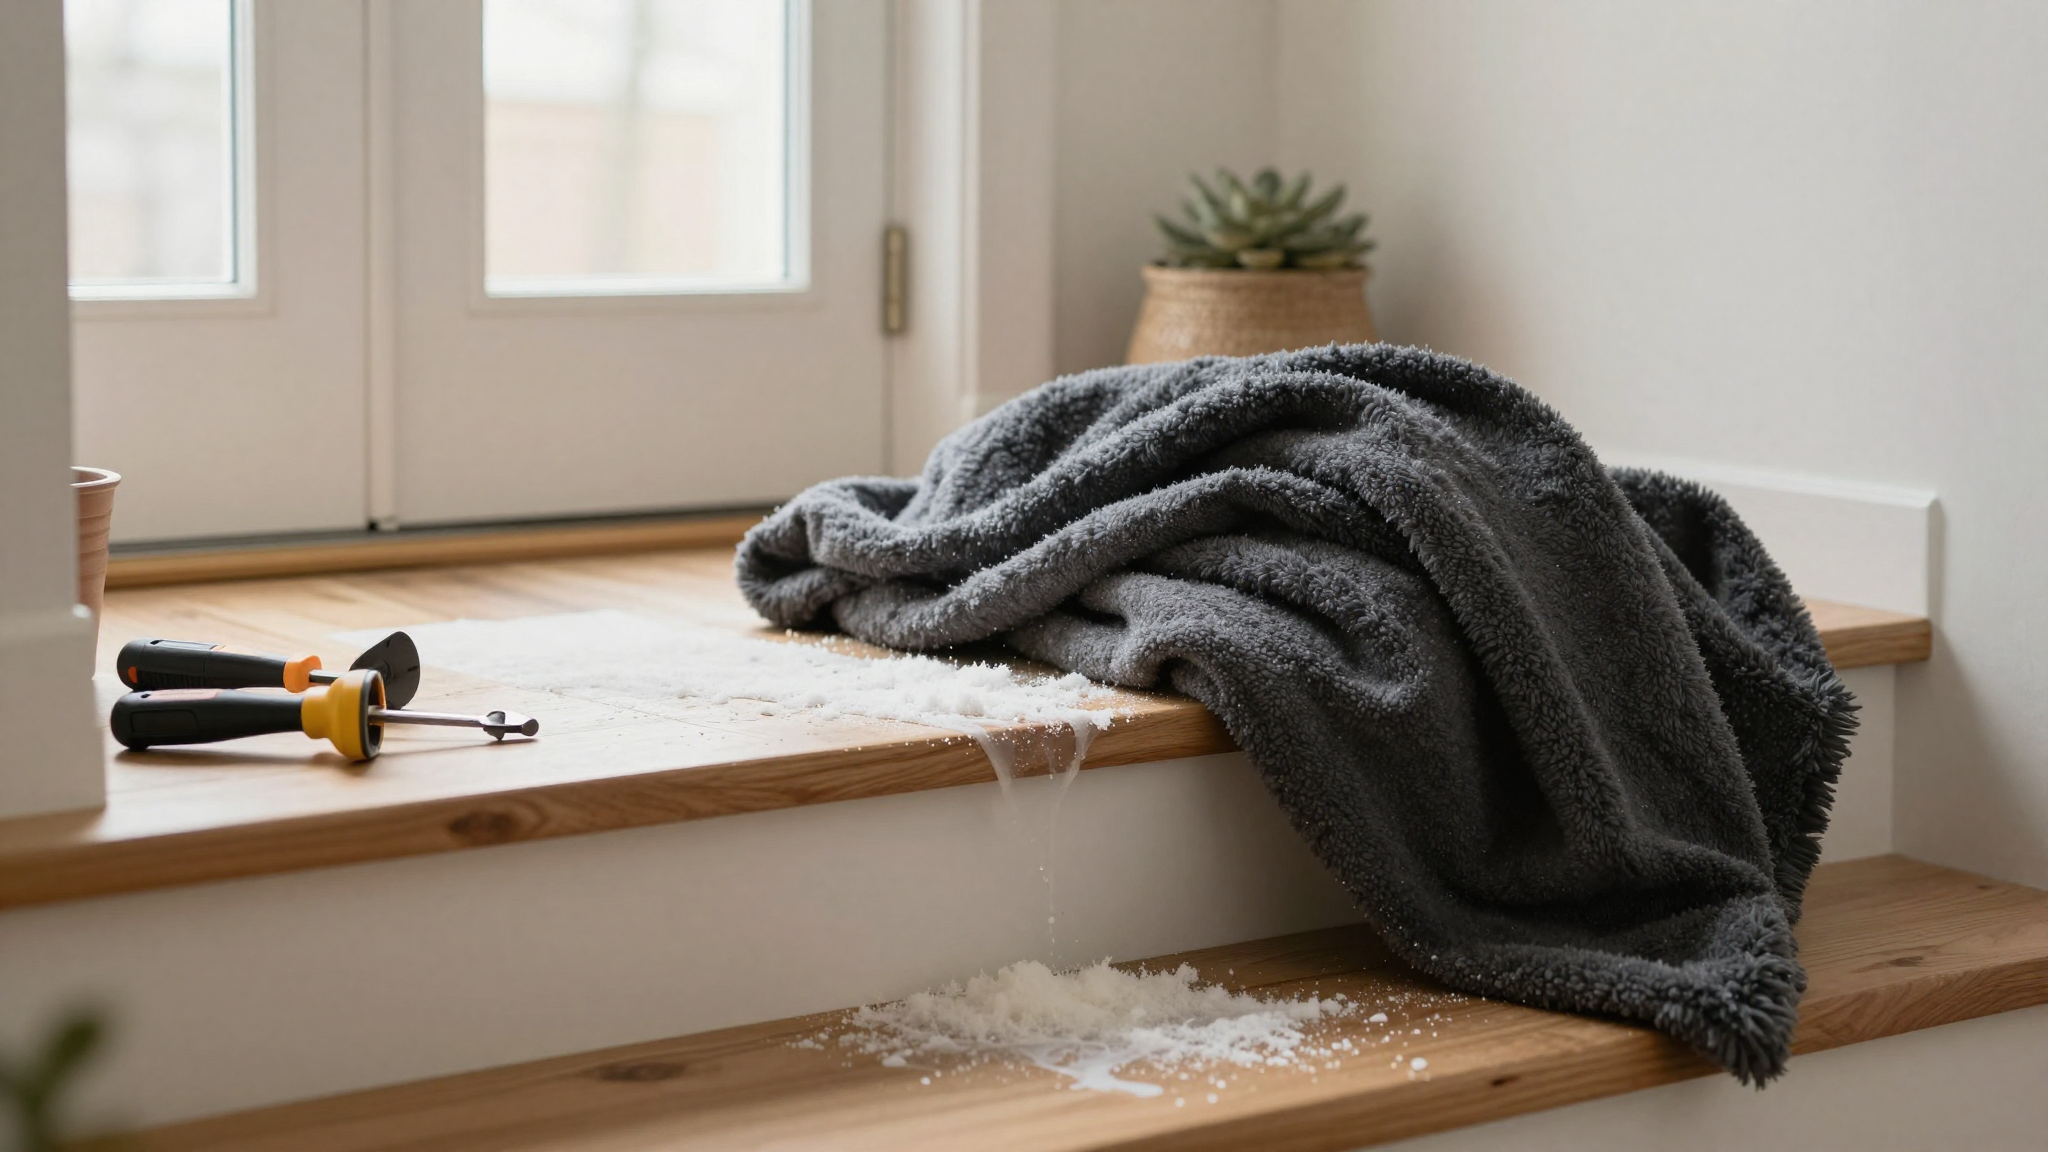
So I started small. Really small. Like, “I’ll just paint one accent wall” small. That wall turned into two. Then I swapped out the throw pillows. Then I realized my screwdriver set was missing a Phillips head, which derailed me for a full afternoon. (Pro tip: Always check your tools before you start a project.)
Here’s what I actually ended up tackling,and what I learned along the way:
- Swapping out dark furniture for lighter, more modern pieces (I found a great secondhand dresser at a local thrift store and gave it a fresh coat of paint).
- Adding plants,a lot of plants. I killed two snake plants before I figured out I was overwatering them. (Turns out, “thirsty” doesn’t mean “drowning.”)
- Overhauling my color palette to include soft pastels, whites, and natural wood tones. I stuck with my existing furniture but added pops of color through decor and textiles.
By the end, my home didn’t look like a completely different space,it just felt like a lighter version of itself. And that’s the goal, right? To refresh, not reinvent.
Picking a Spring Color Palette That Actually Works
I’ll be honest: I overcomplicated this step. I spent weeks staring at paint swatches, convinced I needed the “perfect” spring palette. Spoiler: There is no perfect palette. There’s just what you like.
Here’s how I finally landed on colors that worked for me:
- I looked outside. Seriously. I grabbed my phone and took photos of the blooming flowers in my neighborhood, the sky on a clear day, even the green of the new leaves on my trees. Those natural tones became the foundation of my palette.
- I stuck to a 60-30-10 rule. 60% of my colors came from my existing furniture and walls (neutral tones like beige and soft gray). 30% was my new “spring” colors (think mint green and buttery yellow). And 10% was for accents,bright pops like coral or turquoise in throw pillows or artwork.
- I tested everything. I bought sample-size paints and taped them to my walls. I laid out fabric swatches on my couch. I even printed out digital images of decor I liked and propped them up around the room. (This step saved me from a very regrettable teal accent wall.)
If you’re stuck, here are a few spring color combos that actually work in real homes (not just on Pinterest):
- Soft pastels: Baby blue + blush pink + cream. This combo feels calm and timeless,great for bedrooms or living rooms.
- Fresh and fruity: Mint green + lemon yellow + white. Perfect for kitchens or bathrooms where you want a bright, energizing vibe.
- Bold and bright: Coral + turquoise + white. If you love color, this palette adds personality without feeling overwhelming.
And if you’re anything like me, you’ll change your mind a dozen times before settling on something. That’s okay! The key is to start. Even if your first attempt isn’t perfect, you can always tweak it later.
Tools and Supplies I Actually Used (And the Ones I Wished I Had)
Before I dove into my spring makeover, I made the mistake of assuming I had all the tools I needed. Spoiler: I did not. Here’s what I actually used,and what I wished I’d had from the start.
Must-Have Tools for DIY Lovers
- Hammer and nails. Simple, but I still managed to bend a nail trying to hang a picture frame. (Use a stud finder if you’re hanging anything heavier than a poster.)
- Tape measure. I measured my windows three times before ordering new curtains. Still got them wrong. (Measure twice, order once.)
- Spirit level. Nothing looks worse than crooked shelves. Trust me, I learned this the hard way.
- Screwdriver set. I had one screwdriver. It was a Phillips. Half my screws were flathead. You do the math.
- Paintbrushes and rollers. I splurged on Purdy brushes and it made a huge difference. Cheap brushes leave streaks.
Materials I Couldn’t Live Without
- Lightweight fabrics. I swapped out my heavy winter curtains for sheer linen panels from IKEA. Instantly brighter.
- Ribbon and trim. I used it to update old throw pillows and give my bookshelves a pop of color. (Pro tip: spray adhesive is your friend.)
- Decorative accessories. Think vases, trays, and small plants. These are the easiest way to refresh a space without a ton of work.
And here’s what I wished I’d had:
- A utility knife for cutting fabric and opening paint cans. (I used scissors. It was a disaster.)
- A paint tray liner. Cleanup is so much easier.
- A step stool. My back is still sore from reaching.
If you’re just starting out, don’t feel like you need to buy everything at once. Borrow tools from a friend, rent what you need, or start with the basics. You’ll figure out what you actually use as you go.
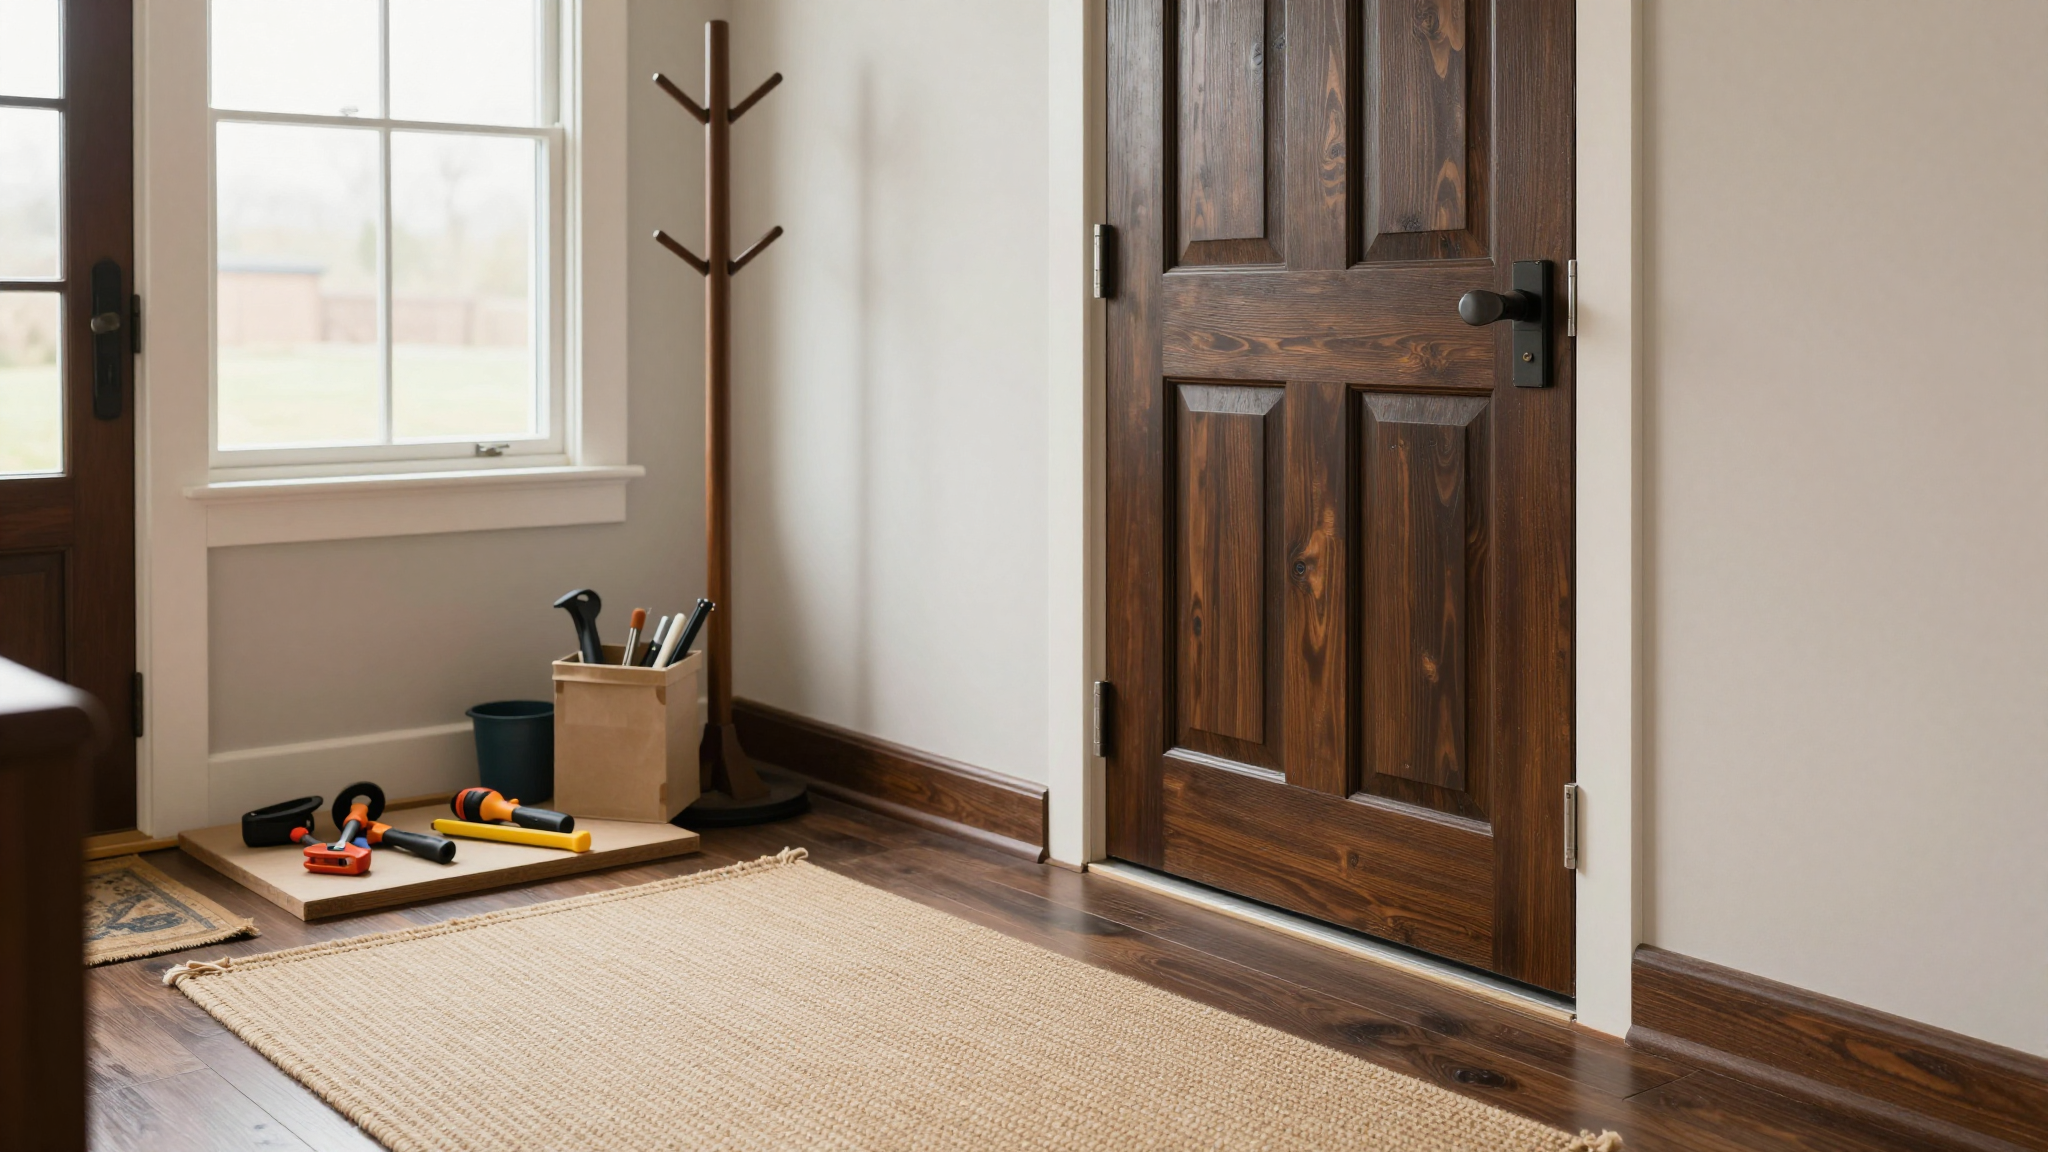
Creating a Welcoming Entryway (Without Spending a Fortune)
First impressions matter, and my entryway was giving major “winter hibernation” vibes. Dark wood, heavy rug, and a coat rack that looked like it belonged in a 1970s basement. Time for a change.
Here’s what I did:
- Swapped out the rug. I found a jute rug on sale at Target and it instantly made the space feel lighter. (I also learned that jute shows every speck of dirt, so I keep a handheld vacuum nearby.)
- Added sheer curtains. They let in natural light while still giving me privacy. I hung them with tension rods so I didn’t have to deal with drilling.
- Planted a small fiddle-leaf fig. It’s low-maintenance (unlike my poor snake plants) and adds a touch of greenery without taking up much space.
- Hanged a spring wreath. I made mine with a foam wreath base, some faux flowers, and a ribbon. (I’ll link the tutorial if you want to DIY yours.)
The best part? None of this cost more than $100, and it made my entryway feel like a totally different space. If you want to go bigger, consider painting your front door or adding a bench with storage. But even small changes make a difference.
Transforming My Living Room: Light, Bright, and (Mostly) Functional
My living room was the biggest project on my list. It had good bones,big windows, solid furniture,but it felt dark and cluttered. My goal? Light, airy, and inviting.
Here’s how I did it:
- Repositioned the furniture. I moved my sofa away from the wall to create a more open layout. This also let in more natural light, which made the whole room feel bigger.
- Updated the lighting. I swapped out my heavy drapes for sheer panels and added a few table lamps for warmth. (I found a great deal on a floor lamp at Facebook Marketplace.)
- Added plants. I placed a large monstera in the corner and a small succulent on the coffee table. They purify the air and look pretty.
- Painted an accent wall. I went with a soft mint green. It’s subtle but adds a pop of color. (I used peel-and-stick wallpaper on one section for texture.)
I also made a few mistakes:
- I over accessorized. My coffee table looked like a cluttered flea market. I had to edit down to just a few key pieces.
- I didn’t measure my new curtains before buying them. (See: tape measure tip above.)
- I tried to DIY a coffee table and gave up halfway through. Sometimes, buying secondhand is the way to go.
If you’re working with a tight budget, focus on one or two big changes,like repainting or updating the lighting,and build from there. Small tweaks add up!
Kitchen Refresh on a Budget: Small Changes, Big Impact
My kitchen is the heart of my home, but it was looking a little sad. The cabinets were dated, the lighting was harsh, and the countertops were… well, let’s just say they’d seen better days. I wanted to refresh it without a full renovation.
Here’s what I did:
- Updated the lighting. I replaced the old fluorescent bulbs with warm LED ones. Instantly cozier.
- Painted the cabinets. I used a semi-gloss paint in a soft white. It made the whole kitchen feel brighter. (I sandpapered and primed first,don’t skip this step!)
- Added natural elements. A vase of fresh flowers on the table, a bowl of lemons on the counter, and a small potted herb garden by the window. It’s amazing how much life a few plants add.
- Swapped out the hardware. New cabinet knobs and drawer pulls made a huge difference. I found a great set at Home Depot for under $20.
If you’re on a tight budget, here are a few more ideas:
- Replace old light fixtures with something brighter or more modern.
- Add a backsplash with peel-and-stick tiles. It’s a temporary fix, but it looks great!
- Organize your pantry. I used clear bins to group like items together. It’s not glamorous, but it makes cooking way more enjoyable.
And if you’re feeling ambitious, consider updating your plumbing fixtures. A new faucet or soap dispenser can make a big impact for a small cost.
Bedroom Updates That Actually Made a Difference
My bedroom was the last room I tackled, and honestly? It needed it. The heavy drapes, dark bedding, and cluttered nightstands were making me feel heavy just walking in. I wanted a space that felt like a retreat,light, airy, and peaceful.
Here’s what I changed:
- Swapped out the bedding. I replaced my thick winter comforter with a lightweight quilt in a soft sage green. Instantly fresher.
- Updated the curtains. Sheer panels let in natural light while still giving me privacy. I hung them with a tension rod so I didn’t have to deal with drilling.
- Added greenery. A small potted plant on my nightstand and a hanging planter by the window. (I stuck with low-maintenance plants this time,no more dead snake plants.)
- Organized my closet. I installed a closet organizer to maximize space. Now I can actually find my shoes.
I also made a few small but meaningful changes:
- I swapped out my heavy wooden nightstand for a lighter, whitewashed one. It made the whole room feel brighter.
- I added a small rug under my bed. It ties the whole space together and adds a cozy touch.
- I decluttered my dresser. Less stuff = less stress.
If you’re short on time or budget, focus on the bedding and curtains. They make the biggest impact and are the easiest to swap out. And if you’re anything like me, you’ll sleep better in a lighter, brighter space.
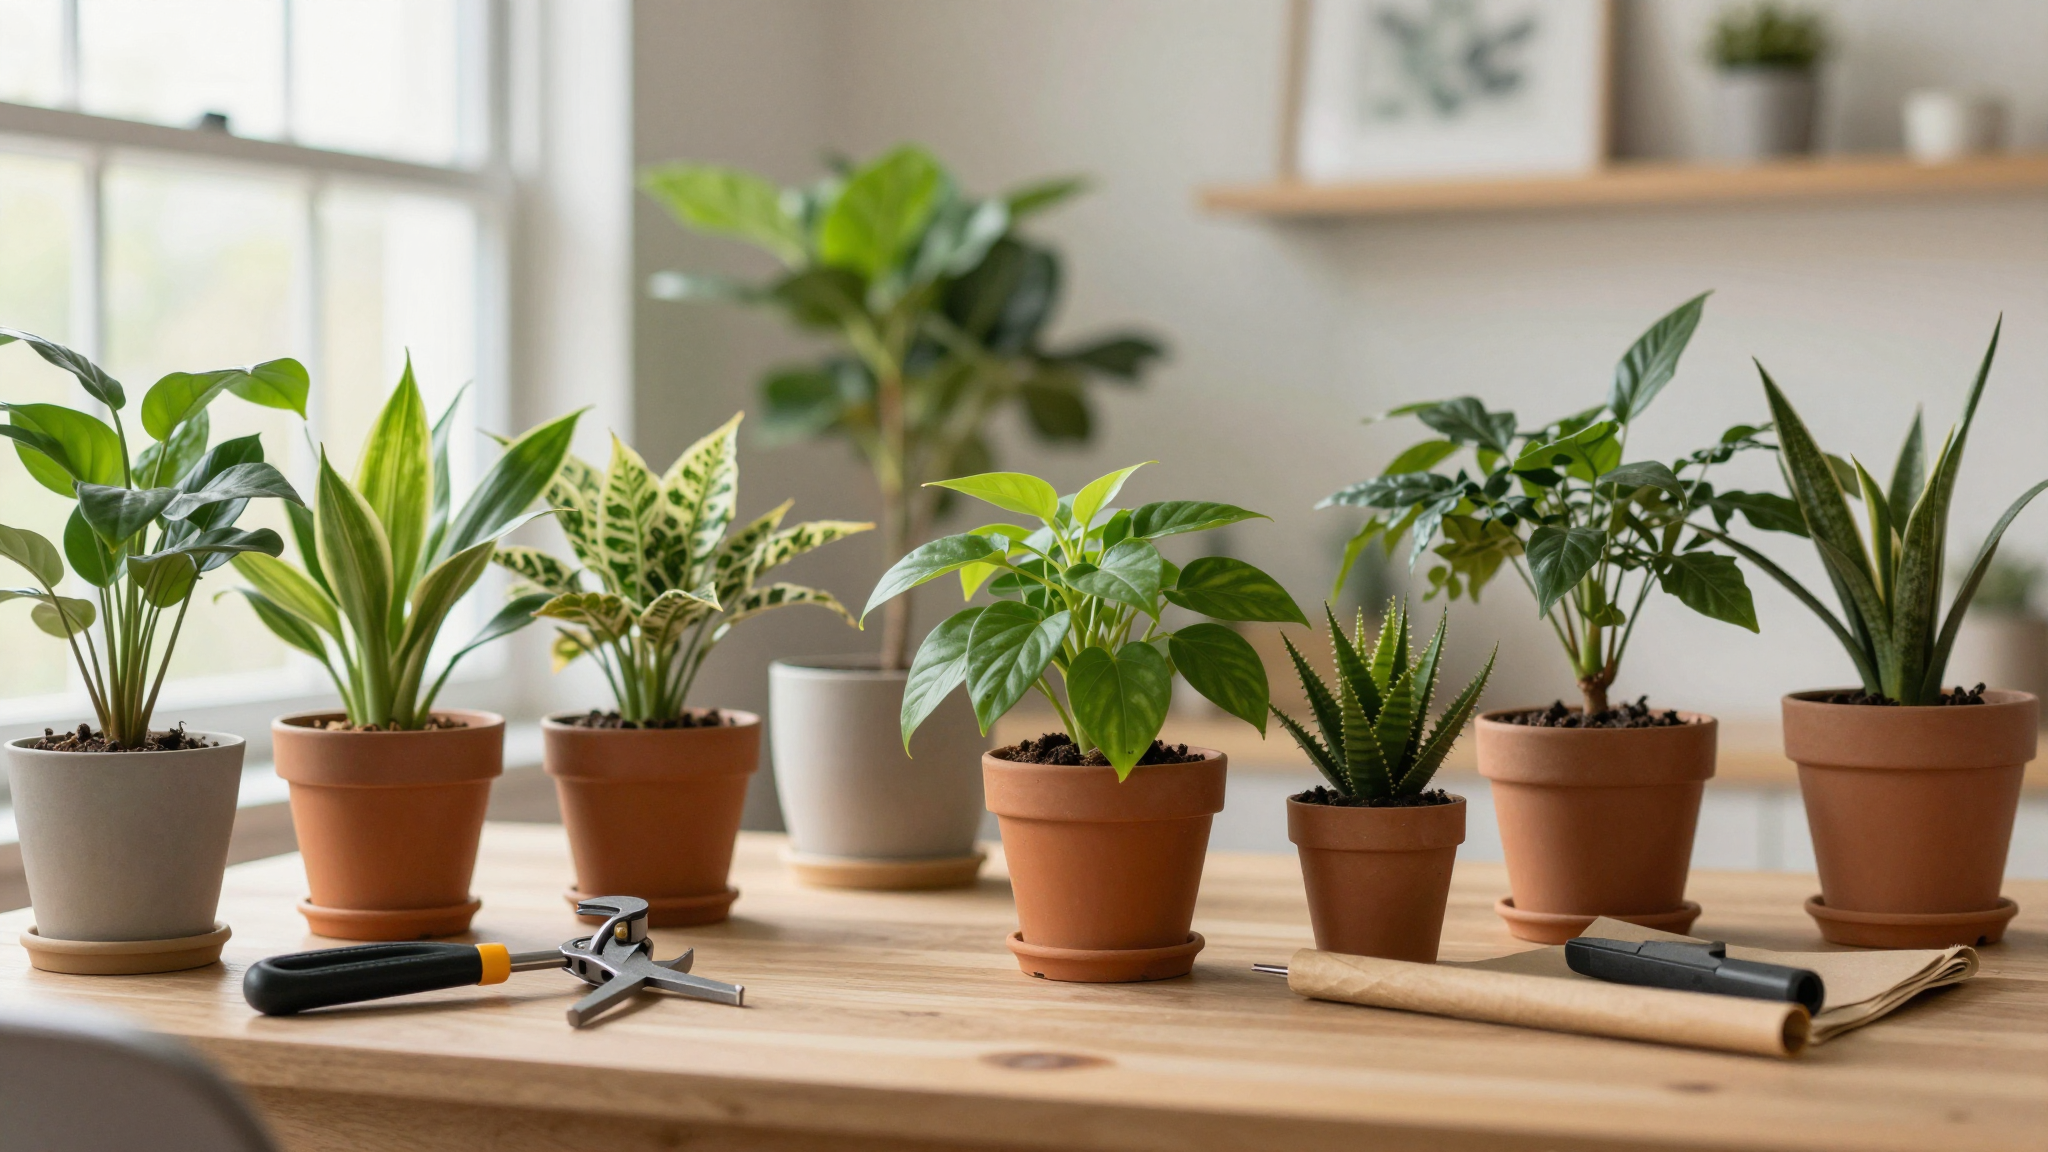
Bringing the Outdoors In: My (Mostly) Alive Plant Styling Guide
I’ll admit it: I have a love-hate relationship with houseplants. I love how they look and how they purify the air. I hate how often I kill them. But this spring, I was determined to get it right.
Here’s what I learned:
- Start with easy plants. I stuck with snake plants, pothos, and ZZ plants,all of which are nearly indestructible. (Even I can’t kill them.)
- Mix textures and heights. I placed a tall fiddle-leaf fig in the corner, a trailing pothos on a shelf, and a small succulent on my coffee table. It adds visual interest.
- Use creative planters. I found thrifted vases, baskets, and even an old teapot to use as planters. It’s amazing how much personality a unique container adds.
- Group plants together. I clustered a few small plants on my dining table. It looks like a mini indoor garden and makes the space feel more lush.
And here’s my biggest tip: Don’t overwater. I killed more plants with kindness than with neglect. When in doubt, wait a few more days before watering.
If you’re new to plants, start with one or two easy varieties and build from there. And if you’re like me, keep a spray bottle handy for when you accidentally drown them.
Quick Bathroom Updates That Made a Big Impact
I’ll be honest: My bathroom was the last on my list. It’s not the most exciting room to tackle, but a few small changes made a huge difference.
Here’s what I did:
- Swapped out the towels and rug. I replaced my old, frayed towels with new ones in a soft pastel color. The rug? A jute one that ties the whole space together.
- Added a small plant. A pothos in a hanging planter by the window. It adds life without taking up much space.
- Updated the lighting. I replaced the old, harsh bulb with a warmer one. It makes the whole room feel cozier.
- Organized the cabinets. I used small bins to group like items together. Now I can actually find my hair dryer.
If you’re short on time or budget, here are a few more ideas:
- Add a tray to corral toiletries. It makes the counter look intentional.
- Hang a pretty shower curtain. It’s an easy way to add color and pattern.
- Declutter the drawers. Less stuff = less stress.
And if you’re feeling ambitious, consider painting an accent wall or adding a wainscoting panel. But even small changes make a difference.
Final Thoughts (And What I’ll Do Differently Next Time)
Looking back, my spring makeover wasn’t about making my home look like a magazine spread. It was about making it feel like me,lighter, brighter, and more inviting. And while I made plenty of mistakes (RIP, snake plants), I also learned a ton.
If I were to do it all over again, I’d:
- Start with a plan. I jumped into projects without a clear vision, and it showed.
- Invest in better tools. My bent nails and crooked shelves are a testament to my cheapness.
- Take it slower. I rushed a few projects and ended up with less-than-perfect results.
But here’s the thing: My home doesn’t have to be perfect. It just has to feel like home. And after this makeover, it finally does.
Now, if you’ll excuse me, I have a few more projects to tackle,starting with that HVAC system I’ve been ignoring. Wish me luck!
FAQs
What are the must-have tools and materials for a spring home makeover?
You don’t need a full toolbox to refresh your home for spring. Start with the basics: a hammer, tape measure, spirit level, and screwdriver set. For materials, focus on lightweight fabrics, greenery, and a fresh coat of paint. And if you’re on a budget, thrift stores and Facebook Marketplace are your friends.
How do I choose the perfect spring color palette?
There’s no “perfect” palette,just what you love. Start by looking outside for inspiration. Soft pastels, bright pops of color, and natural tones all work well. Test your colors with samples before committing, and don’t be afraid to mix and match. And if you change your mind? That’s okay! Paint is easy to touch up.
What are some simple ways to refresh my entryway for spring?
Your entryway sets the tone for your home, so make it welcoming. Swap out heavy rugs for lighter ones, add sheer curtains to let in natural light, and incorporate greenery with a small plant or a vase of fresh flowers. A spring wreath or a few decorative eggs can add a festive touch without much effort.
How can I give my living room a fresh look on a tight budget?
You don’t need to buy new furniture to refresh your living room. Rearrange what you have to create a more open layout, update the lighting with warmer bulbs or new lamps, and add plants or natural elements. A fresh coat of paint on an accent wall or new throw pillows can also make a big difference. And if you’re feeling ambitious, consider upcycling an old piece of furniture.
What are some small bedroom updates that make a big impact?
Your bedroom should be a retreat, so focus on creating a calm, inviting space. Swap out heavy bedding for lighter fabrics, update the curtains to let in more natural light, and add a few plants for a touch of greenery. Organizing your closet and decluttering your nightstand can also make a big difference. And if you’re short on time, start with the bedding and curtains,they make the biggest impact.
How can I add more plants to my home during spring?
Plants are an easy way to add life and freshness to your home. Start with easy-to-care-for varieties like snake plants, pothos, or ZZ plants. Mix textures and heights with hanging planters, potted plants, and small succulents. And don’t be afraid to get creative with your planters,thrifted vases, baskets, and even old teapots can add personality. Just remember: Don’t overwater!
What are some simple bathroom changes I can make for spring?
Your bathroom doesn’t need a full remodel to feel fresh. Swap out old towels and rugs for new ones in a light color, add a small plant for a touch of greenery, and update the lighting with a warmer bulb. Organizing your cabinets and decluttering your drawers can also make a big difference. And if you’re feeling ambitious, consider painting an accent wall or adding a peel-and-stick backsplash.