
Patching Drywall Like a Pro (Without the Stress)
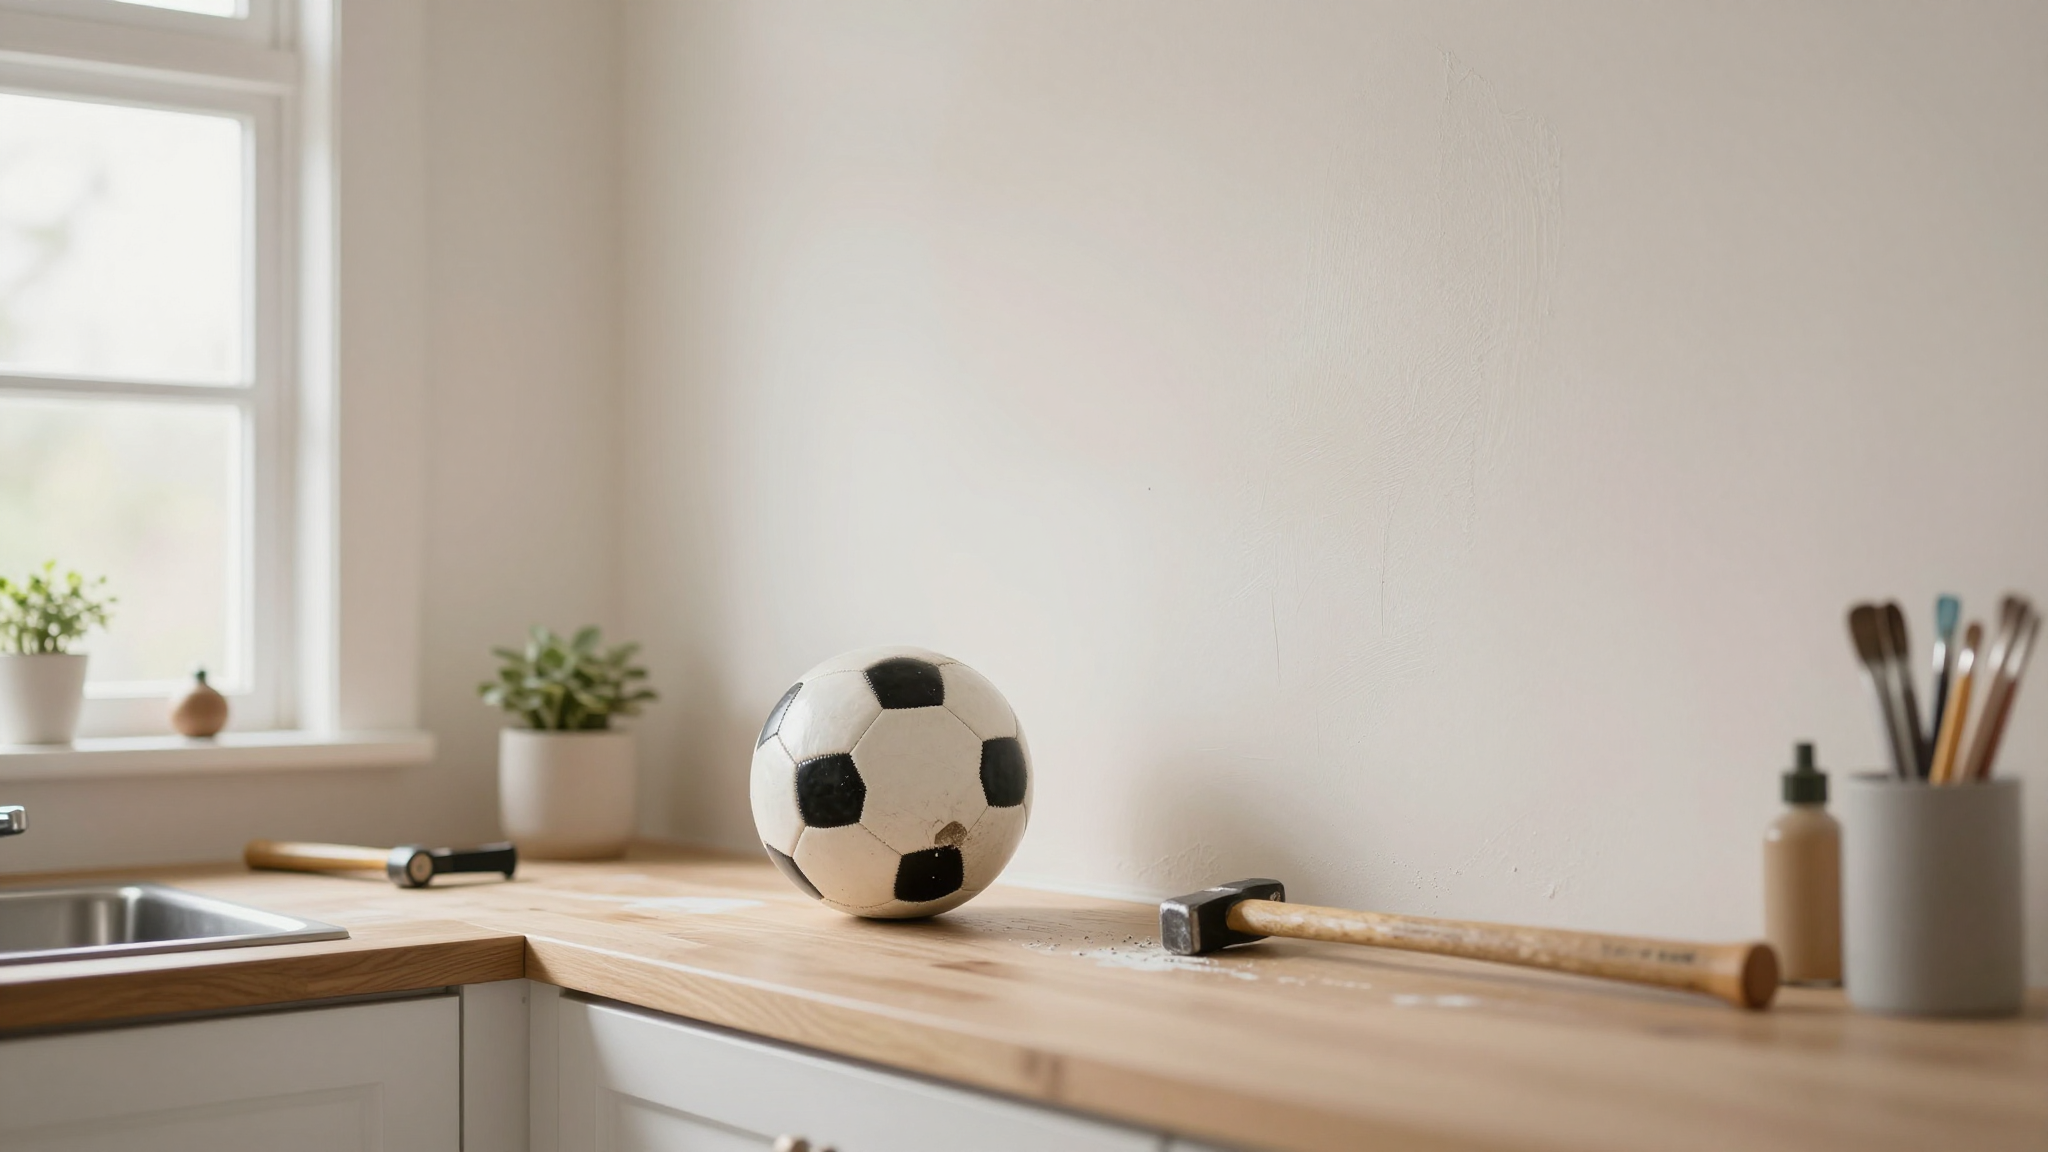
Let me tell you,nothing ruins a freshly painted wall faster than a wayward soccer ball or a misplaced hammer. I’ve patched more drywall in my kitchen alone than I care to admit (thanks, kids), and I’ve learned the hard way what actually works. No fluff, no “expert” jargon,just the real steps I use to get a smooth finish every time.
Whether you’re fixing a tiny nail hole or a gaping void where a shelf used to be, this guide will walk you through it. And yes, you can do this without calling a pro. I’ve got your back.
Why Drywall Repair Isn’t as Scary as It Seems
I used to think drywall repair was some kind of black magic reserved for contractors. Then I accidentally put a fist-sized hole in my hallway wall after a particularly aggressive vacuuming session (long story). Turns out, with the right tools and a little patience, you can fix almost anything.
The key? Preparation. Skimp on this step, and you’ll end up with a lumpy, sandpaper-rough mess that screams “DIY disaster.” Do it right, and your patch will blend in so well, no one will even notice it was there.
Here’s what you’ll learn in this guide:
- How to assess the damage (and whether you actually need to call a pro)
- The exact tools I use,and which ones you can skip
- How to mix and apply drywall compound like you’ve been doing it for years
- Sanding tricks to avoid that dreaded “orange peel” texture
- How to match your wall’s texture so your patch disappears
- Common mistakes (and how I’ve made every single one of them)
Pro tip: If you’re new to this, start with a small, low-visibility area,like behind a bookshelf or inside a closet. It’s your drywall training wheels.
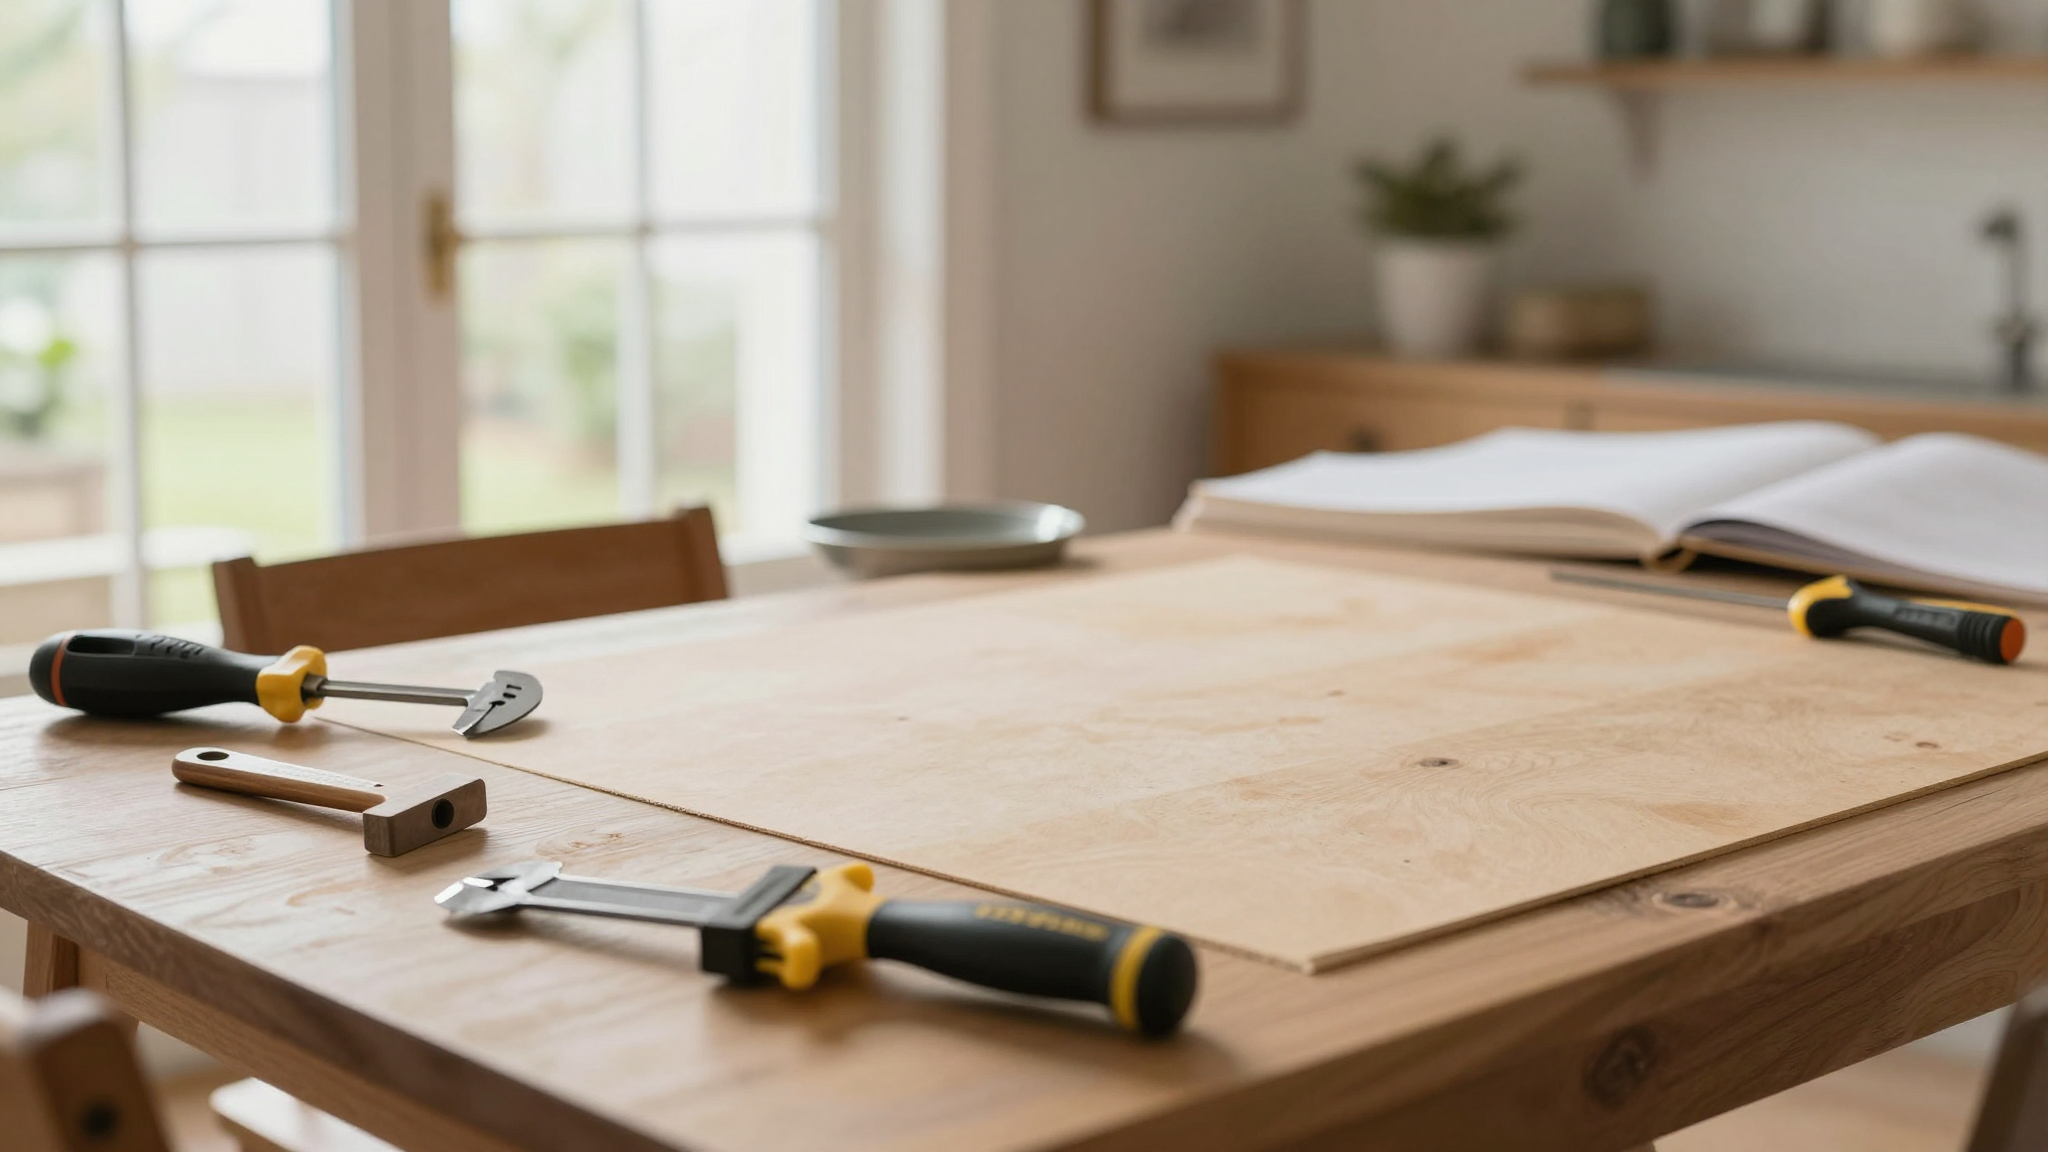
Your Drywall Repair Toolkit (No Fancy Stuff Needed)
You don’t need a full contractor’s tool belt to patch drywall, but you do need a few key things. Here’s what I keep in my “emergency drywall kit” (which, let’s be honest, lives in a bin under my sink):
The Essentials
- Putty knife (I swear by my 4-inch Flexzall,it bends without snapping, unlike the cheap ones from the hardware store).
- Sandpaper (120-grit for rough sanding, 220-grit for fine-tuning). I keep a sanding sponge in my kit too,it’s gentler on my hands.
- Drywall compound,this is where people mess up. Here’s the breakdown:
- All-purpose compound: My go-to for 90% of repairs. It’s forgiving and dries fast.
- Lightweight compound: Great for small holes or touch-ups. It sands easier but isn’t as strong.
- Setting compound: For big holes or when you need something to dry fast. It’s trickier to work with, though,one wrong move, and it turns into a rock.
Pro tip: If you’re patching a hole bigger than your palm, grab a drywall repair patch kit from the hardware store. They come with mesh tape and pre-mixed compound,lifesaver for beginners.
- Joint knife (6-inch or 10-inch, depending on the job). Wider knives give a smoother finish but are harder to maneuver in tight spots.
- Texture spray (if your walls aren’t smooth). More on this later,trust me, you’ll want to practice first.
- Drop cloths (I use old bedsheets,cheap and effective). Drywall dust gets everywhere.
- Dust mask and safety goggles. Non-negotiable. The first time I skipped the mask, I coughed up drywall dust for a week.
What you don’t need: A drill (unless you’re cutting a huge patch), a texture gun (unless your walls are super textured), or that fancy “drywall sanding pole” they sell at Home Depot. Overkill.
Funny story: The first time I tried to patch a hole, I used spackle from a tiny tube because I thought it was the same as drywall compound. Spoiler: It wasn’t. The patch cracked within a week, and I had to redo the whole thing. Lesson learned.
Not All Holes Are Created Equal (How to Assess the Damage)
Before you grab your putty knife, you need to figure out what you’re actually dealing with. Drywall damage falls into a few categories, and each one requires a slightly different approach.
1. Tiny Holes (Nail Holes, Screw Holes, Pinholes)
These are the easiest to fix,usually just a little compound and sanding. Think: a hole from a picture hanger or a wayward nail.
2. Small Holes (Up to 6 Inches Wide)
These are where things get a little more involved. Examples: a doorknob gone rogue, a kid’s toy impact, or a misplaced hammer. You’ll need to cut out the damaged area and patch it with mesh tape or a small drywall piece.
3. Large Holes (Bigger Than 6 Inches)
This is where people panic. Examples: a shelf bracket that pulled out drywall, a pet door gone wrong, or (in my case) a misjudged “let’s move the fridge ourselves” moment. These require cutting out a clean square/rectangle and installing a new drywall patch.
4. Cracks (Hairline to Wide Gaps)
Cracks usually happen from settling or humidity. Small ones? Easy. Big, gaping ones? Might need a pro,especially if they’re near corners or ceilings.
5. Dents and Dings
These are usually from, well, life. A misplaced ladder, a rogue shopping cart, or (again, me) a poorly aimed suitcase. Dents are the easiest to fix,just skim coat with compound.
Red flag: If the drywall is bowing or you see water stains, stop. That’s not a DIY job,it’s a sign of deeper issues like mold or structural problems. Call a pro.
Pro tip: If you’re patching a hole near an electrical outlet or plumbing, turn off the power/water first. I learned this the hard way when I shorted out a light switch while patching a hole above it. (The circuit breaker saved me, but my husband still won’t let me live it down.)
Prep Work: The Secret to a Smooth Finish
I cannot stress this enough: prep work is 80% of the battle. Skip this, and your patch will look like a kindergartener’s art project.
Step 1: Clear the Area
Move furniture away from the wall. If you can’t, cover it with a drop cloth (I use old shower curtains,they’re cheap and disposable). Trust me, drywall dust gets into everything.
Step 2: Gear Up
Put on your dust mask and goggles. I know it feels silly, but drywall dust is not something you want to inhale or get in your eyes. (I speak from experience.)
Step 3: Clean the Area
Use a damp rag to wipe down the wall around the hole. Any loose drywall paper or dust will make your compound adhere poorly. Pro tip: A vacuum with a brush attachment works great for this.
Step 4: Let There Be Light
Shine a bright light (I use a clip-on LED work light) at a low angle to the wall. This helps you see every bump and imperfection so you can sand it smooth later.
Mistake I made: Skipping the light the first time I patched a hole. I thought it looked smooth, but under the overhead light? You could see the patch from across the room. Always check your work with angled lighting.
Fixing Small Holes: The 20-Minute Patch
Small holes are the easiest to fix, and they’re perfect for beginners. Here’s how I do it:
Step 1: Clean the Hole
Use a damp rag to wipe out any dust or debris. If there’s loose drywall paper, gently scrape it away with your putty knife.
Step 2: Apply the Compound
Scoop a small amount of lightweight compound onto your putty knife. Hold the knife at a 45-degree angle and press it into the hole, overfilling slightly. The goal is to create a slight “bump” so that when you sand it down, it’s flush with the wall.
Pro tip: If the hole is super small (like a nail hole), you can use a spackling paste instead of compound. It’s easier to sand and dries faster.
Step 3: Let It Dry
This is the hardest part,waiting. Most compounds dry in 24 hours, but don’t rush it. I’ve learned the hard way that sanding too soon just creates a bigger mess.
Step 4: Sand It Smooth
Once it’s dry, use your 120-grit sandpaper to sand the area until it’s flush with the wall. Wipe away the dust with a damp rag, then check under your angled light. If you see any imperfections, apply a thin second coat and repeat.
Funny story: The first time I did this, I sanded so aggressively I created a divot. Moral of the story? Patience is key.
Big Holes? No Problem. Here’s How to Patch Like a Pro
Large holes are intimidating, but they’re not as hard as they seem. The key is cutting a clean, square/rectangular shape and installing a new drywall patch. Here’s how I do it:
Step 1: Cut Out the Damaged Area
Use a utility knife to score around the hole, then cut out the damaged drywall. You want a clean, straight edge,no jagged bits. If the hole is irregular, expand it into a square or rectangle for a cleaner patch.
Pro tip: If the hole is near a stud, you’re in luck,you can screw your new patch directly into the stud. If not, you’ll need to install backing (more on that below).
Step 2: Install Backing
If there’s no stud behind the hole, you’ll need to create a backing for your new patch. I use either:
- A piece of plywood cut to size and screwed into the studs behind the drywall.
- A drywall repair clip (like these metal clips), which screw into the studs and provide something to attach your new patch to.
If you’re patching a hole in a corner, you’ll need to use a special corner patch kit. Trust me, trying to patch a corner without one is a nightmare.
Step 3: Cut Your New Drywall Patch
Measure the hole you’ve cut out, then transfer those measurements to a new piece of drywall. Use a utility knife to score the drywall, then snap it along the score line. Sand the edges smooth.
Pro tip: If you don’t have extra drywall lying around, you can buy pre-cut patches at the hardware store. They’re not always perfect, but they’ll do in a pinch.
Step 4: Attach the Patch
Hold the new drywall patch in place, then screw it into the backing (or studs) with drywall screws. Don’t over-tighten,they should be snug but not dimpling the drywall.
Step 5: Tape and Mud
Now comes the fun part: taping and mudding. Here’s how I do it:
- Apply a thin layer of all-purpose compound over the seams where the patch meets the existing drywall.
- Press a strip of drywall tape (paper tape for small holes, fiberglass mesh for larger ones) into the wet compound. Smooth it out with your putty knife.
- Let it dry completely (usually 24 hours).
- Apply a second coat of compound, feathering the edges out about 2-3 inches beyond the patch. This helps blend it into the wall.
- Let it dry, then sand smooth with your 120-grit sandpaper.
- Repeat with a third coat if needed. The goal is to build up the patch so it’s flush with the wall.
Mistake I made: Skipping the second coat of compound. The patch looked fine at first, but after sanding, it was still slightly recessed. Always do at least two coats.
Mixing and Applying Compound: The Art of the Skim Coat
This is where people mess up the most. Drywall compound is finicky,too thick, and it cracks; too thin, and it won’t stick. Here’s how I get it right every time.
Step 1: Mix It Properly
If you’re using a powdered compound, mix it with water in a clean bucket. Start with a little water, then add more until it’s the consistency of thick pudding. Too runny, and it’ll sag; too thick, and it’ll crack.
Pro tip: I keep a small drill with a mixing paddle in my toolbox just for this. Hand-mixing leads to lumps, and lumps = a bumpy finish.
Step 2: Apply Thin Layers
This is critical. People think they need to slather on a thick layer to cover the hole, but that’s how you end up with cracks and lumps. Instead, apply a thin layer with your putty knife, holding it at a 45-degree angle. The goal is to build up the patch gradually.
Funny story: The first time I tried this, I got impatient and applied a thick layer. It dried, cracked, and I had to sand it all off and start over. Now I always do thin layers.
Step 3: Let It Dry (Really)
This is where people fail. You must let each layer dry completely before sanding or adding another coat. I’ve ruined more patches by sanding too soon than I care to admit.
Pro tip: If you’re in a hurry, use a setting compound. It dries in about an hour, but it’s trickier to work with,once it starts setting, you’ve got a short window to smooth it out.
Step 4: Sand Between Coats
After each coat dries, sand it lightly with your 120-grit sandpaper. Wipe away the dust with a damp rag, then check under your angled light. If you see any imperfections, apply another thin coat.
Mistake I made: Using a coarse sandpaper (like 80-grit) for the final sanding. It left the wall looking like sandpaper. Always finish with 220-grit for a smooth result.
The Sanding Step: How to Avoid That “Orange Peel” Texture
Sanding is where a lot of DIYers go wrong. Do it right, and your patch will blend seamlessly. Do it wrong, and it’ll look like you attacked the wall with a cheese grater.
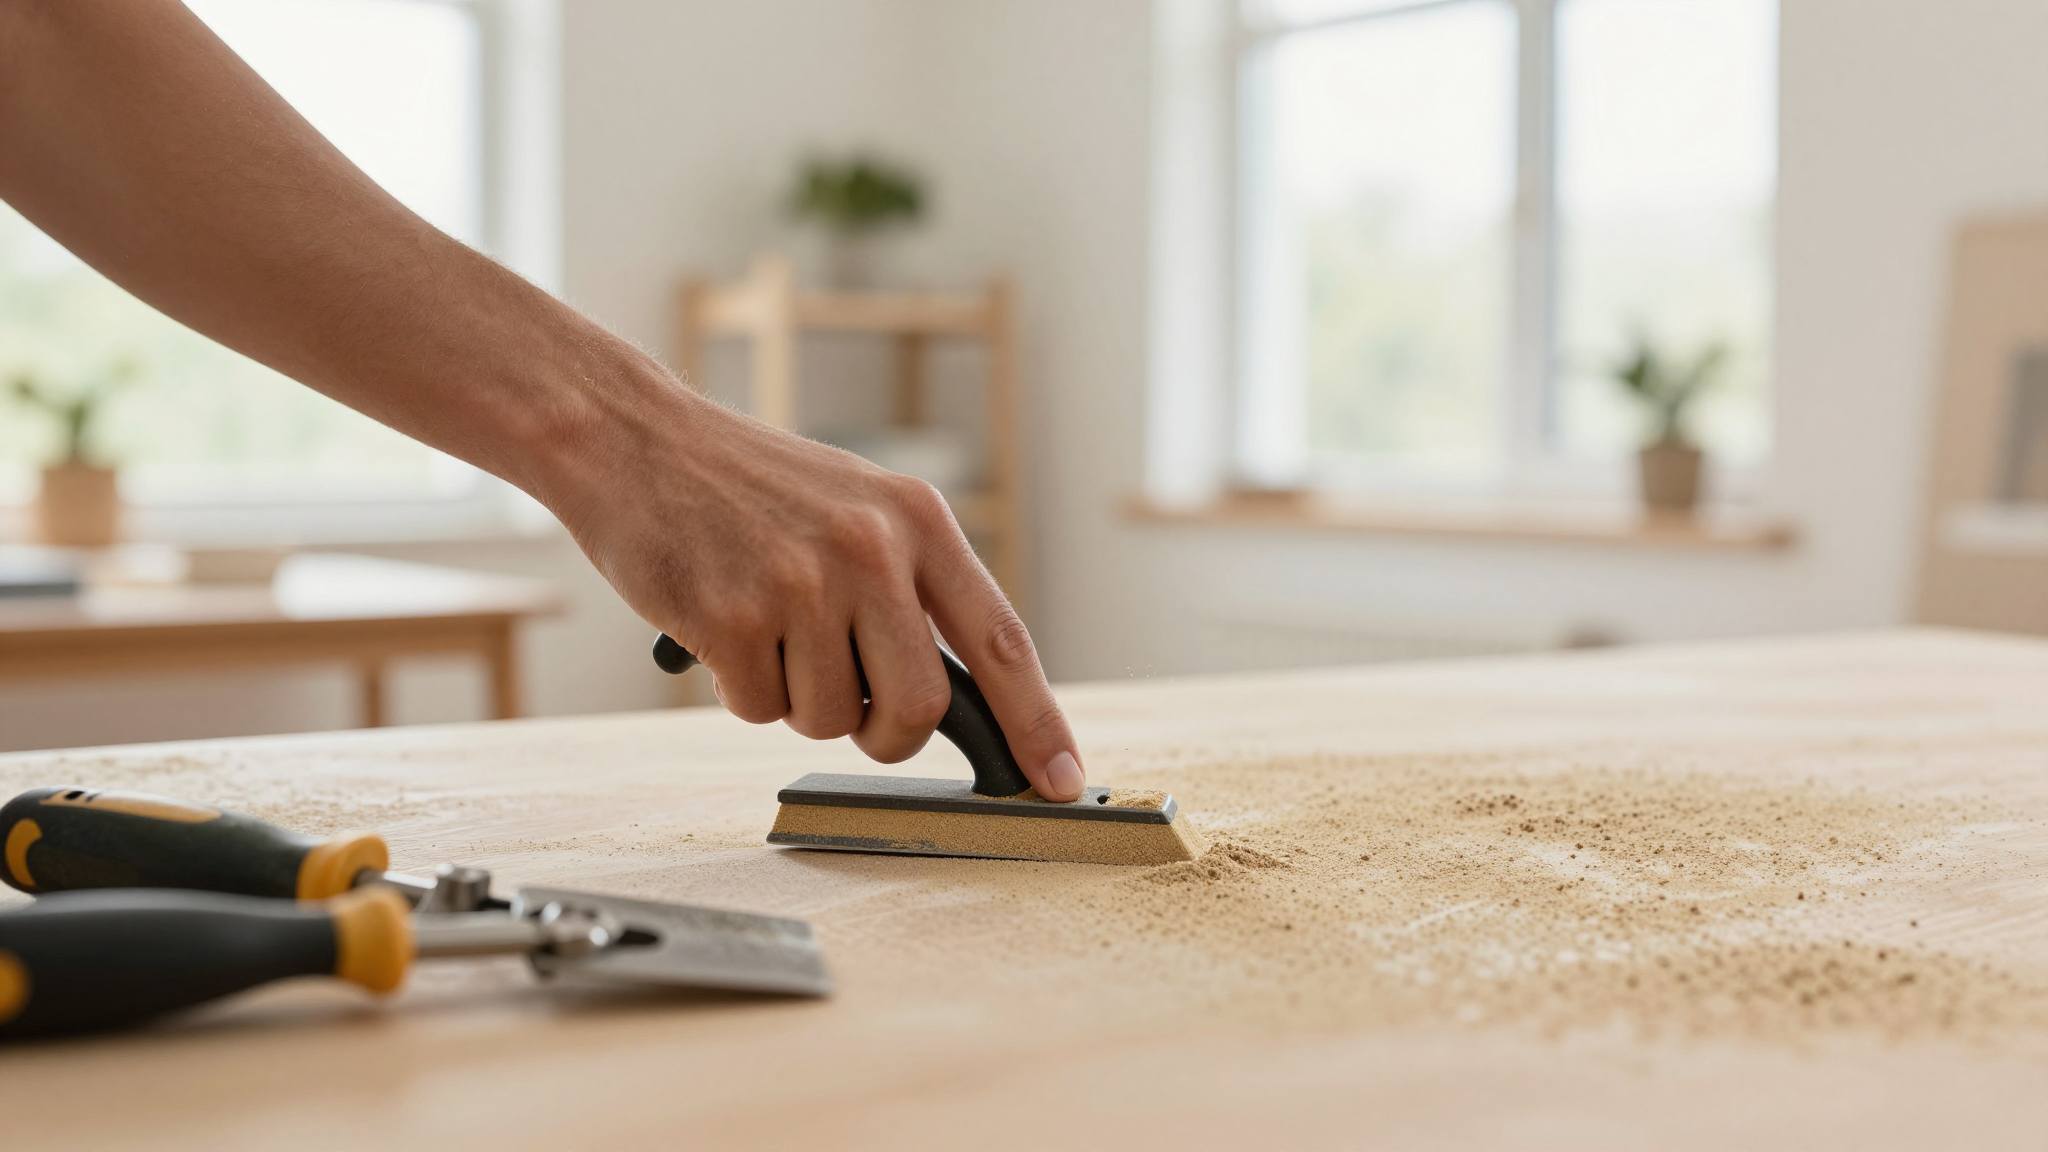
Step 1: Choose the Right Sandpaper
You’ll need three grits:
- 120-grit: For removing excess compound and rough sanding.
- 150-grit: For flattening the surface.
- 220-grit: For the final, smooth finish.
Pro tip: Wrap your sandpaper around a sanding block or a sanding sponge. It gives you more control and prevents gouges.
Step 2: Sand in Circles
Always sand in small circles, not back-and-forth motions. This helps avoid creating grooves in the compound. And never sand when the compound is still damp,it’ll gum up your sandpaper and create a mess.
Step 3: Wet Sanding for a Flawless Finish
For the final sanding, I like to use a wet sanding technique. Dampen the 220-grit sandpaper slightly (not soaking wet) and sand the area. The water helps clog the sandpaper less and gives a smoother finish.
Pro tip: Keep a spray bottle of water nearby to mist the area as you sand. It helps with dust control and gives you a better feel for the surface.
Mistake I made: Skipping the final 220-grit sanding. The patch looked fine under regular light, but under bright light? You could see every imperfection. Always finish with the fine grit.
Matching Your Wall’s Texture: The Final Test
Here’s where a lot of DIYers throw in the towel. Matching texture is tricky, but it’s not impossible. Here’s how I do it:
Step 1: Identify Your Wall’s Texture
Most walls fall into one of these categories:
- Smooth: No texture, just flat drywall. Easy to match,just sand your patch smooth.
- Orange peel: A fine, spray-on texture that looks like, well, an orange peel. Use a texture spray gun with fine mist nozzle.
- Knockdown: A textured finish where the peaks are knocked down, leaving a swirled pattern. Use a knockdown texture roller.
- Popcorn: That bumpy, 70s-style texture. If your walls are popcorn, count your blessings,it’s the easiest to match. Just throw some texture spray on and go to town.
Step 2: Practice First
Before you touch the actual wall, practice on a scrap piece of drywall or in a hidden area (like inside a closet). Texture is forgiving, but it’s easy to overdo it.
Step 3: Work in Small Sections
Start at the edge of your patch and blend outward. Use light, even strokes. If you’re using a texture spray, hold the gun 12-18 inches from the wall and apply in a sweeping motion.
Pro tip: If your wall has a heavy texture (like thick knockdown), you might need to build up the texture with multiple coats of compound before applying the final texture. Don’t be afraid to layer it.
Funny story: The first time I tried to match a knockdown texture, I ended up with a patch that looked like a topographic map. Lesson learned: less is more.
Painting Your Patch: The Invisible Finish
You’ve sanded, textured, and now it’s time for the final step: painting. This is where your patch either blends in perfectly or stands out like a sore thumb.
Step 1: Prime the Patch
Before you paint, you must prime the patch. I use a stain-blocking primer (like Kilz) to prevent the drywall compound from bleeding through. Let it dry completely,usually 1-2 hours.
Step 2: Paint Like a Pro
Here’s how I get a flawless finish:
- Use the same paint you used on the wall. If you don’t have any left, take a chip to the hardware store and have them match it.
- Apply a thin first coat with a roller. Don’t overload the roller,it’ll cause drips.
- Let it dry, then apply a second coat. For edges, use a trim brush to cut in carefully.
- If your wall has a glossy finish, you might need a third coat to match the sheen.
Pro tip: If you’re painting a large area, use a paint sprayer for a smoother finish. Just mask off the edges carefully.
Mistake I made: Skipping the primer. The first time I patched a hole, I painted right over the compound. Guess what? It turned yellow after a few days. Always prime!
Common Mistakes (And How I’ve Made Them All)
Even after years of patching drywall, I still mess up sometimes. Here are the most common mistakes,and how to avoid them:
1. Not Letting the Compound Dry Long Enough
I’ve sanded compound that was still damp so many times. It gums up your sandpaper, creates a messy surface, and can even crack the compound. Always wait the full drying time (usually 24 hours for all-purpose compound).
2. Using the Wrong Compound
Lightweight compound is great for small holes, but it’s not strong enough for large patches. Setting compound dries fast, but it’s tricky to work with. And spackle? Only for tiny holes. Use the wrong one, and your patch will fail.
3. Skipping the Primer
As I mentioned earlier, I learned this the hard way. The drywall compound will bleed through your paint if you don’t prime it first. Always prime!
4. Sanding Too Aggressively
I used to think the harder I sanded, the smoother the finish. Wrong. Aggressive sanding creates grooves and can even sand through the paper on the drywall. Sand lightly and check your work often.
5. Not Feathering the Edges
When you apply compound, you should feather the edges,that means tapering the compound out so it blends into the wall. If you don’t, the patch will have a hard edge that’s visible even after painting.
6. Matching the Texture Wrong
This is where a lot of DIYers give up. If your wall has a heavy texture, don’t try to skim it. Build up the texture with compound first, then apply the final texture. And always practice on a scrap piece first.
7. Rushing the Process
Drywall repair is not a race. Rushing leads to cracks, lumps, and a patch that stands out like a sore thumb. Take your time, let each layer dry, and sand carefully.
Final Thoughts (And Your Action Plan)
Patching drywall isn’t as hard as it seems,it just takes patience and the right techniques. Start with a small hole, follow the steps, and don’t be afraid to make mistakes. (Trust me, I’ve made plenty.)
Here’s your action plan for your first drywall repair:
- Gather your tools: putty knife, sandpaper, drywall compound, tape, and a dust mask.
- Clean the area and let it dry.
- Apply a thin layer of compound, feathering the edges.
- Let it dry completely (24 hours for all-purpose compound).
- Sand lightly with 120-grit, then 220-grit for a smooth finish.
- Prime the patch, then paint to match the wall.
And if you’re nervous? Start with a small, hidden area,like behind a bookshelf or inside a closet. You’ve got this!
Now go fix that hole before the kids notice it. (Or before your spouse does.)