
How I Built My Farmhouse Coffee Table (And Why It’s Now My Favorite Piece)
Let me tell you,building this farmhouse coffee table was one of those projects that started as a “someday maybe” idea and ended up being the centerpiece of my living room. I’ve always loved that rustic, lived-in look, the kind that makes a space feel warm and inviting without trying too hard. And honestly? I was tired of scrolling through Pinterest, dreaming of the perfect coffee table, only to see prices that made my wallet cry. So I rolled up my sleeves, grabbed my tools, and got to work.
This wasn’t my first DIY furniture project,far from it. I’ve tinkered with everything from stairs to fireplaces. But this coffee table? It was different. It had to be sturdy enough to hold my kids’ feet (yes, they *still* prop their feet up on it, no matter how many times I tell them not to), durable enough to survive our golden retriever’s tail wagging against it, and pretty enough that I wouldn’t mind if guests actually *noticed* it. Spoiler: It passed all three tests.
If you’re here because you’re itching to build your own, let me walk you through exactly how I did it,including the mistakes I made (so you don’t have to) and the little tricks that made this project feel less like a chore and more like a labor of love.
Why I Chose Farmhouse Style (And Why You Might Too)
I’ll be honest: I didn’t *plan* to build a farmhouse-style coffee table at first. I was actually eyeing one of those sleek, modern glass-top tables,you know, the kind that looks like it belongs in a high-end magazine. But then I visited my sister’s house in the country, and her farmhouse-style living room stopped me in my tracks. It wasn’t just the table; it was the *whole vibe*. The warm wood, the slightly distressed edges, the way it looked like it had been there for generations. I wanted that. Not the “I just walked out of a showroom” look, but the “this has stories” look.
And let’s talk about the practical side for a second. Farmhouse style isn’t just about aesthetics,it’s about functionality. My kids drop snacks on this table. My husband sets his coffee down without a coaster (don’t @ me). Our dog has “accidentally” scratched it more times than I can count. A glass table? It would’ve been a disaster waiting to happen. But this? This table can take a beating and still look beautiful. That’s the kind of furniture I want in my home.
Plus, building it myself meant I could customize it to fit our space. Our living room has vintage-inspired accent walls and a mix of modern and rustic decor, so I needed something that would tie it all together. A store-bought table wouldn’t have done that. But this? This was *ours*.
What You’ll Gain from Building Your Own
If you’re still on the fence, let me sell you on the perks of DIY-ing your coffee table:
- It’s cheaper. I spent around $150 on materials for this table. A similar farmhouse-style table at a furniture store? Closer to $500–$800. That’s money I’d rather put toward winterizing the house or treating myself to a fancy coffee (because, let’s be real, I deserve it).
- It’s custom. You can adjust the size, the wood type, the finish,everything,to match your space. My table is slightly narrower than standard because our living room is cozy, and I wanted it to fit just right. A store-bought table wouldn’t have worked.
- It’s unique. No one else will have a coffee table exactly like yours. Mine has a few “happy accidents” (like a slightly uneven edge that I ended up embracing) that make it one-of-a-kind. That’s the beauty of DIY.
- It’s a confidence booster. Finishing this project made me feel like I could tackle anything. And trust me, after the drywall debacle in our guest room, I needed that.
Now, let’s get into the nitty-gritty. If you’re ready to build your own, here’s exactly how I did it,step by step, with all the real talk included.
Tools and Materials: What You’ll Actually Need
Before you start, let’s talk tools. I won’t lie,this project requires a few power tools, but don’t let that scare you off. If I can do it (and trust me, I’ve had my fair share of DIY fails), so can you. Here’s what I used:
- Power tools:
- A table saw (I used my DeWalt,it’s a game-changer for cutting wood evenly). Pro tip: If you don’t own one, check if a local hardware store or maker space rents them out. It’s worth it.
- A drill/driver (a cordless one is ideal,mine’s a Ryobi, and it’s held up through years of abuse).
- A sander (I used an orbital sander for the top and a detail sander for the edges. Sanding is not my favorite part, but it makes all the difference in the finish.).
- A clamp set (I have a mix of bar clamps and pipe clamps. They’re cheap and make holding wood together a breeze.).
- A measuring tape (duh, but I’ll say it anyway,measure twice, cut once. I learned that the hard way when I had to re-cut a board because I mismeasured.).
- Hand tools:
- A chisel set (for the mortise and tenon joints,I’ll get to those later).
- A hammer (nothing fancy, just a good ol’ 16-ounce claw hammer).
- A screwdriver set (for any hand-screwing you might need).
- A square (to keep your cuts accurate).
- Safety gear:
- Safety glasses (non-negotiable. I’ve had a rogue wood chip fly into my eye before, and let me tell you, it’s not fun.).
- A dust mask (sanding creates a lot of dust. Trust me, you don’t want to breathe that in.).
- Hearing protection (earplugs or earmuffs,power tools are loud!).
- Work gloves (optional, but helpful for keeping your hands clean and protected.).
As for materials, here’s what I used and why:
- Wood: I went with reclaimed barn wood for the top because I love the character it adds. It’s not perfect,it’s got knots, cracks, and a few nails I had to pull out,but that’s what gives it that rustic charm. If reclaimed wood isn’t your thing, pine or oak are great alternatives. Pine is softer and easier to work with (and cheaper), while oak is more durable (and pricier). I also used 2x4s for the legs and base,nothing fancy, just sturdy.
- Wood glue: I used Titebond III. It’s waterproof and dries clear, which is perfect for hiding seams.
- Screws and nails: I used deck screws (they’re corrosion-resistant and strong) for assembling the base. For the top, I used finishing nails (they’re thinner and leave smaller holes that are easier to hide).
- Finish: I went with a whitewash stain (Minwax Whitewash) for the top and a clear matte polyurethane for protection. More on that in the finishing section!
Oh, and one more thing: patience. This project took me about two weekends to complete, mostly because I had to wait for the wood glue and stain to dry. Don’t rush it,good things (and good coffee tables) take time.
Choosing the Right Wood: My Trial and Error
Let me tell you about the time I almost ruined this project before it even started. I was at the hardware store, staring at a wall of wood options, completely overwhelmed. I knew I wanted something rustic, but I had no idea what “grade” of wood I should get. So, like any responsible adult, I just… picked the cheapest option. Big mistake.
The wood I brought home was full of knots and cracks. Some of the boards were so warped I couldn’t even use them. I ended up having to return half of it and start over. Lesson learned: always check the wood grade. Here’s what I wish I’d known from the beginning:
- Wood grades explained:
- #1 Common: This is the cheapest grade, and it’s… well, common. It’s got knots, splits, and other imperfections. If you’re going for a super rustic look and don’t mind some flaws, this can work. But if you want a smoother surface, skip it.
- #2 Common: A step up from #1. It’s still got some knots and defects, but it’s more stable. This is what I should have started with.
- Select and Better: These grades are cleaner, with fewer knots and straighter boards. They’re pricier, but if you want a smoother finish, they’re worth it.
- FAS (Firsts and Seconds): The cream of the crop,minimal defects, straight, and smooth. This is what you’d use for high-end furniture. I didn’t go this route (it’s expensive!), but if you’re selling the table or want a flawless look, it’s a great option.
- Where to buy:
- Your local hardware store (I love supporting small businesses, and they often have great deals on wood.).
- Online retailers like Home Depot or Lowe’s (they’ve got a huge selection, and you can order custom cuts.).
- Reclaimed wood suppliers (if you want that authentic, weathered look. I found mine on EPA Wood Yards).
- Salvage yards or demolition sites (if you’re feeling adventurous. I’ve heard great things about finding wood at old barns or construction sites, but I haven’t tried it myself,yet!).
- What to look for:
- Check for warping or bowing (run your hand along the board,if it’s not flat, it’ll be a pain to work with.).
- Look for knots and cracks (if you’re okay with imperfections, great! If not, keep looking.).
- Make sure the wood is dry (wet or green wood will warp as it dries. Ask the staff how long it’s been stored,it should be at least 6–12 months.).
Oh, and one more thing: buy a little extra. I thought I was being smart by calculating the exact amount of wood I needed, but then I messed up a cut (thanks, table saw misalignment) and had to start over. Having a backup board saved me a trip back to the store. Always plan for mistakes,they will happen.
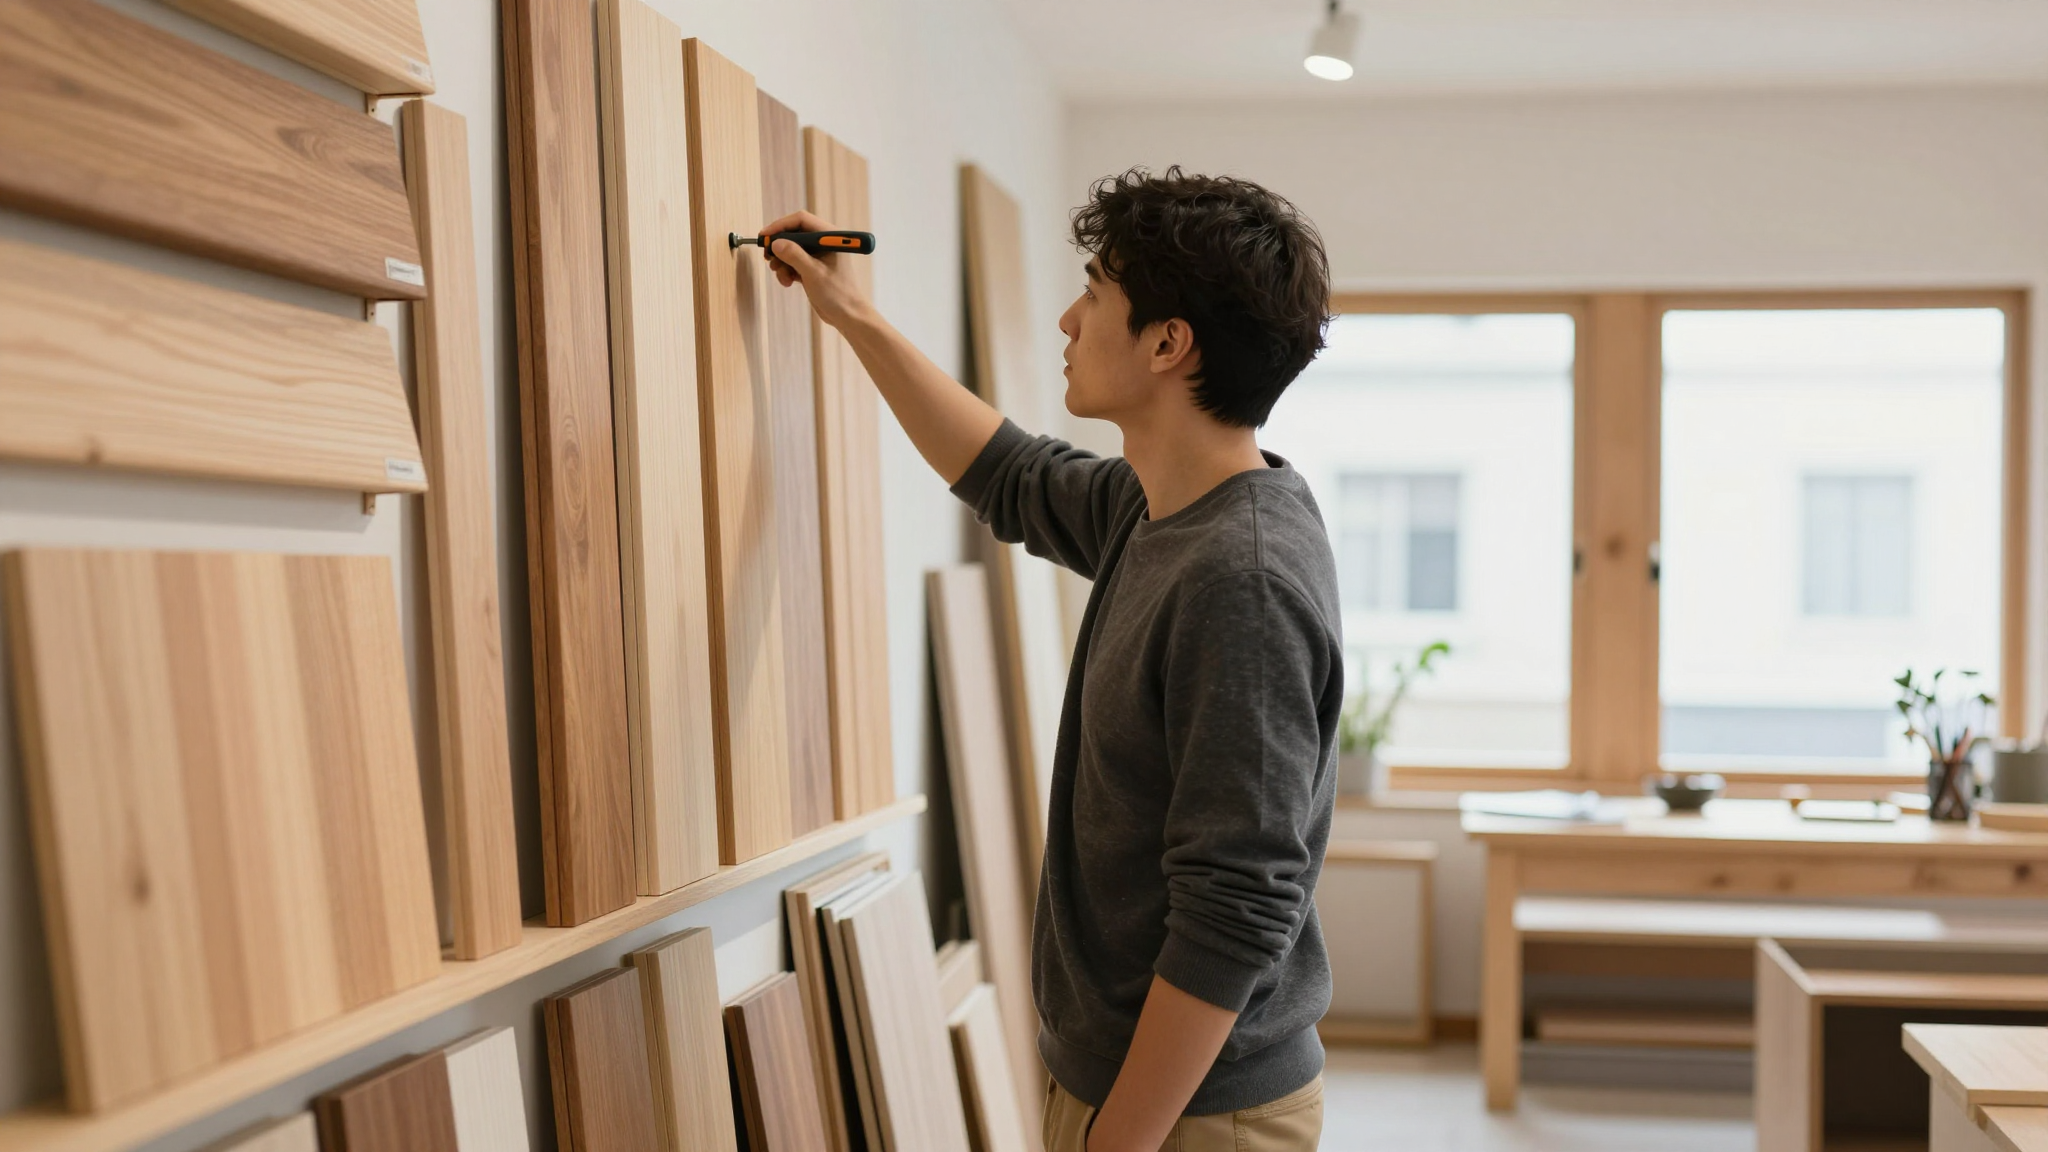
Prepping Your Workspace: Safety First (Seriously)
Before I even picked up a tool, I spent an hour prepping my workspace. And let me tell you, this is one of those steps that’s so easy to skip,but don’t. I’ve learned the hard way that a messy workspace leads to mistakes, injuries, and frustration. Here’s how I set mine up:
- Clear the area: I pushed everything out of my garage (yes, I built this in the garage,it was the only space big enough) and swept the floor. I didn’t want any nails or debris hiding underfoot.
- Set up a workbench: I used a pair of saw horses and a plywood sheet to create a stable surface for cutting and assembling. If you don’t have saw horses, a sturdy table or even a clean floor will work.
- Organize your tools: I laid out everything I’d need within arm’s reach,screwdriver, clamps, measuring tape, etc. Nothing worse than being mid-project and realizing you left your hammer inside.
- Safety gear on: I put on my safety glasses, dust mask, and ear protection before turning on any power tools. No exceptions. I also tied my hair back (long hair + power tools = a recipe for disaster).
And here’s a tip I wish I’d known sooner: work in good lighting. I started this project on a cloudy day, thinking the natural light in the garage would be enough. Spoiler: It wasn’t. I ended up squinting at my measurements and nearly cutting a board wrong. If you’re working in a dim space, invest in a bright work light (I use a magnifying LED work light,it’s a game-changer).
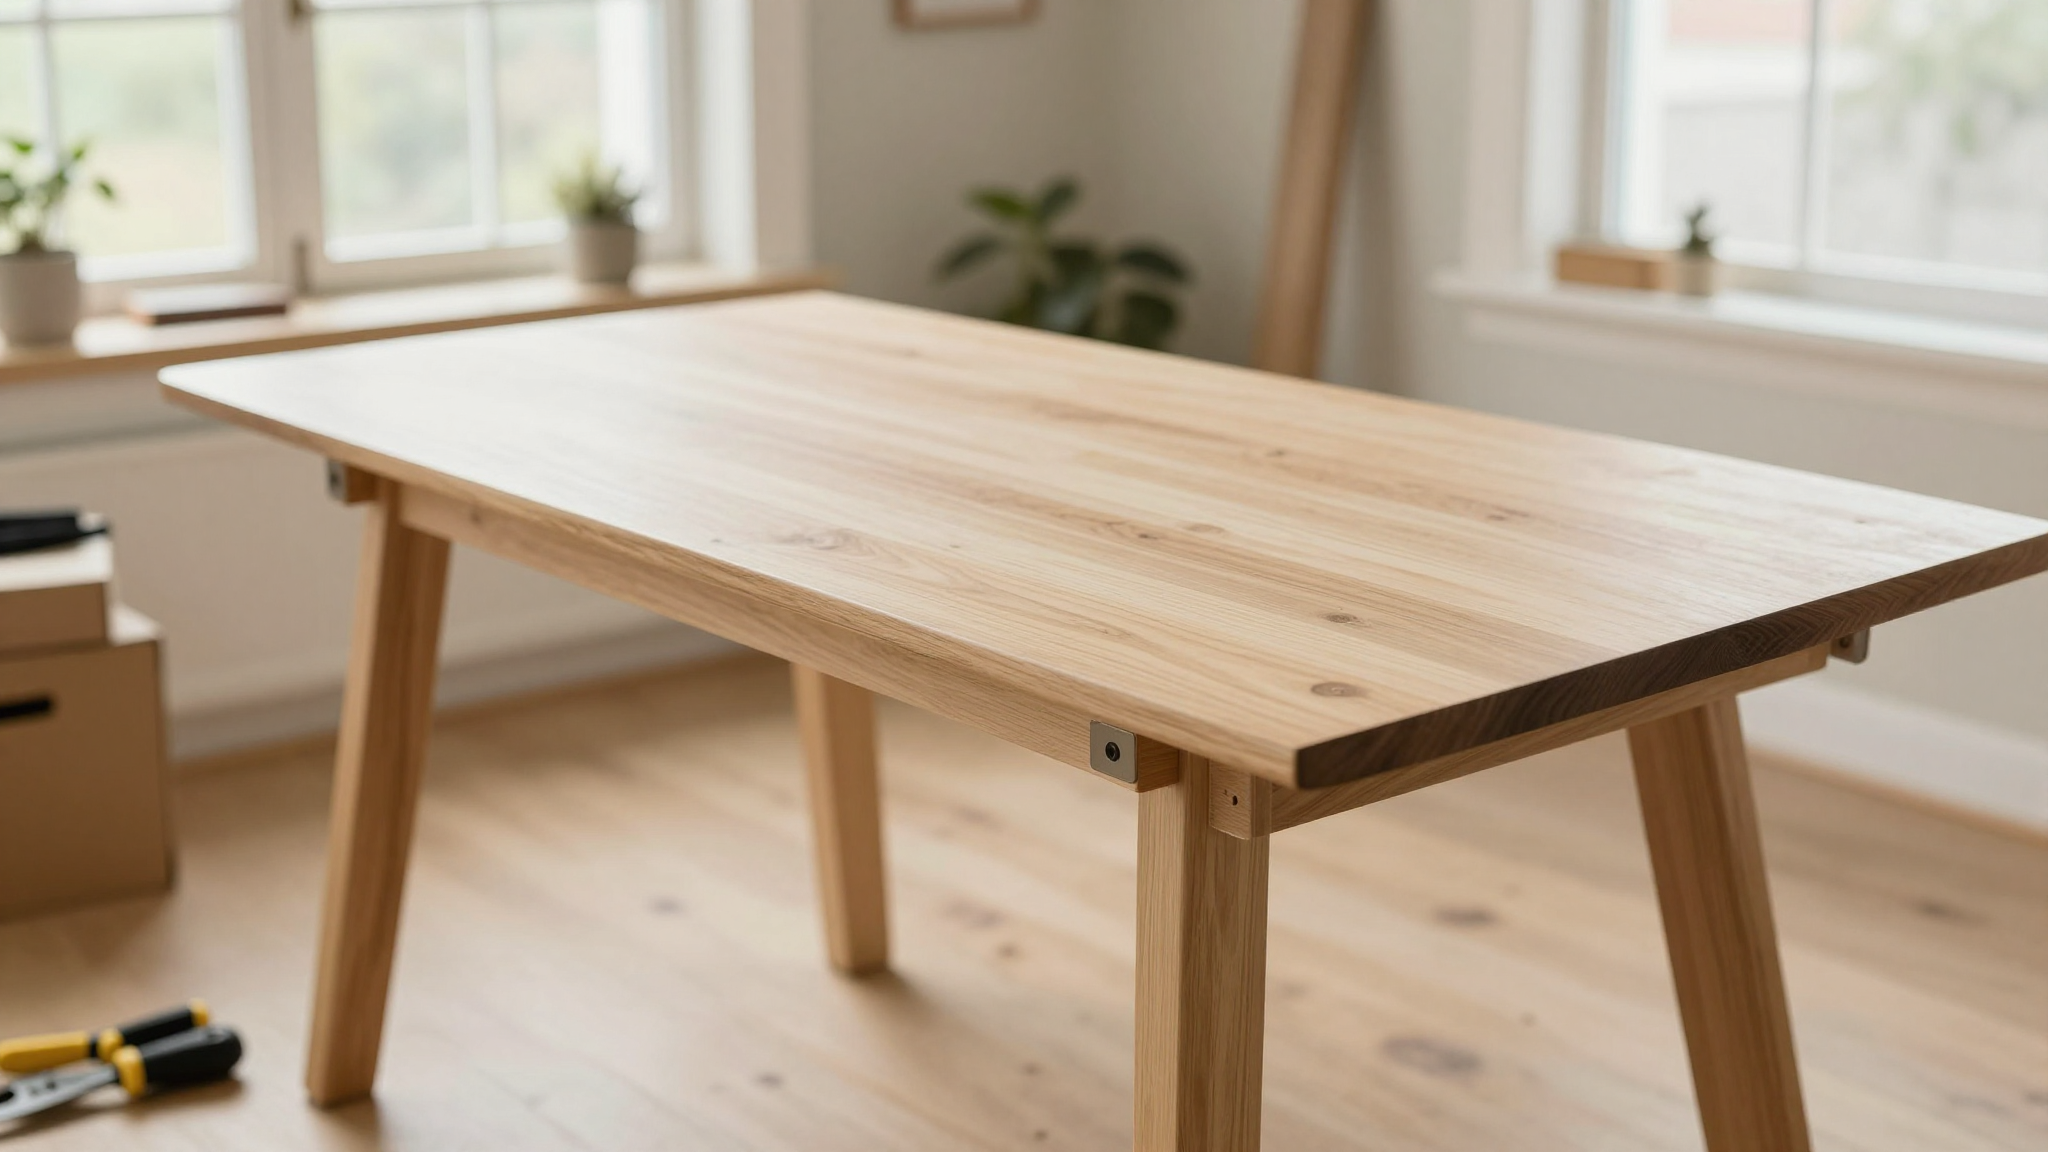
Building the Coffee Table Top: Where the Magic Happens
This is the part where the coffee table really starts to take shape. The top is what people notice first, so I wanted it to look intentional,even if some of the “character” came from my less-than-perfect cuts. Here’s how I did it:
Step 1: Cutting the Boards
First, I decided on the dimensions. I wanted a table that was 60 inches long (to fit our sectional) and 30 inches wide (narrow enough to not overwhelm the space). For the thickness, I went with 1.5 inches,thick enough to feel sturdy but not so heavy it’s a pain to move.
I measured and marked the boards, then used my table saw to cut them to size. Pro tip: If you’re new to using a table saw, practice on scrap wood first. I did, and it saved me from a costly mistake. I also used a push stick to keep my hands away from the blade,safety first!
Now, here’s where I almost messed up: I didn’t account for the fact that the boards would need to be jointed (i.e., flattened and squared) before assembling. If you skip this step, your top will have gaps and won’t look seamless. I had to rent a jointer from the hardware store to fix mine. If you don’t have access to one, you can hand-plane the edges (it’s tedious, but it works).
Step 2: Assembling the Top
Once the boards were cut and jointed, I laid them out on the floor to dry-fit them. I wanted a distressed, farmhouse look, so I mixed boards of different widths,some narrow, some wider,to create visual interest.
Then, I glued and clamped them together. Here’s how I did it:
- Lay the boards out in your desired arrangement. I staggered the seams so they didn’t line up (it makes the table look more intentional).
- Apply wood glue to the edges of each board. I used a glue applicator (it’s a little squeeze bottle,so much easier than trying to spread glue with a stick!).
- Clamp the boards together tightly. I used bar clamps every 12 inches or so to keep everything aligned. If you don’t have clamps, you can use heavy books or weights, but clamps are much more effective.
- Let the glue dry completely (usually 24 hours). Don’t rush this step,if the glue doesn’t set properly, your tabletop will fall apart.
While the glue was drying, I pre-drilled holes for the screws that would later attach the top to the base. This is a critical step,if you don’t pre-drill, the wood can split when you screw it in. I used a counter-sink bit to make the screw heads sit flush with the wood.
Step 3: Distressing and Finishing the Top
This is where I had the most fun,and where I let my inner creative side loose. I wanted the tabletop to look lived-in, like it had been in a farmhouse for generations. Here’s how I achieved that:
- Sanding: I started with 80-grit sandpaper to smooth out any rough spots, then moved to 120-grit for a finer finish. I used an orbital sander for the flat surfaces and a detail sander for the edges. Warning: Sanding is boring. Put on a podcast or some music to make it go faster.
- Distressing: To give the table that rustic look, I used a chisel to carve out a few “worn” areas along the edges. I also lightly sanded some of the corners to make them look chipped. If you’re not comfortable with a chisel, you can use steel wool to rub away some of the finish in spots.
- Staining: I chose a whitewash stain because it gives that soft, vintage look. I applied it with a brush, letting it soak into the wood for about 10 minutes before wiping off the excess. I did two coats, letting it dry completely between each one.
- Sealing: To protect the wood, I applied a clear matte polyurethane. I used a foam brush to apply it evenly, then let it dry for 24 hours before adding a second coat. The matte finish hides imperfections and gives that old-world feel.
Oh, and here’s a little secret: I accidentally got some stain on the underside of the tabletop. Instead of scrubbing it off, I left it. Now, when I flip the table over to clean, I see those little stain marks and smile,it’s a reminder that even “mistakes” can add character.
Building the Base and Legs: The Foundation of It All
Now that the top was done, it was time to build the base and legs. This is where the table’s stability comes from, so I wanted to make sure it was rock-solid. Here’s how I approached it:
Step 1: Cutting the Legs and Base
I decided on a simple, sturdy design for the base: four legs connected by a rectangular frame. The legs were 2x4s, and the frame was made from 1×3 boards. Here’s what I did:
- Cut the legs to 28 inches tall (this gave the table a good height,comfortable for sitting and for using as a side table).
- Cut the frame pieces to fit the dimensions of the tabletop (mine was 60×30 inches, so the frame was 58×28 inches,I left a 1-inch overhang on each side for a cleaner look).
- Pre-drill holes in the legs and frame pieces where they’d connect. This prevents the wood from splitting when you screw them together.
Here’s where I made a big mistake: I didn’t account for the thickness of the tabletop when measuring the frame. I cut the frame too small, so the tabletop overhung by more than I wanted. Lesson learned: Always measure twice, and when in doubt, cut a little larger,you can always trim it down later.
Step 2: Assembling the Base
I used mortise and tenon joints to connect the legs to the frame. If you’ve never done this before, don’t worry,it’s easier than it sounds. Here’s how I did it:
- Cut tenons (the protruding part) on the ends of the legs using a chisel and coping saw. I marked the tenon size with a pencil first (I used a 1/2-inch tenon).
- Cut mortises (the slots) in the frame pieces to match the tenons. I used a mortising chisel and a mallet to carve them out. Pro tip: Clamp the frame piece down so it doesn’t move while you’re chiseling.
- Test-fit the tenons into the mortises before gluing. They should slide in snugly but not be too tight.
- Apply wood glue to the tenons and mortises, then insert the legs into the frame. Use clamps to hold everything in place while the glue dries (24 hours).
If mortise and tenon joints sound too complicated, don’t worry,you can also use screws or pocket holes to connect the legs to the frame. It’s not as traditional, but it’s way easier for beginners. I used screws for the frame itself (connecting the 1×3 boards) because I wanted it to be quick and sturdy.
Step 3: Attaching the Top to the Base
This was the moment of truth,time to put the top on the base and see if it all came together. Here’s how I did it:
- Flip the base upside down (it’s easier to work with the top facing up).
- Place the tabletop on the base, making sure it’s centered. I used a square to check that the overhang was even on all sides.
- Pre-drill holes through the tabletop and into the frame (I used the holes I’d pre-drilled earlier).
- Flip the table over and attach the top to the base using deck screws. I used a drill/driver to drive the screws in, making sure they were flush with the wood.
- Check for stability,wobble the table gently to make sure it’s solid. If it wobbles, tighten the screws or add a wooden shim under one of the legs to level it out.
And just like that, my coffee table was done. I stepped back, wiped the sawdust off my hands, and just… stared at it for a minute. It wasn’t perfect,there were a few imperfections, a couple of screws that weren’t quite flush,but it was mine. And honestly? That made it even better.
Finishing Touches: Making It Truly Yours
Now that the table was built, it was time to add the finishing touches,both in terms of the actual finish and the decor. Here’s how I made it feel like home:
Adding the Final Coat of Protection
I already applied a clear polyurethane to the top, but I wanted to make sure the legs and base were protected too. I used the same matte polyurethane, applying it with a brush and letting it dry between coats. I did two coats total, sanding lightly with 220-grit sandpaper between coats to smooth out any brush marks.
If you want a different look, here are a few other finish options:
- Dark stain: For a richer, more traditional look, try a dark walnut or espresso stain. I’ve seen some gorgeous farmhouse tables with this finish,they look amazing with leather or metal accents.
- Painted finish: If you love color, consider painting your table. A chalk paint (like Annie Sloan) gives a matte, vintage look. I’ve seen some stunning farmhouse tables in soft gray or cream.
- Oil finish: For a more natural look, use tung oil or danish oil. It enhances the wood’s natural grain and gives it a warm, satin finish. This is a great option if you love the look of raw wood.
Styling Your Coffee Table
Now for the fun part: decorating. A coffee table is more than just a surface,it’s a canvas for your personality. Here’s how I styled mine to fit our living room:
- Seasonal decor: I rotate the decor based on the season. In fall, I add a small pumpkin, a knit throw, and a wooden tray with tea lights. In winter, I swap in a faux fur rug (yes, even on a table,it’s cozy!) and a candle in a mercury glass holder. In spring, I bring in fresh flowers (I love peonies or tulips) and a pastel-colored bowl.
- Books and trays: I keep a few of my favorite books on the table (nothing too heavy,just light reads or coffee table books). I also use a wooden tray to corral smaller items like remotes or coasters. It keeps things organized and adds a rustic touch.
- Textures and layers: I mix different textures to add depth. A knit blanket draped over one side, a metal candle holder, and a ceramic vase all come together to create a warm, inviting look.
- Functional decor: I make sure everything on the table has a purpose. A small basket holds remotes, a tray keeps drinks from leaving rings, and a candle adds ambiance (and makes the room smell nice).
Oh, and here’s a huge tip: don’t overcrowd it. I used to think a coffee table needed to be covered in stuff to look “put together,” but now I keep it minimal. A few well-chosen items look so much better than a cluttered mess. Trust me,your table (and your guests) will thank you.
Final Thoughts (and What I’d Do Differently Next Time)
Building this coffee table was one of those projects that started as a “someday” idea and ended up being one of my favorite pieces in the house. It’s sturdy, it’s stylish, and it’s mine. And while I’m proud of how it turned out, I’d be lying if I said I wouldn’t do a few things differently next time:
- I’d plan the base dimensions more carefully. I ended up with a table that’s a little narrower than I’d like, and I had to adjust the frame to make it work. Next time, I’ll mock up the base with cardboard first to get the proportions right.
- I’d invest in a better sander. My orbital sander left some swirl marks on the wood, and I had to spend extra time sanding by hand to smooth them out. A random orbit sander would’ve saved me a lot of time.
- I’d pre-stain the wood before assembling. Staining after assembly is a pain,you have to be so careful not to get stain on the areas that will be hidden. Next time, I’ll stain the boards before gluing them together.
- I’d add hairpin legs for a different look. I love the rustic feel of my current legs, but hairpin legs would give the table a more modern-farmhouse vibe. Maybe I’ll build a second table with those!
But here’s the thing: Even with those “oops” moments, I wouldn’t change a thing. Because this table isn’t just a piece of furniture,it’s a reminder that I can create something beautiful with my own two hands. And that’s pretty amazing.
So, if you’re thinking about building your own farmhouse coffee table, do it. It’s not as hard as it looks, and the payoff is so worth it. Plus, you’ll have a story to tell every time someone asks, “Where’d you get this table?”
Now, if you’ll excuse me, I’ve got a coffee table to style,and a very excited golden retriever who’s already claimed it as his new napping spot.
Frequently Asked Questions
What are the essential tools and materials needed to build a farmhouse-style coffee table?
You’ll need a few power tools like a table saw, drill/driver, and sander, along with hand tools like a chisel, hammer, and screwdriver set. For materials, I used reclaimed barn wood for the top and 2x4s for the legs and base. Don’t forget safety gear,glasses, a dust mask, and hearing protection are a must! For a full list, check out my essential tools guide.
What type of wood should I use for my farmhouse coffee table?
For a sturdy, rustic look, I recommend oak, pine, or maple. Oak is durable but pricier, pine is softer and easier to work with (and cheaper), and maple is a great middle ground. If you want that authentic, weathered look, reclaimed wood is a fantastic option. Just make sure to check the wood grade,#2 Common or higher will give you fewer defects. I’ve also seen some gorgeous tables made from pallet wood (if you’re feeling adventurous!). For more tips on choosing wood, check out my upcycling guide.
How can I create the signature farmhouse look for my coffee table top?
The key to that rustic farmhouse look is in the details. Start by mixing boards of different widths for visual interest. Then, distress the edges with a chisel or steel wool to give it that worn-in feel. I also recommend whitewashing or using a dark stain for that vintage charm. And don’t forget to sand thoroughly,a smooth finish makes the distressing pop even more. For more ideas on achieving that farmhouse aesthetic, check out my DIY charm guide.
What are some tips for adding the perfect rustic finish to my coffee table?
First, sand, sand, sand. I can’t stress this enough,start with 80-grit and work your way up to 220-grit for a smooth surface. Then, choose your finish: I used a whitewash stain for a soft, vintage look, but you could also go for a dark stain or even paint (chalk paint gives a great matte finish). No matter what you choose, seal it with a clear polyurethane to protect it. I used a matte finish to keep it looking natural. For more finishing tips, check out my upcycling guide.
How can I style my farmhouse coffee table to make it a focal point in my living room?
Styling is where the fun begins! Start with a neutral base (like a knit throw or wooden tray) and then add in seasonal decor. In fall, I love adding pumpkins and candles; in winter, a faux fur rug and evergreen branches; in spring, fresh flowers and pastel accents. Mix textures,wood, metal, and ceramic,to add depth, and keep it functional (think: a basket for remotes, a tray for drinks). For more styling ideas, check out my gallery wall guide (yes, the tips apply to coffee tables too!).