
5 DIY Projects That Actually Make Your Home Feel Like *You*
There’s nothing quite like the satisfaction of walking into your home and seeing something you made with your own two hands. I’ve been obsessed with rustic decor and DIY projects for years now,not just because they save money (though that’s a nice bonus), but because they turn my house into a space that feels uniquely mine. The first time I sanded down an old dresser and gave it a fresh coat of chalk paint, I realized something: these projects aren’t just about fixing things. They’re about creating a home that tells your story.
I’ll never forget the time I tried to build a farmhouse-style coffee table using reclaimed wood and ended up with a wobbly leg that took three attempts to fix. (Pro tip: measure twice, cut once,and maybe invest in a better clamp.) Or the weekend I spent painting my bedroom walls a warm terracotta color, only to realize halfway through that I’d mixed the paint wrong and had to start over. But here’s the thing: those mistakes? They’re part of the charm. They’re proof that I put my heart into this space.
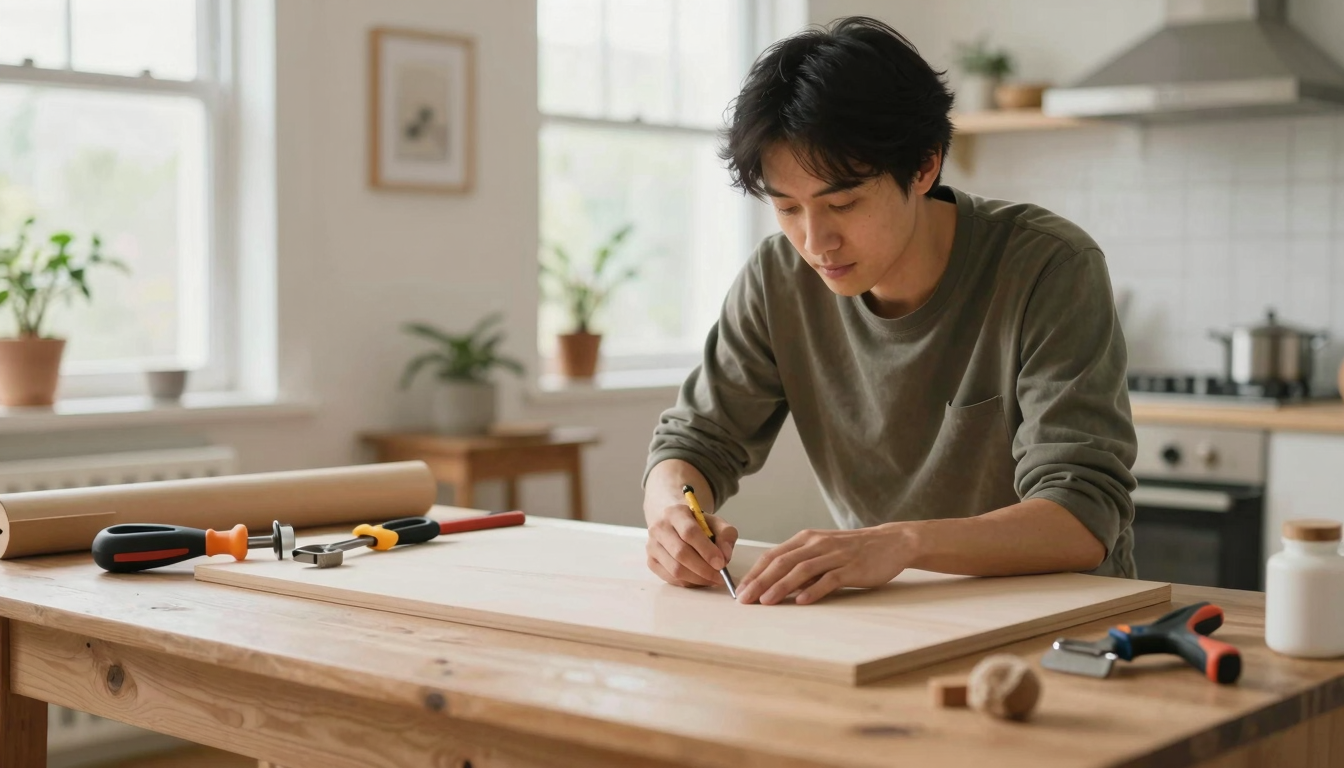
What I love most about DIY projects is how they can transform even the simplest spaces. A hand-painted sign above the kitchen sink, a cozy reading nook in the corner of the living room, or even just swapping out boring light fixtures for something with character,these little changes add up. And the best part? You don’t need to be a pro to make it happen. I still use the same basic tools I started with years ago: a decent screwdriver set, a good paintbrush, sandpaper, and a hammer. (Okay, fine, I *did* upgrade to a better orbital sander after that coffee table disaster.)
If you’re ready to add some personality to your home,without breaking the bank or hiring a designer,stick around. These five projects are my go-tos for adding charm, warmth, and a little bit of “me” to every room. And who knows? You might just find yourself hooked, like I did.
Why DIY Projects Are the Secret to a Home That Feels Like *Yours*
I used to think DIY was just for people with steady hands and Pinterest-perfect lives. Turns out, it’s for anyone who wants a home that reflects who they are,not what a catalog says they should be. The first time I repurposed an old ladder into a rustic shelf, my husband laughed and said, “That’s not how ladders are supposed to be used.” But now? It’s one of his favorite spots in the house, where he keeps his coffee mugs and the kids’ school photos.
Here’s what I’ve learned: the best DIY projects aren’t about perfection. They’re about intentionality. That hand-painted wall in the hallway? It’s not flawless, but it’s got my kids’ handprints hidden in the design. That reclaimed wood headboard? It came from a barn my dad helped tear down, and every knot in the wood tells a story. These imperfections? They’re what make my home feel alive.
Handmade Details That Make a House a Home
You don’t need to overhaul your entire space to see a difference. Sometimes, it’s the small, personal touches that make the biggest impact. Here are a few of my favorites:
- Hand-painted walls or ceilings,I once painted a mural in my daughter’s room using stencils I cut myself. It took forever, and I had paint in my hair for a week, but she still talks about it.
- Refurbished furniture,That mid-century dresser I found at a thrift store? Now it’s the star of my bedroom, thanks to a little sandpaper and a bold color. (I’ll never forget the look on the saleswoman’s face when I asked if I could take it apart in the parking lot.)
- Handmade decor,I made a set of wooden coasters for our coffee table last winter, and they’ve somehow become a conversation starter. People always ask where I got them, and I just smile and say, “The garage.”
The key is to start small. You don’t need to tackle a full room makeover right away. Sometimes, it’s just about swapping out a boring lamp for something with a little more character,or hanging up a piece of art you made yourself. (Yes, even if it’s “just” a macramé wall hanging that took you three tries to get right.)
You Don’t Need Fancy Tools to Get Started
One of the biggest myths about DIY is that you need a fully stocked workshop to get anything done. Not true. I still remember the first time I tried to hang a shelf and realized I didn’t own a level. (Spoiler: It was crooked. Very crooked.) Now? I keep a basic toolkit in my closet,nothing fancy, just the essentials:
- A hammer (I like the Stanley 20-oz. one,it’s got a good grip and hasn’t let me down yet).
- A screwdriver set (I finally splurged on a magnetic one, and it’s a game-changer).
- A paintbrush or roller (Purdy has great ones that don’t shed bristles everywhere).
- Sandpaper (I keep 80, 120, and 220 grit on hand for different projects).
- A measuring tape (And yes, I still sometimes measure twice just to be sure).
That’s it. No power tools required (unless you’re feeling ambitious). The rest? Creativity, patience, and a willingness to laugh at your mistakes.
Creating a Welcoming Entryway That Feels Like a Hug
First impressions matter, and your entryway is the first chance your home has to welcome people in. I wanted ours to feel warm and inviting,not like a museum, but like a place where people can kick off their shoes and stay awhile. So I started small.
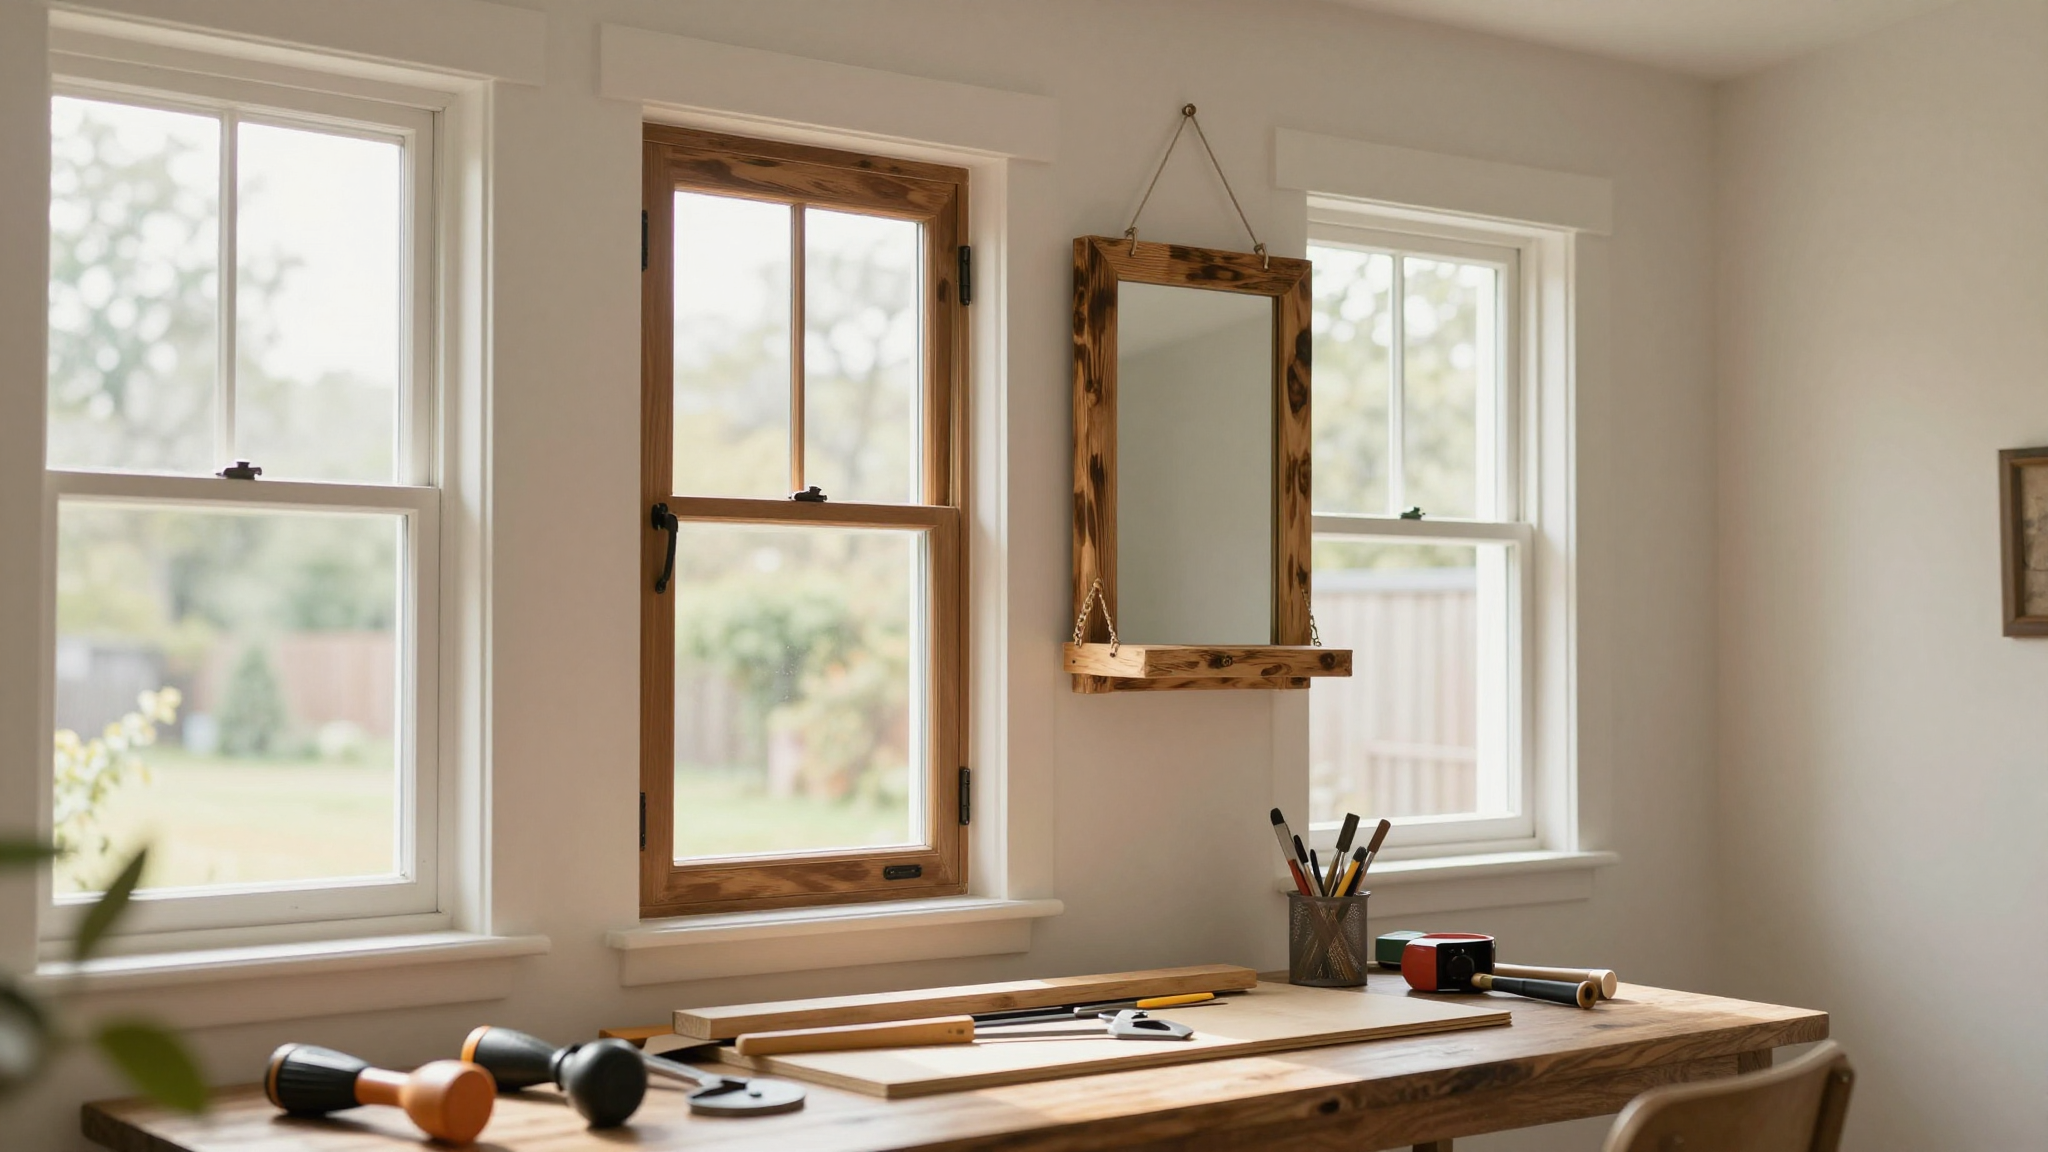
I swapped out the generic mirror above our console for a rustic wooden frame I found at a flea market. (It was missing a corner, but I glued it back on and no one can tell.) Then I added a bench I made from an old door and some hairpin legs,I’ll admit, the legs wobbled at first, but a little wood glue fixed that. Now it’s the perfect spot to drop bags and shoes.
Plants were the final touch. I kept it simple with a few potted ferns and a hanging ivy, but even that made a difference. Now when I walk in the door, I feel like I’m home,not just because it looks nice, but because it feels like me.
Easy Ways to Make Your Entryway Feel Like *You*
You don’t need to overhaul your entire entryway to see a difference. Here are a few of my favorite quick wins:
- Add a rustic wooden shelf,Display family photos, vintage books, or even that weird ceramic frog you can’t bring yourself to throw out. (I have one. His name is Gerald.)
- Create a cozy reading nook,A comfy chair, a floor lamp, and a stack of books can turn a boring corner into a little sanctuary. (Mine has a throw blanket I crocheted,badly,but it’s warm, and that’s what counts.)
- Incorporate natural textures,A jute rug, woven baskets, or even a driftwood sculpture can add warmth and depth. (I once tried to make a driftwood sculpture and ended up with a pile of splinters. Still worth it.)
The goal isn’t perfection. It’s personality. So don’t stress about matching everything. If you love that quirky vintage sign, hang it. If that hand-me-down chair is comfy, keep it. Your entryway should tell your story,not someone else’s.
Rustic Window Treatments That Tell a Story
Windows are more than just a way to let in light,they’re an opportunity to add character to a room. I’ll never forget the first time I hung rustic window treatments in my kitchen. I used linen curtains I sewed myself (they’re not perfect, but they’re mine) and added wooden rods I stained to match the cabinets. Now, every time I look out the window, I smile because I know I made it.
Here’s the thing: window treatments don’t have to be complicated. You don’t need custom drapes or expensive hardware. Sometimes, it’s the simple things that make the biggest difference.
Tips for Rustic Window Treatments That Feel Intentional
If you’re new to window treatments, here’s what I’ve learned:
- Choose materials that fit your home’s vibe,Natural fabrics like linen or cotton, reclaimed wood, or even vintage hardware can add warmth. (I once found a set of old brass pulls at a thrift store for $2. Now they’re on my kitchen cabinets, and I love them.)
- Think about light and privacy,Do you want sheer curtains that let in lots of light, or something heavier for privacy? I went with a mix in my bedroom,sheers for daytime and blackout curtains for nights when I want to sleep in.
- Mix textures for depth,Combine different materials to keep things interesting. In my living room, I paired wooden blinds with a woven valance. It’s not matchy-matchy, but it works.
And if you’re not sure where to start? Try peel-and-stick window film. It’s a great way to test out a look without committing to permanent changes. (I used it in my guest bathroom, and now I’m obsessed.)
DIY Wall Art That Tells Your Story
Wall art is one of the easiest ways to add personality to a room,and one of the most satisfying DIY projects to tackle. I’ll never forget the first time I hung a gallery wall in my living room. I mixed family photos, a few pieces of reclaimed wood art, and even a macramé hanging I made (after three failed attempts). Now, every time I walk by, I see a little piece of our life on display.
The best part? You don’t need to be an artist to make it happen. Here are a few of my favorite ideas:
- Reclaimed wood signs,I once turned an old barn door into a sign that says “Home Sweet Home.” It’s not perfect, but it’s got character. (And yes, I did have to sand out a few nails first.)
- Macramé wall hangings,I tried making one last year and ended up with a tangled mess. But I kept at it, and now I’ve got a few that add texture to my walls. (Pro tip: Watch a YouTube tutorial first.)
- Photo galleries,Mix framed photos with rustic frames, or even clip strings with mini clothespins. It’s a great way to display memories without spending a fortune.
If you’re new to DIY wall art, start small. Pick one piece,a single sign, a small macramé hanging, or even just a few framed photos,and build from there. And don’t worry about making it “perfect.” The best wall art tells a story, and stories don’t have to be flawless.
Mason Jar Magic: Lighting That Feels Like a Hug
There’s something so cozy about mason jar lighting. It reminds me of my grandma’s kitchen, where she’d hang jars filled with wildflowers from the ceiling. Now, I use them to add warmth to my home,and they’re one of the easiest DIY projects to tackle.
I’ll admit, my first attempt was a disaster. I tried to hang a jar from the ceiling with twine, and it ended up swinging wildly every time someone walked by. (Lesson learned: use a stronger hook.) But now? I’ve got mason jar lights in my living room, bedroom, and even the bathroom. They’re simple, but they make a big difference.
How to Make Mason Jar Lights That Actually Stay Put
If you’re ready to try mason jar lighting, here’s what I’ve learned:
- Gather your supplies,You’ll need mason jars (I like the 8-oz. size for lighting), twine or ribbon, fairy lights or small LED candles, and a few decorative touches like pebbles or dried flowers.
- Prioritize safety,Always use LED lights or battery-operated candles. (I learned this the hard way after nearly setting a curtain on fire with a real candle. Never again.) And make sure your jars are securely hung,no wobbly hooks!
- Get creative with display,Hang them from the ceiling, cluster them on a shelf, or use them as a centerpiece. I once made a chandelier-style light by hanging five jars at different lengths. It’s not Pinterest-perfect, but I love it.
And if you’re not sure where to start? Try this simple mason jar lantern tutorial I followed. It’s beginner-friendly, and you’ll have a cozy light in no time.
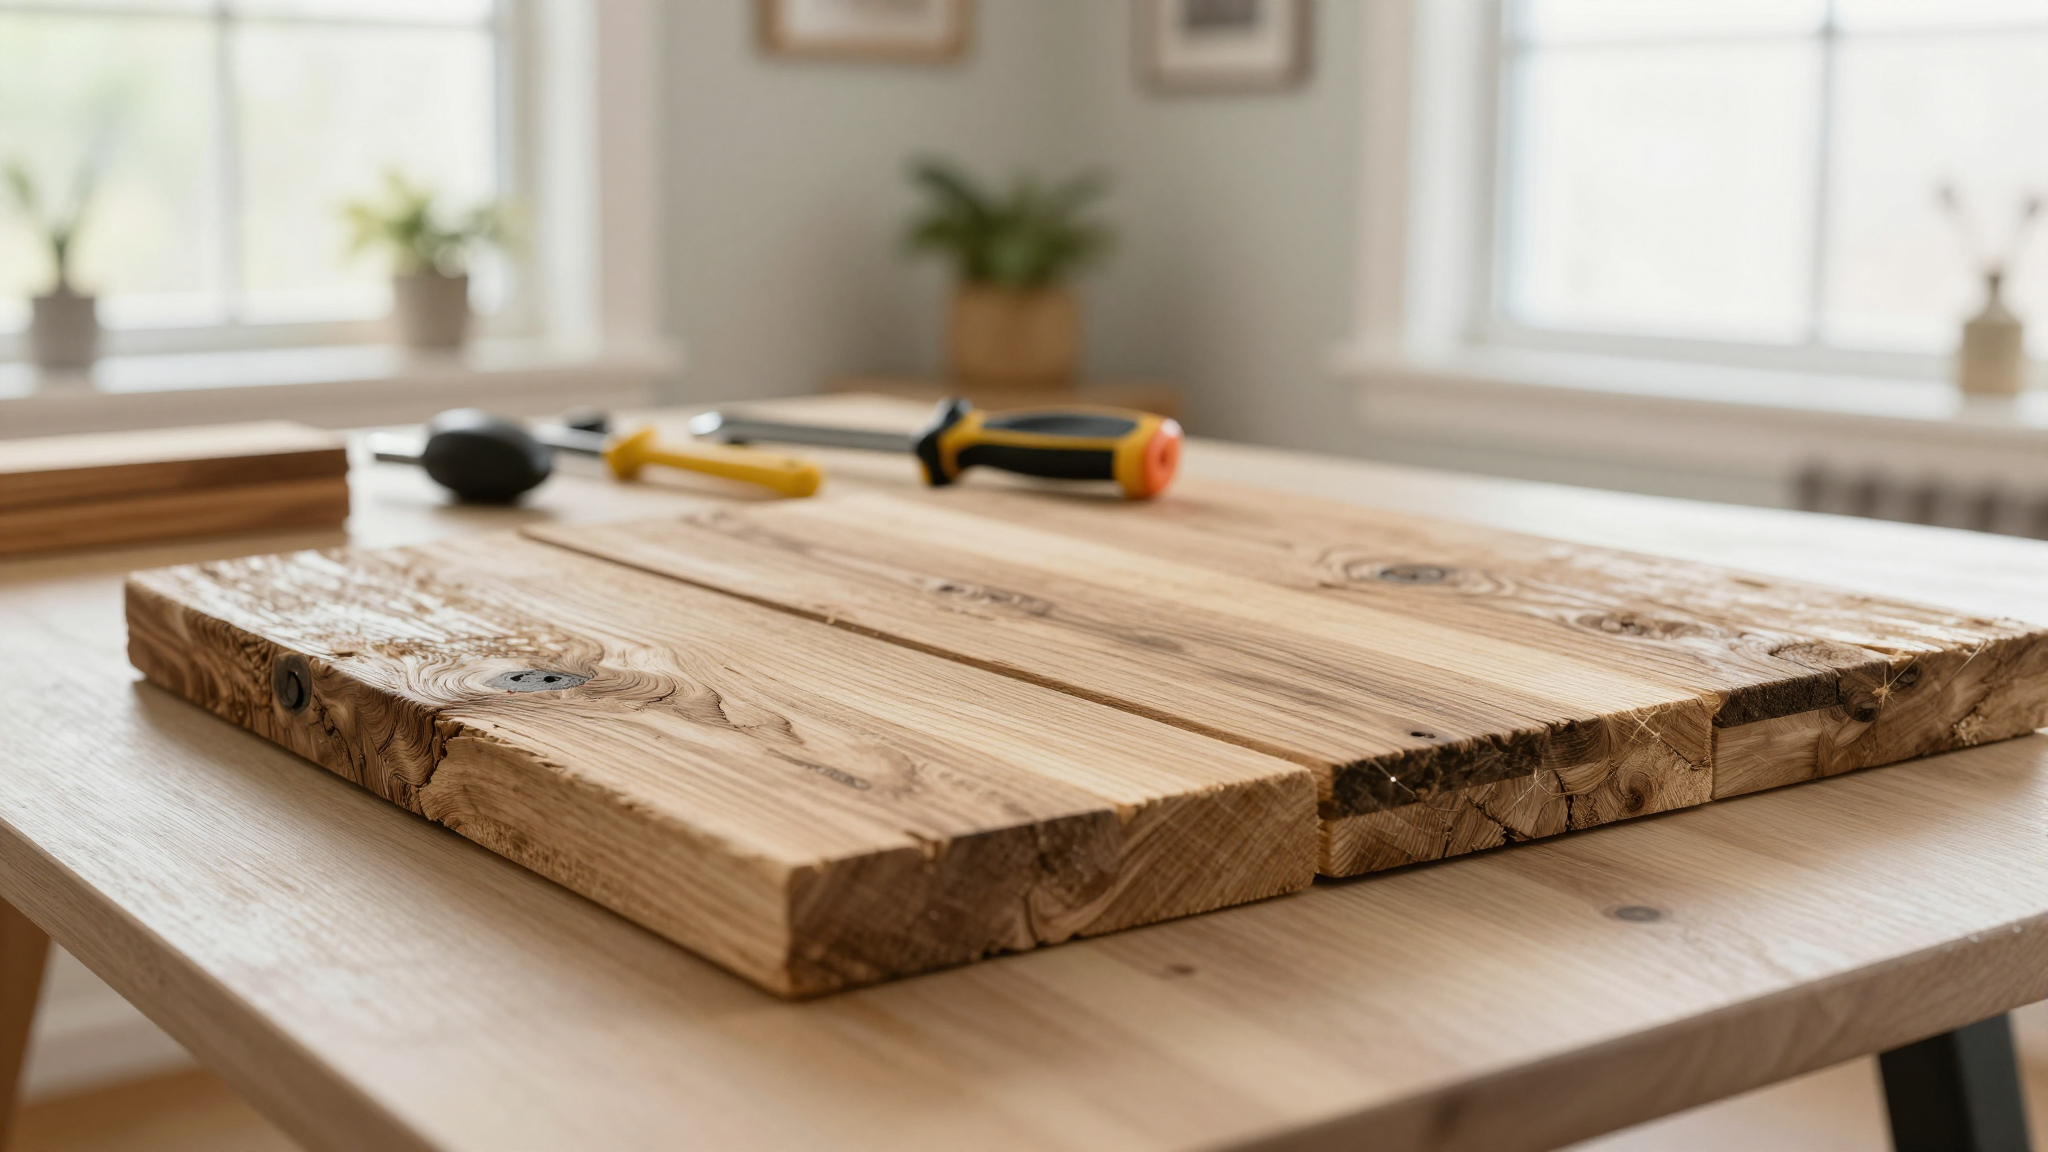
Reclaimed Wood Accents That Add Soul to Your Home
There’s something about reclaimed wood that just feels right. It’s got history, character, and a warmth that new wood can’t match. I’ll never forget the first time I turned an old barn door into a coffee table. It was rough, it had nails sticking out, and it took me a weekend to sand it down. But now? It’s the centerpiece of my living room, and every scratch tells a story.
Here’s the thing: you don’t need to be a woodworker to use reclaimed wood in your home. Here are a few of my favorite ways to incorporate it:
- Build a statement piece,Like my coffee table, or the headboard I made from an old door. (It’s not perfect, but it’s got personality.)
- Add natural elements,Wooden shelves, beams, or even a simple frame can add warmth to a room. I once turned a pallet into a wall shelf, and now it’s filled with my kids’ artwork.
- Use it for small details,Wooden mirror frames, picture ledges, or even a simple sign can make a big difference. I framed a few family photos in reclaimed wood, and now they’re one of my favorite parts of the room.
If you’re new to reclaimed wood, start small. Check out local salvage yards, Facebook Marketplace, or even your own backyard. (I once found a beautiful old fence panel in my neighbor’s trash pile. Now it’s a headboard in my guest room.) And don’t worry about making it “perfect.” The best reclaimed wood projects have a little imperfection,that’s what gives them character.
Vintage-Inspired Details That Make Your Home Feel Like a Story
I love mixing vintage-inspired details into my home. It’s not about making everything look old,it’s about adding pieces that have history, that tell a story. Like the antique brass doorknobs I found at a flea market, or the vintage windows I turned into a headboard for my daughter’s room.
Here’s what I’ve learned: the best vintage-inspired details don’t have to be expensive. They just have to feel meaningful.
Easy Ways to Add Vintage Charm
If you’re new to vintage decor, here are a few of my favorite ideas:
- Start with small accessories,Like a vintage-inspired lamp, a set of old books, or even a thrifted tray. I found a beautiful brass candlestick at a garage sale for $1, and now it’s on my dining table.
- Repurpose old items,Turn a door into a coffee table, or use vintage windows as a headboard. (I did this in my daughter’s room, and now she says it’s her favorite part of her room.)
- Mix different styles,Don’t be afraid to combine eras. I’ve got a mid-century modern chair next to a farmhouse table, and it works because it feels like me.
The key is to have fun with it. Don’t stress about matching everything. If you love it, it belongs in your home,no matter what anyone else says.
Quick Weekend Updates for Instant Impact
One of my favorite ways to refresh my home is with quick weekend projects. They’re small, but they make a big difference,and they’re perfect for when you’ve got a little free time and a lot of creativity.
I like to start my weekends with a small project,something that takes an hour or two, like adding a rustic wooden shelf or hanging string lights. Then, in the afternoon, I tackle something bigger, like repurposing an old piece of furniture or making a reclaimed wood sign.
5 Weekend Projects That Make a Big Difference
Here are a few of my favorite quick updates:
- Update your lighting,Swap out boring lamp shades for something with character, or hang string lights for instant coziness. (I did this in my bedroom, and now it feels like a little retreat.)
- Add a statement piece of wall art,Like a reclaimed wood sign or a gallery wall. I once spent a Saturday framing family photos in thrifted frames, and now it’s one of my favorite parts of the room.
- Repurpose an old piece of furniture,Like the dresser I turned into a TV stand, or the bookshelf I painted a bold color. (It was a disaster at first,I used the wrong paint and had to sand it all down,but now I love it.)
The key is to keep it simple. Don’t overthink it. If you love it, do it. And if it doesn’t work? Well, that’s what paint and sandpaper are for.
Maintaining Your DIY Charm: Keeping It Looking Fresh
One of the best things about DIY projects? They’re not set in stone. You can change them, update them, or even completely redo them if you want. The key is to take care of them so they last.
Here’s what I do to keep my DIY projects looking their best:
- Inspect regularly,Check for wear and tear, and fix small issues before they become big ones. (I once ignored a loose screw on a shelf, and it ended up falling off. Lesson learned.)
- Refresh with seasonal updates,Swap out throw pillows, change up your wall art, or even paint an accent wall a new color. I do this every spring, and it’s amazing how a little change can make everything feel new.
- Don’t be afraid to repurpose,If something isn’t working, change it! I once turned a failed DIY shelf into a plant stand. Now it’s one of my favorite pieces in the house.
The most important thing? Have fun with it. Your home should reflect you,not what a magazine says is “in” this year. So don’t stress about perfection. Stress about happiness.
And if you’re feeling stuck? Try upcycling an old piece of furniture or adding a new plant to a room. Small changes add up,and they’re a great way to keep your home feeling fresh and full of life.
Now, go grab that hammer. Your home is waiting.