
10 Creative DIY Accent Wall Ideas for Every Room (Tested & Approved!)
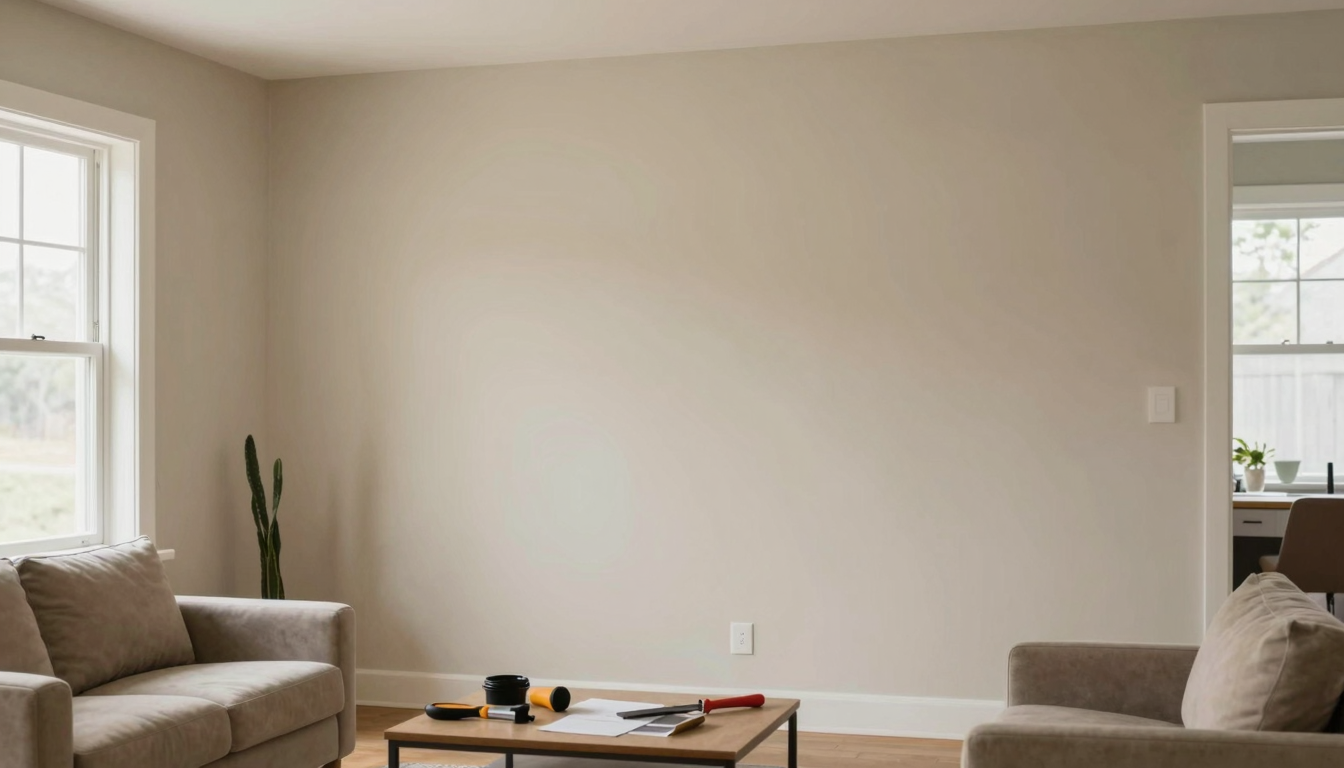
Let me tell you,my living room used to be a sad, beige void. No personality, no charm, just… walls. Then I decided to tackle an accent wall behind our couch, and wow, what a difference. It didn’t cost a fortune, it didn’t take forever, and now? Now it’s the first thing people notice when they walk in. The secret? A little planning, the right materials, and a willingness to get my hands dirty.
I’ve tested all the ideas in this post,some worked beautifully, others (like my first attempt at shiplap) required a little extra sanding and a few choice words. But that’s the fun of DIY, right? You learn as you go. Below, I’m sharing the 10 best accent wall ideas I’ve tried, along with the tools I swear by, the mistakes I made, and how you can avoid them.
Ready to transform a room without breaking the bank? Let’s get started.
Why Accent Walls Work (And How They’ll Change Your Space)
I’ll be honest,before I tried this, I thought accent walls were just for fancy homes or people with interior design degrees. Turns out, they’re one of the easiest ways to add personality to a room. Here’s why they work so well:
They Create a Focal Point (Without the Stress)
Every room needs a star, and an accent wall is like the leading actor. It draws the eye, sets the mood, and ties the whole space together. In my living room, I chose a deep teal paint for the wall behind the couch, and suddenly, the whole room felt cozier. No expensive furniture, no major renovations,just one wall that made everything feel intentional.
Pro tip: If you’re unsure where to place it, think about where your eyes naturally go. In most rooms, that’s the wall opposite the entrance or behind the biggest piece of furniture (like a bed or sofa).
They’re a Psychological Game-Changer
Color and texture have a huge impact on how we feel in a space. A bold accent wall can make a room feel energetic, while a textured one (like wood or stone) adds warmth and depth. In my kids’ playroom, I used peel-and-stick wallpaper with a fun geometric pattern, and it instantly made the space feel more playful and inviting.
Fun fact: I tested this in my bedroom first (with a removable wallpaper sample) and noticed I slept better in that room. Turns out, the right colors really do affect your mood!
They’re Budget-Friendly (Yes, Really!)
Here’s the best part: You don’t need to spend a fortune. My teal living room wall? I used Behr Premium Plus paint (about $40 for the whole project) and a Purdy angled sash brush ($12) to get those crisp edges. No fancy tools, no expensive materials,just smart choices.
If you’re renting or want something temporary, peel-and-stick wallpaper is a game-changer. I used it in my guest bathroom, and when we moved, it came off in one piece with no damage to the walls.
Planning Your DIY Accent Wall (So You Don’t End Up Like Me)
Okay, full disclosure: My first accent wall project was a disaster. I skipped measuring properly, didn’t prep the wall, and ended up with streaky paint and a crooked line. It took me three tries to get it right. Don’t let that happen to you! Here’s how I plan now:
Step 1: Define Your Goals (Before You Buy Anything)
Ask yourself:
- What mood do I want to create? (Cozy? Energetic? Calm?)
- How does this wall fit with the rest of the room?
- Do I want texture, color, or both?
I sketch my ideas first,it’s amazing how much clearer things get when you put pencil to paper. For my bedroom, I drew a simple board-and-batten design and realized it would clash with my furniture. So I switched to a textured wallpaper instead, and it was a much better fit.
Step 2: Measure Like a Pro (Trust Me on This)
I used to eye-ball measurements, and let’s just say… it didn’t end well. Now I use a DeWalt laser measurer ($50, worth every penny) and a level to mark guidelines. It takes 10 extra minutes, but it saves hours of frustration later.
Pro tip: If you’re working around outlets or windows, measure twice and cut once. I learned this the hard way when I had to re-cut a piece of shiplap because I mismeasured the first time.
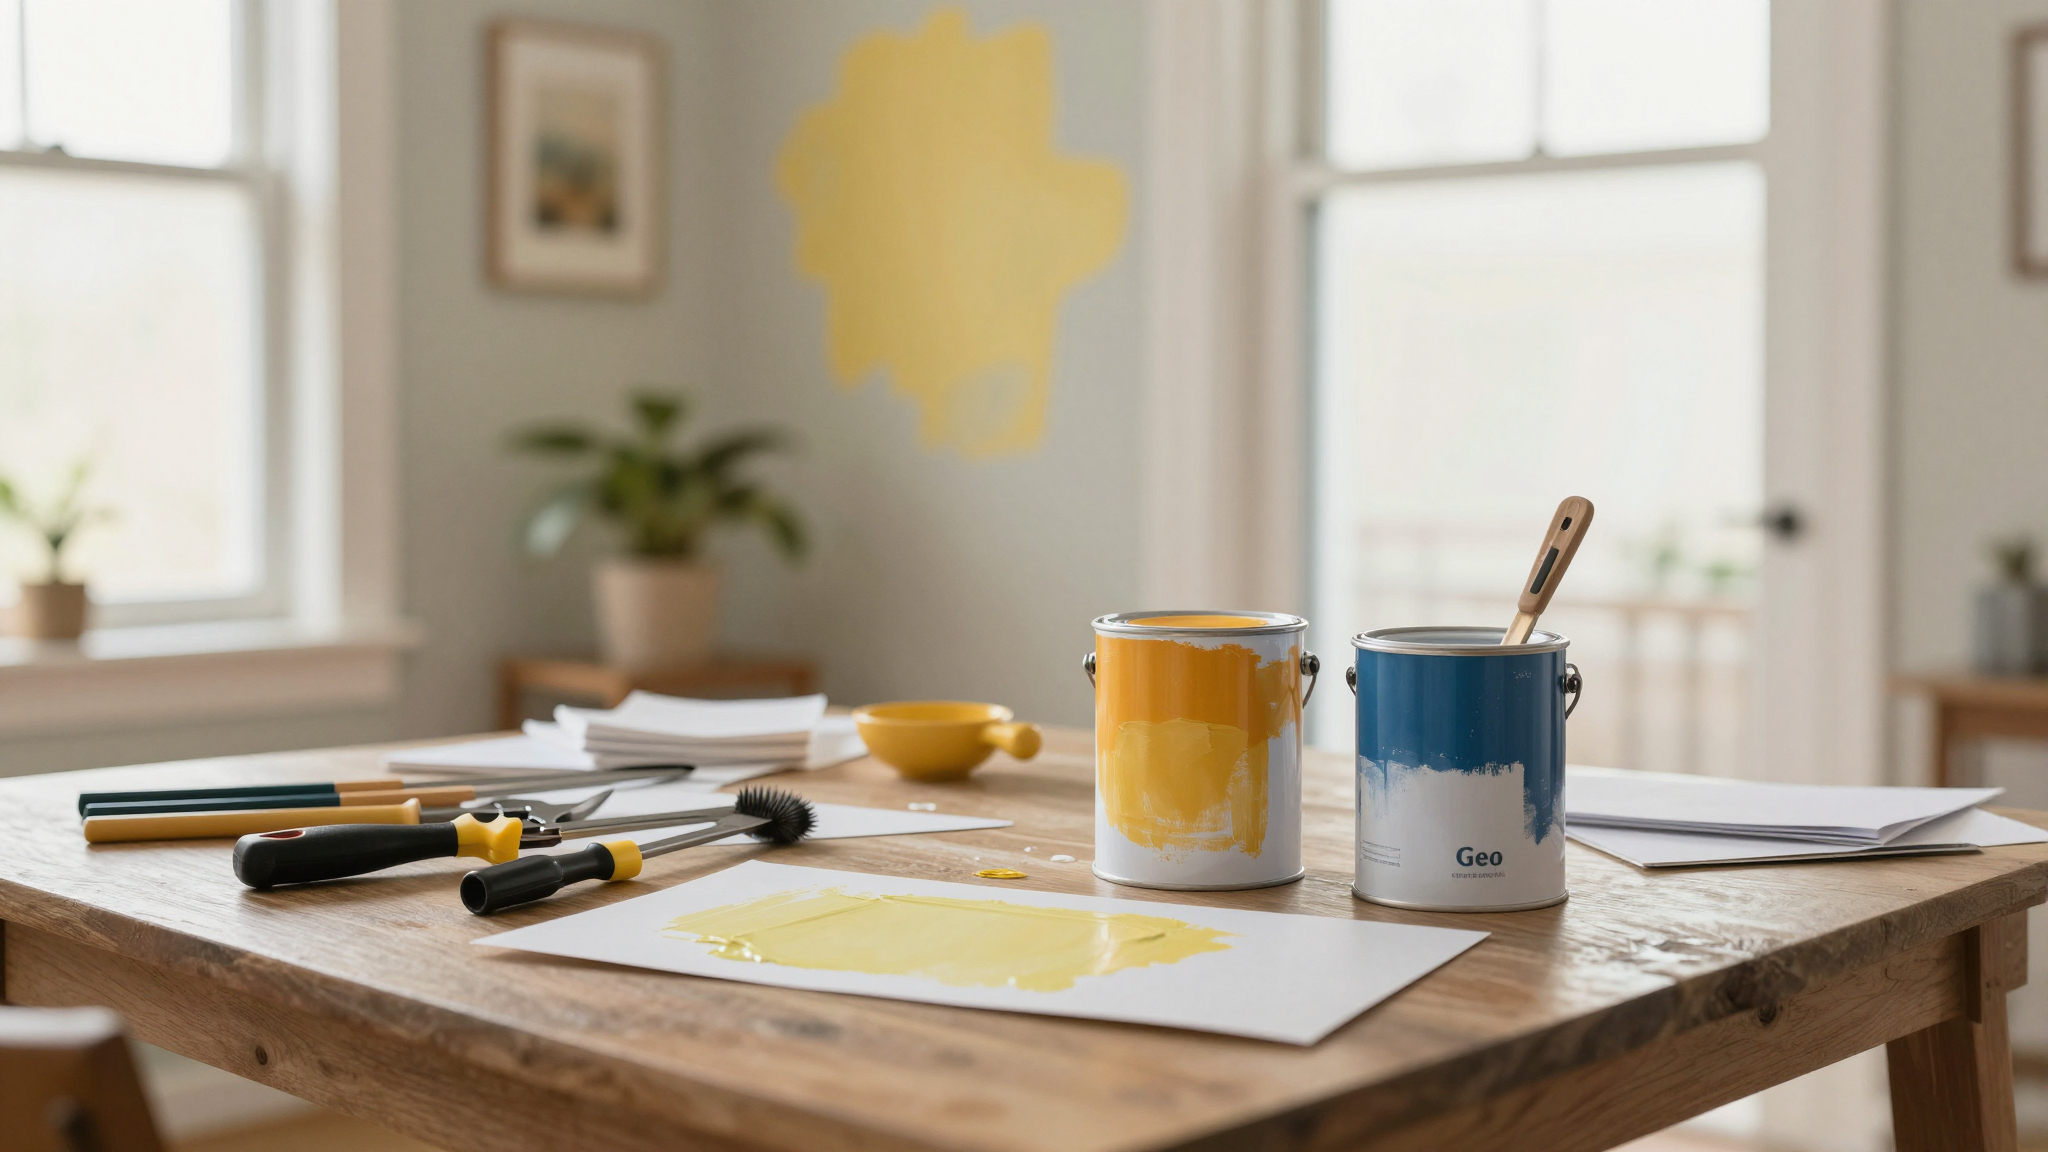
Step 3: Set a Realistic Budget (And Stick to It)
Here’s my rule of thumb: If you’re painting, budget $50–$100 for paint, primer, and tools. For wallpaper or wood, plan for $100–$200 depending on the size of the wall. I once tried to cut corners on paint and ended up with a patchy finish. Lesson learned: Buy quality paint (like Behr or Sherwin-Williams) and don’t skimp on primer.
For tools, here’s what I always have on hand:
- Pin nailer (for trim,no more split wood!)
- Laser level (for straight lines every time)
- Sandpaper (120-grit for smoothing, 220-grit for finishing)
- Painter’s tape (FrogTape is my favorite,it doesn’t peel paint off when you remove it)
If you’re new to DIY, check out my guide to essential tools,it’ll save you time and money!
Choosing Your Materials (Paint vs. Wallpaper vs. Wood)
This is where the fun begins! Here’s what I’ve tried, what I love, and what I’d skip.
Paint: The Easiest (But Not Always the Simplest) Option
Paint is my go-to for most accent walls because it’s flexible, forgiving, and cheap. But here’s the thing: prep is everything. I once skipped sanding a glossy wall and spent an extra hour rolling paint just to get it to stick. Now I always:
- Clean the wall with TSP substitute cleaner (or a mix of dish soap and water).
- Fill holes with spackle and sand smooth.
- Use a high-quality primer (like Kilz) to seal the wall.
For color, I love using Sherwin-Williams Emerald paint,it’s durable and covers well. If you’re going bold, test your color on a small section first. I learned this after painting a deep red wall in my dining room, only to realize it was too dark. (I fixed it by adding a white chair rail,more on that in a sec!)
Wallpaper: Instant Drama (With Minimal Effort)
Wallpaper is my secret weapon for renters or anyone who wants a big impact fast. I used peel-and-stick wallpaper in my guest bathroom, and it took me less than two hours to hang. No glue, no mess, and it came off clean when we moved.
My favorite brands:
- Tempaper (removable, great for renters)
- Anthropologie (for bold patterns)
- Annie Sloan (for classic designs)
Pro tip: If you’re nervous about hanging wallpaper, practice on a large poster board first. I did this with a floral pattern and realized the scale was all wrong for my small bathroom. I swapped it for a smaller-scale design, and it looked perfect.
Wood and Stone: For That High-End Look (Without the Price Tag)
If you want texture, wood or stone veneer is the way to go. I used reclaimed wood panels in my mudroom, and it instantly gave the space a cozy, cabin-like feel. The best part? I found the wood at a local salvage yard for a fraction of the cost of new lumber.
For stone, I used peel-and-stick stone veneer in my kitchen backsplash. It looks like real stone but goes up in minutes. I sealed it with Mod Podge Outdoor to make it durable, and it’s held up great for two years now.
If you’re on a tight budget, check out upcycled wood or plywood cut into strips for a DIY shiplap look.
Paint Techniques That’ll Make Your Wall the Star of the Room
Paint isn’t just for solid colors,it’s your ticket to creativity. Here are my favorite techniques, plus the mistakes I made (so you don’t have to!).
Geometric Shapes: Bold and Easy
I fell in love with geometric accent walls after seeing one in a magazine. My first attempt? A total mess. The lines weren’t straight, and the paint bled. Now I use FrogTape painter’s tape and a steel ruler to keep everything crisp.
Here’s how I do it:
- Sketch your design on paper first (I use graph paper for accuracy).
- Use a pencil to lightly trace the design onto the wall.
- Apply painter’s tape along the lines, then paint inside the shapes.
- Let the paint dry completely before removing the tape (I wait 24 hours to be safe).
For my living room, I did a chevron pattern in navy and white. It took two days (including drying time), but the result was worth it. The key? Patience. Don’t rush the taping or painting, or you’ll end up with crooked lines.
Ombré: Smooth Transitions, Big Impact
I tried an ombré wall in my bedroom,starting with a deep blue at the bottom and fading to a soft gray at the top. The first time, I used a sponge to blend the colors, and it looked streaky. Now I use a high-quality roller and blend wet paint for a seamless transition.
Pro tip: Work from dark to light. Start with the darkest color at the bottom, then gradually add more white as you roll upward. Let each section dry slightly before blending the next.
Color Blocking: Simple but Stunning
If geometric shapes feel too complicated, try color blocking. I did this in my kids’ playroom with two bold colors (turquoise and coral) separated by a white border. It’s super easy,just tape off your sections and paint!
My only advice? Use a small angled brush for cutting in around the tape. A regular brush will leave streaks.
Peel-and-Stick and Shiplap: Budget-Friendly (and Beginner-Friendly!) Options
Not everyone wants to commit to paint or wallpaper. If you’re renting, testing a design, or just want an easy project, these are my top picks.
Peel-and-Stick Wallpaper: My Renter’s Best Friend
I used peel-and-stick wallpaper in my first apartment, and it was a lifesaver. No glue, no mess, and it came off when I moved out. My favorite brands are Tempaper and Anthropologie, but there are tons of affordable options on Amazon.
Here’s how I do it:
- Clean the wall with a mild detergent (like Dawn) and let it dry completely.
- Measure and cut the wallpaper to fit your wall (I use a utility knife for clean cuts).
- Start at the top and use a level to keep the first strip straight.
- Smooth out bubbles with a credit card or squeegee.
- Let it set for 24 hours before touching it.
Mistake I made: I didn’t let the wallpaper set long enough before hanging artwork. Some of the strips shifted when I hammered in nails. Now I wait a full day before adding anything to the wall.
Shiplap: The Easiest Way to Add Texture
Shiplap is one of those trends that never goes out of style. I installed it in my dining room, and it instantly gave the space a cozy, farmhouse feel. The best part? It’s so easy to DIY.
Here’s what I used:
- Plywood (cut into 6-inch strips,cheaper than pre-made shiplap!)
- Construction adhesive (like Liquid Nails)
- Finishing nails (and a pin nailer for a clean look)
- Paint or stain (I used Behr Premium Plus in a whitewash finish)
If you want the real deal, pre-made shiplap panels (like those from Home Depot) are easy to install. I used those in my guest bathroom, and they went up in a weekend.
Pro tip: If you’re painting shiplap, sand it lightly between coats for a smooth finish. I skipped this step once and ended up with a rough texture.
Step-by-Step Guide to a Flawless DIY Accent Wall
Ready to dive in? Here’s exactly how I do it, from prep to finish.
Tools You’ll Need
Before you start, gather:
- A laser level (or a regular level and pencil)
- Sandpaper (120-grit and 220-grit)
- Spackle and a putty knife (for patching holes)
- Painter’s tape (FrogTape is my favorite)
- High-quality paint and primer (Sherwin-Williams or Behr)
- Angled sash brush (for cutting in)
- Roller and tray (for smooth application)
If you’re new to DIY, check out my guide to essential tools,it’ll save you time and frustration!
Step 1: Prep the Wall (This Is Non-Negotiable!)
I cannot stress this enough: prep is everything. I once skipped sanding a glossy wall, and the paint peeled after a month. Now I always:
- Clean the wall with TSP substitute (or a mix of dish soap and water).
- Fill holes with spackle, let it dry, then sand smooth.
- Wipe away dust with a damp cloth.
- Apply a high-quality primer (like Kilz) to seal the wall.
Step 2: Mark Your Guidelines
Use a level to mark where your accent wall will start and stop. If you’re doing a design (like geometric shapes), sketch it lightly with a pencil first. I use a laser level to keep everything straight,it’s a game-changer!
Step 3: Tape and Paint (or Hang Your Material)
If you’re painting:
- Apply painter’s tape to your guidelines.
- Cut in around the edges with an angled brush.
- Roll paint in a “W” pattern, then fill it in for even coverage.
- Let the first coat dry, then lightly sand with 220-grit sandpaper for a smooth finish.
- Apply a second coat if needed.
- Remove the tape slowly (I peel it at a 45-degree angle to avoid pulling paint off).
If you’re using wallpaper or shiplap, follow the manufacturer’s instructions (but trust me, tape measure and level are your best friends!).
Step 4: Add the Finishing Touches
Once your wall is dry, add trim or molding for a polished look. I used crown molding in my dining room to frame the shiplap, and it made the whole wall look more intentional.
Pro tip: If you’re painting trim, use a small angled brush and thin the paint slightly with water for a smooth finish.
Board and Batten: The Classic Look That Never Goes Out of Style
Board and batten is one of my favorite accent wall styles because it adds texture and dimension without being overwhelming. I used it in my hallway, and it instantly gave the space a cozy, farmhouse feel.
How to Install Board and Batten (Even If You’re a Beginner)
Here’s how I did it:
- Measure your wall and mark where you want the vertical boards.
- Cut 1×4 or 1×6 pine boards to your desired height (I used 1x4s for a narrower look).
- Apply construction adhesive to the back of the boards, then nail them into place with a pin nailer (this gives a clean, professional look).
- Add battens (thin vertical strips) over the seams between boards. I used 1×2 strips for a classic look.
- Paint or stain the boards to match your decor.
Mistake I made: I didn’t pre-stain the boards before installing them. When I got to the top, I realized the stain wasn’t consistent. Now I stain or paint the boards before nailing them up.
Pro tip: If you want a modern look, space the battens farther apart. For a traditional feel, keep them close together.
Small Spaces? No Problem! Accent Walls That Make Rooms Feel Bigger
I have a tiny bathroom in my house, and I was convinced there was nothing I could do to make it feel bigger. Then I tried a few accent wall tricks, and wow,what a difference!
Light Colors and Vertical Lines = Instant Space
In my bathroom, I used a peel-and-stick wallpaper with vertical stripes in a soft gray. It made the room feel taller and more open. The key? Avoid dark colors and busy patterns,they’ll make the space feel smaller.
Other tricks that work:
- Use a mirror to reflect light (I added a large mirror above the vanity).
- Keep furniture minimal (I swapped a bulky cabinet for floating shelves).
- Add recessed lighting or a bright fixture to open up the space.
Corners and Nooks: Turn Awkward Spaces into Focal Points
I have a weird little nook in my kitchen that I never knew what to do with. Then I added a small accent wall with shiplap, and it became my favorite spot in the house! Here’s how I did it:
- Measured the space and cut shiplap panels to fit.
- Used construction adhesive to attach them to the wall.
- Painted the shiplap white to match my cabinets.
- Added a floating shelf with plants and decor.
Now that nook feels intentional and cozy. The lesson? Even awkward spaces can be transformed with a little creativity!
Accent Walls for Every Room (With Real-Life Examples)
Every room in my house has an accent wall now, and each one serves a different purpose. Here’s how I tailored them to fit the space:
Living Room: Bold Colors for a Cozy Vibe
I went with a deep teal paint behind our couch. It’s bold but not overwhelming, and it pairs perfectly with our neutral furniture. The best part? It’s easy to update if I get tired of the color (though I don’t see that happening anytime soon!).
Bedroom: Wood Panels for Warmth
In my bedroom, I used reclaimed wood panels on one wall. They add texture and warmth, and they’re a great alternative to paint if you want something more permanent. I sealed them with polyurethane to protect them from scratches.
Kids’ Room: Fun Patterns for Playfulness
For my kids’ playroom, I went with a peel-and-stick wallpaper with a geometric pattern. It’s bright, fun, and easy to clean (which is a must with kids!). I also added a chalkboard paint section so they can draw on the wall.
Hallway: Vertical Stripes for Height
Our hallway is narrow, so I used vertical stripes to make it feel taller. I painted the stripes in a soft gray and white, and it instantly opened up the space. The best part? It was super easy to do with painter’s tape!
Final Tips (From My Experience)
Before you start your project, here’s what I wish I’d known:
- Test your colors first. I painted a small section of my living room wall with the teal color I loved… only to realize it was too dark. I had to repaint with a lighter shade. Always test!
- Invest in good tools. A laser level and high-quality paintbrush make a huge difference. Don’t skimp here!
- Take your time. Rushing leads to mistakes. I learned this the hard way when I tried to install shiplap in one afternoon and ended up with crooked panels.
- Embrace imperfections. DIY isn’t about perfection,it’s about personality. My first accent wall had a few bumps, but now I love those little quirks.
Now it’s your turn! Which of these ideas are you trying first? If you’ve already tackled an accent wall, I’d love to hear about it in the comments. And if you’re new to DIY, check out my 5 easy DIY projects for beginners,you’ve got this!
Frequently Asked Questions
How does an accent wall transform a space?
An accent wall adds depth, color, and personality to a room. It draws the eye, sets the mood, and can make a space feel cozier, more energetic, or even larger (depending on the design). In my living room, a simple teal wall made the whole space feel more put-together.
What materials can I use for an accent wall?
You can use paint, wallpaper (peel-and-stick or traditional), wood (like shiplap or reclaimed panels), stone veneer, or even fabric. Each material brings a different texture and style,it just depends on the look you’re going for!
How do I choose the best color for my accent wall?
Consider the room’s lighting and the colors already in the space. If you want a bold statement, go for a deep hue (like navy or emerald). For a subtle touch, try a soft gray or beige. I always test colors on a small section first,it saves me from buyer’s remorse!
Can I create an accent wall in a small space?
Absolutely! In small spaces, I recommend light colors, vertical lines, or mirrors to create the illusion of more space. I used peel-and-stick wallpaper with vertical stripes in my tiny bathroom, and it made the room feel taller and brighter.
What’s the easiest way to create an accent wall?
Peel-and-stick wallpaper or shiplap are the easiest options. They’re forgiving, require minimal tools, and can be removed if you change your mind. I used peel-and-stick in my guest bathroom, and it took me less than two hours!
How can I add texture to my accent wall?
Wood panels, stone veneer, or board and batten are great for adding texture. I used reclaimed wood in my mudroom, and it gave the space a cozy, cabin-like feel. For a budget-friendly option, try plywood cut into strips for a DIY shiplap look.
Is it possible to have an accent wall in a rented house?
Yes! Peel-and-stick wallpaper, removable shiplap panels, or even a painted wall (if your landlord approves) are all great options. I used peel-and-stick in my first apartment, and it came off clean when I moved out.
What tools do I need for a DIY accent wall project?
Essential tools include a laser level, sandpaper, spackle, painter’s tape, a high-quality paintbrush, and a roller. If you’re working with wood, a pin nailer is a game-changer for clean, professional results.
How do I make the accent wall the focal point of the room?
Place it behind your biggest piece of furniture (like a bed or sofa) and add lighting to draw attention to it. Bold colors or patterns also help! In my living room, I put the accent wall behind the couch and added a picture ledge with framed photos to highlight it.
Can I have accent walls in multiple rooms?
Of course! Each room can have its own unique accent wall. For example, I used a bold color in the living room, wood panels in the bedroom, and a fun pattern in the kids’ playroom. It’s all about tailoring the design to fit the space!