
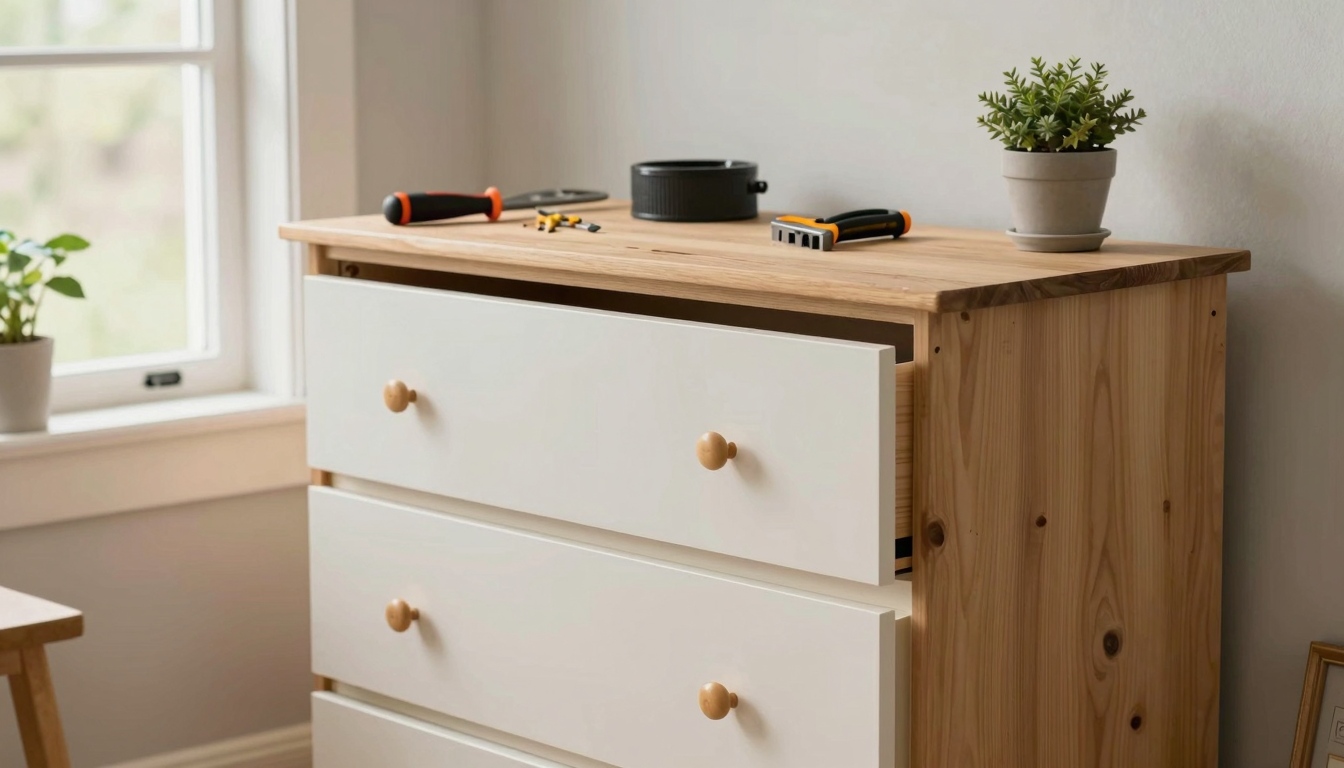
Upcycling Furniture: How I Turned My Grandma’s Hand-Me-Downs Into Stunning Pieces (Without Breaking the Bank)
Let me tell you,there’s nothing quite like the satisfaction of taking a wobbly, outdated dresser and turning it into something that actually matches your home (and doesn’t make you cringe when guests walk in). I’ve been upcycling furniture for years now, and I’ve learned the hard way what works, what doesn’t, and how to avoid the mistakes that’ll make you want to toss the whole project out the window.
If you’re here, you probably already know the basics: upcycling saves money, reduces waste, and lets you create one-of-a-kind pieces that no big-box store could ever replicate. But here’s the thing,it’s not just about slapping some paint on something and calling it a day. If you want a professional-looking finish, you’ve got to do it right. And that’s what I’m here to help you with.
I’ve refinished everything from my kids’ hand-me-down dressers to a thrifted coffee table that now anchors my living room. Some projects have been smooth sailing, while others (looking at you, that farmhouse table I stripped down to bare wood only to realize it was particleboard) have taught me patience. But no matter what, the end result is always worth it.
Why Upcycling Furniture Is a Game-Changer (For Your Wallet and the Planet)
I’ll be honest,when I first started upcycling, I was mostly in it for the savings. College textbooks and diapers don’t pay for themselves, you know? But the more I did it, the more I realized how much of an impact it was having beyond just my bank account.
Here’s the breakdown:
- It’s eco-friendly. The furniture industry is a huge contributor to waste. By giving old pieces a second life, you’re keeping them out of landfills and reducing the demand for new materials. (And let’s be real,cutting down on waste feels pretty good.)
- It saves you money. I’ve refinished more dressers, tables, and chairs than I can count, and the only real cost has been paint, sandpaper, and a few new hardware pieces. Thrift stores, Facebook Marketplace, and even curbside finds have been my best friends.
- It’s custom. You can’t walk into a store and find a piece that’s exactly what you want,unless you’re willing to pay an arm and a leg for it. Upcycling lets you create something that fits your style, your space, and your needs.
- It’s a creative outlet. Some days, upcycling feels like therapy. There’s something so satisfying about taking something old and making it new again,especially when it turns out better than you expected.
And here’s a little secret: Upcycling doesn’t just have to be about furniture. I’ve also used these same principles to refresh fireplaces, stairs, and even wainscoting. The skills transfer, and once you get the hang of it, you’ll start seeing opportunities everywhere.
Tools and Materials You Actually Need (No Fluff, Just the Essentials)
Before you start, let’s talk tools. I’ve seen a lot of lists out there that make upcycling sound like it requires a full-blown workshop. But here’s the truth: You don’t need a lot to get started. You just need the right stuff.
Here’s what I keep in my DIY toolkit:
- Sanding supplies. I swear by my Home Depot 80-grit and 220-grit sandpaper for stripping down surfaces, and a random-orbit sander for bigger projects. (Pro tip: If you’re working on a small piece, like a chair, stick to hand-sanding. That sander can be aggressive if you’re not careful.)
- Paint and primer. For wood, I love Behr Premium paint,it’s affordable, covers well, and dries fast. If you’re working with metal, grab some Rust-Oleum spray paint. And always prime first. I learned that the hard way when I painted a dresser without priming and ended up with streaky, uneven coverage.
- Basic hardware. New knobs, pulls, and hinges can completely transform a piece. I keep a stash of Anthropologie-style knobs (yes, they’re pricey, but I find them on sale or at thrift stores) and basic brass pulls for a more budget-friendly option.
- Safety gear. Gloves, goggles, and a mask are non-negotiable. I made the mistake of skipping the mask once and spent the next day coughing up dust. Not worth it.
- A well-ventilated workspace. This is where I get real with you: My garage is my upcycling hub, and I’ve got a big fan blowing directly at me when I’m painting. If you don’t have a garage, set up near an open window or door. Fumes are no joke.
Oh, and one more thing,don’t overcomplicate it. I’ve seen tutorials that recommend 10 different types of sandpaper, specialty brushes, and who knows what else. But the truth? You can do a lot with just sandpaper, paint, a brush, and a little elbow grease.
Setting Up Your Workspace (So You Don’t End Up Like Me,Covered in Dust and Regret)
Let me set the scene: It’s a Saturday morning, and I’m in the middle of refinishing a thrifted bookshelf. I’ve got the radio on, a cup of coffee within reach, and I’m feeling good. Then I realize I didn’t cover the floor. Thirty minutes later, I’m on my hands and knees vacuuming sawdust out of the carpet. Lesson learned.
Here’s how I set up my workspace now:
- Cover everything. I use a cheap plastic drop cloth from Home Depot to protect the floor, and I lay down a second layer of cardboard if I’m doing anything messy, like stripping paint. Trust me, your future self will thank you.
- Lighting is key. I’ve got a bright LED work light clamped to my sawhorses so I can see every scratch and imperfection. Natural light is great, but if you’re working in a garage or basement, you’ll need extra help.
- Keep your tools organized. I keep a toolbox nearby with my sandpaper, paintbrushes, and hardware. Nothing’s worse than being in the middle of a project and realizing you left your screwdriver in the kitchen.
- Ventilation, ventilation, ventilation. I can’t stress this enough. I’ve got a fan blowing directly at me when I’m painting, and I crack the garage door if it’s not too cold. Fumes from paint and stripper can be nasty, and I’d rather not risk my lungs (or my family’s health).
And here’s a pro tip: If you’re working on a big project, like a coffee table, set up a temporary workspace in your driveway or garage. That way, you’re not tracking sawdust and paint drips through the house.
How to Assess Furniture (So You Don’t Waste Time on a Lost Cause)
Not every piece of furniture is worth upcycling. I’ve learned that the hard way,like the time I spent hours sanding a dresser down, only to realize the wood was so warped it would never sit flat. So before you dive in, you’ve got to assess whether the piece is even worth saving.
Here’s what I look for:
- Structural integrity. Wobbly legs, loose joints, or a sagging frame? Those might be dealbreakers unless you’re up for some serious repairs. I once fixed a chair by reinforcing the legs with wood glue and clamps, but that’s not always an option.
- Material. Solid wood is ideal because it sands and paints well. Particleboard or MDF? Those can be trickier, especially if they’re water-damaged. (I’ve had to throw out more than one piece because the edges were crumbling.)
- Surface condition. Deep scratches, water rings, or stains can be fixed, but if the wood is so damaged it’s splintering, it might not be worth the effort.
- Aesthetic potential. Ask yourself: Does this piece have a shape or design that I actually like? If it’s just a generic box with no character, it might not be the best candidate for upcycling.
If you’re unsure, do a quick search online. I’ve saved myself a lot of time by looking up the furniture’s style or era before committing. For example, I once found a mid-century modern dresser at a thrift store, and a little research told me it was actually a solid find,once I refinished it, it became a standout piece in my bedroom.
The Sanding and Surface Prep Guide (Or, How to Avoid a Bumpy, Streaky Mess)
Sanding is the most tedious part of upcycling, but it’s also the most important. Skip this step, and your paint job will look amateur at best. I’ve learned this the hard way,like the time I rushed through sanding a nightstand and ended up with a finish that looked like it had been rolled in sandpaper.
Here’s how I do it right:
- Start coarse, finish fine. I begin with 80-grit sandpaper to strip away the old finish, then move to 120-grit to smooth it out, and finally 220-grit for a silky-smooth surface. If you’re working with a delicate wood, like pine, be extra gentle,you don’t want to gouge it.
- Sand with the grain. This is crucial. Sanding against the grain will leave your surface looking rough and uneven. I had to redo an entire tabletop once because I didn’t pay attention to the grain direction.
- Clean thoroughly. Before you paint, wipe down the surface with a tack cloth or a damp rag to remove dust. I’ve had paint jobs fail because I skipped this step,dust will ruin your finish every time.
- Fill gaps and holes. If there are any dents, cracks, or holes, use wood filler and let it dry completely before sanding it smooth. I keep a tube of Minwax Wood Filler in my toolkit for just this reason.
- Prime if needed. If you’re painting over a dark or stained surface, a coat of primer will save you from using three coats of paint. I like Kilz Original for tough jobs.
And here’s a time-saver: If you’re sanding a large surface, like a tabletop, use an electric sander for the bulk of the work, then switch to hand-sanding for the edges and details. Just be careful not to press too hard,you don’t want to create dips in the wood.
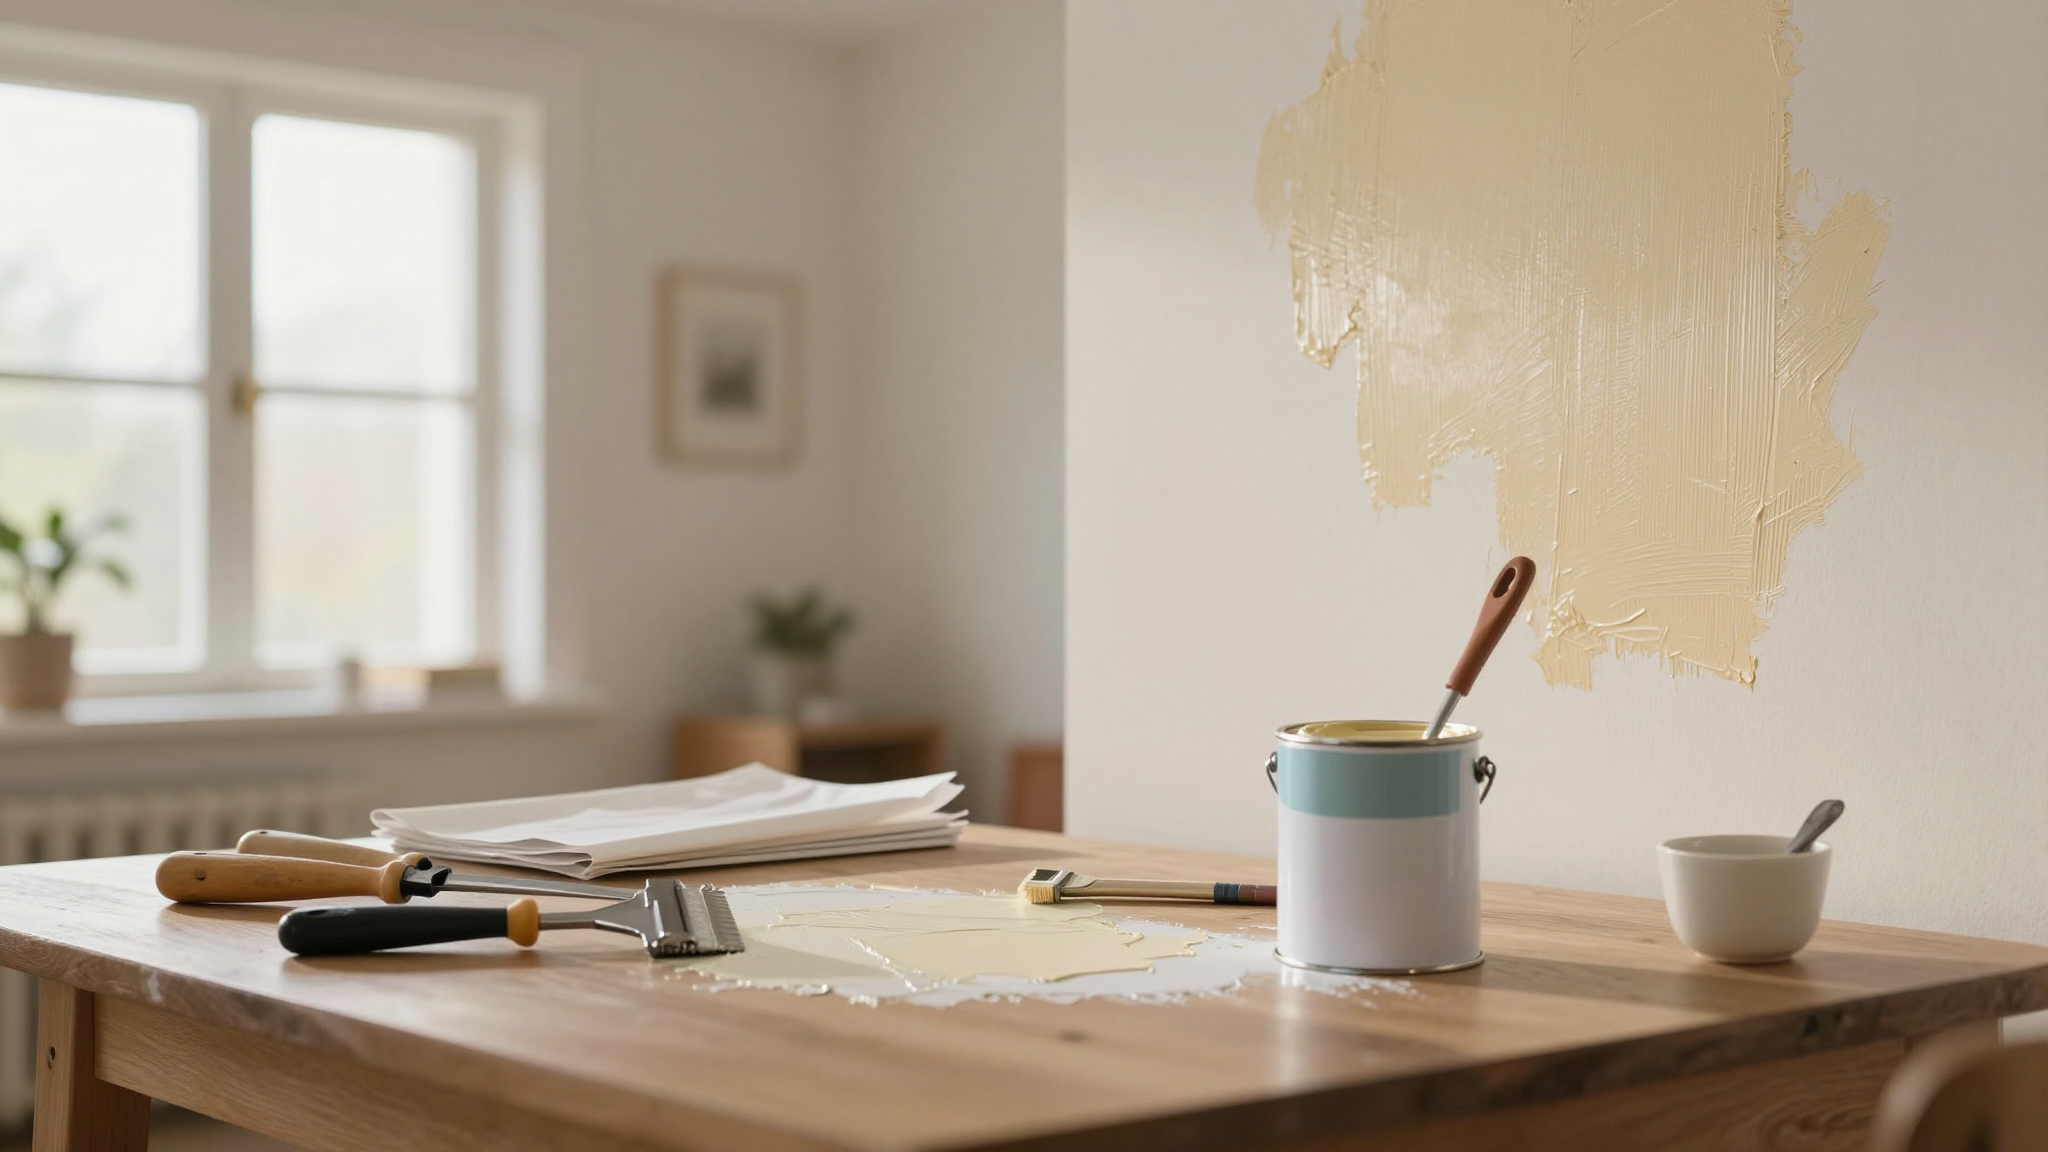
Painting Like a Pro (No Brush Strokes or Drips Allowed)
Painting is where a lot of people go wrong. They slap on a coat of paint and expect it to look flawless,spoiler: It won’t. But if you take your time and follow a few key steps, you can achieve a finish that looks like it came from a high-end furniture store.
Here’s my process:
- Use the right paint. For wood, I stick with Behr Premium or Sherwin-Williams Emerald,both dry hard and look gorgeous. If you’re painting metal, grab some Rust-Oleum spray paint. And always use a high-quality brush. I swear by Purdy brushes,they hold their shape and don’t shed bristles.
- Thin coats win. It’s tempting to slather on the paint to save time, but thin, even coats dry faster and look smoother. I usually do two coats, letting each one dry completely before adding the next.
- Let it dry. This is where patience comes in. I’ve ruined more than one project by rushing the drying process. If the paint is still tacky, it’ll stick to everything,including your clothes, your hands, and the next layer of paint.
- Seal it. Once your paint is dry, apply a clear topcoat to protect it. I like Minwax Polycrylic for a durable, water-resistant finish. If you want something with a little more shine, go for a satin or gloss finish.
And here’s a trick I learned from my dad: If you’re painting a piece with intricate details, like a carved headboard, use a small foam brush or even a makeup sponge to get into all the nooks and crannies. It’ll save you a ton of time and frustration.
Adding Those Little Touches That Make Your Furniture Stand Out
This is where the fun starts. Once your piece is painted and sealed, it’s time to add the finishing touches that make it yours. Here are a few of my favorite ways to elevate a project:
- Hardware upgrades. Swapping out old knobs and pulls can completely transform a piece. I love mixing metals,brass with black, or matte black with gold,for a custom look. Check out Anthropologie or Etsy for unique options.
- Stenciling or hand-painting. I once stenciled a floral pattern onto a dresser, and it turned out so much cuter than I expected. If you’re not confident in your freehand skills, grab a stencil kit from Michaels.
- Distressing. If you love that shabby-chic look, lightly sand the edges of your piece after painting to give it a worn, vintage feel. I’ve done this on a few bedroom projects, and it adds so much character.
- Decorative moldings. Adding trim or molding can give a piece a custom, high-end look. I’ve used Home Depot’s pre-primed moldings to dress up everything from bookshelves to headboards.
And don’t forget about protection! If your piece will see a lot of use,like a coffee table or a kitchen chair,consider adding a protective topcoat. I like Minwax Fast-Drying Polyurethane for durability.
Oh, and here’s a fun idea: If you’re feeling extra creative, try peel-and-stick wallpaper on the inside of drawers or cabinet doors. It’s an easy way to add a pop of color or pattern without a ton of effort.
Mistakes I’ve Made (So You Don’t Have To)
Let’s be real,upcycling isn’t always smooth sailing. I’ve made my fair share of mistakes, and I’m here to spare you the headache. Here are the biggest ones,and how to avoid them:
- Skipping the sanding. I once painted a dresser without sanding it first, thinking the paint would cover everything. Spoiler: It didn’t. The old finish showed through, and the paint chipped after just a few months. Always sand.
- Using the wrong paint. I learned the hard way that not all paint is created equal. Cheap paint can look streaky and chip easily. Stick with a high-quality brand, and don’t skimp on primer.
- Rushing the drying time. I’ve had to redo more than one project because I didn’t let the paint dry long enough before adding another coat. Follow the instructions on the can,it’s there for a reason!
- Ignoring the hardware. I once spent hours refinishing a dresser, only to realize the old knobs were still on it. New hardware makes a huge difference, so don’t skip this step!
- Not protecting the workspace. As I mentioned earlier, I’ve vacuumed sawdust out of my carpet more times than I’d like to admit. Always cover your surfaces!
And here’s a bonus tip: If you’re unsure about a step, look it up. I’ve saved myself a lot of time and frustration by watching a quick YouTube tutorial or reading a blog post before diving in.
Keeping Your Upcycled Furniture Looking Fresh (Because No One Wants a Sad, Worn-Out Piece)
Once your piece is done, the work isn’t quite over. To keep it looking its best, you’ve got to maintain it. Here’s how I do it:
- Dust regularly. I use a microfiber cloth to dust my furniture at least once a week. Dust buildup can dull the finish over time, so don’t skip this step!
- Clean gently. For wood, I use a damp cloth with a little Method All-Purpose Cleaner. Avoid harsh chemicals,they can strip the finish.
- Touch up as needed. If a corner gets scratched or a knob loosens, fix it right away. I keep a small tube of touch-up paint in my toolkit for just this reason.
- Reapply the topcoat every few years. Depending on how much wear and tear your piece gets, you might need to refresh the protective topcoat. A little Minwax Polycrylic can make it look brand new again.
And here’s a little secret: If you’re not sure how to clean a specific finish, do a test in an inconspicuous spot first. I once ruined a vintage table by using lemon oil on a piece that already had a polyurethane finish. (Turns out, lemon oil can strip some finishes,who knew?)
FAQs (Because I Know You’ve Got Questions)
What are the biggest benefits of upcycling furniture?
Honestly? It’s the combination of saving money, reducing waste, and creating something that’s uniquely yours. I’ve refinished so many pieces that I’ve lost count, and every single one has either saved me hundreds of dollars or given my home a personal touch that no store-bought furniture could ever match. Plus, there’s something really satisfying about giving an old piece a second life.
What tools and materials do I need to get started?
You don’t need a full workshop to upcycle furniture. Start with the basics: sandpaper (80-grit and 220-grit), a good paintbrush, primer, paint, and some safety gear. If you’re working with wood, a random-orbit sander can save you a ton of time. And if you’re on a budget, thrift stores and Facebook Marketplace are great places to find affordable furniture to upcycle.
How do I set up my workspace for upcycling?
First, cover your surfaces with a drop cloth or cardboard. Make sure you’ve got good lighting,natural light is best, but a bright work light helps if you’re in a garage or basement. Ventilation is a must, so crack a window or set up a fan. And always wear gloves, goggles, and a mask when sanding or painting.
How do I know if a piece of furniture is worth upcycling?
Ask yourself: Is the structure solid? Is the wood (or material) in decent condition? Does the shape or design actually appeal to me? If the answer is yes, it’s probably worth the effort. If it’s wobbly, water-damaged, or just plain ugly, it might be better to donate it or repurpose it for parts.
What’s the best way to sand and prep a surface for painting?
Start with a coarse-grit sandpaper (like 80-grit) to strip away the old finish, then move to a finer grit (like 220) for a smooth surface. Sand with the grain, not against it, and clean off all the dust before painting. If there are gaps or holes, fill them with wood filler and let it dry completely before sanding it smooth. And always prime before painting,it’ll save you from using extra coats of paint.
What are some pro painting techniques for upcycled furniture?
Use a high-quality paint and brush, apply thin coats, and let each coat dry completely before adding the next. If you’re painting a dark color over a light surface (or vice versa), you might need to use a tinted primer. And don’t forget to seal your work with a clear topcoat,it’ll protect the paint and make it last longer.
How can I add unique decorative elements to my upcycled furniture?
Get creative! Swap out old hardware for something new, stencil a pattern, or add molding for a custom look. I’ve also used peel-and-stick wallpaper on the inside of drawers or cabinet doors for a fun pop of color. Distressing the edges can give a piece a vintage feel, and adding a protective topcoat will keep it looking great for years.
What are the most common upcycling mistakes, and how can I avoid them?
Skipping the sanding, using cheap paint, rushing the drying time, ignoring the hardware, and not protecting your workspace are all big no-nos. Take your time, use quality materials, and don’t be afraid to ask for help if you’re stuck. And if you’re unsure about a step, look it up,I’ve saved myself a lot of headaches by doing a quick search before diving in.
How do I keep my upcycled furniture looking its best?
Dust regularly, clean gently, and touch up any scratches or chips as soon as you notice them. If your piece gets a lot of wear and tear, consider reapplying the protective topcoat every few years. And if you’re not sure how to clean a specific finish, test your cleaner in an inconspicuous spot first.
Now that you’ve got the basics, it’s time to grab a piece of furniture and get started! Whether you’re refinishing a thrifted find or giving an old family heirloom a fresh look, upcycling is a rewarding way to save money, reduce waste, and add a personal touch to your home. And who knows? You might just discover a new hobby you love.
If you’re feeling inspired, check out some of my other projects, like these five easy DIY projects or my farmhouse coffee table tutorial. Happy upcycling!