
Easy DIY Bedroom Makeover Projects That Actually Work
Let me tell you,there’s nothing more satisfying than walking into a bedroom that feels like you. Not the generic hotel room vibe, not the “I gave up halfway” look, but a space that makes you smile the second you step inside. I’ve spent years transforming my own bedroom (and making plenty of mistakes along the way), and I’m here to share the real, no-BS projects that actually make a difference.
These aren’t just “quick fixes” that’ll fall apart in a month. These are the projects I’ve tested in my own home,some in a single weekend, others over a few lazy Sunday afternoons. And yes, I’ll admit when something was harder than I expected (like the time I tried to install peel-and-stick wallpaper without measuring first,let’s just say I learned my lesson).
Whether you’re looking to refresh your space on a budget or add some serious personality, these DIY bedroom makeover ideas will help you create a room that feels like a true retreat. No fluff, no fake “expert” advice,just real projects from one DIY mom to another.
Why Your Bedroom Deserves a DIY Makeover
I used to think a bedroom was just a place to sleep. Then I spent a week in a hotel room with scratchy sheets and fluorescent lighting, and I realized how much a good night’s sleep depends on your surroundings. My bedroom makeover wasn’t just about looks,it was about creating a space that actually helped me relax.
Here’s what I’ve noticed since I started tweaking my bedroom:
- Better sleep,Soft lighting, cozy textures, and a clutter-free space make a huge difference. (I swapped my harsh overhead light for a DIY fabric-covered lamp and noticed I fell asleep faster.)
- Less stress,When your room feels like a sanctuary, you actually want to be in it. No more tossing and turning because the room feels “off.”
- More creativity,Working on these projects gave me a creative outlet, and now my bedroom feels like a reflection of who I am.
The best part? You don’t need to spend a fortune. Most of these projects cost under $50, and some (like upcycling furniture) are basically free if you already have the materials. Plus, there’s something incredibly satisfying about creating a space with your own two hands.
Quick Weekend DIY Bedroom Makeover Projects
If you’re short on time but want to see a big impact, start with these easy projects. I did all of these in my own bedroom over a few weekends, and each one made a noticeable difference.
1. Swap Out Your Lighting (In One Afternoon)
My old bedroom had this awful ceiling fixture that looked like it belonged in a dentist’s office. I replaced it with a DIY pendant light made from mason jars (I found a tutorial on YouTube, but I ended up improvising with some twine and a few extra jars I had in the garage). It cost me $15 and took about two hours. Now my bedroom feels warm and inviting instead of sterile.
Other quick lighting upgrades I’ve tried:
- Painting a thrifted lampshade with chalk paint (I used Anvil Paint,it dries fast and doesn’t smell terrible).
- Adding fairy lights behind my headboard for a soft glow (I used these LED string lights from Amazon,they’re cheap and last forever).
2. Refresh Your Textiles (For Under $30)
I’ll be honest,I used to think throw pillows were just decorative. Then I sewed a few no-sew pillow covers out of old scarves (I found a tutorial here), and now my bed looks like a cozy retreat. I also made simple no-sew curtains using clip rings and some fabric I had leftover from another project.
Pro tip: If you’re not into sewing, hit up Joann Fabrics for pre-made pillow covers. They have tons of affordable options, and you can mix and match patterns for a custom look.
3. Create a Gallery Wall (Even If You’re Not an Artist)
I used to think gallery walls were only for people with perfect taste (or a professional photographer in the family). Then I realized you can make one with whatever you have lying around. I printed some of my kids’ artwork, added a few vintage postcards I found at a thrift store, and framed them all in mismatched frames I picked up at a garage sale.
For a step-by-step guide, check out my post on creating a gallery wall. It’s easier than it looks, and it instantly makes your room feel more personal.
A Statement Wall for Less (Without the Mess)
I wanted to add some drama to my bedroom, but I didn’t want to spend a fortune or deal with a messy paint job. Here’s what I did instead:
1. Used Peel-and-Stick Wallpaper (But Learned the Hard Way)
I tried installing peel-and-stick wallpaper on my accent wall, and let’s just say it didn’t go smoothly. I didn’t measure properly, and I ended up with a crooked strip that I had to peel off and reapply. Next time, I’m following my own advice,measure twice, cut once, and use a level!
If you’re nervous about wallpaper, try a painted accent wall instead. I used a bold blue on one wall and kept the rest neutral. It looks expensive but was super easy (and reversible).
2. Added Wainscoting (Yes, Really,It’s Easier Than You Think)
I thought wainscoting was something only professionals could do. Then I found a simple tutorial and gave it a try. I used pre-cut MDF panels from Home Depot and painted them white. It took me a weekend, and now my bedroom looks like it belongs in a boutique hotel.
3. Hung Floating Shelves for Storage + Style
I needed more storage but didn’t want to clutter my room. I installed floating shelves above my bed and used them to display books, small plants, and a few decorative items. I used IKEA Lack shelves (they’re cheap and easy to assemble), but you can also build your own with wood and brackets.
Pro tip: If you’re not comfortable with power tools, hit up your local hardware store for pre-cut wood. They’ll cut it for free, and you can avoid the sawdust mess in your garage.
Out-of-the-Box DIY Headboard Ideas (That Don’t Look DIY)
My old headboard was this boring wooden thing that came with my bed frame. I wanted something with more personality, so I decided to build my own. Here’s what I’ve tried,and what actually worked.
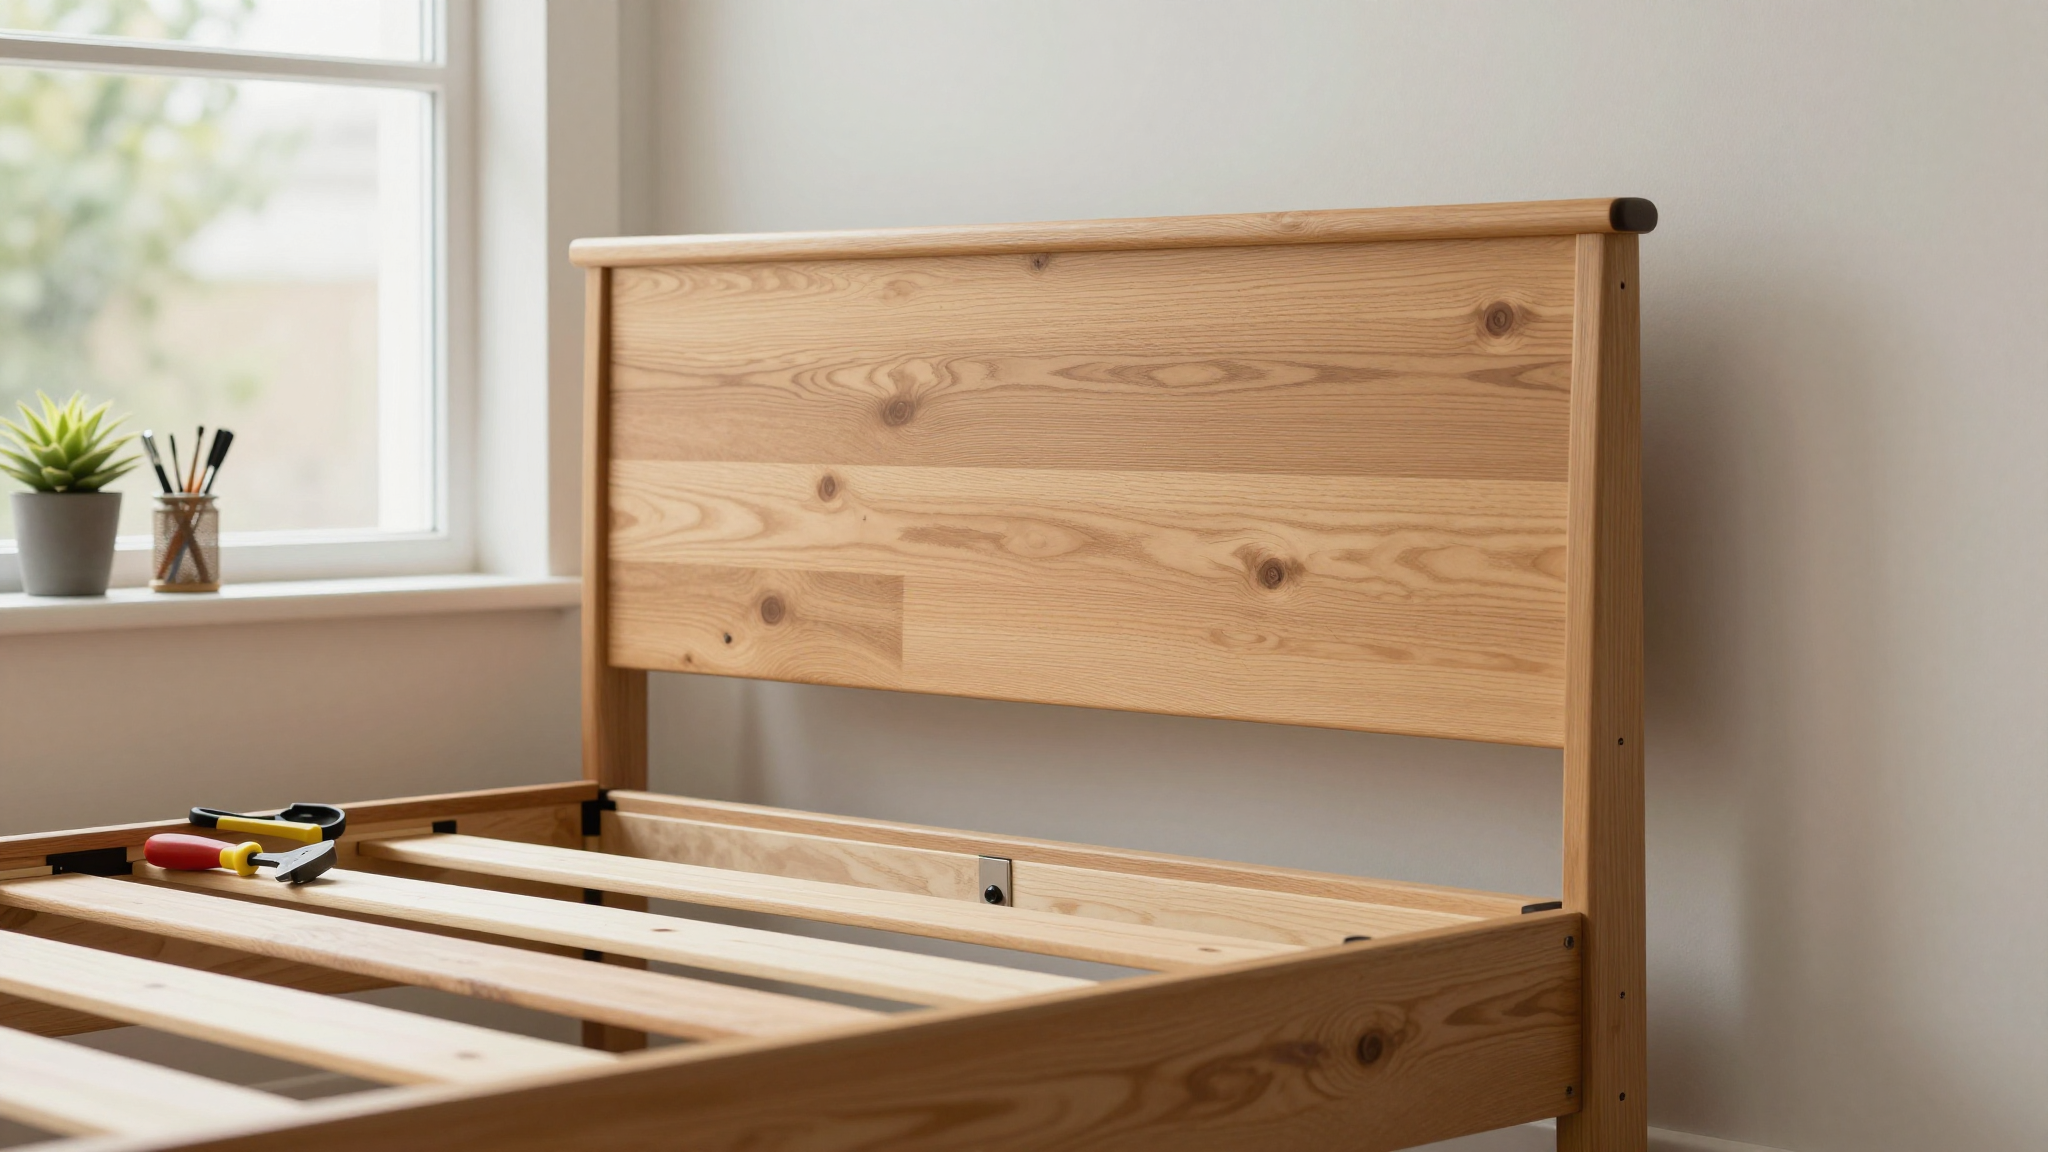
1. Reclaimed Wood Headboard (My Favorite)
I found some old barn wood at a salvage yard (it was cheap because it wasn’t “pretty”,but that’s what sanding and stain are for). I built a simple frame and attached the wood with screws. It took me a weekend, and now my headboard looks like it belongs in a farmhouse chic magazine.
If you don’t have access to reclaimed wood, check out Home Depot’s pine boards. They’re affordable, and you can stain them to match your room.
2. Upholstered Headboard (No Sewing Required)
I wanted something soft and cozy, so I made an upholstered headboard using a foam mattress topper and some fabric. I wrapped the foam in batting, then stretched the fabric over it and stapled it to the back. It’s not perfect, but it looks great and feels amazing to lean against.
For a more polished look, check out my guide on upcycling furniture. It includes tips for getting a professional finish without years of practice.
3. Vintage Door or Window Headboard (Unexpected but Stunning)
I saw this idea on Pinterest and thought it was too weird,until I tried it. I found an old wooden door at a salvage yard, sanded it down, and mounted it to the wall. It’s become my favorite headboard because it’s unique and has so much character.
If you’re not sure where to find a door, check out Facebook Marketplace. People sell old doors for dirt cheap, and you can often find them for free if you’re willing to haul them away.
Upcycling Your Existing Bedroom Furniture (Without Spending a Dime)
I love buying new furniture as much as the next person, but sometimes the best projects come from what you already have. Here’s how I gave my old dresser and nightstands a second life.
1. Painted Dresser (With a Twist)
I had this ugly oak dresser that I hated. Instead of painting it the usual white or gray, I used Anvil Paint in a deep green color. Then, I added gold knobs from IKEA to give it a luxe look. It cost me $20 and took a weekend, but now it’s the focal point of my bedroom.
If you’re not sure what color to use, try a small test patch first. I learned the hard way that some colors look totally different on a dresser than they do on the wall.
2. Nightstand Makeover (With Hidden Storage)
My nightstands were boring and didn’t have enough storage. I took them apart, added a shelf inside, and then reassembled them. Now I have extra space for books and my reading glasses. I also painted them to match my dresser for a cohesive look.
If you’re not comfortable taking furniture apart, try these no-disassembly upcycling tips. You can still get a big impact with just paint and new hardware.
3. Repurposed Crate Nightstand (Super Easy)
I didn’t want to spend money on a new nightstand, so I stacked a few wooden crates I found at a hardware store and painted them. I added a piece of wood on top for a surface, and now I have a rustic-chic nightstand that cost me $15.
For more crate ideas, check out this post. Crates are one of the most versatile DIY materials,you can use them for storage, shelves, or even a headboard!
Crafting Personal Wall Art (That Doesn’t Look Like a Kindergartener Made It)
I used to think wall art had to be expensive or professionally made. Then I realized you can create something just as beautiful (if not more personal) with a little creativity. Here’s how I did it.
1. Custom Canvas Art (No Painting Skills Required)
I found a plain canvas at a craft store and used stencils from Michaels to create a geometric design. I used acrylic paint and a cheap brush, and it turned out way better than I expected. Now it’s one of my favorite pieces in my bedroom.
If you’re not into stencils, try these other wall art ideas. You can use fabric, photos, or even pressed flowers for a unique look.
2. Framed Lyrics or Quotes (Super Simple)
I printed my favorite song lyrics on my home printer, framed them in a thrifted frame, and hung them above my bed. It’s a small touch, but it makes my room feel more like me.
Pro tip: If you don’t have a printer, most Staples or Office Depot locations will print and frame photos for you. It’s cheaper than you think!
3. DIY Shadow Box (For a 3D Look)
I collected a few small items,a vintage key, a postcard, a pressed flower,and arranged them in a shadow box I found at a thrift store. It’s a great way to display little treasures without cluttering your walls.
For more shadow box ideas, check out this post. You can use them to display anything from travel souvenirs to your kids’ artwork.
Budget-Friendly Lighting Projects (That Actually Look Expensive)
Lighting can make or break a bedroom. I used to have this harsh overhead light that made the room feel cold. Now I have soft, warm lighting that makes the whole space feel cozier. Here’s how I did it.
1. DIY Pendant Lights (From Mason Jars)
I saw this idea on Pinterest and thought it was too complicated,until I tried it. I bought a few mason jars, some wire, and a pendant light kit from Home Depot. It took me about an hour, and now I have these gorgeous pendant lights that look like they cost a fortune.
If you’re not into mason jars, try these other lighting projects. You can also paint thrifted lampshades for a quick update.
2. Fairy Lights Behind the Headboard (Instant Ambiance)
I wanted soft lighting but didn’t want to deal with wiring. So I tucked a string of fairy lights behind my headboard. It gives the room a warm glow without being too bright. I used these LED string lights from Amazon,they’re cheap, easy to install, and last forever.
3. Painted Lampshade (For a Custom Look)
I found a boring white lampshade at a thrift store and painted it with chalk paint. Now it matches my bedroom’s color scheme and looks like it was made for the space. It’s one of those projects that seems small but makes a big difference.
For more lighting ideas, check out this post. You don’t need to spend a lot to get great lighting!
DIY Storage Solutions (That Actually Work)
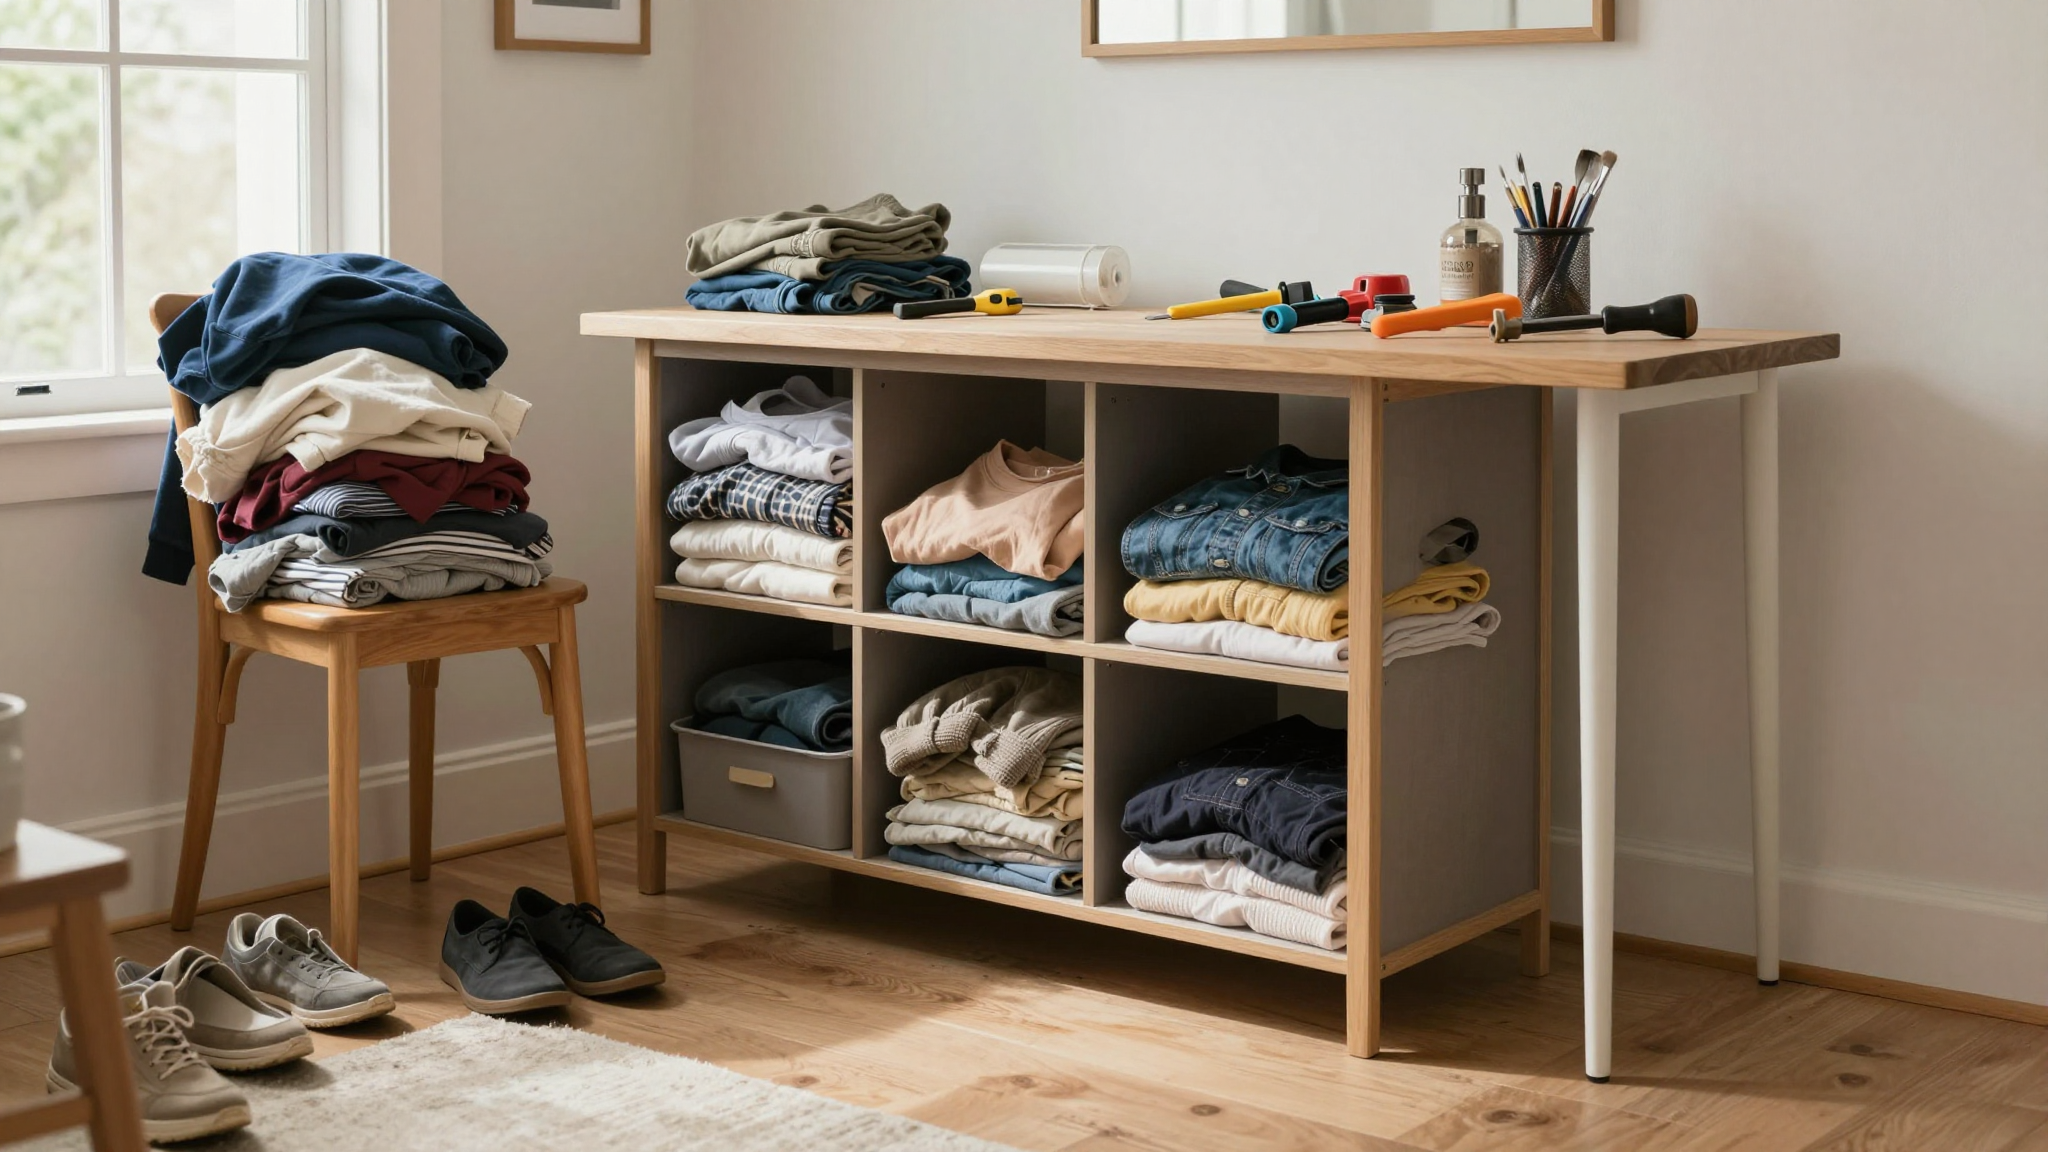
Storage is one of the biggest challenges in a bedroom. I used to have clothes piled on chairs and shoes scattered everywhere. Now I have a system that keeps everything organized,and looks good too. Here’s how I did it.
1. Under-Bed Storage (For Clothes and Seasonal Items)
I bought a few under-bed storage bins from Amazon and used them to store off-season clothes and extra blankets. It freed up so much space in my closet!
2. DIY Headboard with Built-In Shelves
I built a headboard with shelves on the sides. Now I can store books, my reading glasses, and a few small decor items without cluttering my nightstand. It’s one of my favorite DIY projects because it’s both functional and stylish.
For more headboard ideas, check out this post. You can customize your headboard to fit your storage needs!
3. Repurposed Crates for Storage (Super Easy)
I stacked a few wooden crates in the corner of my room and used them to store blankets and extra pillows. I painted them to match my bedroom, and now they look like they were meant to be there.
For more crate ideas, check out this post. Crates are one of the most versatile DIY materials,you can use them for storage, shelves, or even a headboard!
Textile Updates to Transform Your Room (Without Sewing)
I used to think textiles were just for people who loved to sew. Then I realized you can update your bedding, curtains, and pillows without ever touching a needle. Here’s how I did it.
1. No-Sew Pillow Covers (From Old Scarves)
I had a few silk scarves I never wore, so I turned them into pillow covers. I just folded the scarf over the pillow, tucked in the edges, and secured it with Velcro strips (I found them at Joann Fabrics). It took me 10 minutes per pillow, and now my bed looks like it belongs in a boutique hotel.
For more no-sew pillow ideas, check out this post. You can use fabric scraps, old T-shirts, or even curtains!
2. DIY Curtains (With Clip Rings)
I didn’t want to deal with sewing, so I used clip rings to hang my curtains. I found some fabric at Joann Fabrics, cut it to size, and clipped it to a tension rod. It took me an hour, and now my windows look way more stylish.
3. Bed Canopy (For a Dreamy Look)
I wanted a canopy bed but didn’t want to spend a fortune. So I hung a sheer fabric from a wooden ring I found at a craft store. It’s not perfect, but it gives my bed a dreamy, romantic look.
For more bedding ideas, check out this post. You can update your bedding without sewing!
Personalizing Your Space with Accessories and Decor
This is where the magic happens. Your bedroom should reflect you,your hobbies, your style, your personality. Here’s how I made my bedroom feel like home.
1. Gallery Wall of Family Photos
I printed a bunch of family photos and arranged them in mismatched frames I found at a thrift store. It’s one of my favorite parts of my bedroom because it’s personal and meaningful.
For more gallery wall ideas, check out this post. You can use photos, artwork, or even postcards!
2. Plants and Fresh Flowers (For a Breath of Fresh Air)
I added a few pothos plants and a vase of fresh flowers to my nightstand. It’s a small touch, but it makes the room feel alive and fresh.
3. Throw Pillows and Blankets (For Coziness)
I mixed and matched throw pillows and blankets in different textures and colors. It’s one of the easiest ways to update your bedding and make your room feel cozier.
For more decor ideas, check out this post. You can personalize your space without spending a lot!
Common DIY Bedroom Makeover Mistakes (And How to Avoid Them)
I’ve made my fair share of DIY mistakes,some small, some not-so-small. Here’s what I’ve learned so you don’t have to make the same errors.
Planning Pitfalls
I once started painting a wall without measuring first. Let’s just say it didn’t turn out the way I planned. Now I always measure twice and plan my layout before I start.
Material Selection Errors
I bought cheap paint once and ended up with streaks and uneven coverage. Now I splurge on good paint (I use Behr Premium Plus) and it makes a huge difference.
Time Management Issues
I used to rush through projects and end up with messy results. Now I take my time and break projects into smaller steps. It’s worth it to do it right the first time!
For more DIY tips, check out this post. It includes my must-have tools and tools to avoid!
Ready to Start Your DIY Bedroom Makeover?
Now it’s your turn. Pick one project from this list and start small. Whether it’s painting an accent wall, upcycling a piece of furniture, or adding some personal wall art, every little change makes a difference.
And remember,it’s okay if it’s not perfect. My first DIY project was a disaster, but I learned from it and kept going. Now I love walking into my bedroom because it’s a reflection of me.
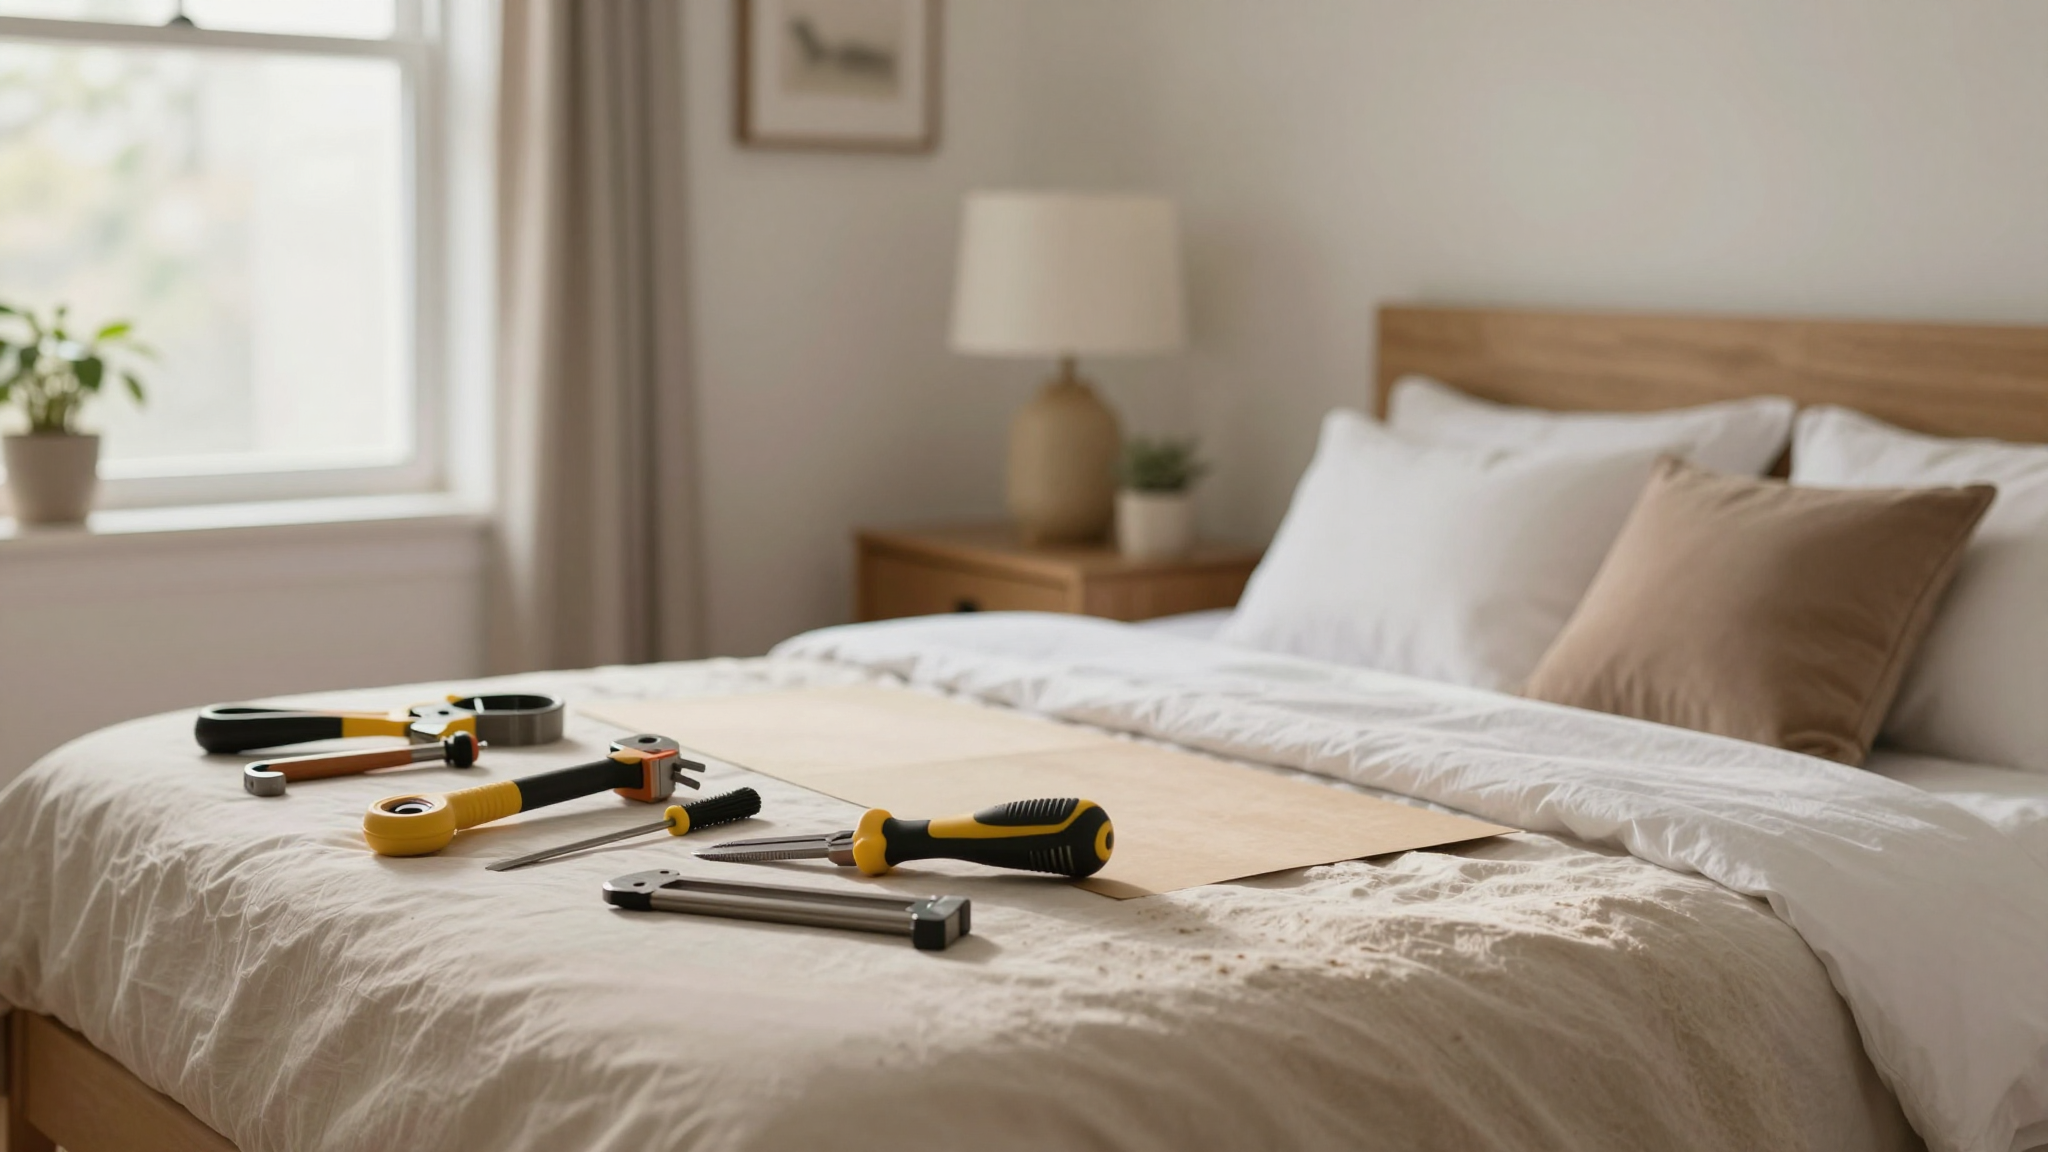
So what are you waiting for? Grab your tools, pick a project, and let’s get started!
FAQs
Can you suggest some easy DIY bedroom makeover ideas that I can work on during the weekend?
Absolutely! Here are a few of my favorite weekend projects:
- Paint an accent wall (I used a bold blue in my bedroom,it looks amazing!).
- Update your lighting with a DIY pendant light or painted lampshade.
- Create a gallery wall with family photos or artwork.
- Swap out your bedding for no-sew pillow covers or a DIY duvet cover.
For more ideas, check out this post.
How to design a statement wall without spending too much?
You don’t need to spend a fortune to create a statement wall. Here are a few budget-friendly ideas:
- Paint a geometric pattern or use removable wallpaper.
- Hang a gallery wall with thrifted frames and prints.
- Add wainscoting with pre-cut MDF panels (I used these from Home Depot).
For more tips, check out this post.
What are the DIY headboard options to make my bedroom look elegant?
There are so many ways to create a custom headboard. Here are a few of my favorites:
- Reclaimed wood headboard (I used barn wood I found at a salvage yard).
- Upholstered headboard (I used foam and fabric,I didn’t even sew!).
- Vintage door or window headboard (I found an old door at a thrift store).
For more headboard ideas, check out this post.
How to recycle old furniture to make my bedroom look new and fresh?
Upcycling furniture is one of the easiest ways to refresh your bedroom. Here are a few ideas:
- Paint an old dresser (I used Anvil Paint for a durable finish).
- Add new hardware to a nightstand (I found knobs at IKEA).
- Repurpose a crate into a nightstand (I painted mine to match my bedroom).
For more upcycling tips, check out this post.
Are there any low-cost lighting projects I could try that will improve the look of my bedroom?
Yes! Here are a few of my favorite budget-friendly lighting projects:
- DIY pendant lights from mason jars (I used a kit from Home Depot).
- Painted lampshade (I used chalk paint for a custom look).
- Fairy lights behind the headboard (I used these LED string lights).
For more lighting ideas, check out this post.
What are the accessory and decor tips to give my room a personal touch?
Adding personal touches is what makes a bedroom feel like home. Here are a few of my favorite ideas:
- Gallery wall with family photos or artwork.
- Plants or fresh flowers (I love pothos and eucalyptus!).
- Throw pillows and blankets in complementary colors.
For more decor ideas, check out this post.