
How I Gave My Home Character with DIY Wainscoting (Without Hiring a Pro)
There’s something magical about turning a plain room into a space that feels like *home*,warm, inviting, and uniquely yours. For me, that “something” has always been wood paneling and trim. It’s not just about looks; it’s about the way it makes a room feel cozy, timeless, and full of personality. I’ll never forget the first time I saw a friend’s dining room with rich, dark wainscoting,it was like stepping into a storybook. That’s when I knew I had to try it myself.
Now, I won’t lie: my first attempt was a disaster. I bought cheap panels, skipped measuring twice, and ended up with gaps so wide you could fit a pencil through them. But after a few mistakes (and a lot of sanding), I figured out how to do it right. The key? Quality materials, a solid plan, and patience,especially with those 45-degree cuts. Trust me, your walls will thank you.
Whether you’re updating one room or your whole house, wainscoting is one of those projects that pays off in spades. It adds character, hides imperfections, and,if done well,can even boost your home’s value. And the best part? You don’t need to be a carpenter to pull it off. I’ve done it in my living room, hallway, and even my kids’ playroom (yes, wainscoting in a playroom,don’t knock it till you try it!).
In this guide, I’ll walk you through every step,from picking the right materials to nailing (literally) the final touches. No fluff, no fake “expert” advice,just the real, messy, rewarding process of transforming your space.
Why Wainscoting? My Personal Love Story with Wood Trim
I’ll admit it: I’m a sucker for vintage charm. When I moved into our 1980s builder-grade house, the walls were bare, the baseboards were plastic, and the whole place felt… generic. I wanted warmth, history, and a little bit of drama without breaking the bank. That’s where wainscoting came in.
At first, I thought I’d have to hire a contractor. But after watching a few YouTube tutorials (and crying over my first miter saw disaster), I realized: *I can do this.* The difference between a room with and without wainscoting is like night and day. It adds depth, breaks up large walls, and,if you pick the right height,can make a room feel taller. Plus, it’s a great way to hide those inevitable drywall bumps and scuffs (thanks, kids).
I’ve since used wainscoting in three rooms, and each time, the transformation has been worth the effort. My favorite? The dining room. We went with a classic white chair rail and dark stained panels,it looks like something out of a farmhouse magazine, but it only cost me $200 in materials. (Pro tip: Thrift stores are goldmines for cheap, high-quality trim.)
If you’re on the fence, ask yourself: Do I want my walls to *do* something? Wainscoting isn’t just decoration,it’s architecture. And the best part? You can customize it to fit your style, whether that’s sleek modern, rustic farmhouse, or somewhere in between.
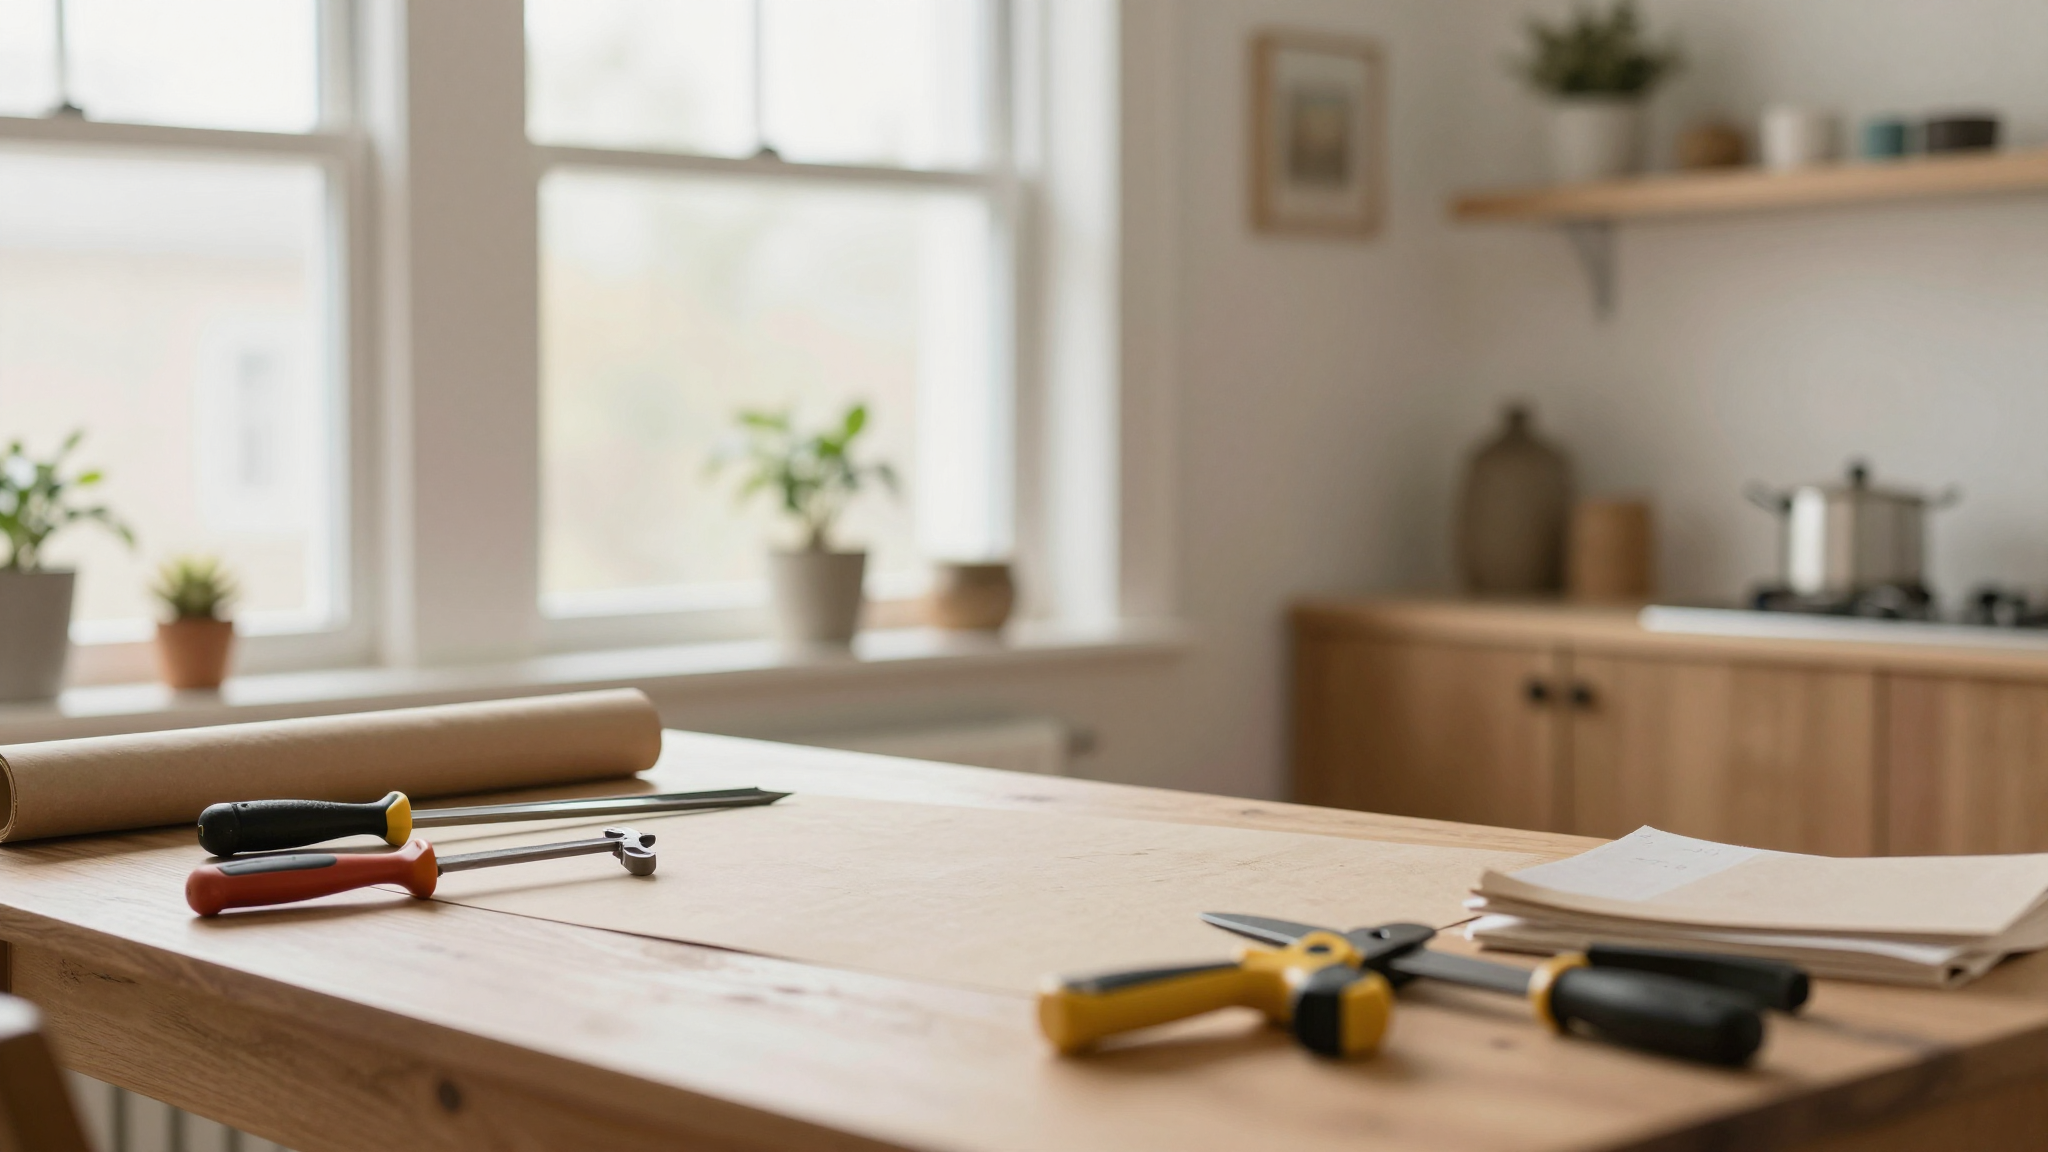
Essential Tools and Materials (The Ones I Actually Use)
Before you start, let’s talk tools,because nothing kills a DIY project faster than realizing you’re missing something halfway through. Here’s what I keep in my workshop for wainscoting:
- Miter saw – My DeWalt DWS779 is a game-changer for clean, precise cuts. (Yes, it’s an investment, but it’s saved me hours of frustration.)
- Level – A 24-inch level is my best friend for keeping everything straight. I’ve learned the hard way that “eyeballing it” doesn’t work.
- Stud finder – Because nothing’s worse than pulling a panel off the wall six months later because it wasn’t secured properly.
- Nail gun – A Brad nailer makes quick work of attaching trim. (I borrowed mine from my husband,don’t tell him I’ve used it more than he has.)
- Caulk and wood filler – For those inevitable gaps. I swear by DAP Fast ‘n Final,it dries clear and sands smooth.
- Sandpaper – 120-grit for smoothing edges, 220-grit for final touches. Trust me, you’ll need it.
- Paint and primer – More on this later, but Benjamin Moore Advance is my go-to for trim.
Oh, and one more thing: patience. I can’t stress this enough. My first project took me twice as long as I expected because I rushed the cuts. Now? I measure twice, cut once, and take my time with the miter saw. It’s not a race,it’s about getting it right.
Before you start, prep your walls. Fill any holes with spackle (I use DAP Joint Compound), sand them smooth, and prime the surface. This step is boring, but it’s the difference between a project that lasts and one that starts peeling in six months.
Planning Your Wainscoting: Where to Start
This is where most people get stuck,because wainscoting isn’t just about slapping wood on the wall. It’s about design, proportions, and making sure everything lines up. Here’s how I plan my layouts:
First, I decide on the height. The classic rule is one-third of the wall height for the panels, but I’ve broken that rule plenty of times. In my dining room, I went with a higher rail (about 36 inches) to make the space feel more dramatic. In the kids’ playroom, I kept it lower (24 inches) so it felt cozier. There’s no “right” answer,it’s about what looks good in your space.
Next, I sketch it out. I’ll admit, I’m not an artist, but a rough drawing helps me visualize the spacing between panels and where the trim will go. I use a pencil and grid paper to map it out, marking where the studs are so I know where to secure the panels. (Pro tip: If you’re not sure where the studs are, knock on the wall,it’ll sound hollow where there aren’t any.)
Then comes the fun part: picking materials. I’ve used everything from pine (budget-friendly) to oak (durable and classic). For my dining room, I found pre-primed MDF panels at Home Depot,they were cheap, easy to cut, and looked great once painted. If you want something more rustic, check out reclaimed wood or even old barn doors.
One mistake I made early on? Skipping the sample pieces. I thought I knew what I wanted, but when the panels arrived, the color was off. Now, I always buy a few extra feet of trim and paint it to see how it looks in the room. It’s a small extra step that saves a lot of headaches later.
Step-by-Step Installation: How I Did It (And What I Learned)
Alright, let’s get to the good stuff,the actual installation. I’ll walk you through my process, including the mistakes I made (so you don’t have to).
Step 1: Install the Chair Rail (The Foundation)
Start with the chair rail,this is the horizontal piece that separates the panels from the upper wall. It’s like the backbone of your wainscoting. I use a pencil and level to mark a straight line where I want it to go. Then, I cut the rail to size with my miter saw, making sure the ends are at a perfect 45-degree angle for a seamless corner.
Here’s where I messed up the first time: I didn’t account for the thickness of the rail when marking the line. The result? The panels ended up shorter than I wanted. Now, I always measure from the bottom of the rail to the floor, then subtract the height of the panels I’m using. It’s a small detail, but it makes a big difference.
Once the rail is marked, I nail it into the studs (not just the drywall,this keeps it secure). If I don’t have a stud where I need one, I use a toggle bolt for extra support.
Step 2: Attach the Baseboard (The Finishing Touch)
The baseboard ties everything together. I measure the length of each wall, cut the baseboard to size (again, 45-degree angles at the corners), and nail it into place. The key here is to make sure it’s flush with the chair rail. If there’s a gap, your wainscoting will look crooked, no matter how straight the panels are.
I use a nail gun for speed, but I also add a dab of construction adhesive behind each piece for extra hold. (This is the trick I learned from my dad,it keeps everything from shifting over time.)
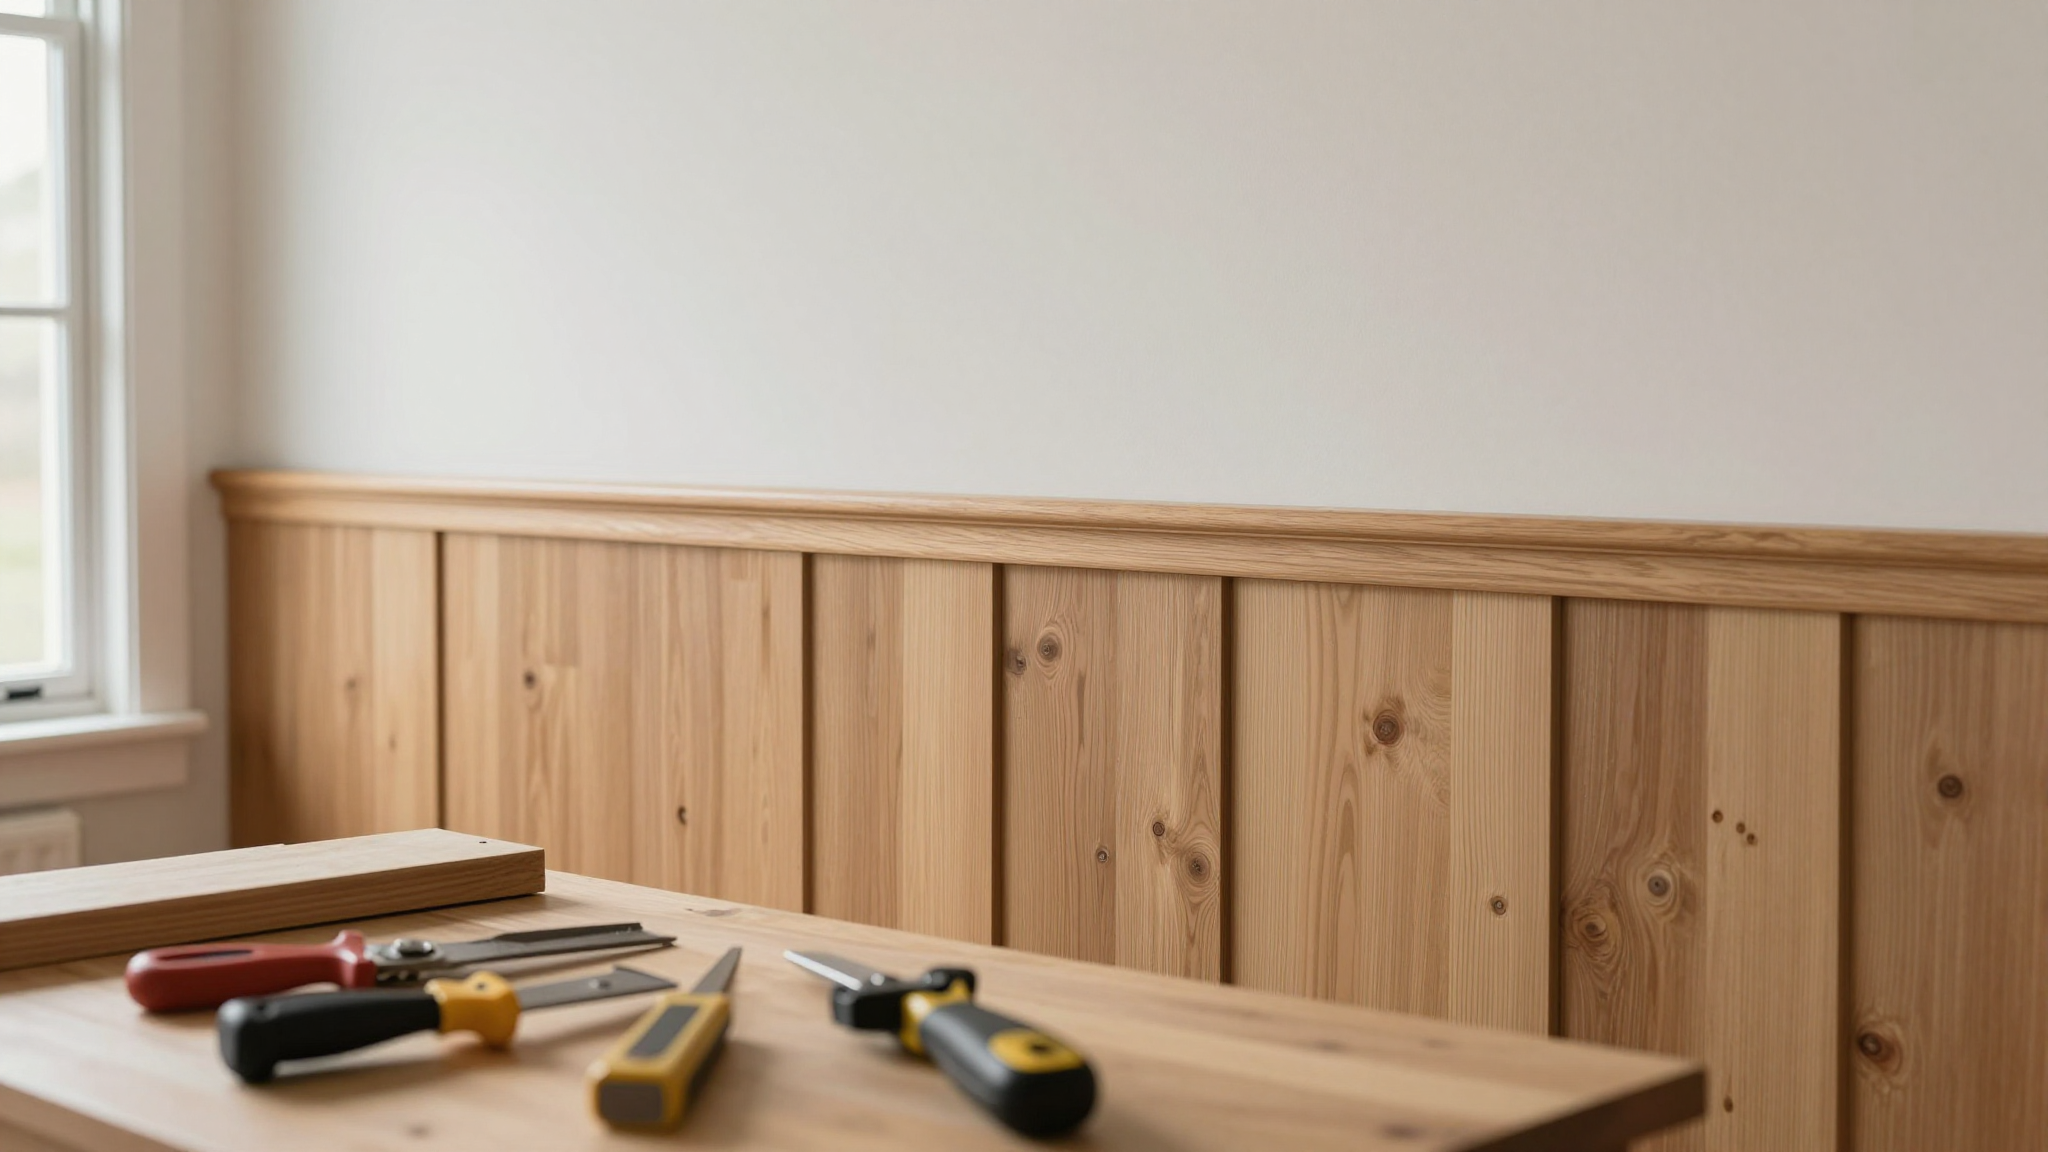
Step 3: Hang the Panels (The Moment of Truth)
This is where the magic happens. I start by measuring the width of each panel, then mark the wall accordingly. I use a pencil and level to keep everything straight. If I’m using vertical panels, I space them about 1/8-inch apart for a classic look. For a more modern vibe, I’ll butt them up against each other.
Cutting the panels is where I take my time. I measure twice, then cut with the miter saw, making sure the angles match up perfectly at the corners. If a piece doesn’t fit quite right, I’ll sand it down a bit or adjust the angle slightly. (This is why I always keep a scrap piece of wood handy for test cuts.)
Once the panels are cut, I nail them into place, starting from one corner and working my way across. I use 1.5-inch finish nails so they don’t poke through the other side. If I’m feeling fancy, I’ll countersink the nails and fill the holes with wood filler later.
Step 4: Fill Gaps and Sand (The Details Matter)
No matter how careful you are, there will be gaps. That’s where caulk comes in. I use a small caulk gun and DAP Fast ‘n Final to fill the spaces between panels and trim. I apply a thin bead, then smooth it out with a damp finger or a caulk-smoothing tool. If the gap is bigger than 1/8-inch, I’ll use wood filler first, then caulk on top.
After the caulk dries, I sand everything down with 120-grit sandpaper. This step is crucial,it removes any rough edges and prepares the surface for paint. I always wear a dust mask because, let’s be honest, sanding is messy.
Painting and Finishing: The Final Touches
Now comes the fun part,painting! But before you grab that brush, let’s talk about prep work.
Choosing the Right Paint (And Why It Matters)
I’ve tried just about every type of paint on wainscoting, and here’s what I’ve learned:
- Primer is non-negotiable. I always use a high-quality oil-based primer (like Zinsser Bullseye 1-2-3) to seal the wood and prevent tannin bleed. Skipping this step is a mistake,I learned that the hard way when my white panels turned yellow after a week.
- Semi-gloss or satin finish. These are durable and easy to clean, which is a must in a family home. I love Benjamin Moore Advance for trim,it dries fast and resists scuffs.
- Two coats of paint. Always. The first coat is for coverage, the second is for durability. I let each coat dry completely (usually 24 hours) before adding the next.
One trick I picked up from a friend? If you’re painting dark panels, use a gray-tinted primer first. It reduces the number of topcoats you’ll need and saves you time.
The Final Touches (Because Perfection Is in the Details)
After the paint dries, I do a final inspection. I look for:
- Nail holes that need filling (I use wood filler and sand it smooth).
- Uneven edges (a little sanding fixes this).
- Missed spots (because, let’s face it, we all have them).
Once everything is perfect, I add a clear polycrylic (like Minwax Polycrylic) for extra protection, especially in high-traffic areas like hallways. It’s an extra step, but it’s worth it to keep your wainscoting looking fresh for years.
And that’s it! Step back, admire your work, and take a deep breath. You just added serious character to your home,and saved a ton of money by doing it yourself.
Troubleshooting Common Problems (So You Don’t Make My Mistakes)
Even the best-laid plans can go wrong. Here’s how I’ve fixed some of the most common wainscoting headaches:

Problem: 45-Degree Cuts Aren’t Lining Up
This was my biggest struggle at first. The key is patience. I’ve learned to:
- Measure the angle before cutting. A tiny misalignment adds up fast.
- Test the cut on a scrap piece first. If it doesn’t fit, adjust the angle slightly.
- Use a miter saw with a laser guide if you’re really struggling. It’s a game-changer.
I also keep a rubber mallet handy to gently tap pieces into place if they’re not fitting quite right.
Problem: Gaps Between Panels or Trim
Gaps happen, but they’re easy to fix. For small gaps:
- Use caulk for a seamless finish. I like DAP Flexible Caulk because it stays flexible and doesn’t crack.
- For larger gaps, fill with wood filler, let it dry, then sand smooth.
If the gap is between the panel and the floor, I’ll shim it up with a thin piece of cardboard before nailing it in place. Works every time.
Problem: Panels Aren’t Aligned
This usually happens when I rush. To keep everything straight:
- Start in one corner and work your way across. Don’t jump around!
- Use a level to check alignment after every few panels.
- If a panel is off, take it down and adjust before moving on.
I’ve also found that pre-drilling pilot holes for the nails helps keep everything in place while I’m working.
Final Thoughts (And What to Do Next)
Wainscoting is one of those projects that seems intimidating at first, but once you get the hang of it, it’s incredibly rewarding. It’s not just about making your walls look pretty,it’s about adding personality, history, and a little bit of craftsmanship to your home.
If you’re just starting out, I’d recommend practicing on a small area first, like a powder room or hallway. Once you’ve got the hang of it, you can tackle bigger spaces. And if you’re feeling ambitious, why stop at wainscoting? Try adding an accent wall or even a fireplace makeover for extra character.
Now, go forth and wainscot! And if you run into snags, remember: I’ve been there, and so have thousands of other DIYers. The internet is full of tips and tricks,don’t be afraid to ask for help.
Oh, and one more thing,take pictures of your progress! You’ll want to look back on this project in a year and remember how far you’ve come. (Trust me, your future self will thank you.)
FAQs: Your Wainscoting Questions, Answered
What tools do I need to start my project?
You’ll need a miter saw, level, nail gun, tape measure, caulk, and sandpaper. If you don’t own these already, check out my guide to essential tools for recommendations.
How do I prepare my wall for installation?
First, I clean the wall and remove anything in the way (outlets, switch plates, etc.). Then, I find the studs with a stud finder and mark them. If there are holes or imperfections, I fill them with spackle and sand smooth. Priming the wall gives the panels something to grip onto.
What’s the best way to measure and cut panels?
I measure twice, cut once using my miter saw. For corners, I always do 45-degree cuts. If I’m unsure, I test the cut on a scrap piece first. Pro tip: Use a pencil and level to mark your cuts before you start sawing.
How do I figure out the right height for my design?
I usually go with one-third of the wall height, but I’ve broken that rule for dramatic effect. In my dining room, I went higher (36 inches) for a bolder look. Play around with it,sometimes the “rules” are meant to be bent!
What’s the trick to aligning the panels?
I start in one corner and work my way across, using a level to check alignment after every few panels. If something’s off, I take it down and adjust before moving on. Patience is key,rushing leads to misalignment.
What should I do with gaps between panels and trim?
For small gaps, I use caulk. For larger ones, I fill with wood filler first, then caulk. The goal is a smooth, seamless finish. If the gap is between the panel and the floor, I shim it up with cardboard before nailing.
Which paint is best for a flawless finish?
I always start with a high-quality primer (like Zinsser Bullseye 1-2-3), then use a semi-gloss or satin paint. Benjamin Moore Advance is my go-to for trim,it’s durable and easy to clean.
How can I make sure the chair rail and baseboard are aligned?
I pick trim from the same collection or brand for consistency. I also use a level to mark the chair rail height before cutting. If the baseboard and rail aren’t flush, the whole project will look off.
Can I do this project in a day?
It depends on the size of the room and your experience. My first project took a weekend, but now I can do a small room in a day. Don’t rush,take your time, and the results will be worth it!