
Repurposing Old Windows into Stunning Home Decor (Without Breaking the Bank or Your Back)
Let me tell you,there’s nothing quite like the thrill of turning something discarded into something stunning. I’ve been obsessed with upcycling old windows for years, ever since I found a pile of them at a demolition site (free!), hauled them home in the back of my minivan (yes, the kids had to ride up front that day), and spent a weekend sanding, painting, and turning them into the most talked-about piece in my living room. Now, I’m here to show you how to do the same,without the back pain or the questionable minivan memories.
Upcycling isn’t just about saving money or reducing waste (though those are huge perks). It’s about giving your home a story. Every scratch, every chip, every uneven pane of glass in an old window has a history. When you repurpose one, you’re not just decorating,you’re preserving a little piece of the past and making it your own. And trust me, once you start, you’ll see old windows everywhere: at flea markets, in grandma’s attic, or even leaning against the side of a house waiting for someone to give them a second life.
In this post, I’ll walk you through everything you need to know,from safety tips (because yes, broken glass is a thing) to creative ideas (like turning a window into a statement piece that makes your friends jealous). Whether you’re going for vintage charm or a modern twist, old windows are one of the easiest (and most rewarding) ways to add character to your home.
Why I’m Obsessed with Old Windows (And Why You Should Be Too)
I’ll admit it,I have a problem. Not the kind that requires intervention, but the kind where I drive past a house with a “Free” sign on a pile of windows and immediately start calculating how I can fit them in the car. There’s just something magical about old windows. They’re chunky, imperfect, and full of character,exactly the kind of thing that makes a house feel like a home.
Here’s the thing: most people see old windows and think “junk.” I see potential. A single window can become a one-of-a-kind headboard, a rustic mirror, or even a coffee table with a story to tell. And the best part? You don’t need to be a carpenter or a designer to pull it off. A little sandpaper, some paint, and a whole lot of creativity are all it takes.
Plus, let’s talk about the environmental side of things. Landfills are full of perfectly good materials just because people don’t know what to do with them. By repurposing old windows, you’re keeping them out of the trash and giving your home a unique touch. It’s a win-win.
Oh, and one more thing,my kids think I’m a genius. Nothing impresses them more than turning “garbage” into something cool. (Okay, fine, the LEGO sets still impress them more, but this is a close second.)
The Unshakable Charm of Vintage Windows
There’s a reason why farmhouse style is so popular,it’s cozy, timeless, and full of character. And nothing says “farmhouse charm” like an old window. The thick frames, the wavy glass, the way they catch the light just right,it’s like they were made to add warmth to a room.
I’ll never forget the first time I used an old window as a coffee table. I sanded it down, painted it a soft gray, and added hairpin legs. Now, it’s the centerpiece of my living room, and every time someone asks about it, I get to tell the story of how I found it. That’s the beauty of upcycling,every piece has a backstory, and yours can too.
And if you’re worried about them looking too “old” or out of place? Don’t be. With a little paint or stain, you can make them fit any style,from rustic to modern. (I’ll show you how later in this post.)
Why Upcycling Windows is Good for the Planet (And Your Wallet)
Let’s be real,landfills are already overflowing, and most of the time, perfectly good materials end up there just because people don’t know what to do with them. Old windows? They’re everywhere. Demolition sites, flea markets, even your neighbor’s curb on trash day. By giving them a second life, you’re reducing waste and saving money.
I once turned a broken window into a gallery wall frame for under $20. The original frame would’ve cost three times that at a boutique. Not only did I save money, but I also got something unique,something no one else has.
And here’s a little secret: upcycling doesn’t have to be perfect. In fact, the imperfections are what make it special. That wavy glass? That’s character. That chipped paint? That’s history. Embrace the flaws, and your home will thank you.
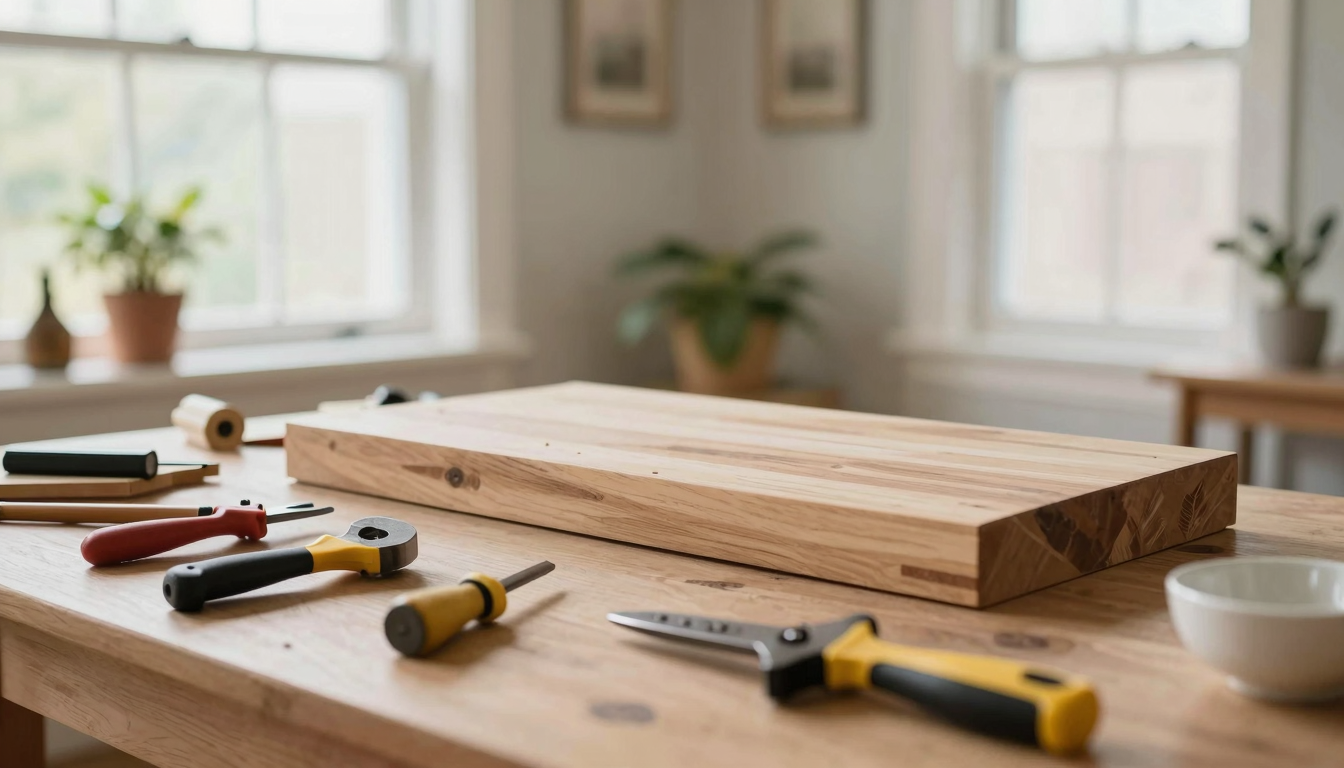
Tools and Materials You’ll Actually Need (No Fluff, Just the Essentials)
Before you start, let’s talk tools. I’ve learned the hard way that you don’t need a full workshop to upcycle a window,just the right basics. Here’s what I keep on hand:
- Sandpaper (80- and 120-grit) – For stripping old paint and smoothing rough edges. I swear by Home Depot’s cheapo packs,they get the job done.
- Paint and primer – A good chalk paint (like Annie Sloan) or a durable exterior paint if you’re using the window outside. Pro tip: Skip the expensive brushes,my $5 Purdy brushes last forever.
- Hardware (hinges, handles, locks) – If you’re turning a window into furniture, you’ll need these. I love Anthropologie’s vintage-style knobs, but you can find affordable options at Home Depot or Lowe’s.
- Cleaning supplies (TSP substitute, rags, wire brush) – For tackling grime and old paint. I make my own TSP substitute with this trick,it’s cheaper and just as effective.
- Putty knife – For removing old glazing compound. Mine’s seen better days, but it still works.
- Safety gear (gloves, goggles, mask) – Non-negotiable. I learned this the hard way when I got a splinter the size of a toothpick in my thumb. (Thanks, old window.)
Oh, and if you’re dealing with lead paint (common in windows pre-1978), do not skip the safety steps. I’ve got a full guide on how to handle lead safely,check it out before you start.
Safety First: How to Prep an Old Window Without Losing a Finger
Look, I’m not going to sugarcoat it,working with old windows can be a little dangerous. Broken glass, lead paint, rusty nails… it’s not exactly a walk in the park. But if you take the right precautions, you’ll be fine. Here’s how I do it:
Step 1: Check for Lead Paint (Yes, This Matters)
If your window is from before 1978, there’s a good chance it has lead paint. And lead paint is not something you want to mess with. I once ignored this step and spent a week feeling like I’d been hit by a truck. (Turns out, lead exposure will do that to you.)
How to test for lead? Grab a lead test kit (they’re cheap and easy to find at Home Depot). Swab a small area, and if it comes back positive, stop. Seal the window with plastic, and call a professional to remove the paint safely.
Step 2: Clean Like You Mean It (But Not Too Hard)
Old windows are dirty. Like, “I-don’t-want-to-touch-it” dirty. My go-to cleaning solution is a mix of warm water, a little dish soap, and a wire brush. I scrub the frame first, then rinse it off. For stubborn grime, I’ll use a steam cleaner,it’s a game-changer.
Pro tip: If the window has old putty or glazing compound, use a putty knife to scrape it out. It’s messy, but it’s worth it for a smooth finish.
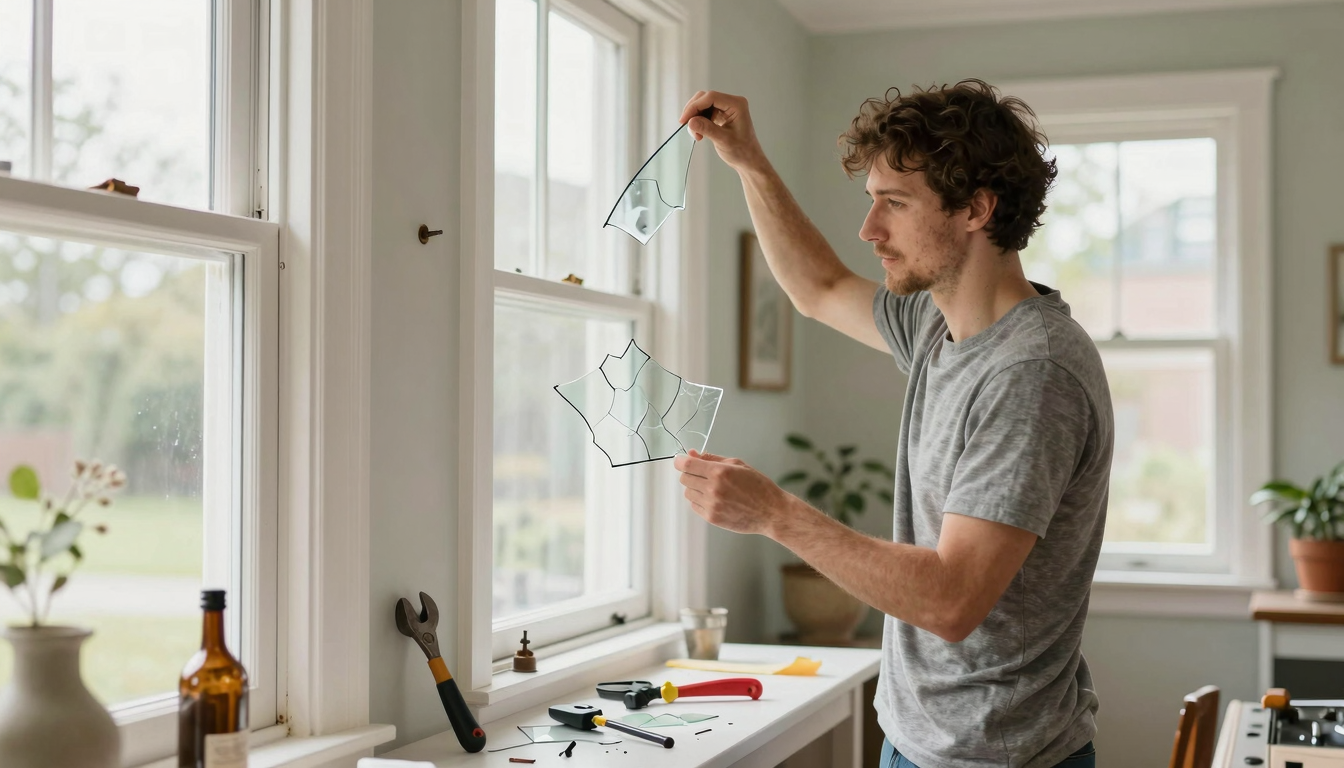
Step 3: Handle Glass Like It’s Your Grandma’s China
Broken glass is a real risk, so I always wear gloves and safety goggles. If a pane is cracked or missing, I either replace it (with tempered glass from Home Depot) or use it as-is for a “distressed” look. (I’ve done both,replacing is easier, but keeping the cracks adds character.)
And for the love of all things holy, dispose of broken glass properly. Wrap it in newspaper, tape it up, and throw it in a sturdy box marked “BROKEN GLASS.” Trust me, your trash day will thank you.
Creative Ways to Repurpose Old Windows (Beyond the Obvious)
Alright, let’s get to the fun part,ideas. Old windows are incredibly versatile. You can turn them into just about anything, and I’ve tried a lot of these myself. Here are my favorites:
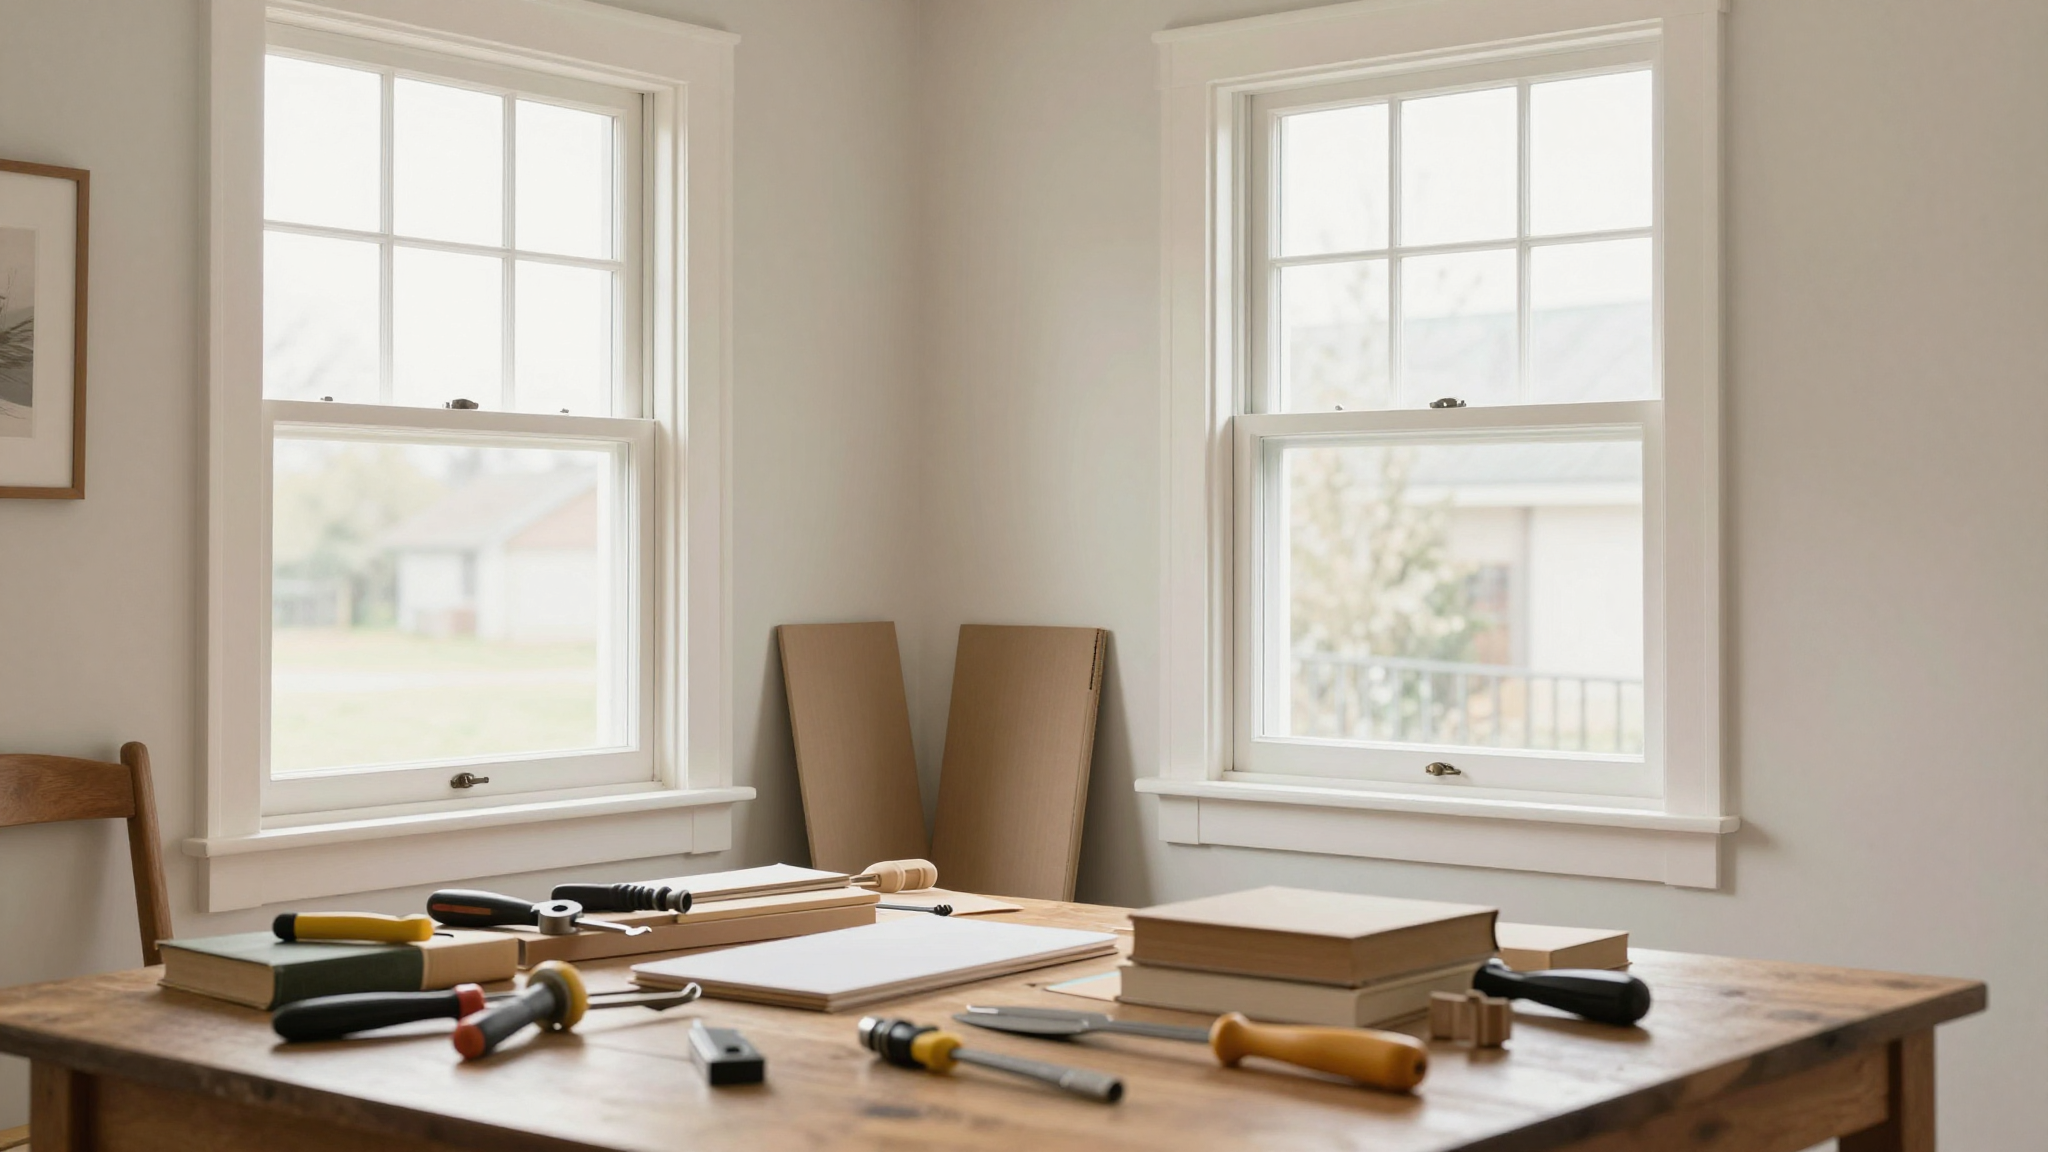
1. Turn Them Into Statement Wall Art
This is the easiest project, and it’s perfect for beginners. I’ve hung old windows in my entryway, my bedroom, and even my bathroom. The key is to give them a fresh coat of paint (I love a chalky white or soft gray) and add some hardware for a finished look.
One time, I found a window with stained glass in it. I didn’t even paint it,I just cleaned it up, added a simple frame, and hung it above my sofa. Now, it’s the first thing people notice when they walk in.
2. Make Them Into Mirrors (Because Every Room Needs More Light)
This is one of my all-time favorite projects. I’ve turned old windows into full-length mirrors, vanity mirrors, and even a mirrored headboard. Here’s how:
- Remove the glass (carefully!).
- Paint the frame (I used a matte black for a modern look).
- Cut a mirror to fit the opening (I used Mirror.com,they cut to size and ship fast).
- Secure the mirror with mirror clips or adhesive.
Boom. Instant elegance.
3. Use Them as Room Dividers (Because Open Concept Isn’t Always Best)
I live in a small house, so I’m always looking for ways to define spaces without closing them off completely. Old windows make perfect room dividers. I’ve used them to separate my living room from my dining area and even to create a “wall” in my open-concept kitchen.
Pro tip: Add casters to the bottom so you can move them around easily. I used these simple wheel kits from Home Depot, and now I can roll my window divider wherever I need it.
4. Turn Them Into Furniture (Because Why Not?)
This is where things get really fun. I’ve made:
- A coffee table (my kids use it as a fort,don’t ask).
- A bench for my entryway (great for tossing keys and shoes).
- A headboard for my guest room (it’s now the most Instagrammable spot in the house).
The key is to think outside the box. If you can imagine it, you can probably build it. And if you’re not sure where to start, my guide to upcycling furniture has all the details.
5. Give Them a New Life in Your Garden
Old windows aren’t just for inside,they’re amazing for outdoor projects. I’ve used them to:
- Create a greenhouse for my herbs (they thrive in there!).
- Make a vertical planter for succulents (it’s now the star of my patio).
- Build a garden art piece (I hung it from a tree branch,it’s like a stained-glass window for bugs).
If you’re feeling extra creative, you can even turn them into a wainscoting-style feature for your outdoor seating area. (I did this with leftover windows, and it looks so intentional.)
Painting and Finishing Techniques (So It Doesn’t Look Like a Kindergartener Did It)
Now, let’s talk about the fun part,making it look good. Painting an old window is where the magic happens. Here’s how I do it:
Step 1: Prep Like a Pro (Or at Least Like Someone Who’s Done This Before)
Before you even think about painting, you’ve got to prep. I start by sanding down any rough spots or peeling paint. Then, I wipe the frame with a damp cloth to remove dust. If there’s any rust, I use a wire brush to scrub it off before painting.
Pro tip: If you want a distressed look, sand the edges lightly after painting. I’ve done this on a few windows, and it gives them that “vintage” feel without looking too forced.
Step 2: Pick the Right Paint (And Don’t Skimp)
Not all paint is created equal. For old windows, I recommend:
- Chalk paint – If you want a matte, vintage look. I love Annie Sloan (it’s pricey but worth it) or Rust-Oleum Chalked (budget-friendly).
- Exterior paint – If the window is going outside. I use Behr Premium,it’s durable and comes in so many colors.
- Milk paint – For a super-authentic vintage look. It’s a little trickier to work with, but the results are gorgeous.
Whatever you choose, always use a primer first. It makes the paint adhere better and lasts longer. (Trust me, I’ve learned this the hard way.)
Step 3: Finish Like a Boss
Once the paint is dry, it’s time to add the finishing touches. Here’s what I do:
- Add a clear topcoat (like Minwax Polycrylic) for protection. This is especially important if the window is going outside.
- Use a glaze (like Aneka Lab’s glaze) to add depth or a weathered look. I’ve used this to make windows look like they’ve been around for 100 years.
- Add decorative trim (like stencils or molding) for extra detail. I once added wainscoting-style trim to a window, and it looked like it belonged in a boutique hotel.
And if you’re feeling really fancy, you can even add stencils or decoupage for a custom look. I’ve done this with old book pages and lace,it’s surprisingly easy and looks amazing.
Mixing Vintage Windows with Modern Spaces (Yes, It Works)
Here’s the thing,I love vintage stuff, but I also love a clean, modern look. The good news? You don’t have to choose. Old windows can totally work in modern spaces if you know how to style them.
How to Blend Old and New
I’ve done this in my own home, and here’s what I’ve learned:
- Pair them with sleek furniture. A rustic window looks amazing next to a modern bed frame or a minimalist sofa.
- Use them as a room divider in an open-concept space. It adds warmth without closing off the room.
- Hang them as art in a gallery wall. Mix them with other vintage pieces (like old frames or mirrors) for a cohesive look.
- Add metallic accents. Gold or black hardware on a painted window gives it a luxury feel.
One of my favorite projects was turning an old window into a floating shelf in my living room. I painted it white, added hairpin legs, and styled it with modern decor. Now, it’s the perfect spot for my favorite books and plants.
If you’re worried about clashing, don’t be. The key is balance. One vintage piece in a modern room adds character without overwhelming the space.
Seasonal Decor Ideas (Because Your Windows Should Work Hard)
Here’s a little secret: old windows aren’t just for year-round decor. They’re perfect for seasonal displays. And since they’re easy to swap out, you can change your decor as often as you want.
Spring: Fresh and Floral
Fill an old window with fresh flowers or greenery. I’ve done this with potted succulents, eucalyptus, and even wildflowers from my garden. It’s like a mini greenhouse, and it smells amazing.
Pro tip: Use a pegboard to hang the window on the wall. That way, you can take it down and rearrange it whenever you want.
Summer: Garden Vibes
Turn your window into a vertical garden. I’ve used mine to grow herbs (basil, mint, rosemary,so handy for cooking!) and even strawberries. It’s like having a mini farm right in your kitchen.
If you don’t want to deal with dirt, fill it with dried flowers or sunflowers. It’s a great way to bring the outdoors in.
Fall: Cozy and Rustic
Fill your window with pinecones, pumpkins, and mums. I’ve done this in my entryway, and it’s the first thing guests see when they walk in. Instant fall vibes.
For a more permanent look, paint the window a deep burnt orange or dark green. It’s a great way to add color to your home without committing to a full paint job.
Winter: Frosty and Festive
This is my favorite. I fill my windows with evergreen branches, pinecones, and fairy lights. It’s like a little winter wonderland. I’ve even added fake snow (the fluffy kind you can buy at Michaels) for extra coziness.
If you’re feeling extra, hang holiday ornaments from the window frame. It’s a great way to repurpose old decorations.
Troubleshooting Common Problems (Because Nothing’s Perfect)
Let’s be real,old windows come with issues. Rust, rot, broken glass… it’s all part of the fun. But don’t worry, I’ve dealt with all of it, and I’m here to tell you how to fix it.
Rust and Rot: The Enemies of Your Window
If your window has rust or rot, don’t panic. Here’s how I fix it:
- Scrub it down with a wire brush and soapy water. Get into all the nooks and crannies.
- Sand it smooth with 80-grit sandpaper. This removes the rust and preps the surface for paint.
- Apply a rust converter (like Rust-Oleum Rust Reformer) to stop future rust.
- Seal it with paint or stain. I like using Minwax Helmsman for outdoor windows,it’s tough and weather-resistant.
If the rot is really bad (like, the wood is crumbling), you might need to replace the frame. But if it’s just surface-level, this method works like a charm.
Broken Glass: Fix It or Replace It?
If a pane is cracked or missing, you’ve got two options:
- Replace it with new glass. This is the best option if you want a polished look. I buy tempered glass from Home Depot and cut it to size with a glass cutter.
- Leave it as-is for a distressed look. I’ve done this on a few windows, and it adds character. Just make sure the edges are smooth (no sharp bits!).
Pro tip: If you’re replacing the glass, use safety glass (like Lowe’s tempered glass). It’s safer, especially if kids or pets are around.
Sticky or Broken Hardware: Don’t Let It Ruin Your Project
Old windows often come with terrible hardware. Hinges squeak, locks stick, and handles fall off. Here’s how I fix it:
- Lubricate the hinges with WD-40 or a little oil. If they’re really stuck, soak them in vinegar overnight,it works like magic.
- Replace broken hardware with new pieces. I love Anthropologie’s vintage-style knobs, but you can find affordable options at Home Depot.
- Add a little charm with decorative pulls or knobs. It’s a small detail, but it makes a big difference.
If the hardware is beyond saving, don’t stress. Sometimes, it’s easier (and cheaper) to just remove it and style the window without it. I’ve done this with a few windows, and they look just as good,if not better,without the old hardware.
Final Thoughts (Or, How to Get Started Today)
So, there you have it,everything you need to know to repurpose old windows into stunning home decor. The best part? You don’t need to be a pro. You don’t need expensive tools. You just need a little creativity, a willingness to get your hands dirty, and a window (or five) waiting for a second life.
If you’re just starting out, I’d recommend:
- Grabbing a window from a demolition site or a flea market (they’re often free or cheap!).
- Trying a simple project first,like painting it and hanging it as art.
- Experimenting with different finishes (chalk paint, stain, glaze).
- Don’t be afraid to make mistakes. That’s how you learn!
And if you’re feeling overwhelmed, start small. My first project was a single window I turned into a mirror. It took me a weekend, cost me $20, and now it’s one of my favorite pieces in the house.
So, what are you waiting for? Grab a window, grab some paint, and get creative. Your home (and your wallet) will thank you.)
Now, go forth and upcycle! And if you try any of these projects, send me a photo,I’d love to see what you create.