
Essential Tools Every Homeowner Should Have (And Why I Can’t Live Without Them)
Let me tell you something I’ve learned the hard way: a well-stocked toolbox is the difference between a DIY project that goes smoothly and one that turns into a tearful, late-night call to a handyman. I still remember the time I tried to hang a floating shelf in my kitchen using nothing but a butter knife and sheer determination. (Spoiler: The shelf is now a doorstop.)
Since then, I’ve built up a collection of tools that make me feel like I can tackle just about anything,from patching drywall to building a farmhouse-style coffee table. These aren’t just random tools; they’re the ones I reach for again and again. If you’re just starting out, this is the list I wish I’d had when I began.
I’ll break it down for you: hand tools, power tools, safety gear, and the must-haves for plumbing, electrical, and outdoor work. And yes, I’ll include the mistakes I’ve made so you can avoid them.
Why Every Homeowner Needs a Toolbox (And No, It’s Not Just for Men)
I used to think a toolbox was just for “serious” DIYers or people who knew what they were doing. Then I moved into my first house and realized how often little things break,or how much money you save by fixing them yourself. A loose cabinet handle? A dripping faucet? A wonky shelf? These are all things I can handle now because I have the right tools.
But here’s the thing: a toolbox isn’t just about saving money (though it absolutely does that). It’s also about emergency preparedness and confidence. Last winter, we had a power outage that lasted three days. While my neighbors were fumbling in the dark, I had my cordless drill, a battery-powered lantern, and a multi-tool ready to go. I even jury-rigged a makeshift phone charger when the kids’ tablets died. (Pro tip: A power bank and a car charger are also lifesavers.)
And let’s talk about confidence. There’s nothing like the feeling of fixing something yourself,especially when it’s something you thought you’d have to hire someone for. A few years ago, I built a farmhouse-style coffee table from scratch, and I still get a little thrill every time I look at it. Tools gave me the skills to do that.
So, what’s the payoff? Here’s what a good toolbox does for you:
- Saves you money,No more overpaying for “simple” repairs.
- Prepares you for emergencies,Because you never know when you’ll need to patch a hole or unclog a drain in a hurry.
- Boosts your DIY confidence,Once you’ve fixed a few things, you’ll start tackling bigger projects. (I went from scared of a hammer to building bookshelves,see my favorites here.)
If you’re just starting out, don’t overwhelm yourself. Start with the basics, and build your collection over time. I still add to mine,like when I realized I needed a better sander for my stair project. (More on that later.)
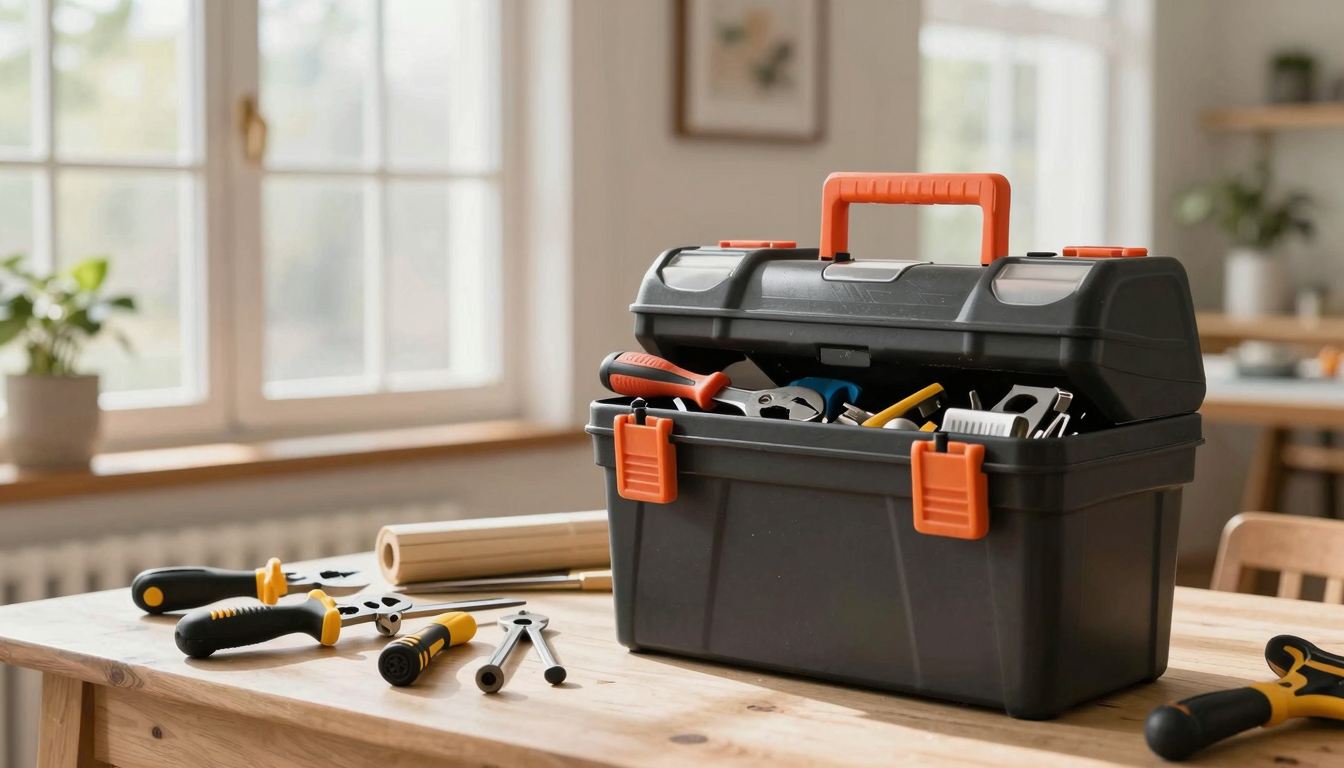
Hand Tools: The Non-Negotiables for Basic Repairs
You don’t need a garage full of tools to handle most home repairs. In fact, I’ve found that having too many tools can be just as bad as having too few,because you end up not knowing which one to use. Here’s what I keep in my toolbox for everyday fixes:
- Hammer,I use my Estwing 20 oz framers hammer for just about everything. It’s heavy enough to drive nails but light enough for precision work. (I learned this the hard way after buying a cheap hammer that bent the first time I hit a stubborn nail.)
- Screwdrivers (flathead and Phillips),I keep a set of Klein precision screwdrivers in my toolbox. They’re magnetic, so they don’t slip off screws, and they fit in tight spaces. I also have a cordless drill with a screwdriver bit for when I’m dealing with a lot of screws.
- Pliers (needle-nose and slip-joint),Needle-nose pliers are my secret weapon for bending wires, pulling nails, and reaching into tight spots. I once used them to fix a running toilet when the old rubber flapper was stuck. (Turns out, a little pliers action and a new flapper saved me $150.)
- Tape measure,I swear by my 25-foot Stanley tape measure. It’s bright yellow, so I never lose it, and it has a magnetic tip so it stays put. I’ve measured everything from accent walls to fireplace tiles with this thing.
- Level,A good level is non-negotiable. I use a 24-inch Johnson level for hanging pictures, shelves, and even my wainscoting project. Nothing looks worse than a crooked shelf.
These tools cover about 80% of the small repairs and DIY projects I tackle. And here’s a pro tip: keep them organized. I used to dump everything into a plastic bin, and I’d spend 10 minutes digging for the right screwdriver. Now, I use a pegboard in my garage with labeled hooks for each tool. It’s a game-changer.
Power Tools: The Game-Changers (And How I Learned to Use Them Safely)
Power tools are where things get exciting,and where I made some of my biggest mistakes. My first foray into power tools was a disaster. I bought a cheap circular saw from a big-box store, and the blade kept binding. I nearly took my finger off trying to force it through a 2×4. (Lesson learned: never cheap out on safety gear or quality tools.)
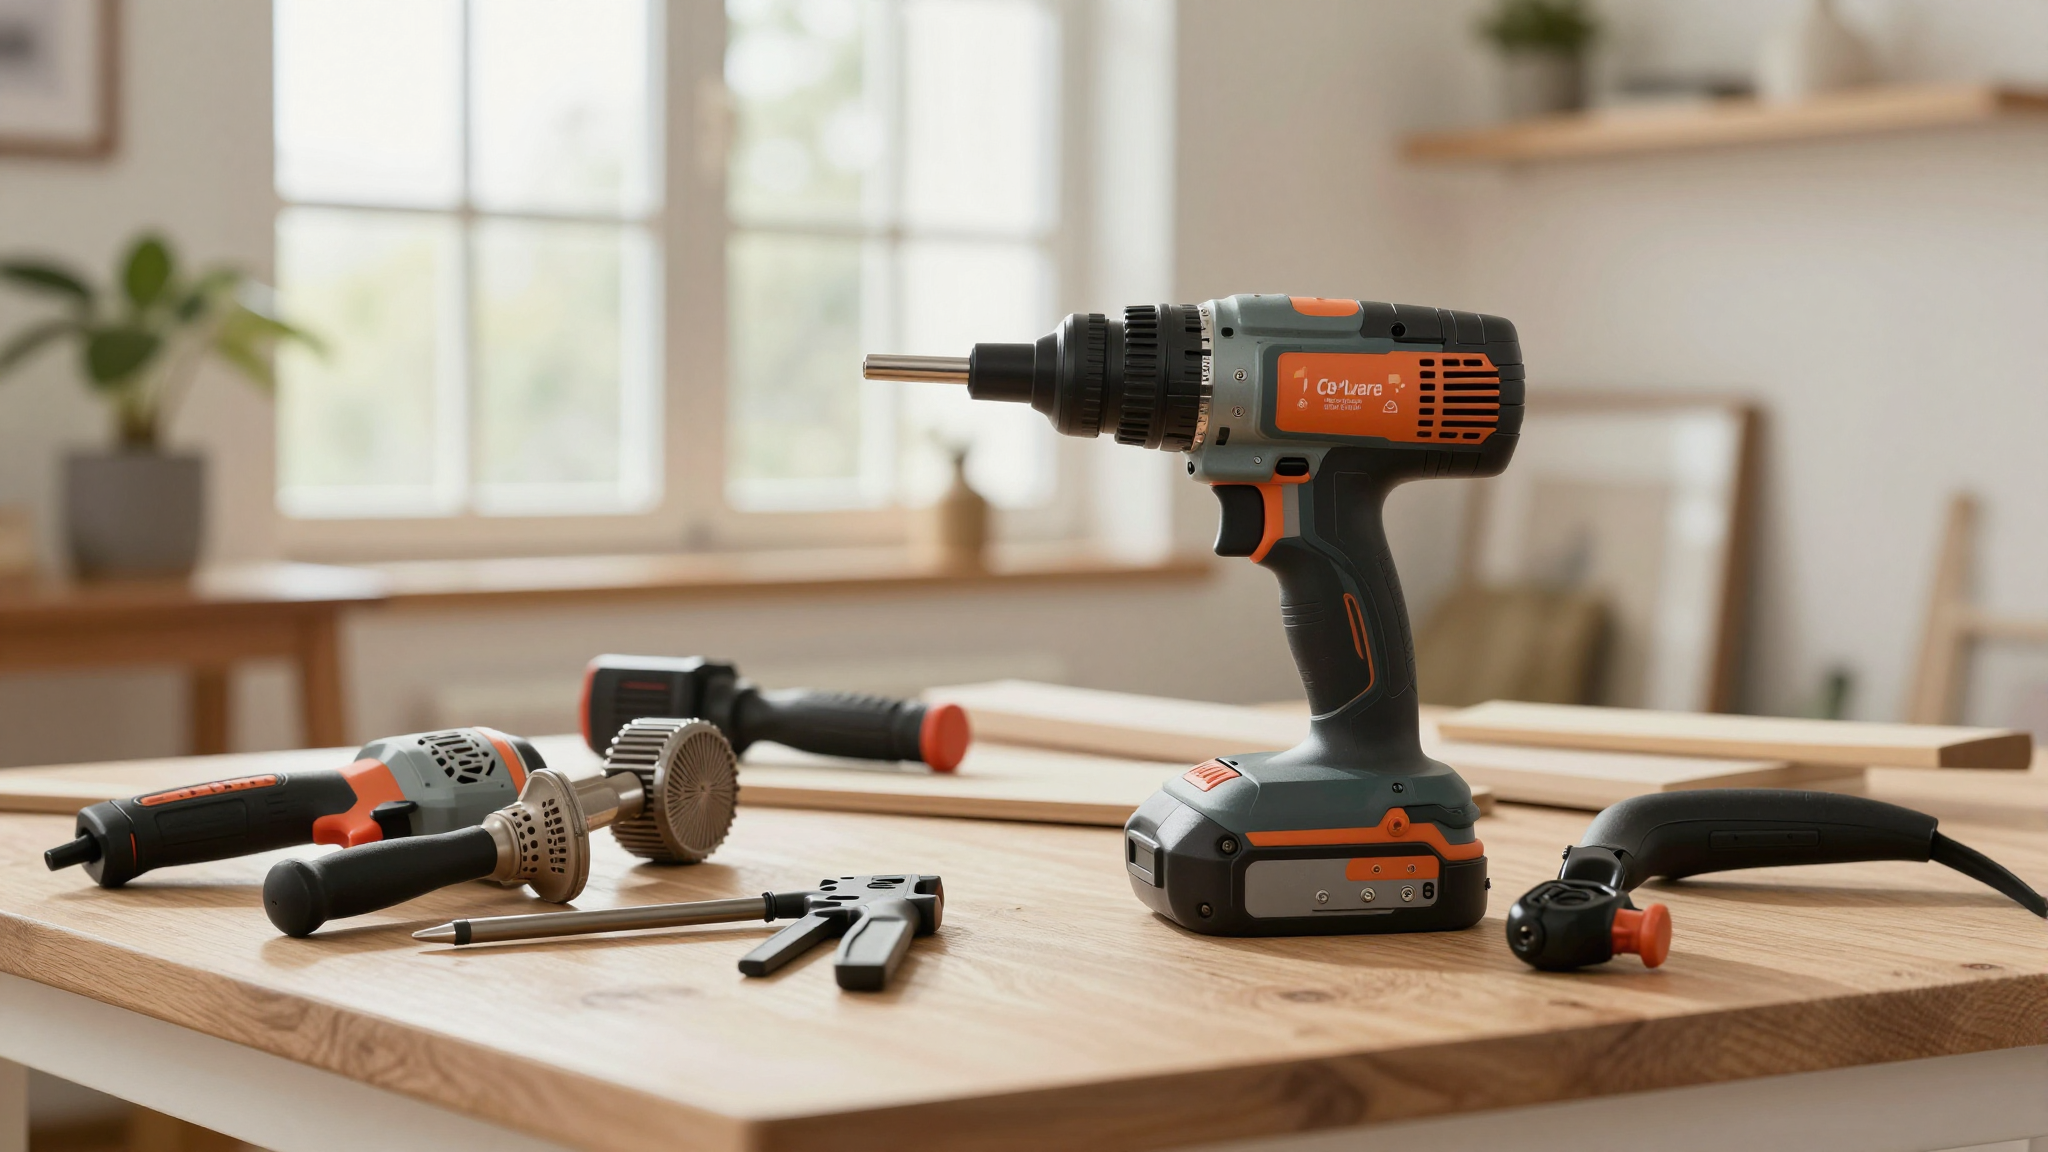
Now, here’s what I consider essential:
- Cordless drill,This is the single most useful power tool in my arsenal. I use my DEWALT 20V Max drill for everything from driving screws into bedroom furniture to assembling IKEA bookshelves. I even used it to strip carpet tacks off my stairs. (Not recommended, but it worked in a pinch.)
- Power saw,I have a DEWALT circular saw for cutting lumber and a cordless jigsaw for curves and intricate cuts. I used the jigsaw to cut out a custom gallery wall frame last year, and it was a breeze.
- Sander,Sanders are a must if you want a professional finish. I use an orbital sander for smoothing wood before staining or painting. I learned this the hard way when I tried to upcycle a dresser without sanding first. The paint looked streaky and uneven, and I had to strip it all off and start over.
If you’re new to power tools, start with a cordless drill and a circular saw. They’re versatile, and you’ll use them for just about every project. And whatever you do, wear safety gear. (More on that in a bit,because I’ve got the battle scars to prove it.)
Measuring and Marking Tools: The Secret to Precision (And Avoiding Mistakes)
Measure twice, cut once. That’s the DIYer’s mantra, and it’s one I wish I’d taken more seriously when I first started. I once cut a piece of wood for a bookshelf without double-checking my measurements, and it was an inch too short. I had to redo the whole thing. (Rookie mistake.)
Here’s what I keep in my toolbox for measuring and marking:
- Tape measure,Like I mentioned earlier, my Stanley 25-footer is my go-to. It’s accurate, durable, and has a locking mechanism so it doesn’t snap back and smack you in the face.
- Level,A good level is essential for hanging anything straight. I also use it to check if my wainscoting is level before I nail it up.
- Square,A speed square is perfect for marking 90-degree angles and checking cuts. I used it to build my coffee table and to ensure the legs were perfectly square.
- Pencil and marker,A simple carpenter’s pencil is all you need for marking wood. For walls or larger projects, I use a Sharpie oil-based marker because it doesn’t smudge.
- Chalk line,This is a game-changer for marking long, straight lines. I used it to lay out an accent wall before painting, and it saved me from a wonky, crooked line.
- Stud finder,I keep a Zircon stud finder in my toolbox because nothing is more frustrating than hanging a heavy picture or shelf and having it pull out of the drywall. (Ask me how I know.)
Pro tip: always mark your cuts on the waste side of the wood. That way, if you accidentally cut on the wrong side, you’ll still have your measurements on the good piece. I learned this after ruining a perfectly good board because I marked the wrong side.
Safety Gear: Because I’d Rather Not End Up in the ER
I’ll be honest: I used to skip the safety gear. I thought goggles were for wimps and gloves were unnecessary. Then I got a splinter the size of a toothpick in my thumb while sanding a table. (It took two weeks to work its way out.) Since then, I’ve become a safety gear evangelist.
Here’s what I always wear or keep nearby:
- Safety glasses,I wear DEWALT over-the-glasses goggles whenever I’m using power tools. They’re comfortable, and I don’t have to take my glasses off. (Trust me, you don’t want to know what happens when you forget and a piece of wood flies up.)
- Dust mask,Sanders and power tools create a ton of dust. I wear a 3M dust mask to avoid inhaling it. I also keep a shop vacuum nearby to clean up as I go.
- Gloves,I use Mechanix Wear gloves for protection. They’re durable but still let me grip tools well. I once tried to hammer a nail without gloves and ended up with a bruised thumb for a week.
- First aid kit,I keep a well-stocked first aid kit in my garage and one in my car. Bandages, antiseptic wipes, and tweezers (for splinters, obviously) are must-haves.
- Fire extinguisher,I keep a fire extinguisher in my garage and one in the kitchen. I’ve never had to use it, but I sleep better knowing it’s there,especially when I’m using power tools or painting.
And here’s a tip I wish I’d known sooner: store your tools properly. I used to toss everything into a bin, and my screwdrivers would get all tangled up. Now, I use a DEWALT TSTAK organizer to keep everything separated and easy to find. It’s a small thing, but it saves me so much time.
Plumbing and Electrical Tools: The Basics for Common (and Not-So-Common) Fixes
Plumbing and electrical work can be intimidating, but you don’t need to be a pro to handle the basics. I’ve fixed plenty of leaks, unclogged drains, and even replaced a light switch,all with just a few key tools.
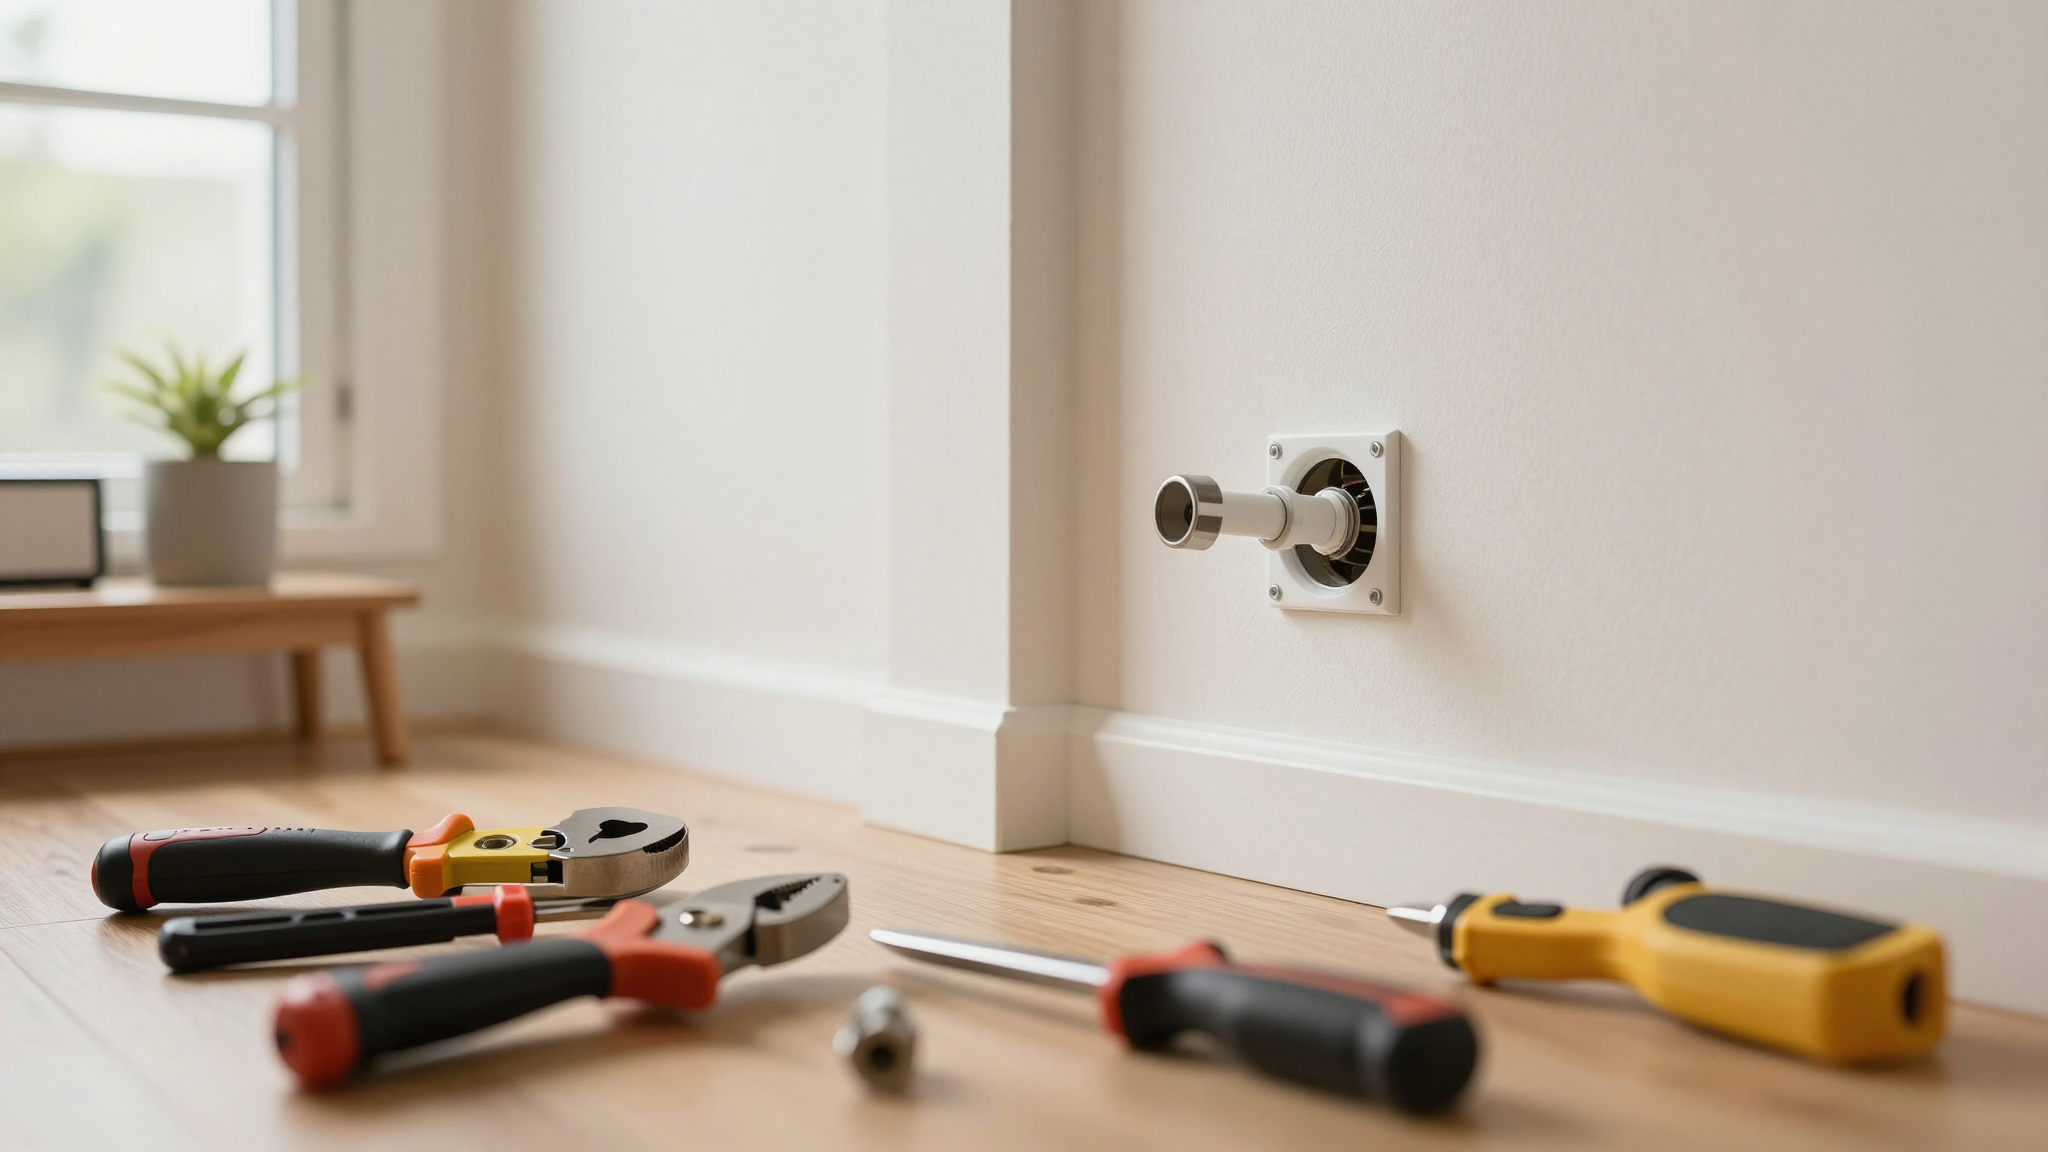
Here’s what I keep on hand:
- Plunger,A good plunger is essential for unclogging toilets and drains. I have a Ridgid toilet plunger and a sink plunger in my laundry room.
- Wrench,An adjustable wrench is perfect for tightening loose pipes. I use a Channellock adjustable wrench for most jobs.
- Pipe cutter,If you ever need to cut a pipe (like when I had to replace a section of copper piping under my sink), a pipe cutter makes the job easy.
- Voltage tester,This is non-negotiable if you’re working with electricity. I use a non-contact voltage tester to check if a wire is live before I touch it. I learned this the hard way when I shocked myself trying to replace a light switch. (Let’s just say I didn’t sleep well for a week after that.)
- Wire stripper,If you’re working with wires, a wire stripper is a must. I used one to replace a thermostat wire last summer.
If you’re new to plumbing or electrical work, start with small projects and work your way up. I began by fixing a running toilet and gradually moved on to more complex tasks. And always, turn off the power or water before you start. (Yes, I’ve learned this the hard way too.)
Outdoor and Gardening Tools: Because Your Yard Deserves Love Too
I used to think gardening tools were just for “serious” gardeners. Then I moved into a house with a yard, and I realized how much easier life is when you have the right tools. No more struggling with a dull lawn mower or a bent rake.
Here’s what I keep in my shed:
- Lawn mower,I have a Husqvarna self-propelled mower. It’s a bit of an investment, but it makes mowing so much easier,especially on hills. (I live in a hilly area, and pushing a cheap mower up those slopes is a workout I don’t need.)
- Trimmer,A cordless trimmer is perfect for edging around sidewalks and cleaning up overgrown areas. I use it to prep my yard for winter and to keep the edges looking neat.
- Hoe, rake, and trowel,These are the holy trinity of gardening. I have a razor-back rake for leaves and a Fiskars trowel for planting. They’re ergonomic, so they don’t wreck my back.
- Snow blower,If you live in a snowy climate, a snow blower is a lifesaver. I shoveled snow by hand for years before I finally broke down and bought one. Best. Investment. Ever.
- Leaf blower,A leaf blower makes cleanup a breeze. I use it to clear leaves off my deck and driveway in the fall.
Pro tip: keep your outdoor tools clean and sharp. I oil my mower and trimmer after every use, and I sharpen my hoe and rake blades with a tool sharpener. It makes a huge difference in how well they work.
Organizing and Maintaining Your Tools: Because a Messy Toolbox = a Frustrating Project
I used to be the queen of the messy toolbox. I’d dig through a bin of tools, pull out the wrong size screwdriver, and then spend 10 minutes looking for the right one. It was enough to make me want to give up on DIY entirely.
Now, I’ve got a system that keeps my tools organized and ready to go:
- Store tools properly,I use a pegboard and TSTAK organizers in my garage. Everything has a place, and I can see what I have at a glance. No more digging through a bin!
- Clean and maintain tools after each use,I wipe down my tools with a rag and apply a little 3-in-1 oil to prevent rust. I also sharpen blades and check for wear and tear. (A dull saw blade is dangerous,it can slip and cause injuries.)
- Keep an inventory list,I have a spreadsheet where I list all my tools and when I last used them. It helps me keep track of what I have and what I need to replace. I also note when I need to buy more batteries or blades.
Here’s a bonus tip: label everything. I use a permanent marker and masking tape to label bins and drawers. That way, even my kids can help me find what I need.
And if you’re just starting out, don’t overbuy. I used to think I needed every tool under the sun, but now I realize that a few high-quality tools are better than a garage full of cheap ones. Start with the basics, and build your collection as you take on bigger projects.
Final Thoughts (And a Challenge for You)
If there’s one thing I’ve learned from years of DIYing, it’s this: the right tools make all the difference. They save you time, money, and frustration,and they give you the confidence to tackle projects you never thought you could.
So here’s my challenge to you: pick one project you’ve been putting off and gather the tools you need to do it. Maybe it’s patching a hole in your drywall, painting an accent wall, or installing peel-and-stick wallpaper. Start small, and work your way up.
And if you get stuck? Ask for help. I’ve learned so much from online tutorials, DIY groups, and even my handy neighbor (who’s always happy to lend a tool or two).
Now, go forth and DIY,and may your tools never let you down.