
How to Make Your Own Throw Pillows from Scratch (No Sewing Degree Required!)
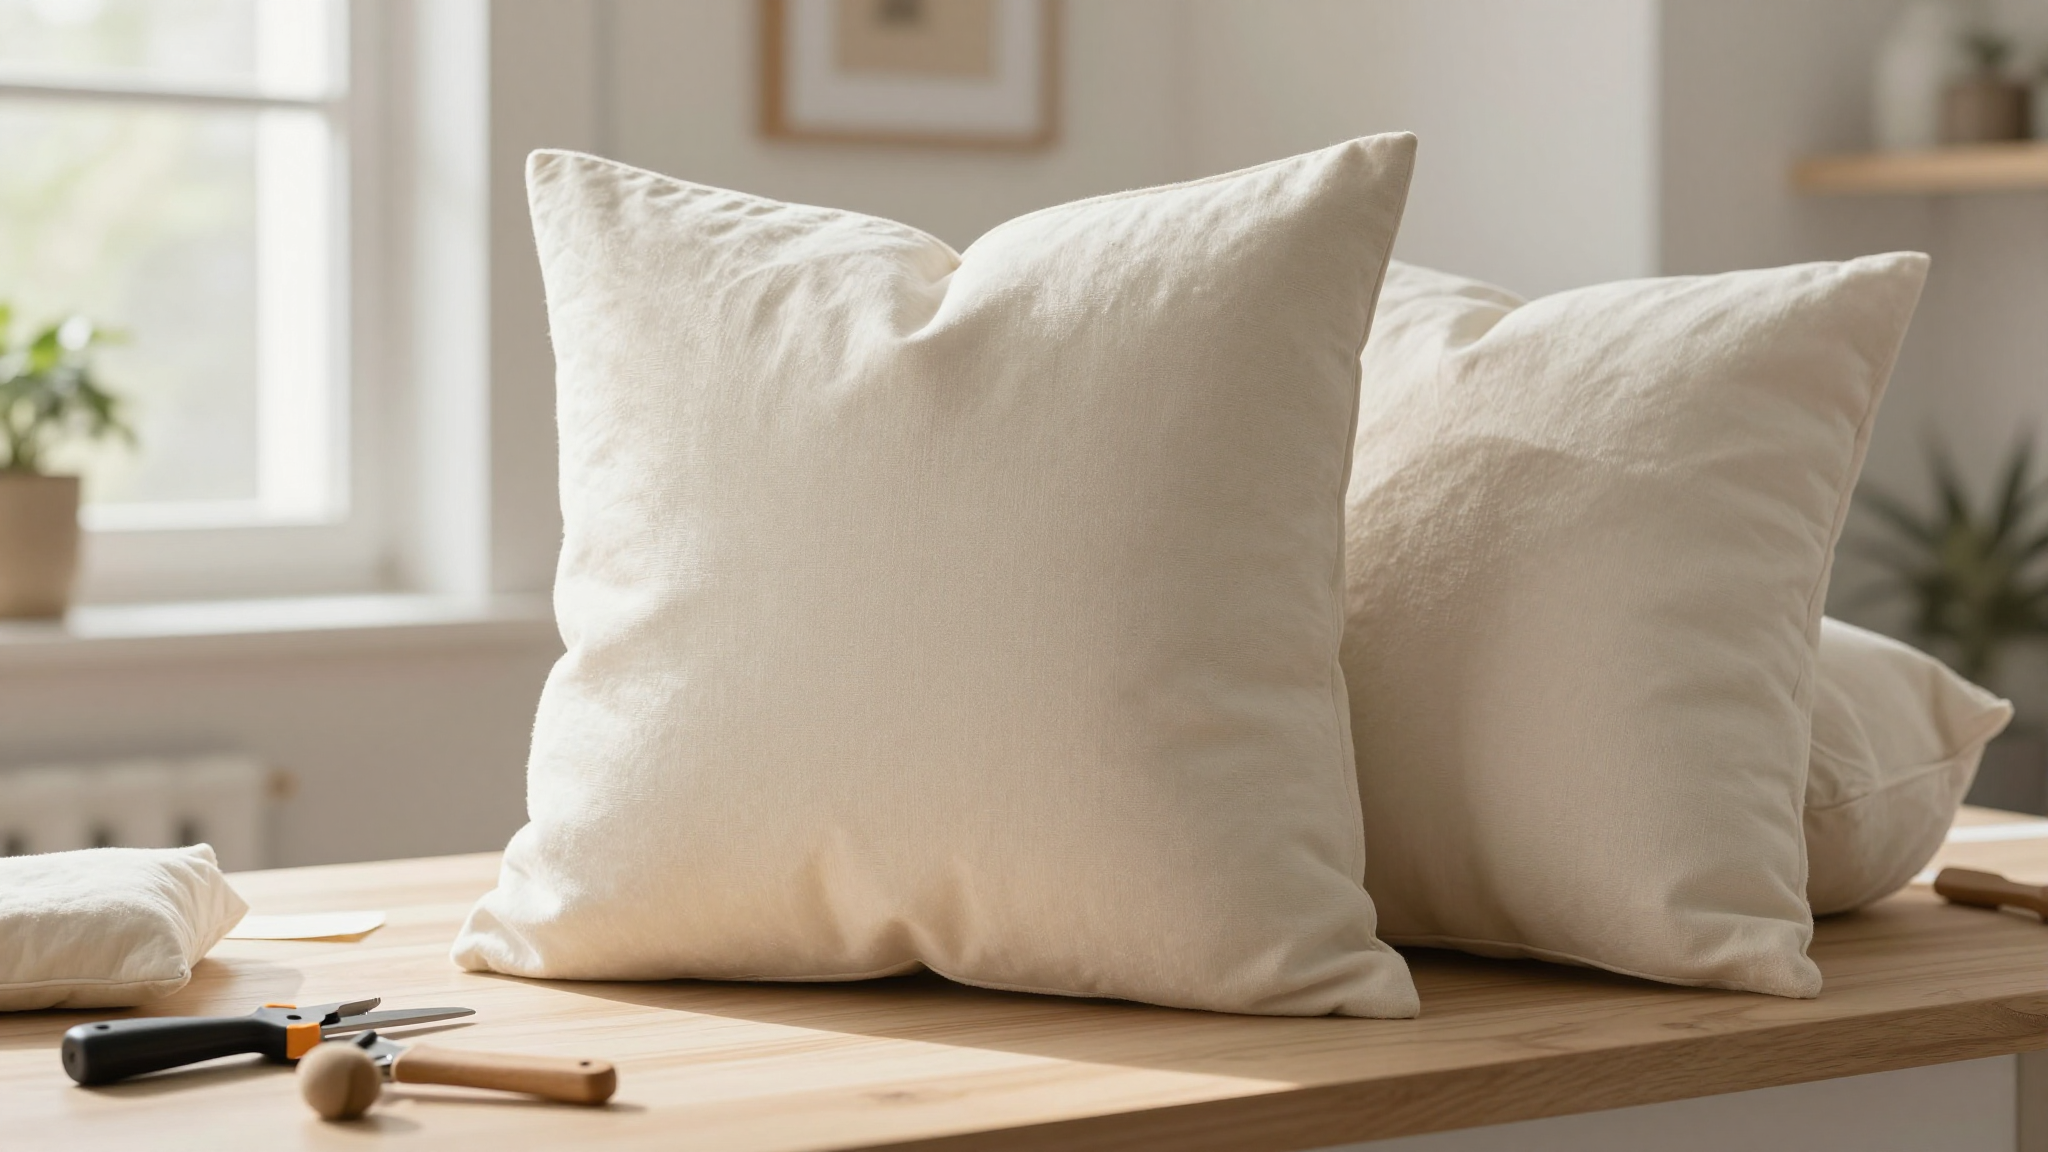
Let me tell you, there’s nothing quite like the satisfaction of fluffing up a throw pillow you made yourself,especially when it’s the perfect shade of blue to match your living room or has that one quirky embroidered detail your kids picked out. I’ve been sewing throw pillows for years now, and I can promise you: this is one of those projects that looks way harder than it actually is. You don’t need a fancy sewing machine (though mine, a trusty Brother CS7000X, has saved me more times than I can count) or a degree in home decor. All you need is a little patience, the right fabric, and a willingness to laugh when your first pillow looks more like a lumpy potato than a Pinterest masterpiece.
I’ll walk you through every step,from picking the perfect fabric (and avoiding the ones that’ll make you want to pull your hair out) to adding those little details that make your pillows feel like *you*. And yes, I’ll include the mistakes I made along the way so you don’t have to repeat them. Ready? Let’s get started.
Why Bother Making Your Own Throw Pillows?
I get it,stores sell throw pillows. You could walk into Target, grab a few, and call it a day. But here’s the thing: store-bought pillows never quite match your space the way a handmade one does. They’re also way more expensive than you’d think for what they are. A few years ago, I splurged on a set of “designer” throw pillows for my couch, and within six months, the seams started splitting because my kids treated them like chew toys. Lesson learned: if you want something durable and stylish, you’ve got to make it yourself.
Plus, there’s something weirdly therapeutic about sewing. It’s like adult coloring books, but with actual results you can use. I’ve made pillows for my kids’ rooms, my bedroom, even a few as gifts (though I’ll admit, I’ve had to redo a couple after the recipients side-eyed the slightly crooked seams). The best part? You can customize them in ways no store ever could. Need a pillow with your dog’s face on it? Go for it. Want to mix patterns like a mad scientist? Do it. The only rule is that there are no rules.
If you’re new to sewing, don’t worry,this project is the perfect way to dip your toes in. It’s simple enough to build confidence but flexible enough to let you get creative. And if you mess up? Hey, that’s what fabric scraps and a second attempt are for. Now, let’s talk about what you’ll need to get started.
What You’ll Need: A Realistic Shopping List
Before you dive in, let’s talk supplies. I’ll be honest: the first time I tried making throw pillows, I overbought like a maniac. I had three types of thread, five different needles, and enough fabric to upholster a small sofa. Spoiler alert: you don’t need most of that. Here’s what you actually need to start:
- Fabric: Start with something easy to work with, like cotton or linen. I love using Joann Fabrics’ Kona Cotton because it’s affordable, comes in a million colors, and doesn’t stretch out of shape when you sew it. If you’re feeling fancy, velvet or faux suede add a luxe touch, but they’re trickier to work with (more on that later). Avoid anything too slippery, like satin, unless you’re ready to curse a lot.
- A sewing machine: You don’t need a top-of-the-line model, but it helps to have something basic that can handle thicker fabrics. My Brother CS7000X has been a workhorse for years, but even a simple mechanical machine will do. If you’re borrowing or buying used, just make sure it can do a straight stitch and a zigzag.
- Scissors and a rotary cutter: Sharp scissors are non-negotiable. I ruined a perfectly good pair of fabric scissors by using them to cut paper (don’t do this), so I keep a separate pair just for sewing. A rotary cutter makes cutting fabric straight lines a breeze, but good scissors work in a pinch.
- Thread: Match the thread to your fabric. For cotton, a good all-purpose polyester thread works great. If you’re using something heavier, like denim, go for a heavier-duty thread.
- Pins or clips: I swear by Clover KamSnaps because they’re easier to use than pins and won’t leave holes in your fabric. But regular pins work too,just don’t swallow them (yes, I’ve seen it happen).
- Pillow insert: You can buy these pre-made, or if you’re feeling ambitious, you can stuff your pillow with polyfill. I usually grab inserts from Home Depot or Amazon because they’re cheap and come in standard sizes. If you’re making a custom size, you’ll need to calculate how much filling you need (more on that later).
- Iron and ironing board: This is one of those tools I used to skip until I realized how much easier sewing is when your fabric isn’t wrinkled to high heaven. Trust me, iron your fabric before you cut it.
Pro tip: If you’re just starting out, don’t go crazy buying every tool under the sun. Start with the basics, and you can always add to your collection later. And if you’re on a budget? Check out thrift stores or Facebook Marketplace for fabric and supplies,you’d be surprised what people give away for free!
Picking the Right Fabric: Avoid These Mistakes
Choosing fabric is where a lot of beginners (myself included) go wrong. You might pick something that looks pretty on the bolt but turns into a sewing nightmare. Here’s what I’ve learned the hard way:
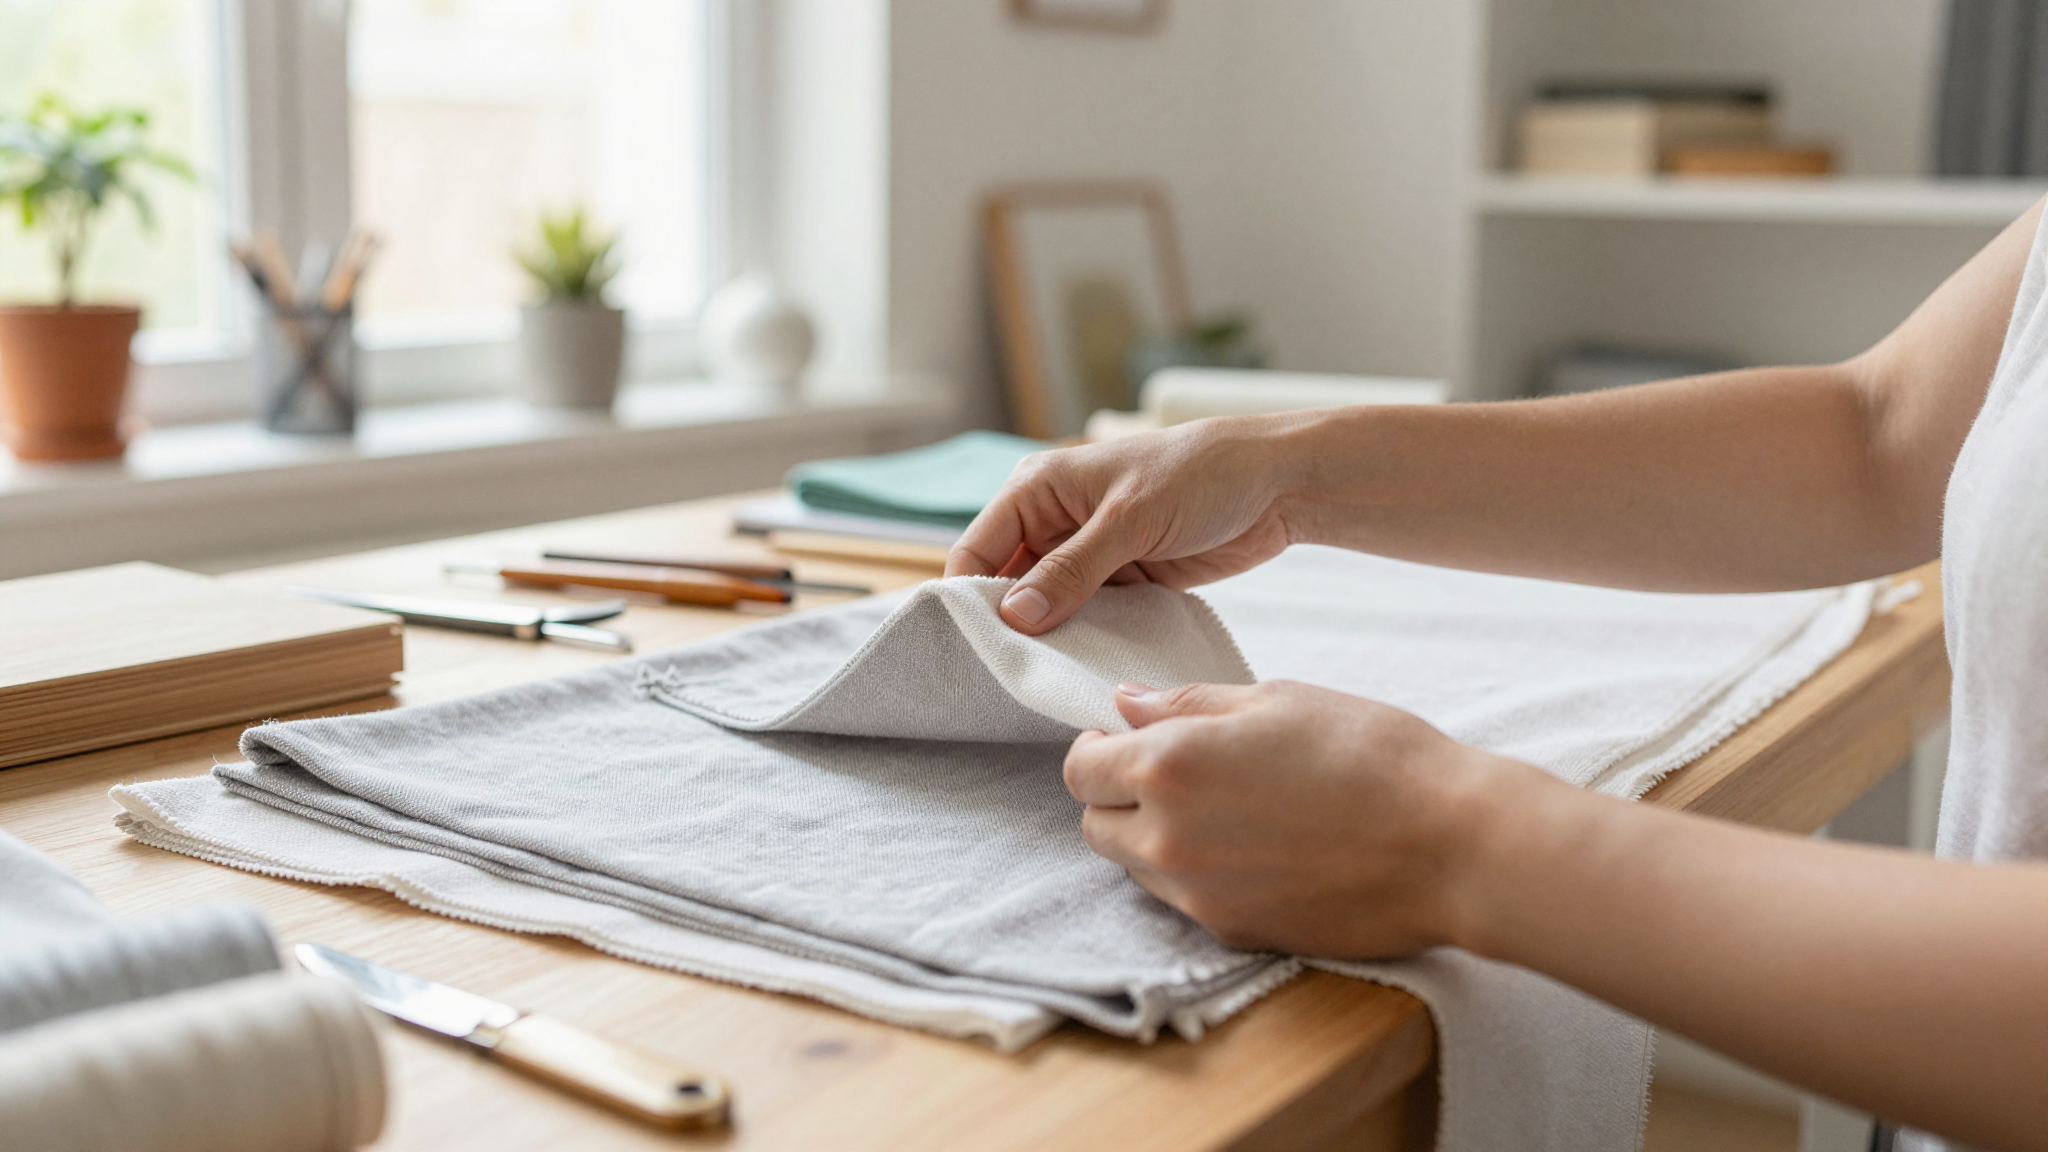
First, test the fabric before you buy it. If it’s stretchy, slippery, or just plain difficult to cut, put it back. I once bought a gorgeous silk-blend fabric for a pillow and spent an entire afternoon fighting with it. The seams kept popping, and the fabric kept shifting under the needle. Lesson learned: stick to stable fabrics when you’re starting out.
Second, think about durability. If your pillows are going on the couch where your kids (or your dog) will sit on them, go for something sturdy like cotton canvas or linen. Velvet looks amazing, but it’s a pain to sew and shows every little stain. I have a velvet pillow in my bedroom that I only use for decoration,no way am I letting my kids near it.
Third, consider the color and pattern. Solid colors are the easiest to work with, especially if you’re new to sewing. But if you want to mix patterns, here’s a trick I learned: pick one dominant pattern and use smaller patterns or solids as accents. For example, I used a big floral print for the front of a pillow and a small striped fabric for the back. It looked intentional (even though it was totally accidental at first).
And finally, buy a little extra fabric. You’ll need it for mistakes, seams, and any decorative elements you want to add. I always buy 10-15% more than I think I need, and I’ve never regretted it.
If you’re not sure where to start, here are a few of my go-to fabrics for throw pillows:
- Cotton: Easy to sew, breathable, and comes in a million colors. Great for everyday use.
- Linen: Gives a casual, textured look. It wrinkles easily, but I kind of like that lived-in vibe.
- Velvet or Faux Velvet: Luxe and cozy, but harder to sew. Best for decorative pillows you won’t wash often.
- Denim: Super durable and great for a casual, farmhouse-style look. Just make sure to use a denim needle in your sewing machine.
- Outdoor Fabric: If you want pillows for your porch or patio, this stuff is stain-resistant and weatherproof. I used it for some pillows in my backyard seating area, and they’ve held up great.
Pro tip: If you’re mixing fabrics, make sure they’re all similar in weight. Sewing a lightweight cotton with a heavy velvet? That’s a recipe for frustration. Stick to fabrics that are similar in thickness for the easiest sewing experience.
Setting Up Your Workspace: Where the Magic (and the Mess) Happens
Before you start cutting, you need a good workspace. I’ll be honest: my sewing area is a hot mess most of the time. But even with the chaos, there are a few things that make the process smoother.
First, clear a big, flat surface. I use my dining room table because it’s large enough to spread out fabric without it dragging on the floor. If you don’t have a table, a clean kitchen counter or even the floor (if it’s clean!) works in a pinch. Just make sure you have enough room to cut fabric without it shifting around.
Second, organize your tools. I keep my scissors, pins, and thread in a small caddy so I don’t have to hunt for them mid-project. I also have a little bin for fabric scraps because, let’s be real, you’ll always have leftovers.
Third, wash and iron your fabric first. This is one of those steps I used to skip until I learned the hard way. If you don’t pre-wash your fabric, it might shrink after you’ve already sewn your pillow, and suddenly your perfect pillow is lumpy and uneven. I’ve had to redo a pillow more than once because I skipped this step. Don’t be like me,wash and iron your fabric before you start!
Finally, have good lighting. I swear by a bright clip-on LED light so I can see what I’m doing, especially if I’m sewing in the evening. Nothing worse than squinting at your stitches and realizing you’ve just sewn a wonky line.
Oh, and one more thing: keep snacks and drinks far away. I learned this the hard way when I spilled coffee on a half-finished pillow. Now I keep a water bottle on the other side of the room and snack on something that won’t leave crumbs (like a banana) while I work.
Basic Sewing Techniques: Don’t Panic, You’ve Got This
If you’re new to sewing, don’t worry,you don’t need to be an expert to make throw pillows. But there are a few basic techniques that will make your life a lot easier. Here’s what you need to know:
First, threading your machine. This is where I used to get frustrated, but once you get the hang of it, it’s easy. If you’re using my Brother CS7000X, there’s a little diagram on the machine that shows you exactly where the thread goes. If you’re using a different machine, check the manual or look up a video on YouTube. Pro tip: If your thread keeps breaking, make sure it’s not tangled and that the tension is set correctly. I usually start with a medium tension and adjust from there.
Second, sewing a straight line. This is easier said than done, especially if you’re nervous. To practice, grab a scrap of fabric and sew a few lines. If your lines are wonky, slow down and focus on guiding the fabric instead of rushing. I also like to use seam grip (a temporary fabric stabilizer) to keep the fabric from shifting while I sew. It’s a game-changer for beginners.
Third, backstitching. This is how you secure your stitches so they don’t come undone. Most sewing machines have a backstitch function,just press the button or use the lever to sew a few stitches backward at the start and end of your seam. If you skip this step, your seams might unravel, and trust me, nothing is more frustrating than finishing a pillow only to have it fall apart.
Finally, pressing your seams. This means using an iron to flatten the seams after you’ve sewn them. It makes your pillow look way more professional and prevents bulkiness. I press my seams open (meaning I fold them flat so they lay flat against the fabric) for a cleaner look. If you’re not sure how, just search “how to press seams open” on YouTube,there are tons of great tutorials.
And here’s a bonus tip: practice on scrap fabric first. I always cut a few extra pieces of fabric just to test my stitches and get comfortable with the machine. It’s way better to mess up on a scrap than on your actual pillow!
Step-by-Step: How to Sew a Throw Pillow (Without Losing Your Mind)
Alright, let’s get to the good stuff: actually making the pillow. I’ll walk you through the process step by step, but if you get stuck, don’t panic,I’ve included some troubleshooting tips at the end of this section.
First, decide on your size. Throw pillows usually range from 16×16 inches to 20×20 inches, but you can make them whatever size you want. If you’re using a pre-made pillow insert, check the size and add 1-2 inches to each side for the seam allowance (that’s the extra fabric you need to sew the edges). For example, if your insert is 16×16 inches, cut your fabric pieces 18×18 inches (1 inch extra on each side).
Next, cut your fabric. You’ll need two pieces of fabric for the front and back of the pillow. If you want a simple pillow, you can use the same fabric for both. If you want something fancier, you can mix and match. For example, I once made a pillow with a floral front and a solid back, and it looked amazing.
Now, pin the fabric right sides together. This means the sides of the fabric that will be on the inside of the pillow should be facing each other. If you’re using different fabrics for the front and back, make sure the sides you want to show are facing outward. Pin the fabric together along the edges, leaving one side open so you can turn the pillow right side out later.
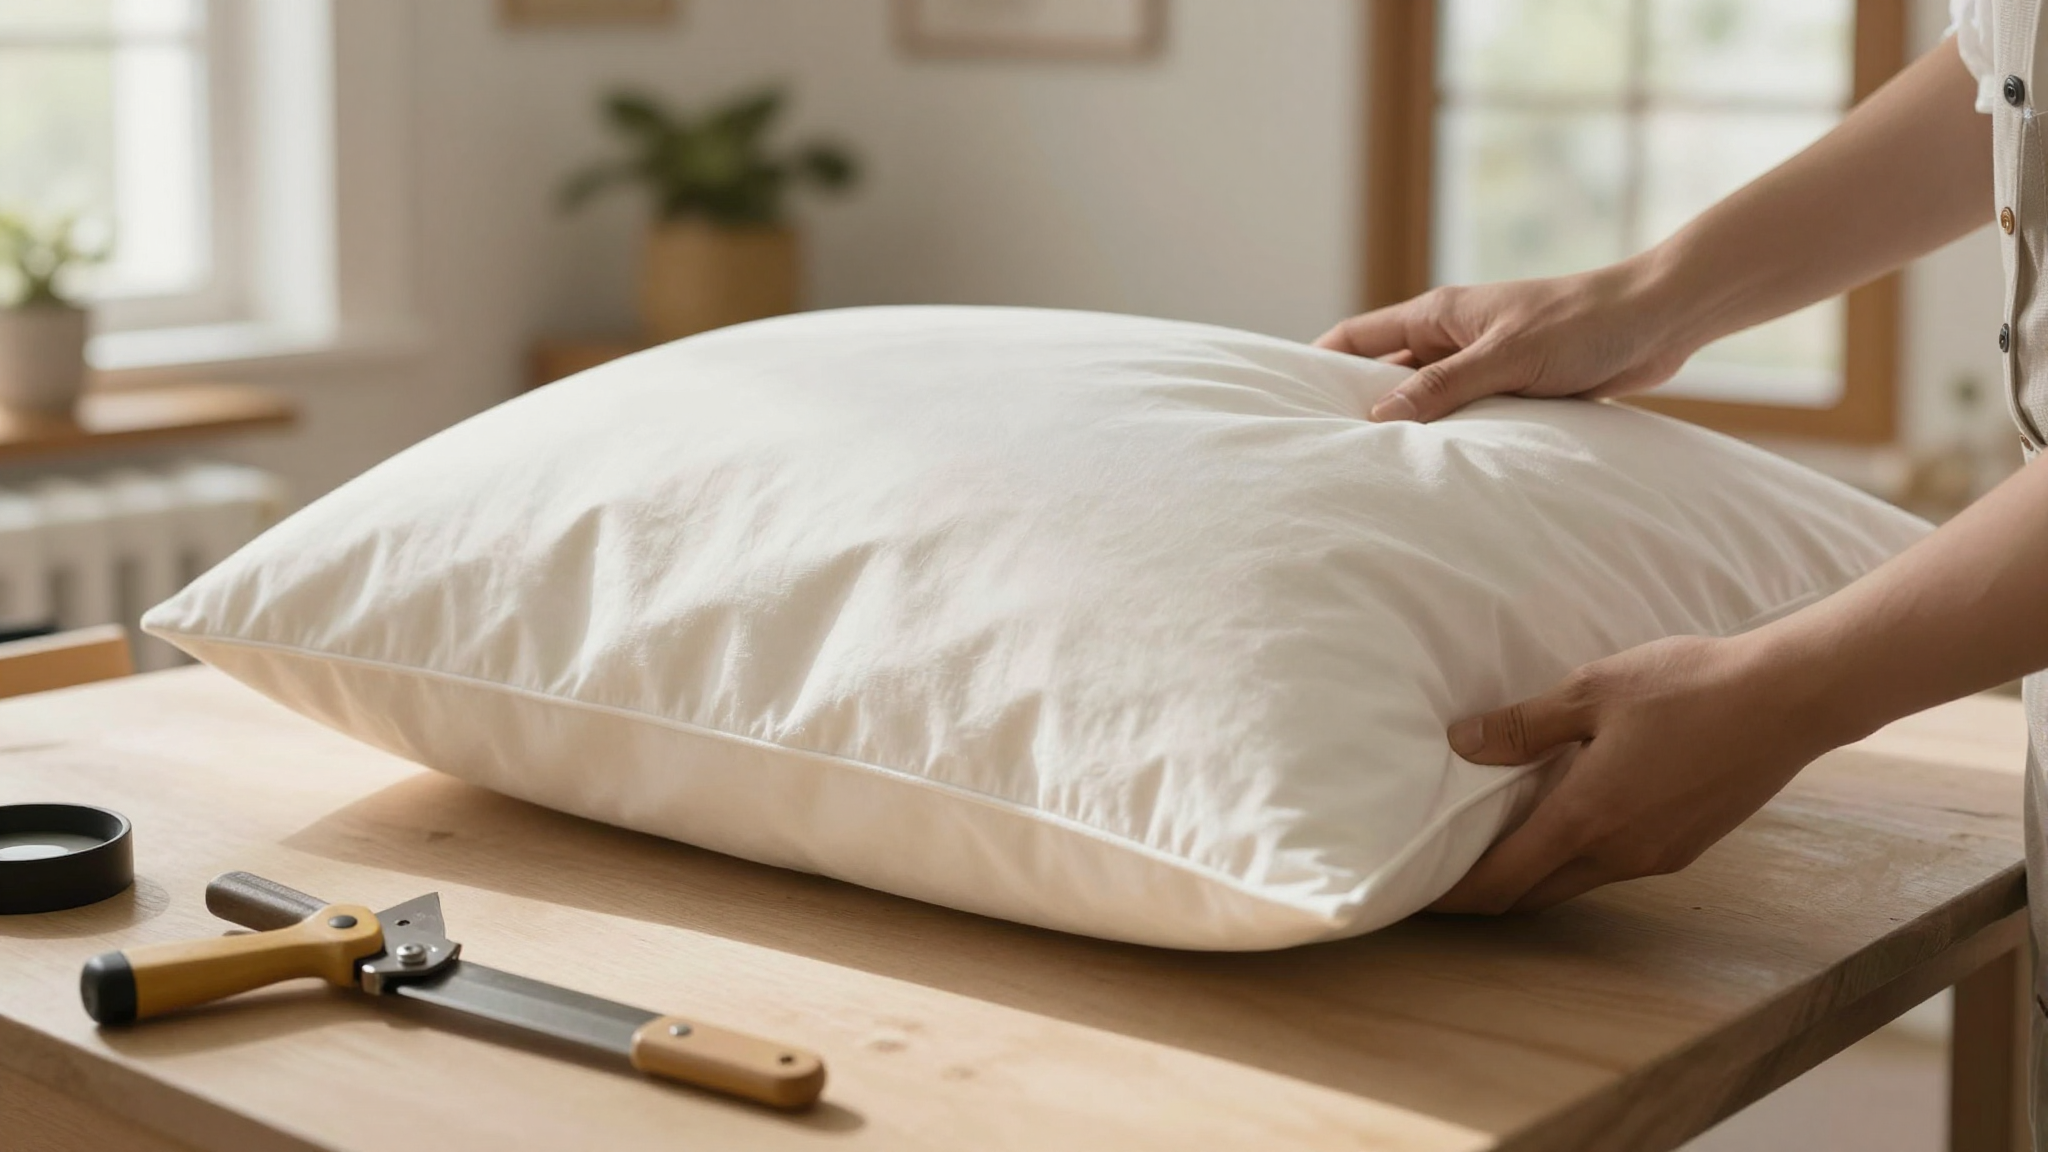
Then, sew the seams. Start at one corner and sew around the edges, using a ½-inch seam allowance (that’s the distance from the edge of the fabric to your stitching line). When you get to the last side, stop sewing about 4-5 inches from the corner. This opening is how you’ll turn the pillow right side out and insert the pillow form.
After sewing, trim the corners. This is a crucial step that I used to skip until I realized how much easier it makes turning the pillow. Carefully trim the excess fabric at each corner, cutting as close to the stitching as you can without cutting the seam. This prevents bulky corners when you turn the pillow.
Now, turn the pillow right side out. Reach through the opening you left and pull the pillow cover outside in. Use a chopstick or a turning tool (I just use a pencil) to poke out the corners and smooth the seams. If you’re having trouble, don’t force it,just take your time and gently work the fabric through.
Next, press the seams. Use an iron to press the seams flat. This gives your pillow a polished look and helps it lay flat. If you’re using a pillow insert, now’s the time to stuff it inside. If you’re making your own insert (more on that in a minute), stuff it gently but firmly so the pillow holds its shape.
Finally, close the opening. You can do this by hand or with a sewing machine. For hand-sewing, use a sharp needle and thread to stitch the opening closed with a small whipstitch or slip stitch. If you’re using a machine, fold the raw edges inward and sew a straight line to close the gap. I usually do a little zigzag stitch to secure it, but a straight stitch works too.
And that’s it! You’ve just made your first throw pillow. Give yourself a pat on the back,you deserve it.
—
Troubleshooting Common Problems
Even if you follow the steps carefully, things can go wrong. Here are some common issues and how to fix them:
- Seams are coming undone: This usually happens if you didn’t backstitch or if your thread tension was too loose. Try re-sewing the seam with a tighter tension and make sure to backstitch at the beginning and end.
- The pillow looks lumpy or uneven: This can happen if you didn’t trim the corners or if your pillow insert is too small. Make sure your insert fits snugly but not too tightly,you don’t want it to look like a sausage in a casing. If it’s still lumpy, try fluffing the insert or redistributing the filling.
- The fabric is bunching up when you sew: This usually means your fabric isn’t fed through the machine evenly. Slow down and try to guide the fabric more carefully. Using a seam grip or stabilizer can also help.
- The pillow won’t turn right side out: If you’re having trouble turning the pillow, double-check that you’ve trimmed the corners and that the seam allowance isn’t too tight. Sometimes, gently stretching the fabric can help.
And if all else fails? Don’t be afraid to rip it out and start over. I’ve had to do it more times than I can count, and it’s always worth it in the end.
Adding Decorative Touches: Because Plain Pillows Are Boring
Now that you’ve mastered the basics, it’s time to have some fun. Throw pillows are the perfect canvas for adding personal touches, whether it’s a pop of color, a fun pattern, or some extra texture. Here are a few ideas to make your pillows stand out:
First, try piping. Piping is that little corded edge you see on some pillows, and it’s easier to add than you think. You’ll need piping cord (you can find it at any fabric store) and a strip of fabric cut on the bias (that’s a 45-degree angle to the grain of the fabric). Wrap the fabric around the cord, pin it in place, and sew it down. Then, attach it to the right sides of your pillow front and back before sewing the pillow together. I used piping on a pillow for my bedroom makeover, and it gave it such a polished look.
Second, add buttons or embroidery. Buttons are an easy way to add a little detail. Sew them on before you assemble the pillow, or add them as a decorative element after. I once embroidered my kids’ names on a set of pillows for their rooms, and they loved it. If you’re not confident in your embroidery skills, you can also buy pre-made embroidery patches and iron or sew them on.
Third, play with texture. Mixing fabrics with different textures can make your pillows feel more dynamic. For example, I made a pillow with a smooth cotton front and a fuzzy chenille back. The contrast made it feel extra cozy. You can also add trim, like pom-pom fringe or tassels, for a boho look.
And finally, don’t be afraid to go bold. One of my favorite pillows is a bright red velvet one I made for my living room. It’s not subtle, but it adds so much personality to the space. If you love a pattern or color, go for it,your home should reflect you, not some generic decor magazine.
Pro tip: If you’re not sure how to add a decorative element, YouTube is your best friend. There are tons of tutorials for everything from piping to embroidery. I’ve learned so much from watching other sewists share their tips!
Where to Display Your Pillows: Because They Deserve to Be Seen
Now that you’ve made your pillows, it’s time to show them off! Throw pillows are one of the easiest ways to add personality to a room, and the best part is that you can mix and match them to change the look of your space whenever you want.
In my living room, I like to layer pillows in different sizes and textures. I’ll use a couple of larger pillows as the base and then add a few smaller ones for contrast. It’s like building a pillow tower, but way more stylish. I also like to switch them out with the seasons,lighter, brighter pillows in the summer and cozier, darker ones in the winter.
In my bedroom, I keep it simple with a couple of pillows in neutral tones, but I add a pop of color with a throw blanket. And in my kids’ rooms? Well, let’s just say their pillows are a mix of whatever they’re into at the moment,dinosaurs, unicorns, you name it.
If you’re not sure where to start, here are a few ideas:
- Layer pillows on your couch or armchair in odd numbers (3 or 5 looks better than 2 or 4).
- Mix patterns and solids, but keep the colors cohesive. For example, I used a floral pillow with a striped one in my living room, but both had shades of blue and green to tie them together.
- Use pillows to define a seating area. If you have a farmhouse coffee table or a set of chairs, a few pillows can make it feel like a cozy nook.
- Don’t be afraid to lean into a theme. I have a pillow in my home office that’s covered in tiny books,it’s a little nerdy, but it makes me smile every time I see it.
And if you’re really proud of your pillows, take a photo and share it! I love seeing what other people create, and I bet your friends and family would love to see your handiwork too. Tag me on Instagram @christinaprojects,I’d love to see what you make!
FAQ: Your Throw Pillow Questions, Answered
What are the staple supplies I need to make throw pillows?
You’ll need fabric (cotton or linen are great for beginners), a sewing machine, scissors, thread, pins or clips, a pillow insert (or polyfill if you’re making your own), and an iron. If you’re adding decorative elements, you might also need piping cord, buttons, or embroidery thread. Start with the basics, and you can always add to your supplies later.
How do I choose the best fabric for my throw pillows?
Consider the color, texture, and durability. If your pillows will get a lot of use, go for something sturdy like cotton canvas or linen. If you want a softer look, velvet or faux suede are great (but trickier to sew). And always test the fabric before you buy it,if it’s slippery or stretchy, it might be a pain to work with. I like to buy a little extra fabric just in case!
What are the most important stitches I need to master for pillows?
You’ll need to know how to thread your machine, sew a straight line, backstitch (to secure your seams), and press your seams. If you’re adding decorative elements, you might also need to know how to sew a zipper or attach buttons. Don’t worry,these are all easy to learn with a little practice!
How do I attach decorative elements like piping or buttons?
Piping is sewn onto the right sides of your pillow front and back before you assemble the pillow. Buttons can be sewn on before or after you assemble the pillow, depending on where you want them. If you’re not sure how to do it, YouTube has tons of tutorials,I learned how to add piping by watching a few videos!
How can I display my throw pillows to add a personal touch to my home?
Layer them on your couch, bed, or chairs in odd numbers for a balanced look. Mix patterns and solids, but keep the colors cohesive. Use pillows to define a seating area or add a pop of color to a neutral space. And don’t be afraid to switch them out with the seasons or whenever you want a change. Your home should reflect you, so have fun with it!
Now it’s your turn! Grab your fabric, fire up your sewing machine, and start creating. And if you get stuck, remember: I’ve been there, and I’ve made plenty of mistakes along the way. The key is to keep going, even when it feels frustrating. Before you know it, you’ll have a pile of beautiful, handmade throw pillows that make your home feel like you.
Happy sewing! And if you make something you love, tag me on Instagram,I’d love to see what you create.