
How I Made a Personalized Entryway Sign (And Why It Was Worth the Mess)
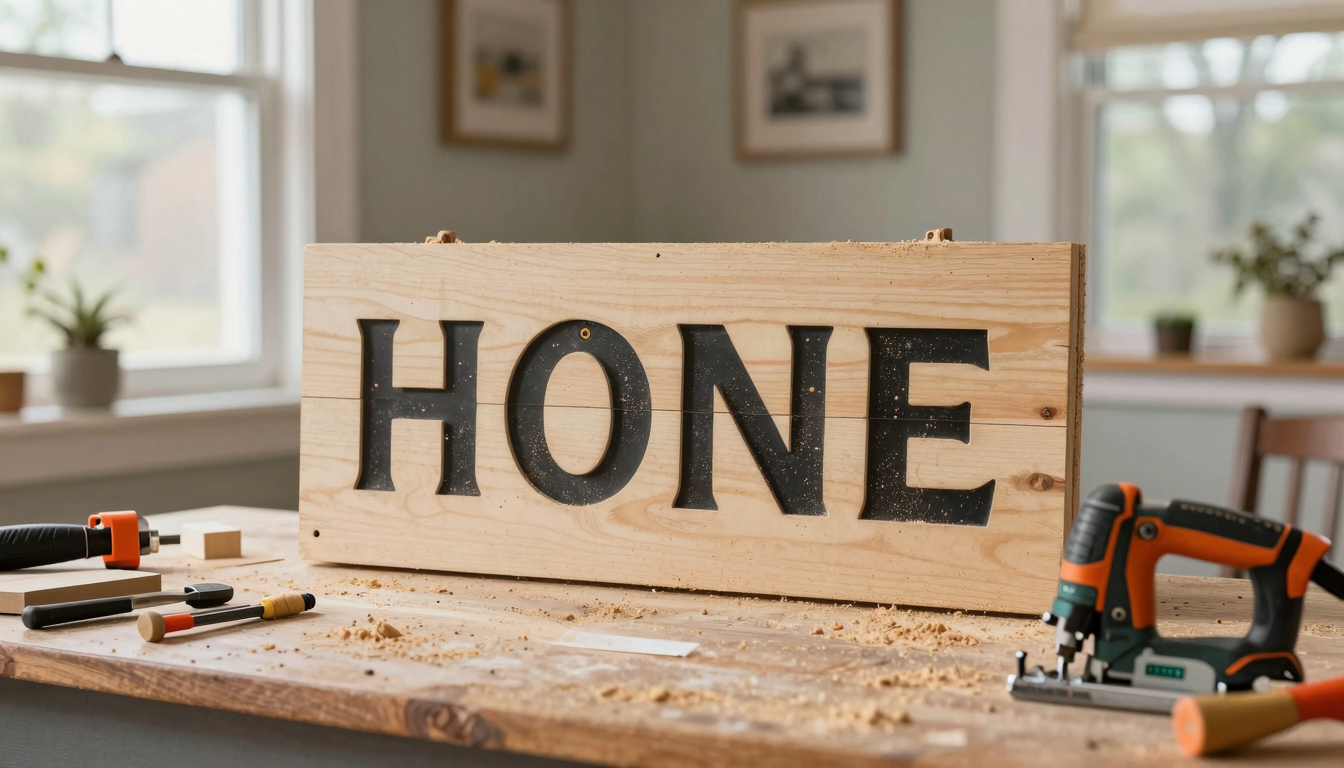
Let me tell you about the time I spent an entire Saturday covered in sawdust, cursing at a jigsaw, only to end up with a sign that made my front porch feel like *home*,not just a place where I keep my shoes. That sign, now weathered but still charming, has greeted guests, survived two winters, and become one of my favorite DIY projects. If you’ve ever wanted to add a little personality to your entryway but weren’t sure where to start, this step-by-step guide is for you. No fancy tools required,just some wood, a little patience, and maybe a glass of wine for the “creative process.”
I’ll walk you through exactly how I designed, built, and mounted my own sign, including the mistakes I made (like forgetting to sand *one side* of the wood,oops) and the tricks that saved me time. By the end, you’ll have a sign that’s as unique as your home, whether you’re going for rustic farmhouse charm or sleek modern lines. And if you’re anything like me, you’ll end up with a project that’s less about perfection and more about the joy of creating something with your own two hands.
Ready? Let’s get started.
What Are Personalized Entryway Signs?
Personalized entryway signs are more than just a decorative touch,they’re a way to set the tone for your home before anyone even steps inside. Think of it as the first handshake of your house: warm, inviting, and just a little bit *you*. Mine says, “Welcome to the Chaos (and Coffee),” which is basically a warning label for my family’s daily life. But whether yours is whimsical, elegant, or straightforward, the goal is the same: to make your entryway feel like *your* space.
These signs work for just about any style,farmhouse, modern, cottagecore, or even a little eclectic mix-and-match. The best part? You don’t need to be a woodworking expert to make one. I’ve seen signs made from reclaimed barn wood, sleek plywood, and even painted Masonite. The key is choosing materials that fit your aesthetic *and* your skill level. (Pro tip: Start simple. My first attempt was a disaster, but my second? That’s the one hanging on my porch today.)
If you’re looking for more ways to add charm to your home, check out my five favorite DIY projects that take less than a weekend. Spoiler: They all involve paint, glue, and at least one moment of “Why did I think this was a good idea?”
Why Your Home Needs a Personalized Entryway Sign
I’ll be honest: Before I made my sign, my front porch was just… there. A place to drop groceries, kick off muddy boots, and occasionally trip over the dog. But after I hung that sign, something shifted. It turned a bland entryway into a space that felt intentional, like the first chapter of a story. And trust me, after years of living in places that felt temporary, that meant a lot.
Here’s what a personalized sign can do for your home:
- Set the mood. A warm, welcoming sign,even something as simple as “Hello, Friend”,instantly makes guests (and you) feel at ease. Mine has become a running joke in our family: Every time someone walks in, they read it aloud in a dramatic voice. It’s silly, but it’s ours.
- Show off your style. Love farmhouse decor? Go for a rustic wooden sign with stenciled letters. Prefer modern minimalism? A sleek metal or acrylic sign with clean typography will do the trick. It’s a chance to showcase what makes your home *yours*. (I’ll never forget the time I tried to paint my sign with a cheap craft brush and ended up with streaks. Invest in good brushes,your future self will thank you.)
- Add a personal touch. This is where the fun starts. Want to include your last name, a funny quote, or even a tiny family inside joke? Go for it. My sign has a little coffee cup doodle in the corner because, well, it’s accurate. These details turn a generic sign into something meaningful.
- Boost your home’s curb appeal. Even small changes,like a fresh coat of paint on your front door or a new doormat,can make a big difference. A sign is the cherry on top. (And if you’re feeling ambitious, pair it with a weekend stair makeover for extra impact.)
At the end of the day, a personalized sign is like a hug for your home. It says, “You belong here.” And if that doesn’t make it worth the effort, I don’t know what does.
Materials and Tools You’ll Actually Need
Before you dive in, let’s talk about the tools and materials that’ll make this project smooth (or at least *less* frustrating). I’ve learned the hard way which shortcuts save time and which ones end in tears, so consider this your cheat sheet.
The Basics
You don’t need a fully stocked workshop, but you *do* need a few key items:
- Wood. This is your canvas, so choose something that speaks to your style. I used pine for my first sign because it’s cheap and easy to work with, but I’ve since fallen in love with reclaimed wood for its rustic charm. If you’re going for a modern look, plywood or MDF (medium-density fiberboard) works too,just seal it well, or it’ll warp in the rain. (I speak from experience.)
- A saw. A jigsaw is my go-to for cutting curves, but a handsaw or circular saw works for straight edges. If you’re new to power tools, start with a hand saw,it’s slower but harder to mess up.
- Sandpaper. Grit 120 for rough shaping, 220 for smoothing. Skip this step, and your sign will look (and feel) like sandpaper. Trust me.
- Paint, stain, or wood burner. I used acrylic paint for my sign because it’s easy to clean up and dries fast. If you’re going for a natural look, a wood stain (like Minwax) works great. Just test it on a scrap piece first,some stains turn darker than you expect.
- Stencils or a pencil. Unless you’re a calligraphy expert, stencils are your friend. I bought mine from Michaels for a few dollars, and they saved me from my terrible handwriting. If you’re feeling bold, freehand it,but have a backup plan (like transfer paper).
- Sealant. This is non-negotiable if your sign is going outside. I use Minwax Polycrylic for a matte finish or Varathane Spar Urethane for extra weather protection. It’s the difference between a sign that lasts years and one that fades in six months.
- Safety gear. Gloves, goggles, and a dust mask. Yes, even for a “simple” project. I learned this the hard way when sawdust got in my eyes mid-cut. Not fun.
If you’re missing a tool, don’t panic. I’ve borrowed a friend’s drill more times than I can count, and hardware stores like Home Depot often let you use theirs for in-store projects. Just ask nicely!
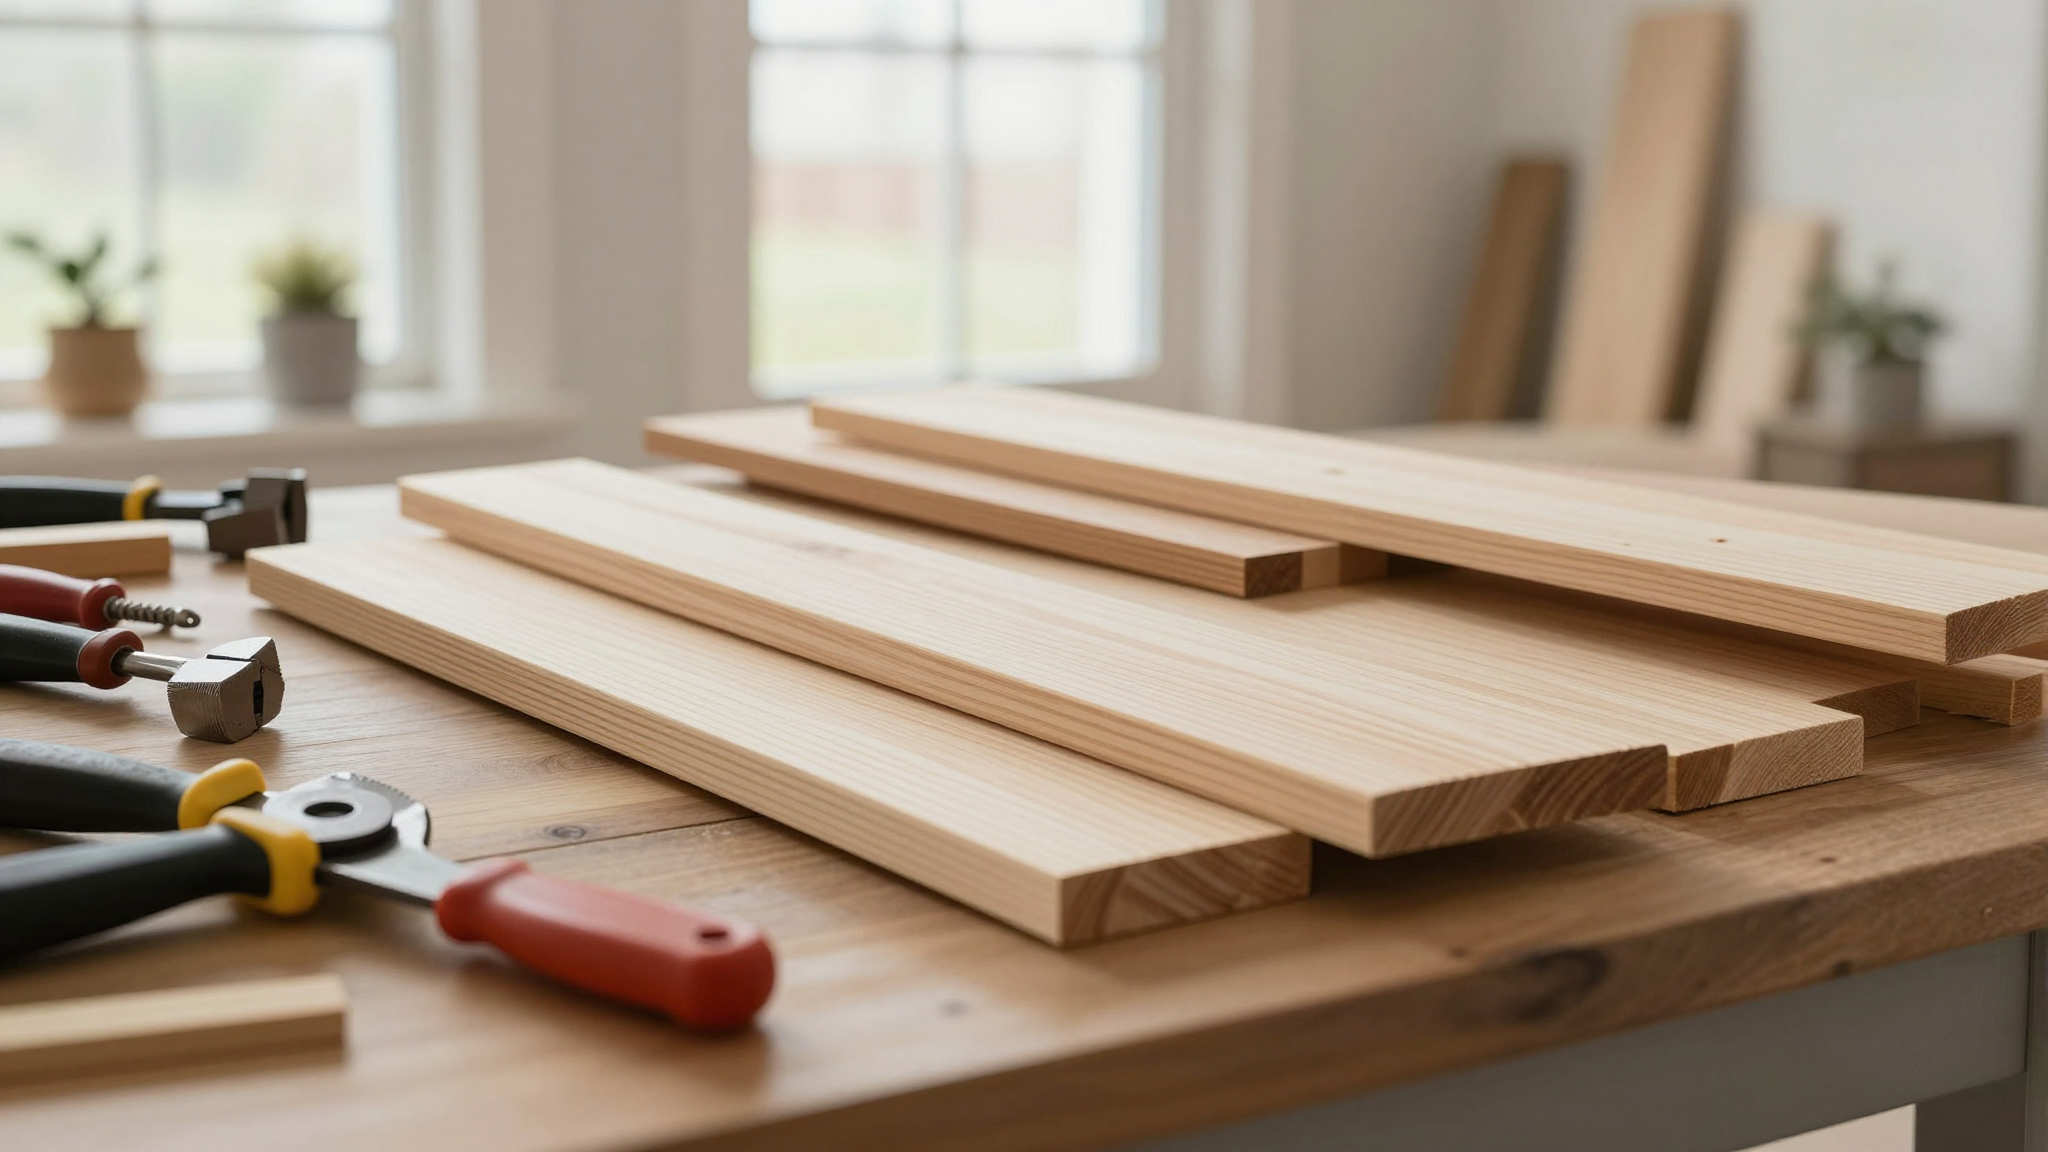
Choosing the Right Wood for Your Sign
Not all wood is created equal, and picking the right type can make or break your project. I’ve tried pine, cedar, reclaimed wood, and even a failed experiment with plywood (let’s just say it didn’t hold up to the rain). Here’s what I’ve learned:
Wood Types and Their Pros
- Pine. My first love. It’s cheap, easy to find, and takes paint and stain like a champ. The downside? It’s soft, so it dents easily. If you’re making a sign for indoors or a covered porch, pine is a great starter wood. For mine, I used 1×8 pine boards from the lumberyard, which gave me a nice, wide surface to work with.
- Cedar. If you want something that’ll last *and* smells amazing, cedar is the way to go. It’s naturally resistant to rot and insects, which means your sign will stay looking fresh longer. The only catch? It’s pricier than pine. I splurged on cedar for a farmhouse coffee table a few years ago, and I’ve never regretted it.
- Reclaimed wood. This is where the magic happens. Reclaimed wood has character,knots, nail holes, and a patina that new wood just can’t match. I found a bunch of old barn wood at a salvage yard for a song, and it became the star of my fireplace makeover. Just make sure to sand it *well* and check for hidden nails (I speak from experience).
Size and Shape Matters
Before you cut anything, think about where your sign will live. Mine hangs next to my front door, so I went with a 24×12-inch rectangle,big enough to be noticeable but not so large it overwhelmed the space. If you’re mounting it on a fence or a post, you can go bigger. Pro tip: Sketch your design on paper first. I once cut a sign *backwards* because I didn’t double-check my layout. (Yes, I had to start over.)
Pre-Treatment: Don’t Skip This Step!
This is where I’ve seen people go wrong. If you’re using raw wood, you *must* seal it before painting or staining. I learned this the hard way when my first sign absorbed so much paint it looked like a kindergartener’s finger-painting project. To avoid this:
- Sand your wood smooth (I use 120-grit for rough shaping, then 220-grit for finishing).
- Wipe it down with a tack cloth to remove dust.
- Apply a wood conditioner (like Minwax) if you’re staining. This helps the stain absorb evenly.
- Let it dry completely before moving to the next step.
If you’re using reclaimed wood, you might need to fill in gaps or holes with wood filler first. I used DAP Plastic Wood for a drywall repair project once, and it worked great for wood too.
Designing Your Sign: Keep It Simple (But Fun!)
This is where the creativity (and occasional frustration) begins. I’ll admit, I spent *way* too long staring at my computer screen, trying to decide between serif and sans-serif fonts. But here’s what I’ve learned about designing a sign that looks good and actually gets made:
Start with a Plan
I sketch my designs in a notebook first. It’s messy, but it saves me from making mistakes on the wood. If you’re not into drawing, use Canva or Adobe Express to mock up your sign digitally. You can even print out a template to trace onto your wood. (I did this for my second sign, and it was a game-changer.)
Less Is More
My first sign had *so much* going on,swirls, flowers, my kids’ names in cursive. It looked like a kindergarten bulletin board. My second attempt? Just our last name in clean, block letters. It’s simpler, timeless, and way easier to paint. If you’re new to this, stick to:
- A single word or short phrase (e.g., “The [Last Name]s,” “Welcome,” “Home Sweet Home”).
- One or two simple graphics (a coffee cup, a house, a tree).
- A maximum of two colors (plus a neutral base).
If you’re itching to add more, start with a small detail,like a tiny heart or a star,and see how it feels.
Font Matters (A Lot)
I’ll never forget the time I painstakingly stenciled “Welcome” in a fancy script font, only to realize it was impossible to read from more than three feet away. Lesson learned: If your sign is going outside, use a sans-serif or block font. It’s cleaner, more readable, and way less frustrating to paint. For my sign, I used a bold, all-caps font from a stencil set I bought at Michaels. It took 20 minutes to paint and looks great from the street.
Color Psychology (Yes, Really)
Colors set the mood, so choose wisely. Here’s what I’ve found works best:
- Blue. Calming and welcoming. I used a soft sky blue for my kids’ bedroom sign, and it instantly made the space feel cozier. (See my bedroom makeover tips for more ideas.)
- Black or dark gray. Classic and timeless. It pairs well with just about any color and hides dirt better than white.
- White or cream. Bright and airy, but it shows every speck of dust. If you go this route, seal it well.
- Earth tones (green, brown, terracotta). Great for rustic or farmhouse styles. I used a sage green on a DIY accent wall once, and it was a huge hit.
Pro tip: If you’re painting, do a test swatch on scrap wood first. The color will look different once it’s dry and on your sign.
Step-by-Step: How to Build Your Sign
Now for the fun part,actually making it! I’ll walk you through the process, including the mistakes I made (so you don’t have to). Grab your tools, put on some music, and let’s get to work.
Step 1: Cut Your Wood to Size
Measure twice, cut once. I cannot stress this enough. I once cut a sign an inch too short because I rushed the measuring step. Now I use a speed square and a pencil to mark my cuts carefully.
- Measure and mark your wood with a pencil and ruler.
- If you’re cutting curves (like for a rounded sign), use a jigsaw and go slow. I like to clamp my wood to a workbench to keep it steady.
- Sand the edges smooth. I use 80-grit for rough shaping, then 220-grit for finishing.
Step 2: Transfer Your Design
This is where stencils save the day. I bought a letter stencil set from Michaels for about $10, and it’s become one of my most-used DIY tools. Here’s how I do it:
- Lay your stencil on the wood and trace the letters with a pencil. Press hard so the lines show up clearly.
- If you’re freehanding, use a chalk pencil or transfer paper. I’ve also had luck printing my design on regular paper, taping it to the wood, and tracing over it with a pencil.
- Double-check your spacing. I once had to repaint a letter because I realized it was crooked after painting. (Yes, I’ve learned patience the hard way.)
Step 3: Paint or Stain
This is where the magic happens. I like to use acrylic paint because it’s easy to clean up and dries fast. For my sign, I used:
- Base coat: White paint (I used Behr Premium Plus because it covers well and doesn’t yellow).
- Letter color: Black (FolkArt Black from Michaels,it’s matte and doesn’t streak).
- Accent color: A tiny coffee cup doodle in burnt orange (because, again, coffee).
Pro tips for painting:
- Use a small foam brush for stencils,it’s easier to control than a regular brush.
- Let each layer dry completely. I’ve ruined more than one project by rushing this step.
- If you mess up, let it dry and sand it smooth before repainting. I’ve done this more times than I’d like to admit.
Step 4: Seal It for Durability
This step is critical if your sign is going outside. I used Minwax Polycrylic for a matte finish, but Varathane Spar Urethane is a great option for extra weather protection. Here’s how I do it:
- Stir your sealant well (don’t shake it,it creates bubbles).
- Use a high-quality brush (I like Purdy brushes) or a foam roller for a smooth finish.
- Apply thin, even coats. Thick coats take forever to dry and can look streaky.
- Let it dry for 24 hours before handling. I’ve learned this the hard way,touching it too soon leaves fingerprints.
- Apply a second coat for extra protection.
If you want a glossy finish, use polyurethane. I used it on a furniture upcycling project once, and it gave the wood a beautiful shine.
Adding Personal Touches (Without Going Overboard)
This is where your sign becomes *yours*. I’ve seen signs with monograms, family crests, tiny houses, and even little handprints. The key is to keep it balanced,too many details, and it looks cluttered. Here are some ideas I’ve tried (and some I’ve seen others do):
Monograms and Initials
I added our last name to my sign in a simple, block font. It’s subtle but meaningful. If you’re going for a monogram, keep it clean,no more than three letters, and stick to one font style. I’ve seen gorgeous monogram signs at Etsy, but they’re pricey, so I DIY’d mine instead.
Quotes and Sayings
My sign says, “Welcome to the Chaos (and Coffee),” which is 100% accurate. If you love a quote, make sure it fits the space. I once tried to fit “Home is where the heart is” on a tiny sign, and it looked cramped. Short and sweet works best.
Graphics and Doodles
I added a tiny coffee cup to my sign because, well, it’s my life. If you’re not confident in your drawing skills, use stencils or print a small image to trace. I’ve also seen people use pyrography (wood burning) for intricate designs. It takes practice, but the results are stunning.
Mixing Materials
Want to add a little extra flair? Try incorporating other materials. I’ve seen signs with:
- Metal letters (like decorative vinyl letters from Home Depot).
- Glass or acrylic inlays (great for a modern look).
- Twine or rope wrapped around the edges for a rustic touch.
Just make sure whatever you add is weatherproof if your sign is outdoors. I once glued a fabric scrap to a sign, and it molded after a week of rain. Lesson learned!
Weatherproofing Your Sign (So It Lasts)
If your sign is going outside, weatherproofing is non-negotiable. I’ve had signs fade, warp, and even melt (yes, really) because I skipped this step. Here’s how to make yours last:
Choose the Right Sealant
Not all sealants are created equal. For outdoor signs, you need one with UV protection to prevent fading. My top picks:
- Minwax Polycrylic (matte or satin finish).
- Varathane Spar Urethane (great for high-moisture areas).
- Rust-Oleum Clear Gloss (durable and waterproof).
Apply at least two coats, letting each dry completely. I’ve also heard great things about epoxy resin for a glossy, waterproof finish, but it’s a bit more advanced.
Protect It from the Elements
If your sign is in a spot that gets a lot of sun or rain, consider:
- Adding an overhang (like a small roof) to shield it.
- Using a clear acrylic sheet to cover it (I did this for a sign on my back porch).
- Bringing it inside during extreme weather (yes, I’ve done this for a favorite sign).
I also like to give my signs a fresh coat of sealant every spring. It’s a quick way to keep them looking new.
Mounting Your Sign: Make It Stay Put
Nothing’s worse than a sign that’s crooked or falls off after a strong wind. I’ve had both happen, so I’ve learned a thing or two about mounting. Here’s how I do it:
Hardware Matters
Skip the cheap nails. I used stainless steel screws for my sign because they won’t rust. Here are my favorite mounting options:
- Brackets. I used a black metal bracket for my sign, and it looks great. Just make sure it’s rated for the weight of your sign.
- Hooks. A heavy-duty hook works well for lighter signs. I’ve used these for smaller signs on my fence.
- Free-standing easels. If you don’t want to drill, a wooden easel (like the ones used for chalkboards) works in a pinch.
- Planters. I mounted a sign to a wooden planter box once, and it doubled as decor.
Pro tip: If you’re mounting to wood (like a fence or porch), use deck screws,they’re longer and grip better. For brick or stucco, you’ll need masonry screws or anchors.
Level Is Key
I’ve hung signs that were so crooked they looked like they were sliding off the wall. To avoid this:
- Use a level (I keep a small one in my toolbox for projects like this).
- Mark your screw holes with a pencil before drilling.
- Pre-drill your holes to avoid splitting the wood.
If you’re mounting to a post or fence, a post cap can hide the hardware and look decorative. I found a cute one at Lowe’s for my last project.
Design Ideas to Inspire You
Still not sure what to make? Here are a few ideas I’ve tried (or seen others do) that might spark your creativity:
Rustic Farmhouse Signs
These are my favorite. I love the charm of reclaimed wood, stenciled letters, and simple designs. Some ideas:
- A wooden sign with a chalkboard section for daily notes (like “Dinner at 6!”).
- A sign with a tiny house silhouette and your address.
- A farmhouse-style sign with a rope border (I used jute twine for mine).
For a farmhouse look, pair your sign with a farmhouse coffee table or some shiplap accent walls.
Modern Minimalist Signs
If you prefer clean lines and simplicity, go for a sleek, modern look. Try:
- A black-and-white sign with a single word in a sans-serif font.
- A sign with a geometric shape (like a triangle or hexagon).
- A metal sign with laser-cut letters (I’ve seen these at Etsy, but you can DIY one with a Cricut and vinyl).
For a modern vibe, keep your entryway colors neutral and add metallic accents (like a brass doorknob or black mailbox).
Whimsical and Fun Signs
Not into rustic or modern? Go for fun! Some of my favorite whimsical signs include:
- A sign shaped like a coffee cup (because, again, coffee).
- A sign with a tiny hand-painted flower border.
- A sign that says “Bless This Mess” (relatable, right?).
If you’re feeling creative, try pyrography (wood burning) for a unique, handcrafted look. I took a class at my local Michaels store, and it was a lot of fun.
Seasonal and Holiday Signs
Want to switch up your sign with the seasons? I’ve made:
- A fall sign with a turkey or pumpkin.
- A winter sign with a snowflake or “Joy” in cursive.
- A spring sign with a flower or “Hello, Sunshine!”
I keep a few signs in my garage and swap them out as the seasons change. It’s a great way to keep your entryway feeling fresh!
Caring for Your Sign (So It Lasts Years)
Your sign will look its best with a little TLC. Here’s how I keep mine in great shape:
Cleaning
Dirt and grime happen. To clean your sign:
- Use a soft brush (like a paintbrush) or a microfiber cloth to remove dust.
- For stubborn dirt, mix a little mild dish soap with water and gently scrub with a cloth.
- Avoid abrasive cleaners or steel wool,they’ll scratch the finish.
- Rinse with a damp cloth and let it dry completely.
If your sign has a glossy finish, a little baking soda mixed with water can help remove stains. Just test it on a small area first!
Touch-Ups and Repairs
Even the best signs need occasional repairs. Here’s how I fix mine:
- For chipped paint, touch it up with a small brush and matching paint.
- For warped wood, sand it lightly and reapply sealant.
- For fading, give it a fresh coat of sealant or paint.
I keep a small can of touch-up paint and a bottle of sealant in my garage for quick fixes.
Winterizing Your Sign
If you live in a cold climate, winter can be tough on outdoor signs. To protect yours:
- Apply an extra coat of sealant before winter hits.
- If possible, cover it with a tarp during heavy snow or ice.
- Avoid salt or deicing chemicals near your sign,they can damage the wood and finish.
I also like to give my signs a quick check in early spring to see if they need any repairs after the winter.
Final Thoughts (And a Little Encouragement)
There you have it,everything I’ve learned (and unlearned) about making a personalized entryway sign. Mine started as a simple project but turned into something I’m truly proud of. It’s not perfect,there’s a tiny paint streak I missed, and the wood isn’t *quite* even,but it’s ours, and that’s what matters.
If you’re feeling overwhelmed, start small. My first sign was just a piece of pine with our last name painted in black. No frills, no fuss. And you know what? It was perfect. The more you do, the more confident you’ll get. Before you know it, you’ll be adding signs to your porch, fence, and maybe even your garden.
Now, go grab that wood, pick your design, and get to work. And if you make a mistake? Welcome to the club. I’ve got sawdust in my hair to prove it.
Happy building! And if you’d like more DIY inspiration, check out my five favorite projects or my tips for upcycling furniture. You’ve got this!