
Turning a Spare Room Into a Playroom (Without Losing Your Mind)
Let me tell you,converting that dusty spare room into a playroom that actually gets used (instead of becoming a dumping ground for old exercise equipment) is one of the most rewarding DIY projects I’ve tackled. My kids now fight over who gets to play in there first, which means I’ve either created something magical or accidentally built a fortress of chaos. Either way, it works.
I’ll walk you through exactly how I did it,from the planning headaches to the moments where everything finally clicked. This isn’t about “transforming your space” (ugh, I hate that phrase). It’s about making a room that works for your kids, survives their energy, and doesn’t make you want to scream when it’s time to clean up. Spoiler: The key is storage. So much storage.
Planning Your Playroom (Before You Buy Anything)
First, I made the mistake of walking into a big-box store with no plan, only to leave with a cart full of bright plastic bins and zero idea how they’d fit in the room. Lesson learned: Measure everything. Twice. Then measure again because kids grow, and what fits a toddler won’t work for a 10-year-old.
Start by asking yourself:
- What do my kids actually do in there? (Hint: If they love building forts, you’ll need open floor space. If they’re into arts and crafts, a sturdy table is non-negotiable.)
- How much stuff do we realistically need to store? (Be honest. If your kid has 500 LEGO sets, don’t pretend a few bins will cut it.)
- What’s my budget? (Mine was $500, but I stretched it by upcycling an old bookshelf,more on that here.)
Pro tip: Sketch a rough layout on paper. I used graph paper and taped it to the wall to visualize where everything would go. My husband laughed at me, but when the room actually fit our vision? He stopped laughing.
And if you’re overwhelmed, start small. My first version of the playroom was just a corner with a rug and a bin of toys. It wasn’t perfect, but it worked. You can always expand later.
Safety First (Or Your Kids Will Find a Way to Prove You Wrong)
I learned this the hard way when my son tried to climb a bookshelf like it was a jungle gym. (He’s fine. The bookshelf? Not so much.) Safety isn’t just about avoiding disasters,it’s about making the room usable without constant nagging.
Here’s what I did:
- Secured everything to the wall. Bookshelves, TVs, even that cute little desk my daughter insisted on. I used L-brackets and heavy-duty anchors,no excuses.
- Covered sharp edges. I wrapped the corners of a wooden play table in pool noodles. It looks ridiculous, but it works.
- Checked for hidden hazards. I tested the outlet covers (yes, kids will try to pry them off) and made sure the carpet was slip-resistant. I also patched a few holes in the drywall where the previous owners had hung pictures,because nothing says “fun playroom” like a tetanus risk.
And if you’re worried about lead paint? Test it. I used a kit from the hardware store, and thankfully, our room was clear. But if yours isn’t, do not sand or scrape it yourself. Call a professional.
Prepping the Room (Or: Why I Regret Not Taking Photos First)
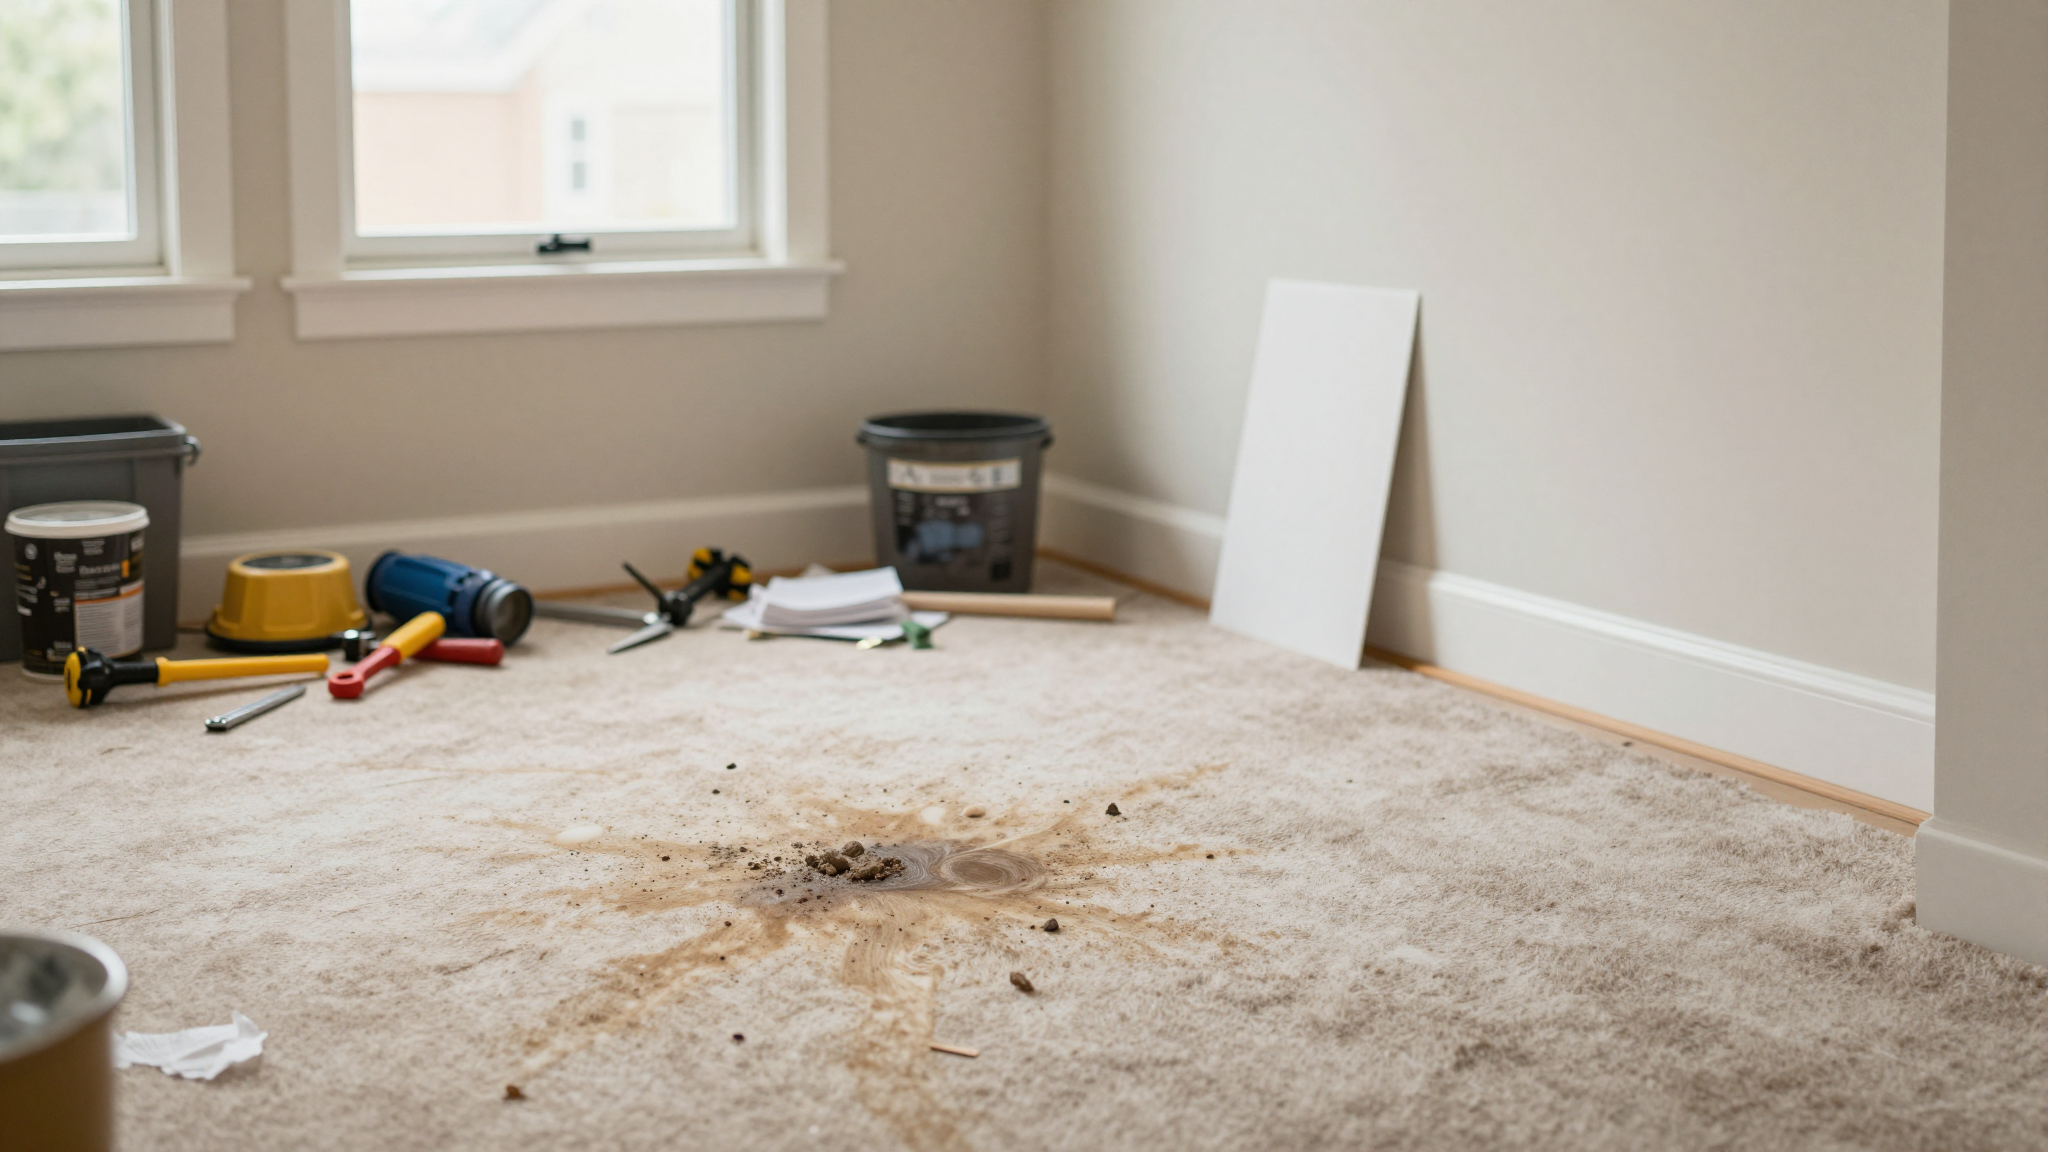
Before I could even think about paint or furniture, I had to deal with the room as it was: a sad, cluttered space with a mystery stain on the carpet. (I still don’t know what caused it, and I’ve accepted that I never will.)
Here’s what I did to get it ready:
- Cleared everything out. I rented a small U-Haul and hauled out the old furniture, boxes, and that mysterious stain. (The carpet came up easier than I expected,turns out, it was just glued down in a few spots.)
- Repaired the walls and floor. I patched a few holes with spackle and sandpaper, and I replaced a loose floorboard. Nothing fancy, but it made the room feel solid.
- Planned storage before buying furniture. I measured the walls and marked where shelves, bins, and hooks would go. This saved me from the “oops, this bookshelf is two inches too wide” disaster.
Pro tip: If your floor is ugly (like mine was), consider peel-and-stick vinyl plank flooring. It’s not permanent, but it looks great and hides imperfections. I used Lowe’s brand, and it held up surprisingly well.
Storage Solutions That Actually Work (No, Bins Alone Won’t Cut It)
This is where most playroom projects go wrong. People buy a few bins, shove toys inside, and call it a day. Then they wonder why the room looks like a tornado hit it after 10 minutes of playtime.
Here’s what actually works in my playroom:
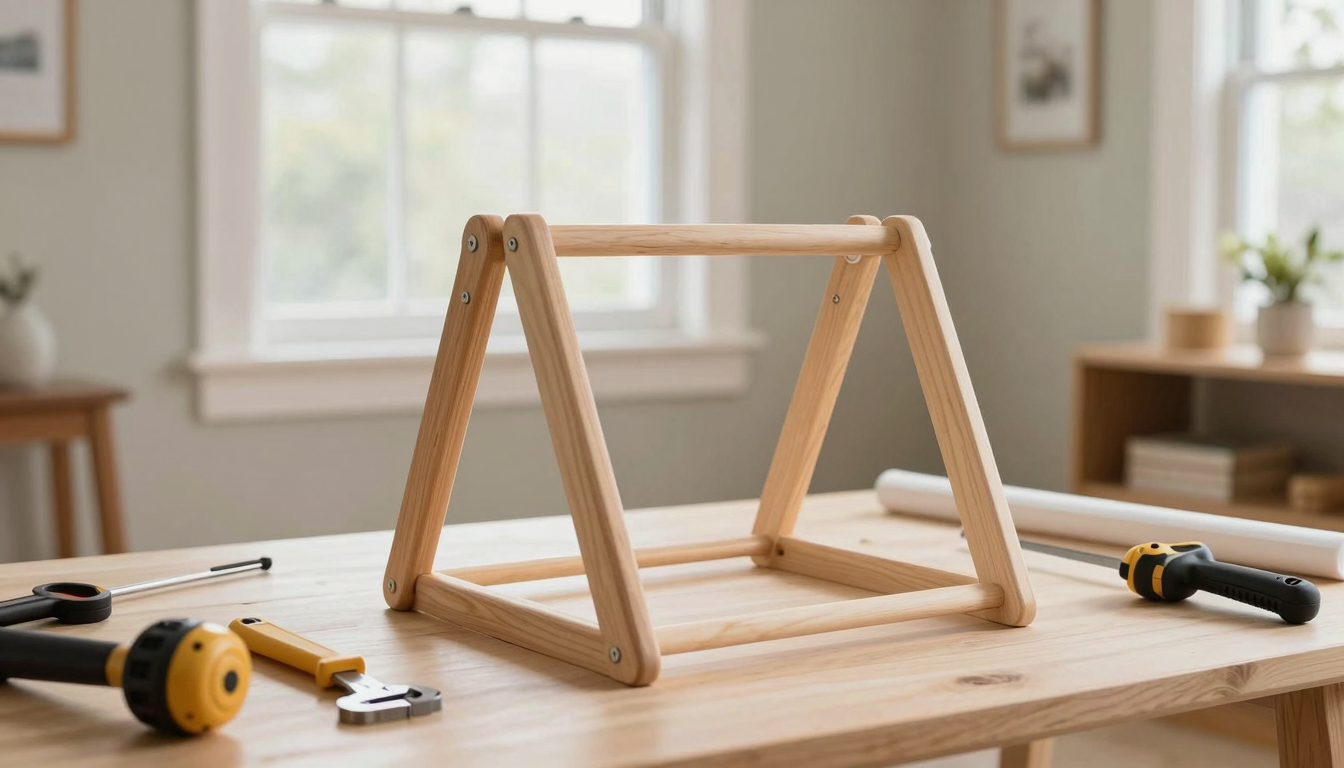
- Open shelving for easy access. I used pine boards and brackets to build simple shelves. My kids can grab their toys without asking for help, which means fewer meltdowns.
- Baskets for small items. I labeled them with pictures (because my 5-year-old can’t read yet) and used them for LEGOs, art supplies, and dress-up clothes. No more stepping on scattered beads.
- A designated “clean-up bin.” It’s a big, ugly plastic tub where everything goes at the end of the day. It’s not pretty, but it saves my sanity.
- Vertical space is your friend. I hung a pegboard for art supplies and a coat rack for dress-up clothes. Every inch counts.
And if you’re short on space? Use your walls. I mounted a chalkboard paint section for doodling and a magnetic strip for letters. Now the kids have a place to “draw” without ruining the furniture.
Creating Activity Zones (Because Chaos Has a Place)
I divided the playroom into zones based on what my kids actually do. Here’s how it broke down:
- The Art Station. A small table with a drop cloth (trust me, you need this) and bins for crayons, markers, and paper. I added a pegboard above it to hang scissors and glue.
- The Building Zone. A low table for LEGOs and blocks, with a rug underneath to contain the mess. I kept a small broom and dustpan nearby because, let’s be real, cleanup is part of the process.
- The Reading Nook. A bean bag chair (mine is from Target) and a bookshelf. I added a small LED light so they can read after dark.
- The Dress-Up Corner. A curtain rod with hooks for costumes and a full-length mirror. (Yes, my kids insist on “fashion shows” at least once a day.)
Pro tip: Let your kids help arrange the zones. My daughter picked out the colors for her art station, and my son “designed” the building zone. They’re more likely to use (and respect) a space they helped create.
Wall Treatments and Color Schemes (Or: How to Avoid Regretting Your Paint Choices)
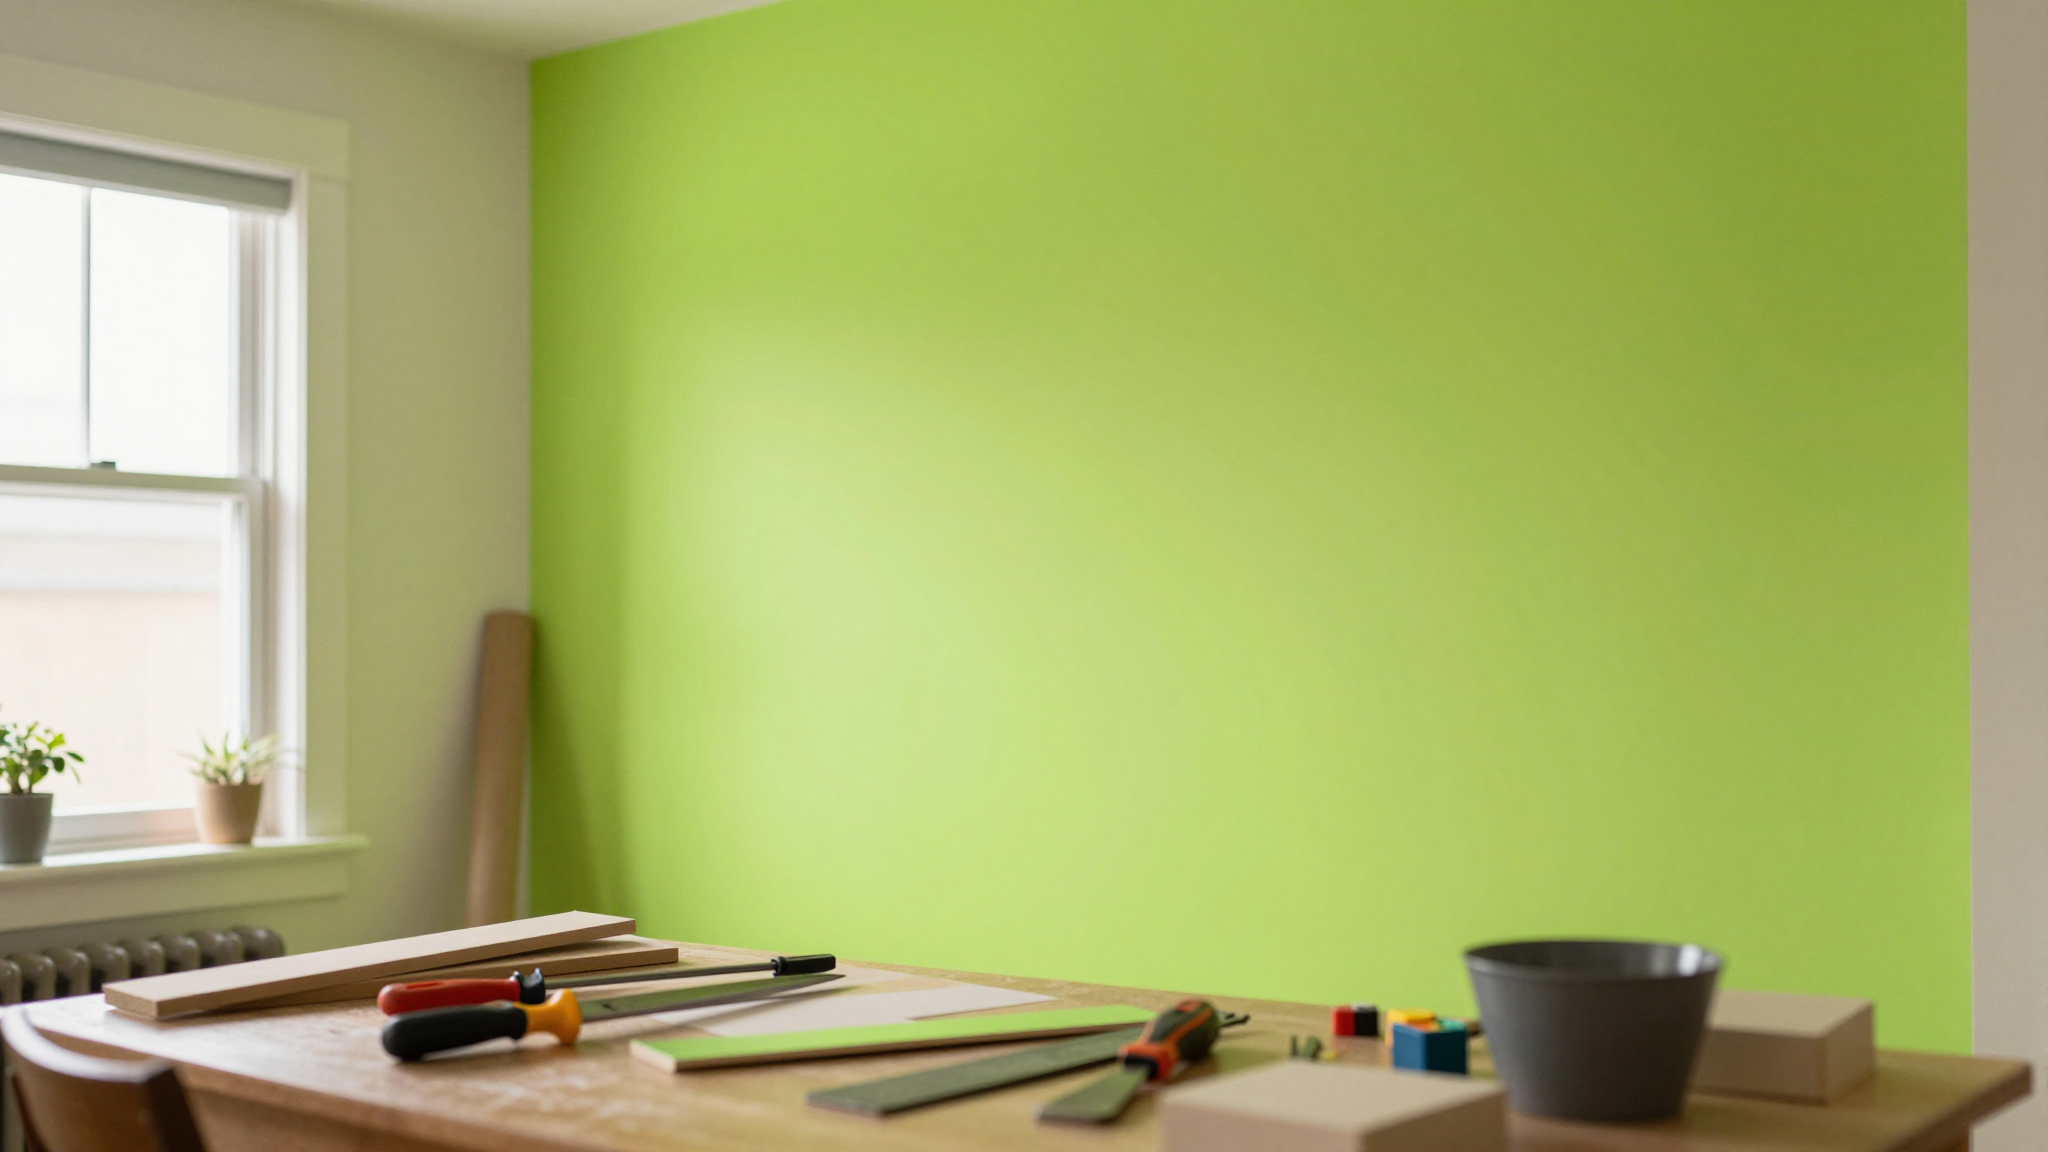
I wanted the walls to be fun but not overwhelming. My first attempt? A bright neon green. It looked like a highlighter exploded. Lesson learned: Test paint colors on a large poster board first and live with it for a few days.
Here’s what I did instead:
- Used a neutral base. I painted the walls a soft gray (Benjamin Moore’s “Revere Pewter”) so the room felt calm but not boring.
- Added an accent wall. I used peel-and-stick wallpaper on one wall,a fun geometric pattern that my kids love. It’s easy to remove if we ever want to change it.
- Let the kids add their touch. I bought a set of framed decals (letters, stars, and their names) and let them pick where to put them. Now the room feels like theirs, not just mine.
And if you’re worried about messes? I used washable paint on the lower half of the walls. Now I can wipe off crayon marks without repainting.
Flooring That Survives the Apocalypse (AKA Your Kids)
I almost went with carpet because it’s soft and cozy. Then I remembered the last time my son spilled juice on it. Never again.
Here’s what I chose instead:
- Vinyl plank flooring. It looks like wood, cleans up easily, and is durable. I used peel-and-stick tiles because they were easy to install (and remove if needed).
- Rugs for comfort. I added a few Wayfair rugs in high-traffic areas. They’re machine-washable, which is a lifesaver.
- Avoid hardwood. It’s beautiful, but it’s also a slip hazard and shows every scratch. Save it for the living room.
Pro tip: If you have hard floors, add thick rug pads. They make the room cozier and protect little knees during playtime.
Lighting That Actually Helps (No, Fairy Lights Alone Won’t Cut It)
I made the mistake of thinking string lights would be enough. Spoiler: They’re cute, but they don’t actually light anything. Here’s what I did instead:
- Task lighting for activities. A small desk lamp for the art station and a bright overhead light for building projects.
- Natural light boosters. I added sheer curtains to let in sunlight but keep out glare. It makes the room feel bigger and brighter.
- Fun but functional decor. I hung a DIY star light fixture (made from a thrifted lamp and some wire) for a little whimsy.
And if you’re worried about energy costs? Use LED bulbs. They last forever and use less power.
Furniture That Grows With Your Kids (And Won’t Break the Bank)
I avoided buying anything “cute” that would fall apart in a year. Instead, I focused on:
- Sturdy, adjustable furniture. A wooden table with extendable leaves (so it grows with them) and a bookshelf with adjustable shelves.
- Multi-functional pieces. A storage ottoman that doubles as a seat and a toy chest. It’s ugly, but it works.
- Secondhand finds. I scored a solid wood desk at a garage sale and sanded it down. Now it’s the “homework station.”
Pro tip: If you’re short on space, build up. I added floating shelves for books and bins, which freed up floor space.
Now It’s Your Turn
Start small. Pick one zone to focus on first,maybe the art station or the reading nook. Measure twice, buy smart, and don’t forget to have fun with it. Your kids will thank you (even if they don’t say it out loud).
And if you’re feeling overwhelmed, check out my other posts for more ideas:
- 5 DIY Projects to Instantly Add Charm to Your Home
- Easy DIY Projects to Give Your Bedroom a Makeover
- Upcycling Furniture Tips for a Professional-Looking Finish
Now go make that spare room into something amazing. And when it’s done, take a minute to enjoy it,before the kids wreck it.