
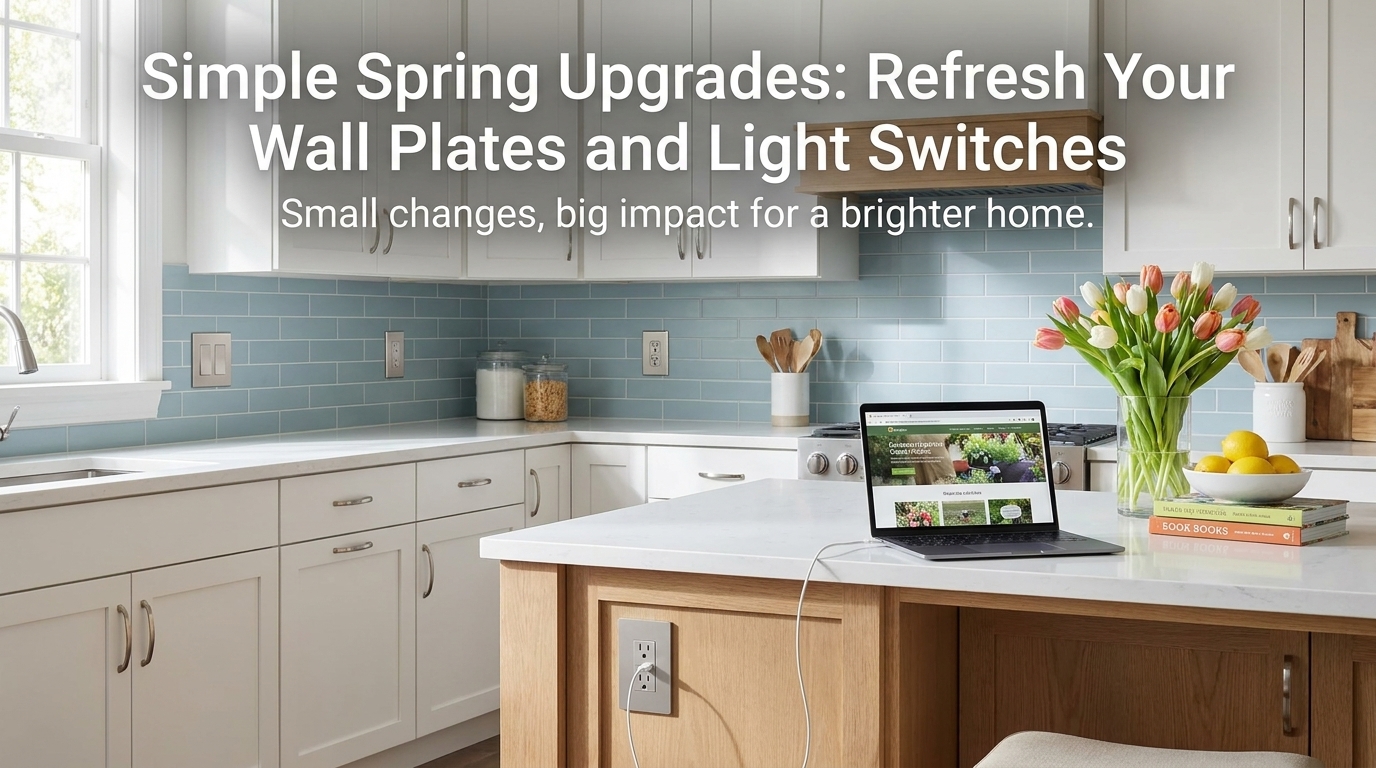
Every spring, I get this itch to refresh something in the house,usually because I’ve been staring at the same beige wall plates and outdated light switches for way too long. This year, I finally decided to tackle those little details that make a big difference. And let me tell you, swapping out wall plates and light switches is one of the easiest, most impactful upgrades you can do in a weekend. No demo, no drywall patching (thank goodness, because my last attempt at patching drywall was a disaster), and zero structural changes. Just a few screws, some new hardware, and suddenly your whole space feels brighter and more intentional.
I’ll be honest,I used to think these were just functional parts of the house, not something worth spending time on. But after seeing how much a fresh coat of paint and some simple DIY projects transformed my living room last year, I realized even the smallest details matter. And wall plates? They’re like the jewelry of your home,subtle, but they pull everything together when done right.
Why I Started with Wall Plates and Light Switches
Spring is the perfect time to refresh your home, but let’s be real,most of us don’t have the budget (or the patience) for a full renovation. That’s why I love starting with the little things. Wall plates and light switches are the unsung heroes of home decor. They’re everywhere, but we rarely notice them… until they’re outdated or mismatched. Trust me, I’ve lived in a house where the wall plates in the kitchen were a completely different finish than the ones in the hallway, and it drove me nuts. It’s the kind of thing that bugs you more than you realize until it’s fixed.
Here’s what I love about upgrading them:
- Safety first: Older outlets can be fire hazards, especially if the wiring is outdated. New tamper-resistant outlets (like the ones in the Legrand Radiant Collection below) are a game-changer if you have kids or pets. I replaced all our outlets after my toddler figured out how to stick a fork in one,not a moment too soon.
- More power, fewer frustrations: Modern outlets support higher wattage, which is a lifesaver in a house full of laptops, phones, and my husband’s ever-growing collection of charging cables. I used to have to unplug the vacuum to charge my phone. No more.
- Instant style upgrade: Matching wall plates and switches tie a room together. It’s like giving your home a cohesive outfit. I went with a brushed nickel finish in most rooms, but in the kitchen, I chose black to match our new farmhouse-style coffee table and cabinet hardware. The difference is night and day.
And the best part? These upgrades are dirt cheap compared to other home projects. A set of new wall plates and switches can cost as little as $20–$50, depending on the finish and brand. For the price of a takeout dinner, you can make your whole house feel fresh. Not a bad trade-off, right?
If you’re feeling overwhelmed by all the options (and trust me, there are a lot), start by picking one room to test the waters. I started in the hallway because it’s the first thing guests see when they walk in. Once I saw how much of a difference it made, I kept going.
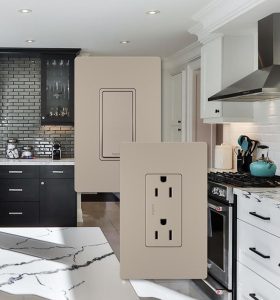
Meet the Legrand Radiant Collection
After hours of scrolling through options (and a few too many tabs open on my laptop), I landed on the Legrand Radiant Collection. I’ve used Legrand products before,their outlets and switches are in my parents’ house,and I love how durable and stylish they are. The Radiant line is no exception. It’s modern without being cold, and the finishes are actually consistent across wall plates, switches, and outlets. (I’ve bought cheaper brands where the “nickel” finish looked more like tarnished brass. Not cute.)
The collection has three standout products that I ended up using in my own home:
Legrand Radiant Screwless Wall Plate – Nickel
I’ll admit, I was skeptical about screwless wall plates at first. “How is this going to stay on?” I thought. But after installing a few, I’m a convert. No more stripped screws or loose plates. The snap-in design is so much easier, especially if you’re doing this yourself (and let’s be real, most of us are). I used these in the kids’ rooms because they’re safer,no tiny screws to swallow,and they look sleek. The nickel finish matches our existing hardware, so it all feels intentional.
Legrand Radiant 15-Amp 1-Pole Rocker Light Switch – Nickel
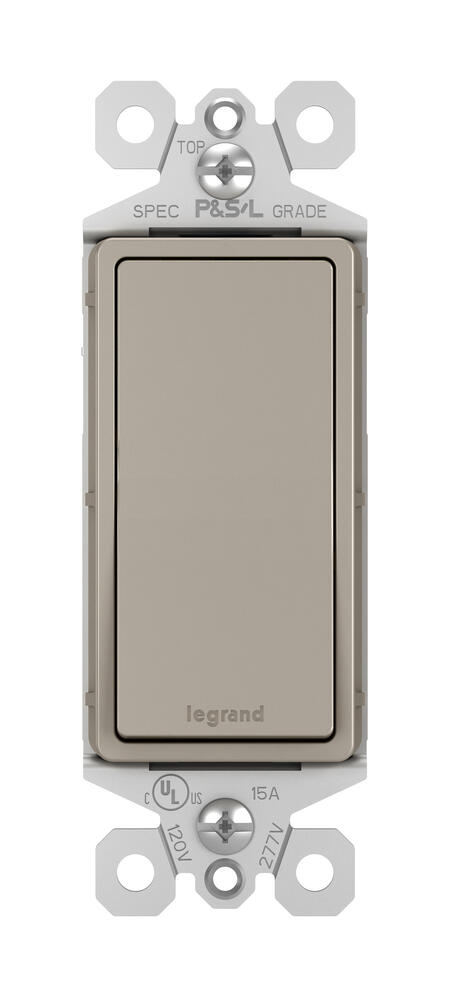
I replaced all our light switches with these. The rocker design is so much easier to use than those old toggle switches, especially for little hands. My 4-year-old can turn the lights on and off now without me having to help (which means I get five extra minutes of coffee in the morning). The nickel finish matches the wall plates, and the rocker mechanism feels sturdy,no wobbly switches here.
Legrand Radiant 15-Amp Tamper Resistant Decorator Outlet – Nickel
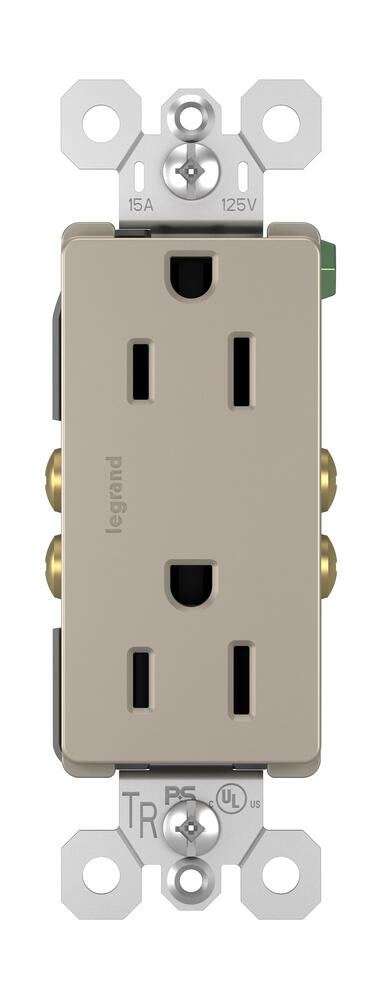
If you have kids or pets, do not skip the tamper-resistant outlets. I learned this the hard way when my cat figured out how to stick her paw into a regular outlet. (She’s fine, but my heart stopped for a solid 10 seconds.) These outlets have built-in shutters that only open when something is plugged in, which is a huge relief. They’re also USB-compatible, so I can charge my phone without an adapter. Small upgrade, big convenience.
Color Coordination Tips (So You Don’t End Up Like Me)
Here’s a confession: My first attempt at coordinating wall plates and switches was a hot mess. I bought a mix of brass, black, and white finishes because I thought “variety is the spice of life.” Spoiler: It looked like a hardware store exploded in my hallway. Lesson learned.
If you want your upgrades to look intentional (not like a DIY disaster), here’s what I’ve learned:
- Start with your hardware: Take a look at your door handles, cabinet knobs, and faucets. Whatever finish you’re using there is a great starting point for your wall plates. In my house, most of our hardware is brushed nickel, so I stuck with that for consistency. If your hardware is mixed, pick the finish you see most often or the one you love the most.
- Match the mood of the room: A modern, minimalist space? Go for sleek black or matte white. A cozy farmhouse kitchen? Warm oil-rubbed bronze or aged brass works beautifully. I used black switches in my bedroom because it pairs well with the dark wood furniture, but kept the rest of the house in nickel for a lighter feel.
- Don’t overthink it: If you’re stuck, grab a few finish samples from the hardware store and hold them up to your walls under different lighting. (Trust me, that “perfect” white wall plate can look yellow under warm lighting.) I did this with my husband, and we realized the “bright white” plates looked way too stark in our living room. We switched to off-white, and it made all the difference.
Pro tip: If you’re painting your walls, pick your wall plate finish first. I painted my dining room a soft sage green, but the white wall plates I originally chose made the room feel washed out. I swapped them for black, and now the whole space feels more cohesive. Live and learn!
Smart Features for a Smarter Home
If you’re anything like me, you love the idea of a “smart home” but don’t want to spend a fortune or rewire your entire house. Here’s the good news: Modern wall plates and switches can integrate with smart home systems without a full overhaul. I started small,just swapping out a few switches for smart-enabled ones,and it’s made a huge difference.
Here’s what I love about smart upgrades:
- Control from anywhere: I can turn off the kitchen lights from bed if I forget (which happens way more often than I’d like to admit). The app even lets me set schedules, so the porch light turns on at dusk and off at midnight. No more fumbling for switches in the dark.
- Energy savings: Smart switches let you monitor your energy use, and some even cut power to devices in standby mode (like my husband’s gaming console, which was secretly running up our electric bill). I’ve saved about $20 a month since I switched, and that’s just from not leaving lights on.
- Voice control: I use Alexa to turn lights on and off, which is a lifesaver when my hands are full (or when I’m lazy, let’s be honest). My kids think it’s magic. (“Alexa, turn on the fairy lights!”)
If you’re new to smart home tech, start with one or two switches in high-traffic areas, like the living room or kitchen. I used the Legrand Radiant switches because they’re compatible with most smart home systems, and the design matches the rest of my hardware. No clunky hubs or complicated setups,just plug and play.
And if you’re worried about the learning curve, don’t be. I’m not tech-savvy, and I figured it out in under an hour. The hardest part was remembering to turn off the power before I started!
Installation Made Simple (With My Hard-Learned Tips)
I’ll be honest,I was nervous about installing these myself. I’ve seen enough DIY gone wrong to know that electricity + inexperience = a bad time. But after watching a few YouTube tutorials (shoutout to Ask This Old House), I realized it’s easier than I thought. Here’s how I did it, plus the mistakes I made so you don’t have to.
Tools you’ll need:
- A non-contact voltage tester (this is not optional. I borrowed my neighbor’s after I zapped myself the first time. Ouch.)
- A screwdriver (a magnetic one makes life easier)
- Wire strippers (if your wires are old and frayed)
- Needle-nose pliers (for stubborn wires)
Step-by-step (with my reality checks):
- Turn off the power. Go to your breaker and flip the switch for the circuit you’re working on. Double-check with the voltage tester. I learned this the hard way when I thought I’d turned off the power, but the tester lit up like a Christmas tree. (Thankfully, I only got a little shock.)
- Remove the old plate or switch. Most wall plates just pop off with a little wiggle. For switches, you’ll need to unscrew the faceplate first. If the screws are stripped (like mine were in the bathroom), use a rubber band for grip or switch to pliers.
- Unplug the wires. This is where I panicked the first time. The wires in my house are old and a little crusty, and I was afraid to touch them. Turns out, as long as the power’s off, they’re harmless. Use your needle-nose pliers to loosen the screws on the old switch, then pull the wires out gently.
- Connect the new switch. Match the wires by color (black to brass, white to silver, green to ground). If your new switch has a backstab connector (like the Legrand ones), you can just push the wires in. If not, screw them in tightly. I double-checked mine with the voltage tester just to be sure.
- Mount the new switch or plate. Snap the faceplate into place, or screw the new wall plate on. If you’re using screwless plates, just align the tabs and press until it clicks.
- Turn the power back on and test. Flip the breaker, then turn the switch on and off a few times. If it works, great! If not, double-check your connections. (I had to redo one switch because I’d loosened a wire without realizing it.)
If you’re not comfortable doing this yourself, hire an electrician. It’s worth the peace of mind, especially if your wiring is old or you’re not sure what you’re doing. I paid a local handyman $50 to help me with the trickier switches, and it was money well spent.
Oh, and one more thing: label your breaker before you start. I didn’t, and now I have no idea which switch controls which circuit. (Thanks, past Christina.) Use a label maker or even just a Sharpie to mark them as you go.
Fitting Your Switches to Your Decor (Without Looking Like a DIY Newbie)
Here’s the thing about decorating: What looks great in a showroom or on Pinterest doesn’t always translate to real life. I learned this the hard way when I picked out wall plates that looked “modern” online but clashed with my actual furniture. So how do you avoid my mistakes?
Start by taking stock of what you already have. Grab a few photos of your room and look for a common thread in your hardware, furniture, and flooring. For example:
- If your kitchen has stainless steel appliances and white cabinets, sleek black or brushed nickel wall plates will look modern and intentional.
- If you’ve got a rustic farmhouse vibe with wood beams and vintage decor, oil-rubbed bronze or aged brass will fit right in. (I used these in my farmhouse-style coffee table project and loved how they tied everything together.)
- If your bedroom is all about cozy neutrals, stick with white or light gray wall plates to keep the focus on your bedding and textiles.
And here’s a trick I wish I’d known sooner: test your finishes in different lighting. I thought the “antique brass” wall plates would look amazing in my entryway, but under the warm overhead light, they looked orange. I swapped them for matte black, and now they look intentional. Always check samples in the room where they’ll live, not just in the store.
If you’re still stuck, here’s a cheat sheet:
| Room | Recommended Finish | Why It Works |
|---|---|---|
| Kitchen | Stainless steel, black, or brushed nickel | Matches appliances and modern cabinet hardware |
| Bathroom | Brass, chrome, or white | Complements vanities and fixtures; white keeps it bright |
| Bedroom | White, light gray, or warm bronze | Keeps the focus on bedding and decor; bronze adds warmth |
| Living Room | Black, gold, or matching furniture hardware | Adds a touch of elegance; gold pairs well with neutral palettes |
And if you’re like me and love mixing metals, stick to a dominant finish (like 80% nickel, 20% brass) to keep it from looking chaotic. Trust me, your future self will thank you.
The Energy-Saving Perks of Modern Switches
I’ll admit, I used to think “energy-saving” upgrades were just a marketing gimmick. But after switching to smart-enabled wall plates and outlets, I’ve saved enough on my electric bill to pay for the upgrades twice over. Here’s how:

- Automated lighting: I set my hallway lights to turn on at 6 PM and off at 11 PM. No more forgetting to turn them off (which, let’s be honest, I did all the time). I’ve cut my lighting bill by about 15% just from this.
- Remote control: I can turn off the kids’ bedroom lights from the living room if they leave them on. (Parenting hack: Set a timer for “bedtime mode” where all the lights dim automatically.)
- Energy monitoring: My smart outlets track how much power each device uses. I was shocked to see how much my old laptop charger was sucking up, even when the laptop wasn’t plugged in. I swapped it for a smart power strip, and now it cuts power when the laptop’s not in use.
If you’re not ready to go full smart home, even basic LED bulbs with modern switches can make a difference. I replaced all our incandescent bulbs with LEDs, and the combination of energy-efficient lighting and smart controls has slashed my electricity costs. Plus, LEDs last forever, so I’m not constantly buying replacements.
And here’s a bonus: Many smart switches and outlets increase your home’s resale value. If you ever sell, buyers love knowing the home is equipped with energy-efficient upgrades. It’s a small investment with big payoffs.
Maintenance Tips to Keep Your Upgrades Looking New
Okay, real talk: I’m not a neat freak. Dust bunnies live under my bed, and I sometimes go weeks without wiping down the kitchen counters. But even I know that a little maintenance goes a long way with wall plates and switches. Here’s how I keep mine looking fresh:
- Dust regularly: I use a microfiber cloth (the same ones I use for my wood stairs) to wipe down wall plates and switches every couple of weeks. Dust builds up faster than you’d think, especially in high-traffic areas.
- Spot clean with vinegar: For sticky fingerprints or grime, I mix equal parts white vinegar and water in a spray bottle. A quick wipe takes care of it. (No harsh chemicals,my kids touch everything.)
- Avoid abrasives: I learned this the hard way when I used a steel wool pad on a brass switch and scratched it. Now I stick to soft cloths or sponges.
- Check for wear: If a switch feels loose or the plate is cracked, replace it. I had to swap out one in the laundry room after my toddler “helped” me fold clothes by banging on the switch. (RIP, $12 wall plate.)
Pro tip: If you’re painting your walls, remove the wall plates first. I didn’t the first time, and I ended up with paint splatters on the switches. Now I take them off, lay them on a towel, and pop them back on once the paint is dry. Saves so much hassle.
Room-by-Room Design Ideas
One of the best parts of upgrading wall plates and switches? You can tailor them to each room’s personality. Here’s how I’ve styled mine:
Kitchen
I went for a sleek black finish in my kitchen because it pairs perfectly with my stainless steel appliances and white shaker cabinets. The contrast makes the space feel modern and intentional. I also added a black accent wall behind the stove, and the switches tie it all together.
Bathroom
For the bathroom, I chose brushed nickel to match the faucet and shower fixtures. It’s bright enough to keep the room feeling airy, but the metallic finish adds a touch of elegance. I also swapped out the old outlet for a tamper-resistant one,because, again, kids.
Bedroom
In my bedroom, I kept things soft and neutral with white wall plates and switches. They blend in with the walls, so the focus stays on the bedding and artwork. I did add a wainscoting panel behind the bed, and the white plates help it feel cohesive.
Living Room
Here, I mixed it up with gold finishes on the switches and black on the outlets. It’s a little unexpected, but it adds warmth and pairs well with the neutral furniture. I also added dimmer switches so I can adjust the lighting for movie nights or cozy reading sessions.
If you’re not sure where to start, pick the room you use the most,the one that makes the biggest impression when you walk in. For me, that was the hallway. Once I saw how much of a difference it made, I kept going.
Ready to Refresh? Start Small, Think Big
Spring is the perfect time to give your home a little love, and upgrading wall plates and light switches is one of the easiest, most rewarding projects you can tackle. It’s not about spending a fortune or overhauling your entire space,it’s about the little details that make your home feel like yours.
Start with one room, pick a finish that makes you happy, and don’t overthink it. If you’re anything like me, you’ll be hooked after the first switch. And who knows? This might just be the year you finally tackle that fireplace makeover or staircase refresh you’ve been putting off.
Now, if you’ll excuse me, I’ve got a screwdriver and a box of new wall plates calling my name. Wish me luck!