
Paper Crafting for Home Decor: Beyond Scrapbooking
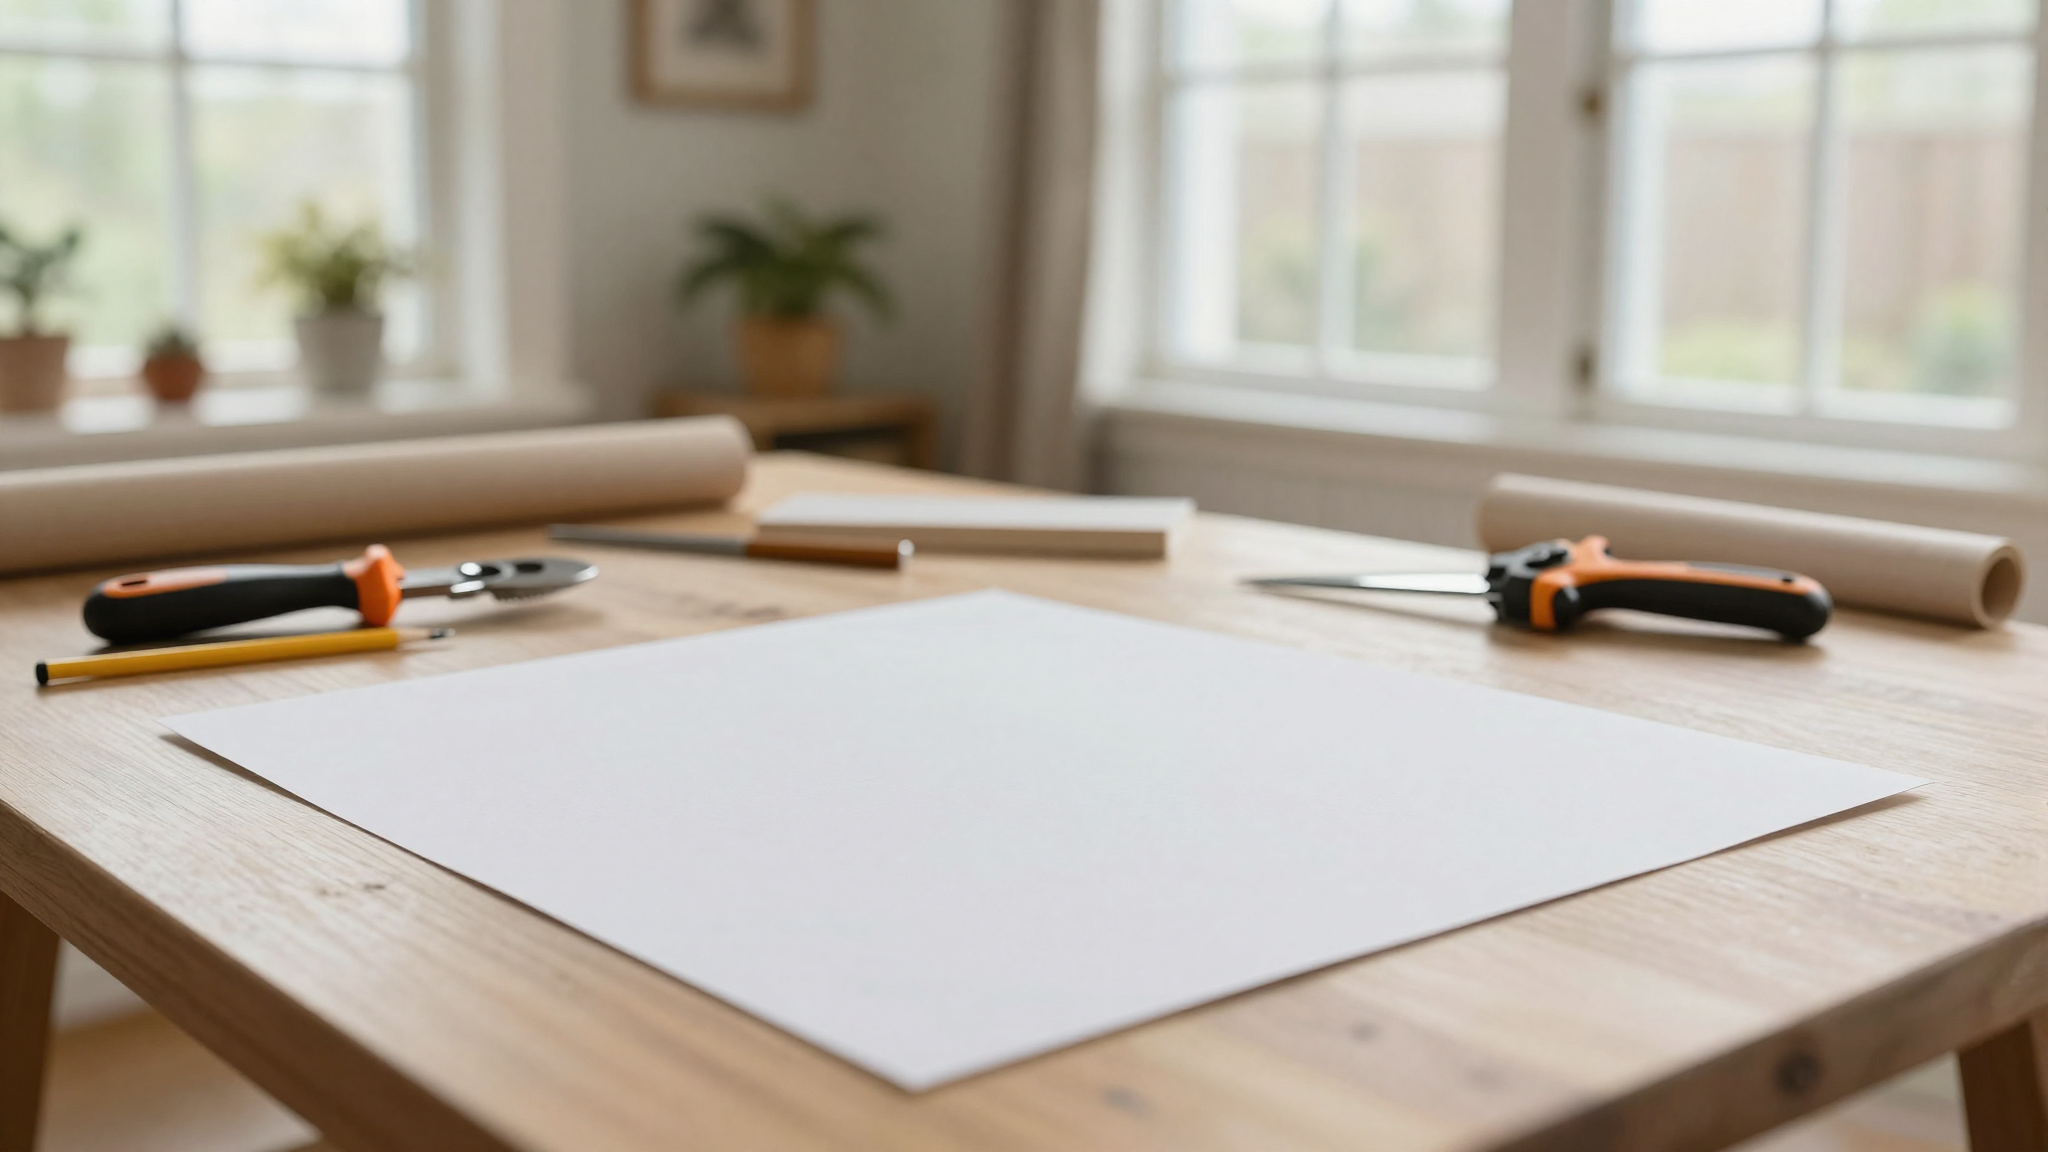
I’ll never forget the first time I turned a simple sheet of cardstock into something that actually looked intentional. It was a rainy Saturday afternoon, my kids were napping, and I was desperate for something to do that didn’t involve another load of laundry. I grabbed some scrapbook paper, my trusty Fiskars scissors (the good ones I splurged on after ruining three cheap pairs), and a glue stick. Two hours later, I had a lopsided but charming wall hanging that now lives in my daughter’s bedroom. The point? You don’t need fancy supplies or decades of experience to make paper crafting work for your home.
What started as a way to keep my hands busy has become one of my favorite ways to add personality to our house. The best part? These projects are actually useful – they’re not just pretty things gathering dust on a shelf. I’ve made everything from functional decor that holds up to daily life to one-of-a-kind gifts that people actually use. And the best news? You can do it too, no art degree required.
Why Paper Crafting Works for Real Homes
Let me be honest – I used to think paper crafts were just for scrapbooks and greeting cards. Then I discovered how versatile this medium really is. That first wall hanging? It was just the beginning. Now I use paper to create:
- Custom bedroom decor that matches my exact color scheme
- Functional organizers for my kids’ rooms (yes, the ones that actually stay put)
- Seasonal decorations that don’t look like they came from a big-box store
- Gifts that people actually display (not just shove in a drawer)
The secret? Paper isn’t just for flat projects. When you combine folding techniques with modern designs, you can create 3D pieces that add real depth to your space. I made the mistake of thinking paper crafts were all about delicate flowers and pastel colors – until I tried geometric designs with bold colors. Now my living room has this amazing modular origami piece that looks like modern art but was actually pretty simple to make.
And here’s what I love most: paper crafts are forgiving. I’ve ruined more than a few projects (that one time I used the wrong glue and everything slid apart is still burned in my memory), but the materials are cheap enough that I can experiment without stressing. My kids have even gotten in on the action – though I may regret teaching my 7-year-old how to make paper airplanes that actually fly.
Transform Your Home with Unique Paper Craft Projects
One of the things I love about paper crafting is how it can take something ordinary and make it extraordinary. Let me show you how I’ve used this in my own home:
Where Old Meets New
I’ll admit, I was skeptical about combining traditional origami with modern designs at first. But then I saw this YouTube tutorial for creating geometric wall art using folded paper, and I was hooked. My first attempt was… well, let’s just say it ended up in the recycling bin. But my second try? That one’s still hanging in my hallway.
The key is to mix classic folding techniques with unexpected materials. I used some leftover metallic paper from a failed furniture project to create these 3D wall panels. They look like they belong in a design magazine, but they cost me less than $10 to make. The best part? They hide that weird hole in the drywall that my husband still hasn’t patched (yes, I’m looking at you, drywall project that’s been on the to-do list for two years).
Color Your World
I used to think my home needed to be all neutral tones to look “adult.” Then I discovered how vibrant colors can actually make a space feel cozier. One of my favorite projects was creating these cascading floral arrangements using colored paper. I hung them in my daughter’s room, and now she calls it her “princess garden.”
Here’s a pro tip I learned the hard way: not all paper holds up to light the same way. I made the mistake of using cheap tissue paper for some ceiling decorations, and after a few months, they started looking faded. Now I use archival-quality paper for anything that will be in direct sunlight. It’s worth the extra few dollars.
For my living room, I created these tissue paper pom-poms that hang from the ceiling. They catch the light beautifully and create these amazing shadows that change throughout the day. My husband thought I was crazy when I first hung them, but now he’s the one who notices when they need dusting.
Creative DIY Projects for Home Decor

I’ll be honest – I didn’t think I had the patience for detailed paper crafts. But these two projects changed my mind:
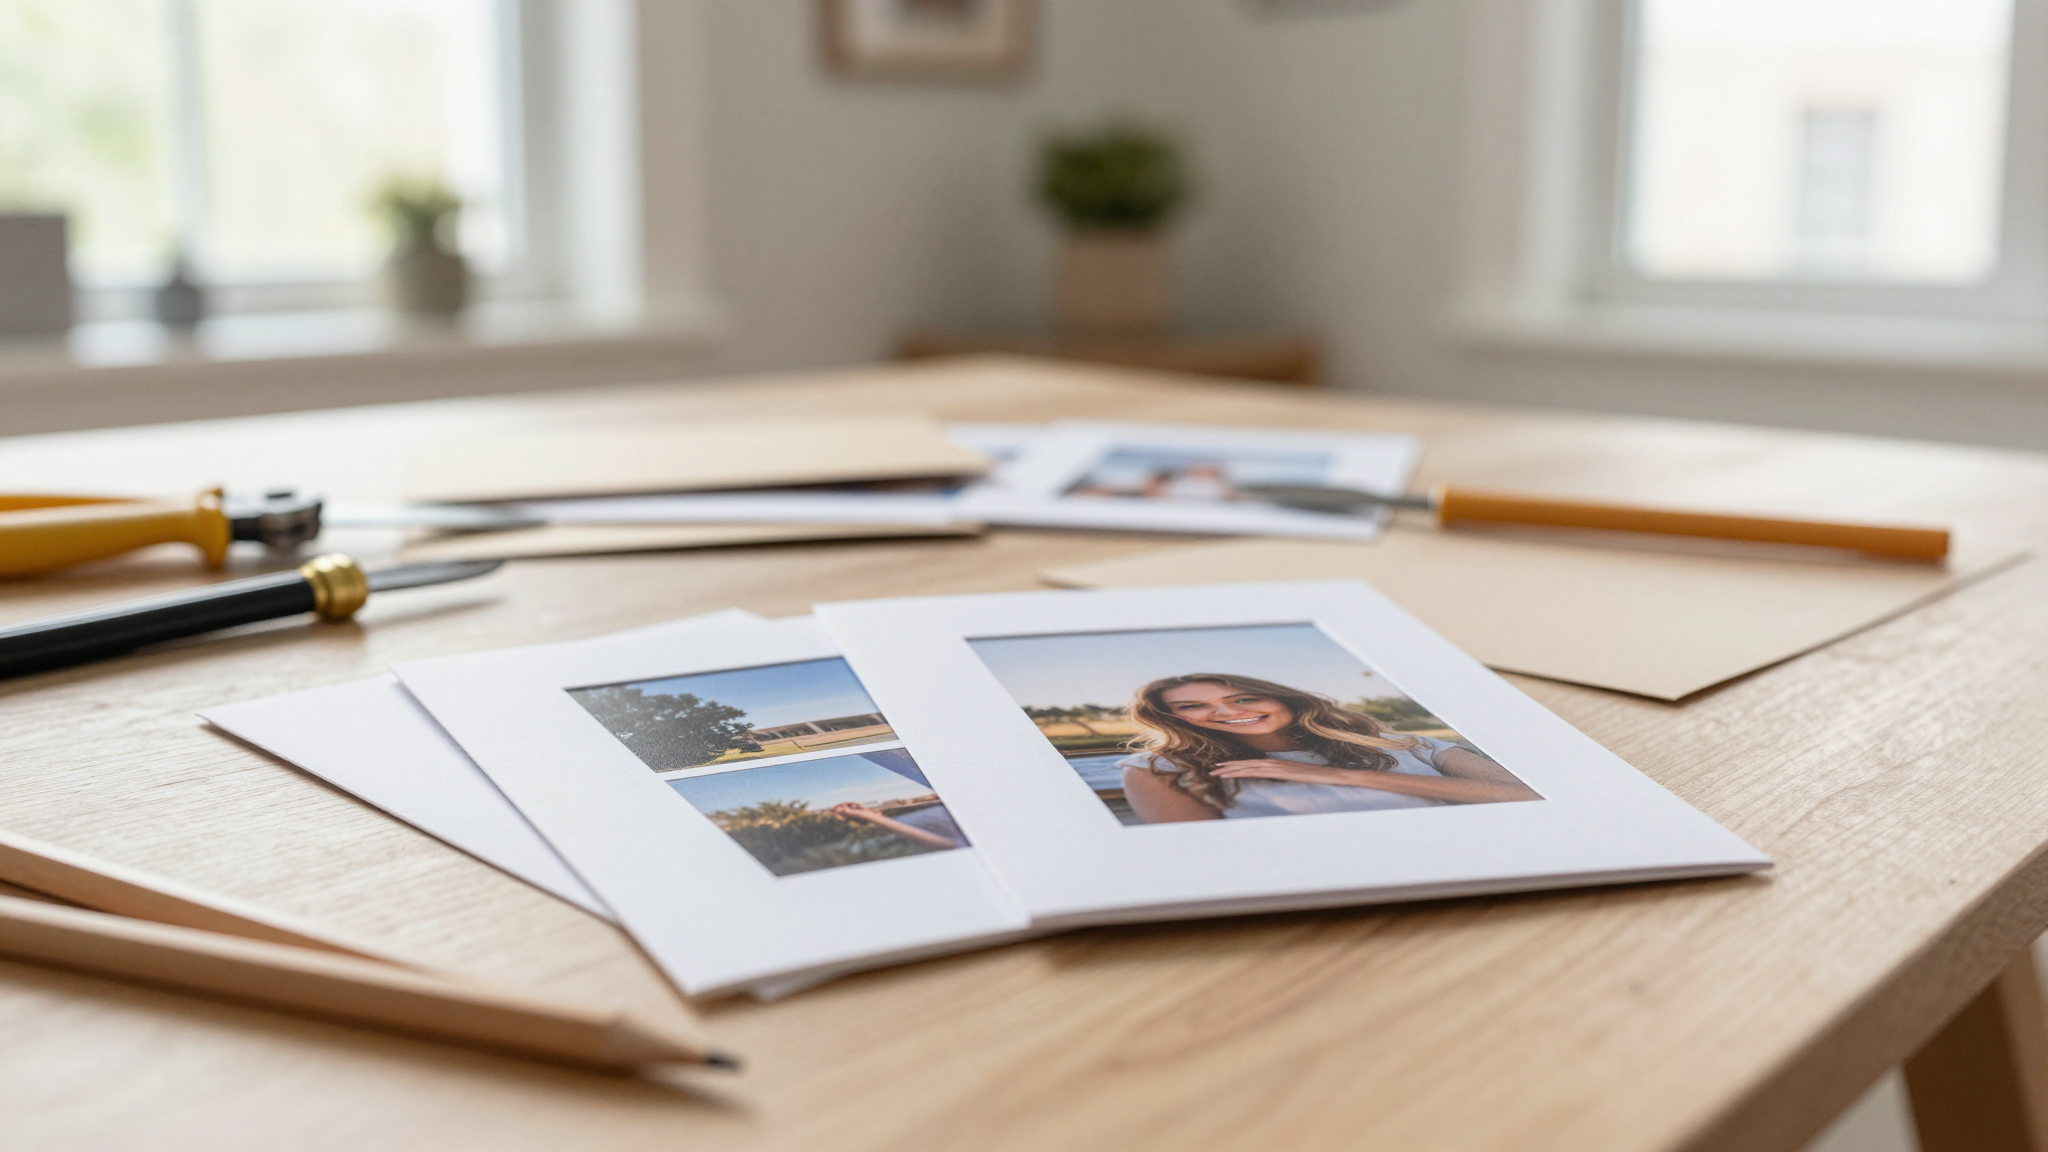
Handmade Greeting Cards and Photo Frames
I started with simple cardstock and some basic supplies. My first project was making birthday cards for my nieces. I used layered paper and some lace I had left over from a failed coffee table project. The cards turned out so well that now I make them for all major holidays.
For photo frames, I experimented with different techniques. My favorite was using thick cardstock to create geometric designs. I added pressed flowers around the edges (I collected them during a family hike that my kids still complain about), and the result was this beautiful frame that now holds my favorite family photo.
Here’s what I’ve learned about working with cardstock:
- Use a bone folder for clean creases – trust me, your hands will thank you
- Mod Podge is your friend for sealing edges (I learned this after my first attempt fell apart)
- Don’t be afraid to mix materials – I added fabric flowers to one frame, and it turned out amazing
These projects are perfect for gifts, but they also make great displays in your home. I have a shelf in my living room dedicated to handmade cards and frames, and it’s become one of my favorite spots in the house.
Innovative Paper Crafts Ideas for Every Home

One of the things I love about paper crafting is how you can transform everyday items into something beautiful. Here are some of my favorite projects using things I already had at home:
Toilet Paper Roll Magic
I’ll admit, I used to just throw away empty toilet paper rolls. Then I discovered how versatile they can be. My kids and I turned them into:
- Painted vases for fresh flowers (we used leftover acrylic paint from our fireplace project)
- Wall organizers for my daughter’s room (she loves how they look like little houses)
- Fairy lights holders that we hung from her bedroom ceiling
The key is to paint them first (I learned this after trying to glue paper to unpainted rolls – disaster!). We used metallic paint for a fancy look, but you could use any color. My kids had so much fun decorating them that we ended up with a whole collection.
Book Page Art
I have a confession: I’m a book hoarder. Which means I have a lot of old books that I’m not ready to part with. Instead of letting them gather dust, I’ve been turning them into decor. One of my favorite projects was creating these 3D book sculptures. I folded the pages into different shapes and arranged them on a shelf. It looks like modern art, but it’s actually just old books!
For a more functional project, I turned some old book pages into these beautiful gallery wall pieces. I dipped the edges in gold paint and framed them. They add this amazing vintage touch to my living room.
Master Techniques: Paper Cutting and Quilling Art
Once I got comfortable with basic paper crafts, I wanted to learn more advanced techniques. Quilling and paper cutting have become two of my favorite ways to create detailed, dimensional pieces.
Start Simple: Foundational Skills
I’ll be honest – my first quilling attempt was a disaster. I ended up with a bunch of lopsided coils that looked more like worms than anything artistic. But I kept practicing, and now I can actually make things that don’t look like a kindergartener made them.
Here’s what I’ve learned:
- Start with basic shapes like circles and teardrops – they’re easier than they look
- Use a slotted quilling tool (I got mine from Slice Products) – it makes a huge difference
- Clear-drying glue is your friend – I learned this after ruining a project with regular glue
For paper cutting, I started with simple templates. My first project was cutting out snowflakes (yes, in the summer – I was practicing for winter!). I used cardstock and a craft knife, and after a few tries, I actually got some that looked decent.
Level Up: Precision and Complexity
Once I got comfortable with the basics, I started experimenting with more complex designs. One of my favorites was creating these ombre petals using graduated color strips. It took me about 10 tries to get it right, but the final result was worth it.
For paper cutting, I invested in a self-healing mat and some micro-tip scissors. The difference they made was amazing. I can now cut intricate designs without ruining my paper (or my sanity).
Here’s a tip I wish I knew sooner: practice on scrap paper first. I ruined several good sheets before I realized that testing my cuts on cheap paper saves a lot of frustration (and money).
Exploring Other Paper Art Forms
Once I got comfortable with quilling and paper cutting, I wanted to explore other paper art forms. Origami and 3D paper models have become some of my favorite projects.
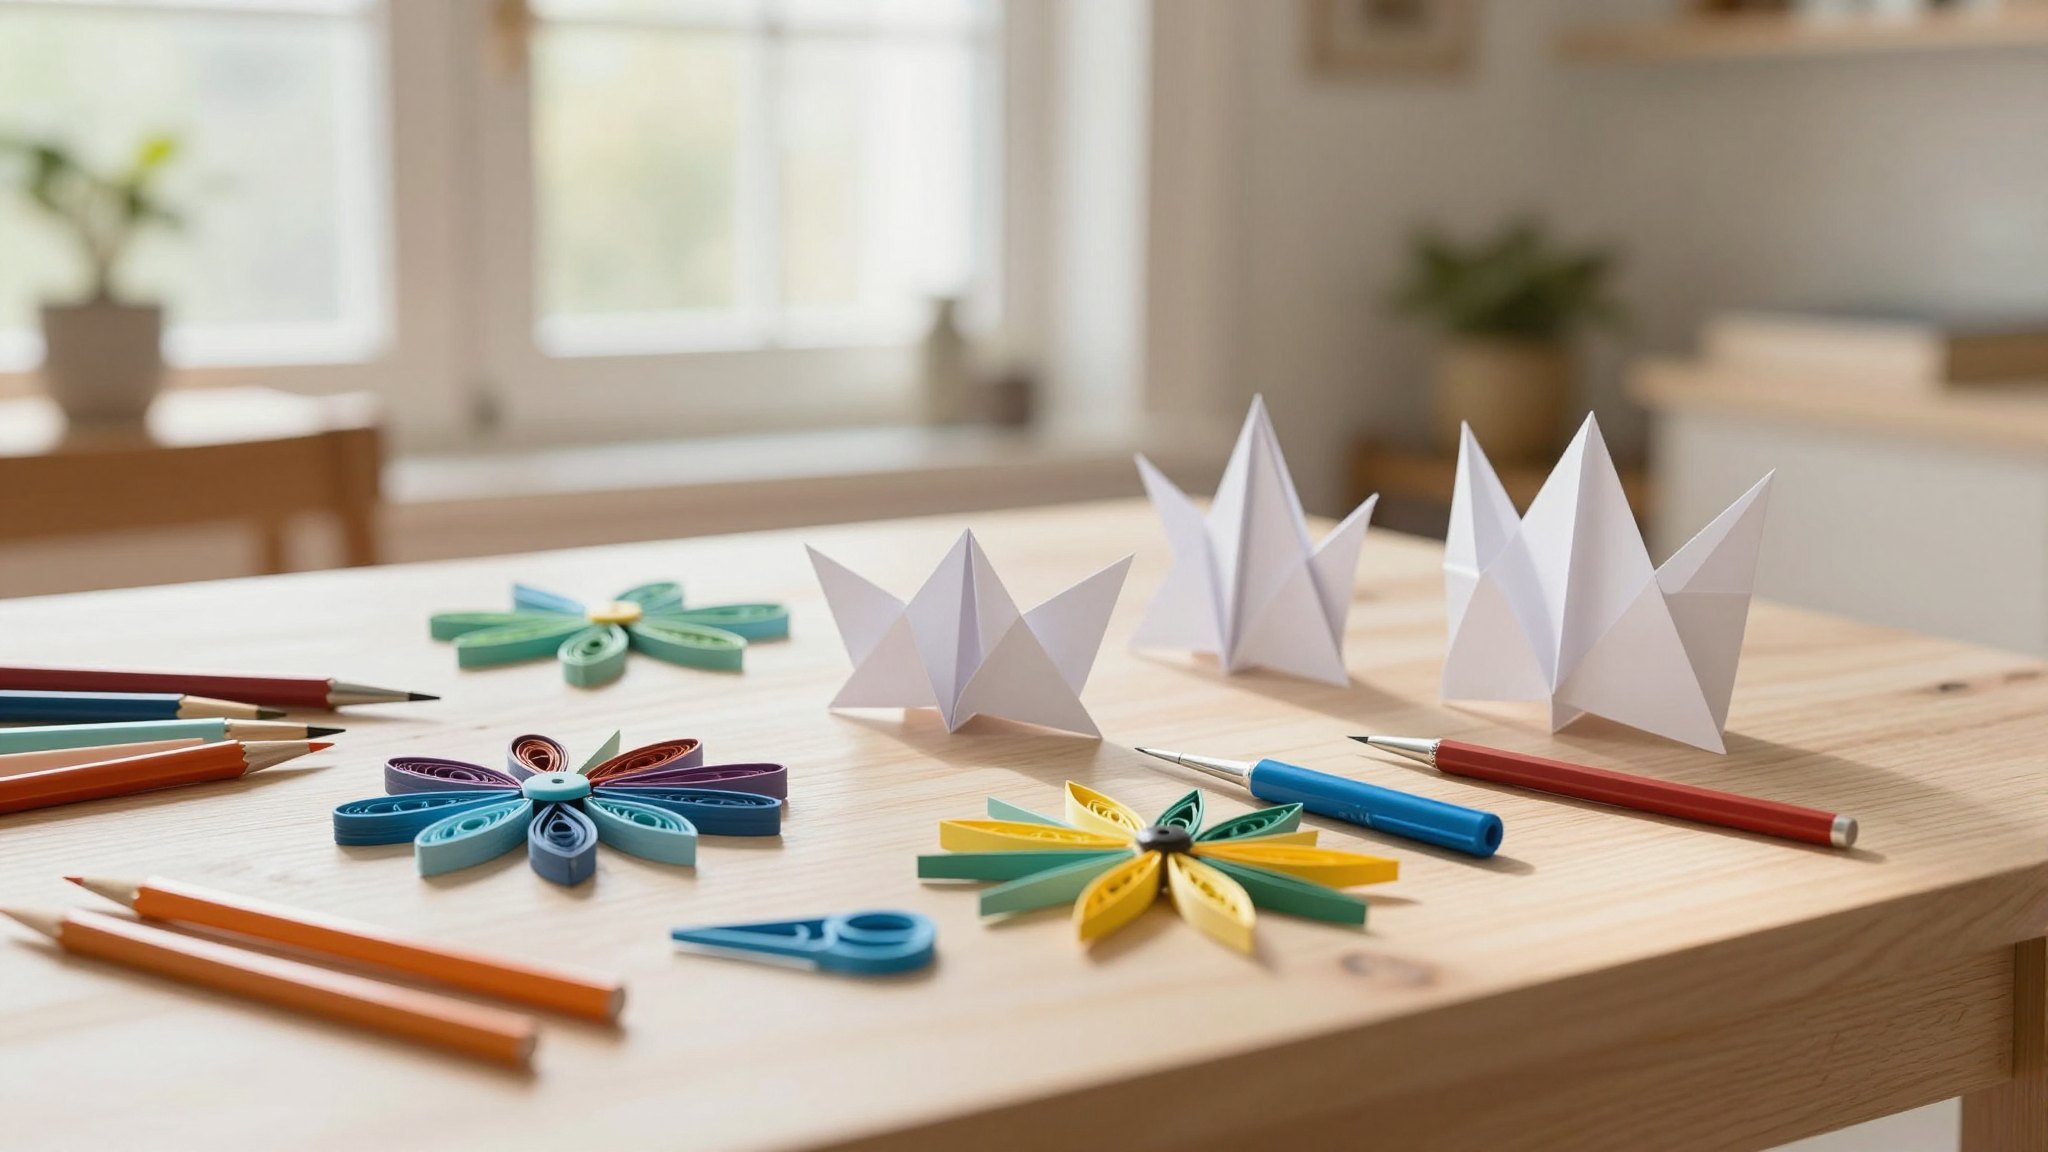
3D Paper Models: Build Your Imagination
I’ll admit, I was intimidated by 3D paper models at first. They looked so complex that I didn’t think I could do them. But then I found this beginner-friendly YouTube tutorial for making a simple house. It took me a few tries, but I finally got it right.
Now I make everything from architectural landmarks to animals. My kids love helping me with these projects, though I may regret teaching my son how to make paper airplanes that actually fly across the room.
Weaving Stories with Strips
Paper weaving is another technique I’ve fallen in love with. It’s surprisingly relaxing, and the results are beautiful. I made these woven wall hangings for my daughter’s room, and they’ve become one of her favorite decorations.
Here’s what I’ve learned about paper weaving:
- Use sturdy materials – I started with cereal box cardboard before moving to watercolor paper
- Alternate colors for interesting patterns – my favorite is the checkerboard look
- Don’t be afraid to experiment – I tried a diagonal weave that turned out amazing
I love how paper weaving combines creativity with a little bit of math (yes, really!). It’s the perfect project to work on while watching TV or listening to a podcast.
Sustainable and Recycled Paper Projects
One of the things I love most about paper crafting is how eco-friendly it can be. I’m always looking for ways to reduce waste, and paper crafts are perfect for that.
DIY Projects Using Recycled Materials
Here are some of my favorite projects using things I already had at home:
- I turned old paper bags into rustic wall art by cutting geometric shapes and layering them
- We painted toilet paper rolls metallic colors and used them as planters for succulents
- I made these beautiful woven baskets using strips from old magazines
For my living room, I created these twisted magazine bowls. They’re perfect for holding remotes or small trinkets, and they look amazing on my coffee table. My husband thought I was crazy when I started collecting old magazines, but now he’s the one who points out when we have enough for a new project.
Eco-Friendly Crafting Tips
Here are some tips I’ve learned for sustainable crafting:
- Use non-toxic glue sticks – I switched to EcoCollage after reading about the chemicals in regular glue
- Save colorful junk mail for collages instead of buying new paper
- Crumble recycled paper for textured backgrounds – it’s amazing what you can create with old newspaper
I’ve also started a supply swap with some neighbors. We all collect different types of paper and materials, and we trade what we don’t need. It’s amazing what you can create when you combine everyone’s “junk.”
Final Thoughts (and a Challenge for You)
Paper crafting has become one of my favorite ways to add personality to our home. It’s creative, it’s affordable, and it’s something I can do with my kids. Plus, there’s something incredibly satisfying about turning a simple sheet of paper into something beautiful.
Here’s my challenge to you: grab some paper, scissors, and glue, and try one new project this week. It doesn’t have to be perfect – remember, my first wall hanging ended up in the recycling bin! The important thing is to have fun and let your creativity flow.
And if you make something you love, I’d love to see it! Share your creations on social media and tag me – I’m always inspired by what other people create. Who knows? Maybe your project will end up featured on my blog someday.
Now, if you’ll excuse me, I have a stack of old magazines and a glue gun with my name on it. Time to see what I can create!