
How I Built a Kid-Friendly Craft Station That Actually Gets Used
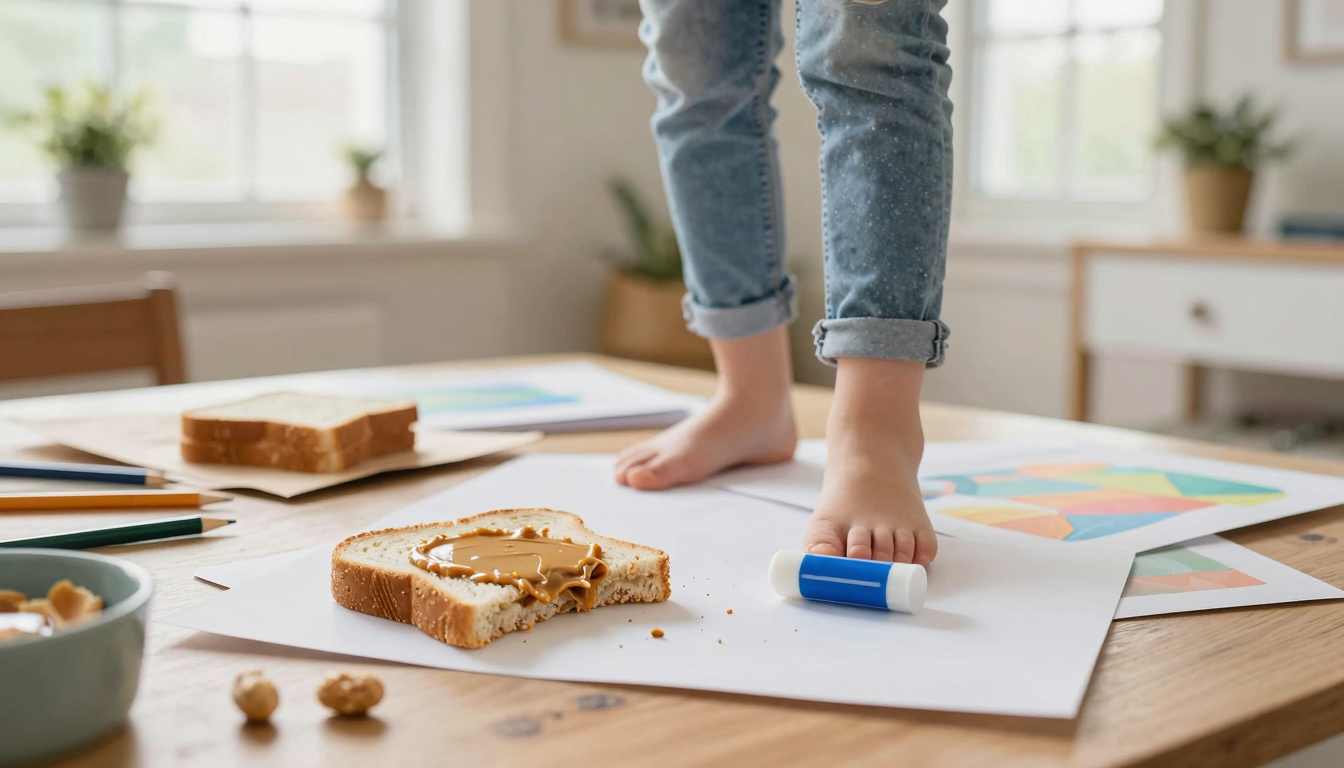
Let me tell you about the time I found a half-eaten peanut butter sandwich under my daughter’s “art project” pile. Or when I stepped on a glue stick and thought I’d broken my toe. These weren’t isolated incidents – they were daily occurrences in our pre-craft-station household. That’s why I built a dedicated DIY craft station that actually works for kids (and saves my sanity).
I’ll be honest – my first attempt was a disaster. I bought these cute little bins from Target, labeled everything perfectly, and within a week, the whole system collapsed. The bins were too small, the labels fell off, and somehow we ended up with more mess than before. But I learned from that failure, and now? Now we have a system that actually works. One where my kids can create without turning the house into a warzone, and where I can actually find the scissors when I need them.
Why a Craft Station Changed Everything
Before we had this space, art supplies lived in a shoebox under the coffee table. The result? A constant cycle of frantic searching (“Where are the safety scissors?”) followed by frantic cleaning (“Why is there glitter in the couch cushions?”). The craft station solved two huge problems:
- No more supply scavenger hunts – Everything has a home now, and my kids actually know where to find things (most of the time)
- Less cleanup chaos – When everything has a designated spot, putting away supplies takes about 5 minutes instead of 20
- More actual creating, less setup time – No more dragging out supplies from three different rooms just to make a simple card
The best part? My kids actually want to use it. They don’t just create when I suggest it – they initiate projects on their own. Last week, my 7-year-old spent an entire afternoon making a “family tree” mural after finding some large paper in her designated spot. That’s the magic of having a space that’s truly theirs.
What Exactly Is a DIY Craft Station?
It’s more than just a table with some supplies. A good craft station is:
- A dedicated space that’s just for creating (no eating, no homework, no Legos)
- A well-organized system where everything has its place
- A kid-friendly zone designed for little hands and big imaginations
- A low-stress area where messes can be contained and cleaned up easily
Mine lives in our basement playroom, but I’ve seen them work in:
- Corner of a bedroom (like in my bedroom makeover post)
- Garage nook (with proper weatherproofing, of course)
- Even a repurposed closet (I’ve got tips on that if you’re tight on space)
My Biggest Mistakes (And How to Avoid Them)
I learned the hard way that not all craft stations are created equal. Here’s what I did wrong first time around:
- Using pretty bins instead of practical ones – Those cute little decorative boxes looked great but were impossible for little hands to open. Now I use IKEA KUGGIS boxes – they’re sturdy, stackable, and easy for kids to access
- Not considering height – My first table was too tall for my 5-year-old. Now I have a farmhouse-style table at the perfect height with a built-in shelf for supplies
- Overcomplicating the organization – Too many categories made it confusing. Now we have just 5 main zones: paper, markers/pens, scissors/glue, 3D materials (like pipe cleaners), and “special projects” (for things like clay or beads)
Tools and Supplies You’ll Actually Need
You don’t need to buy everything at once. Start with the basics and add as you go. Here’s what I consider essential:
For the Structure:
- A sturdy table or desk (I used a simple farmhouse-style table I built myself)
- Shelving units (I love these IKEA HEMNES shelves – they’re cheap and easy to assemble)
- Storage bins (the KUGGIS boxes I mentioned earlier are my favorite)
For Organization:
- Mason jars (perfect for holding pencils, paintbrushes, or glue sticks)
- Drawer organizers (I use these clear plastic ones for small items like beads)
- Label maker or chalkboard labels (I have a Dymo label maker that’s been a game-changer)
Tools You’ll Need:
- Drill and screws (for assembling anything wooden)
- Measuring tape (I always grab my favorite Stanley tape)
- Level (to make sure everything is straight – trust me, this matters)
- Safety goggles (especially if you’re cutting anything)
Pro tip: Don’t go crazy buying every organizer under the sun. Start with what you actually use, then add more as needed. My first setup had way too many empty bins collecting dust!
Designing Your Craft Station: What Actually Works
When I was planning my space, I made a huge mistake – I designed it for me, not for my kids. Big error. Here’s what I wish I’d known:
1. Height Matters More Than You Think
Kids need tables at their height, not adult height. My daughter’s table is 28″ high – perfect for her to stand comfortably while working. I found these Step2 activity tables that are adjustable, which has been amazing as the kids grow.
2. Vertical Space Is Your Friend
We don’t have much floor space, so I went vertical with pegboards and shelves. I mounted a pegboard above the table for hanging scissors, rulers, and other tools. It keeps them within reach but off the table when not in use.
3. Lighting Makes All the Difference
I added a bright LED desk lamp with a flexible arm. It’s perfect for detailed work and can be positioned exactly where the kids need it. No more squinting at coloring pages!
4. Storage Should Be Kid-Accessible
Everything my kids use regularly needs to be within their reach. That means:
- Bins on lower shelves
- Drawers that open easily
- Containers that aren’t too heavy to lift
I keep “special” supplies (like glitter or googly eyes) up high where they need my help to access. This prevents the “oops, now everything is sparkly” disasters.
Step-by-Step: Building Your Craft Station
Here’s how I actually built mine (with all the real-life details I wish I’d known beforehand):
Step 1: Choose Your Location
Pick a spot that:
- Has good natural light (or where you can add good lighting)
- Is away from high-traffic areas (so you’re not constantly moving supplies)
- Has some wall space for hanging displays or storage
- Is easy to clean (vinyl flooring or a washable rug helps)
I chose our basement because it’s out of the main living areas but still accessible. The concrete floor made cleanup easy, and I added a simple rug for comfort.
Step 2: Build or Position Your Work Surface
I built a simple farmhouse-style table using these plans. If you’re not handy, look for:
- Adjustable-height tables (great for growing kids)
- Folding tables that can be stored when not in use
- Desks with built-in storage (like these SAFCO desks)
Step 3: Add Storage Solutions
This is where I went wrong first time. I thought I needed fancy organizers, but simple works better:
- For paper: Use magazine holders or wall-mounted racks
- For markers/pens: Mason jars or these pen holders
- For 3D materials: Shoeboxes or small plastic bins
- For finished projects: A simple wire rack or pegboard
I also added a chalkboard wall where kids can draw directly on the wall. It’s been a huge hit!
Step 4: Make It Fun!
Kids are more likely to use a space they love. I added:
- A gallery wall for displaying finished projects
- Colorful bins and labels (my kids helped pick the colors)
- A “creation station” sign they helped me paint
- Special storage for their favorite supplies
Pro tip: Let your kids personalize their space. My daughter picked out these stickers to decorate her bin, and now she’s proud to show it off to friends.
Smart Storage Solutions for Art Supplies
Organization is key to keeping your craft station functional. Here’s how I keep ours tidy:
For Paint and Brushes:
I use these paint brush organizers that hang on the wall. They keep brushes separate and dry, and the kids can see exactly which colors they have. I also keep a small tray for wet paints that can be easily cleaned.
For Paper and Canvas:
I use a simple wall-mounted paper rack for larger sheets. For smaller paper, I have a series of magazine holders on a shelf. The kids know which holder has which size paper, so they can grab what they need without making a mess.
For Small Items (Beads, Buttons, etc.):
These clear drawer organizers are lifesavers. I keep them in a deep bin so they don’t tip over, and the kids can see exactly what’s inside each compartment. No more digging through bins to find the right color bead!
For Scissors and Sharp Objects:
Safety first! I keep scissors and craft knives in a locked drawer that only I can access. For safer scissors that kids can use independently, I have these Fiskars safety scissors that are always out on the table.
Kid-Friendly Features That Actually Work
I wanted to create a space that my kids would actually want to use, not just tolerate. Here’s what made the difference:
1. The Right Height Everything
Everything in our craft station is at kid height:
- Table at 28″ (perfect for my 7-year-old)
- Chairs with no arms (easier to scoot in and out)
- Paper roll holder at their eye level
- Storage bins they can reach without standing on tiptoes
2. Easy-to-Use Tools
I invested in tools that are actually easy for little hands to use:
- Fiskars safety scissors (they actually cut!
- Short, chunky markers (like Crayola washable markers)
- Glue sticks instead of liquid glue (less mess)
3. Independent Access to Supplies
My kids can grab what they need without asking me:
- Paper in easy-to-pull magazine holders
- Markers in a jar they can reach
- Stickers in low bins
- A small trash bin right at their table
4. A “Creation in Progress” Zone
I designated a shelf for works in progress. This prevents the “I’ll finish it later” projects from getting lost or damaged. The kids know that anything on this shelf is a work in progress and shouldn’t be moved.
Safety First: Protecting Your Little Creators
Safety is my top priority. Here’s what I do to keep our craft station safe:
1. Secure Everything
I used L-brackets to secure heavy shelves to the wall. No more tipping hazards! I also used non-slip pads under all bins and containers.
2. Choose Safe Materials
I only keep non-toxic supplies in our craft station:
- Washable, non-toxic markers
- Non-toxic tempera paint
- School glue (instead of the strong craft glue)
3. Keep Sharp Objects Secure
Scissors and craft knives live in a locked drawer. For safer cutting, I have these Fiskars safety scissors that are always out on the table. I also teach my kids how to hold scissors properly (thumb on top, fingers on bottom).
4. Ventilation Matters
I made sure our craft station has good airflow. If we’re doing anything with strong fumes (like certain paints), I open a window or turn on a fan. I also keep a small air purifier nearby for days when we’re doing a lot of crafting.
Maintaining Your Craft Station (Without Losing Your Mind)
Here’s my real-life maintenance routine that actually works:
Daily:
- Quick wipe-down of the table with a damp cloth
- Putting away supplies that are out (this takes 2 minutes if everything has a home)
- Emptying the small trash bin
Weekly:
- Checking inventory (are we running low on anything?)
- Wiping down shelves and bins
- Sharpening pencils (I keep a good sharpener in the station)
- Rotating seasonal supplies (like switching out summer-themed stickers for fall ones)
Monthly:
- Deep clean of the entire station (I use a vinegar-water solution for cleaning)
- Organizing the “creation in progress” shelf (tossing anything that’s been there too long)
- Checking for worn-out supplies that need replacing
- Reorganizing if something isn’t working well
Pro tip: I keep a small caddy with cleaning supplies right in the craft station. That way, cleanup happens immediately instead of getting put off until later.
Displaying Your Kids’ Art (Without Your Walls Looking Like a Kindergarten)
One of my favorite parts of having a craft station is seeing my kids’ creativity on display. Here’s how we do it without our home looking like a kindergarten exploded:
1. The Rotation System
We have a gallery wall in our craft station where we display art. But instead of keeping everything up forever, we rotate pieces:
- New art goes up immediately after it’s finished
- We keep a piece up for about 2 weeks before rotating it out
- Rotated pieces go into a portfolio (a simple plastic bin with their name on it)
2. The “Favorite” Display
Each kid gets to choose one “favorite” piece to display in our main living area. This gives them a sense of pride and lets them show off their work to visitors. We change these every month.
3. Thematic Displays
Sometimes we do themed displays in the craft station itself. Like when we did a “space week,” we covered one wall with all the space-themed art the kids made. It was amazing to see how their creativity built on each other’s ideas!
4. Practical Displays
We also use some of their art in practical ways:
- Cardboard creations become “mailboxes” for pretend play
- Paintings become placemats
- Drawings are turned into bookmarks
This makes their art feel valuable and gives them a sense of purpose beyond just “making pretty pictures.”
Final Thoughts (And What to Do Next)
If you’re thinking about creating a craft station for your kids, here’s my best advice:
- Start small – You don’t need a Pinterest-perfect space. Begin with what you have and build from there.
- Involve your kids – Let them help design and organize their space. They’ll be more invested in using it.
- Keep it functional – Focus on what actually works for your family, not what looks cute on Instagram.
- Embrace the mess – There will be spills and accidents. That’s part of the process! Just make cleanup easy.
- Make it theirs – The more personal you can make it, the more they’ll want to use it.
Now, if you’ll excuse me, I need to go clean up the glitter that somehow ended up in the dog’s food bowl. Again. But that’s a story for another post!