
10 Fun Rainy Day Craft Projects That Actually Bring Us Closer
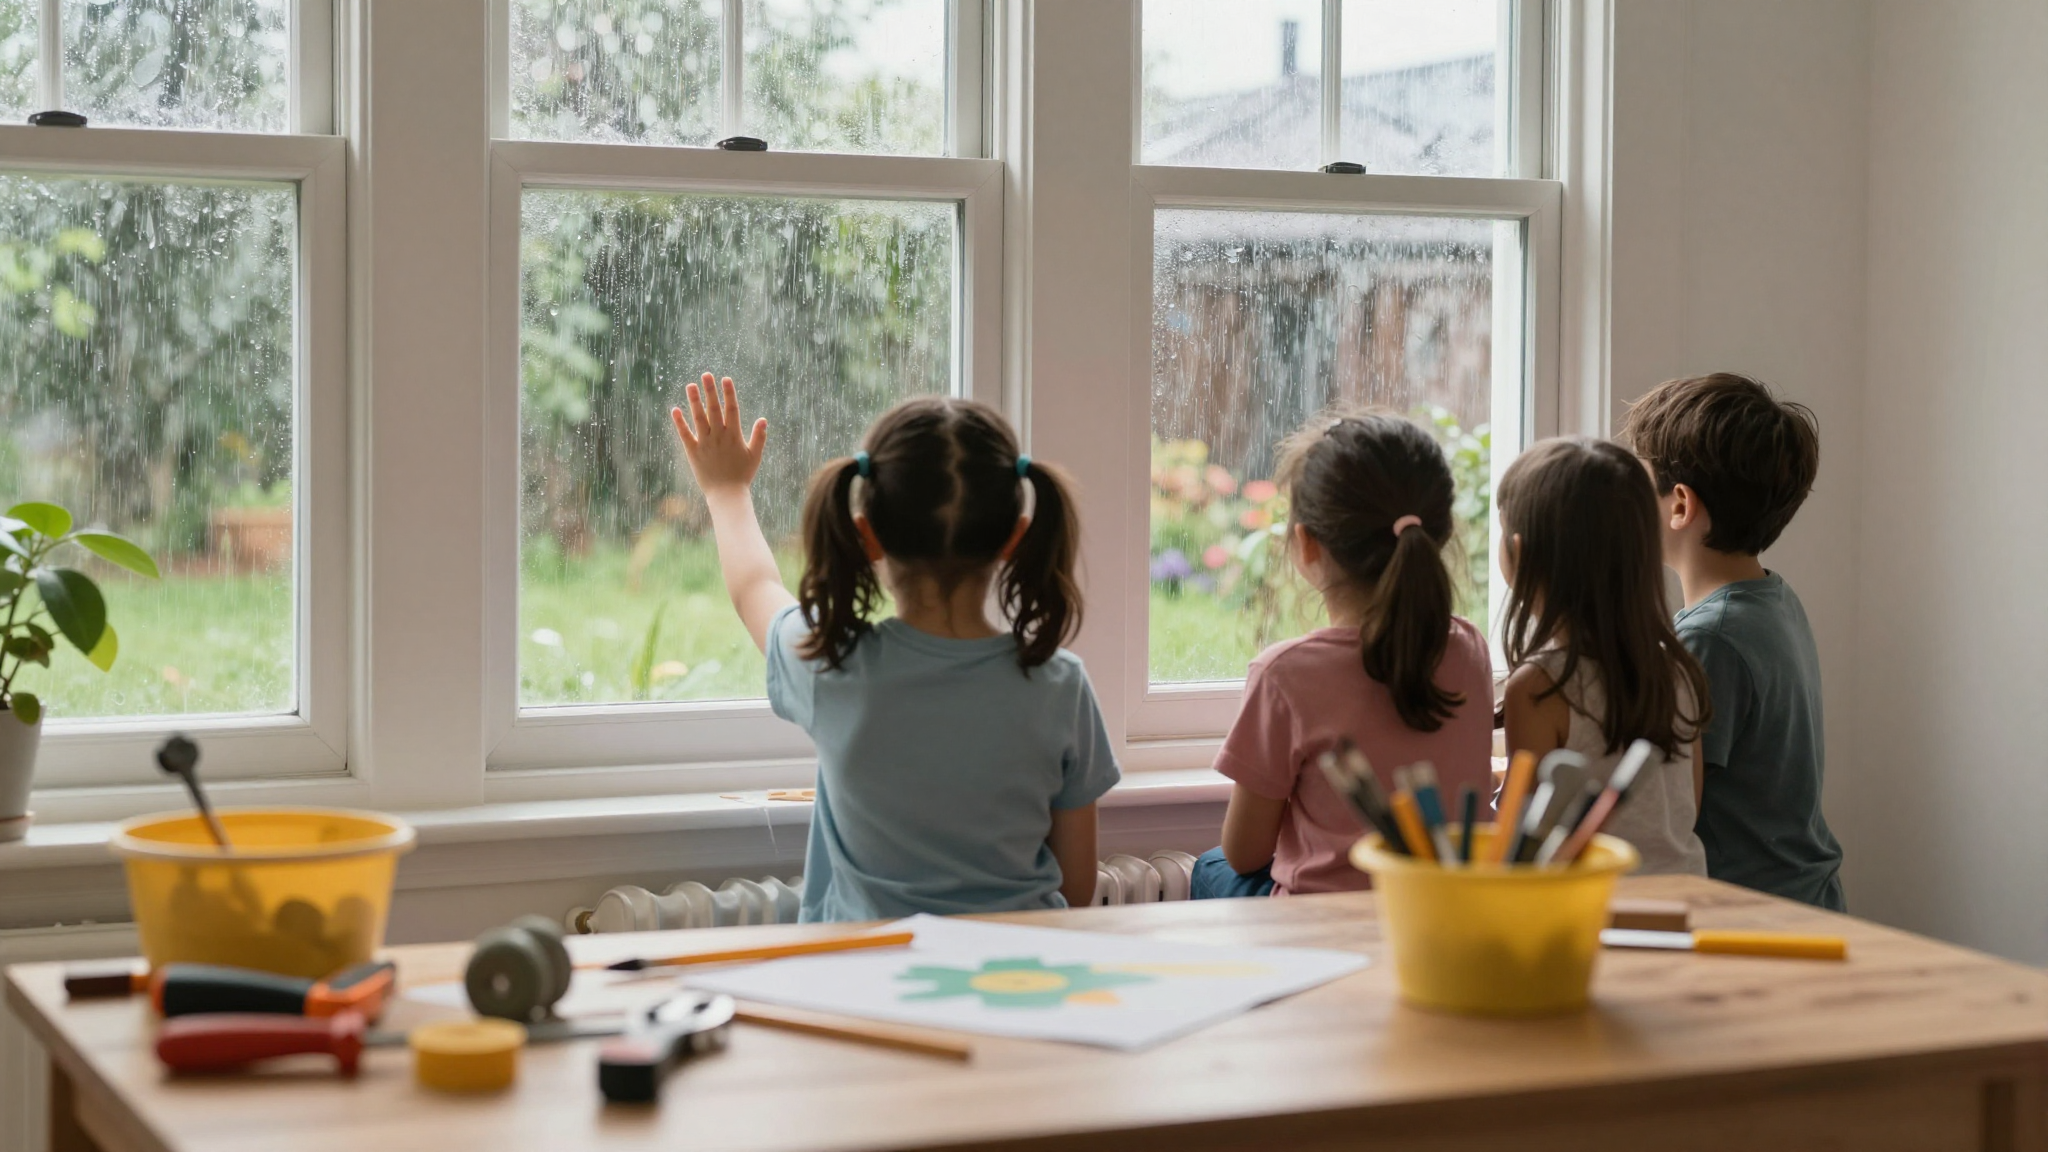
There’s nothing quite like the sound of rain tapping against the windows when you’ve got a house full of kids with nothing to do. I used to dread those days,until I realized how much fun we could have with simple crafts. Now, rainy afternoons are some of my favorite times with my family. We’ve made everything from hand-painted flower pots to memory-filled gallery walls, and each project becomes a little time capsule of our time together.
I’ll never forget the time we made paper plate animals during a particularly long storm. My 7-year-old, Jake, insisted his lion needed “realistic” teeth made from popsicle sticks. We spent 45 minutes arguing over whether lions have fangs (they don’t, by the way), but that project became one of his favorite keepsakes. The point isn’t about creating perfect masterpieces,it’s about the laughter, the mess, and the stories we tell years later.
What I’ve learned is that you don’t need fancy supplies or Pinterest-perfect skills. Just some basic materials, a little imagination, and the willingness to embrace the chaos. That’s why I’ve put together this list of 10 projects that have worked for my family,some simple enough for my 4-year-old, others challenging enough to keep my 12-year-old engaged. And yes, I’ve included the lessons I learned the hard way (like why you should always do a test run with Mod Podge before committing to a project).
Why Rainy Days Are Perfect for Crafting
I used to think crafting was just something to fill time when we were stuck inside. But over the years, I’ve realized it’s so much more than that. It’s how we:
- Actually talk to each other without screens getting in the way (a rare occurrence in our house!)
- Learn patience,especially when the glue gun takes forever to heat up
- Discover hidden talents (who knew my husband could draw realistic trees?)
- Create things that make our home feel uniquely ours
The best part? These projects don’t require expensive supplies. Most of what we use comes from our basic crafting kit,things like:
- Construction paper (we go through a lot of this)
- White school glue (the kind that dries clear,trust me on this)
- Child-safe scissors (I learned this the hard way when my daughter “accidentally” cut her brother’s hair)
- Washable markers (because everything will get marked on)
- Acrylic paint and brushes (my go-to brand is Liquitex Basics,affordable and great coverage)
Pro tip: Keep all your supplies in a large plastic bin with labeled compartments. I use these clear bins from Amazon,they’re cheap, stackable, and I can see everything at a glance. No more digging through drawers for that one tube of glitter we know is in there somewhere.
Safety First: How We Craft Without the ER Visit
Before we dive into projects, let’s talk safety because I’ve had my share of crafting mishaps. The first time we tried hot glue, my son somehow got it in his hair. Not a fun experience. Here’s what we do now:
- Keep sharp objects (scissors, exacto knives) in a locked toolbox when not in use
- Use safety scissors for little hands (I swear by the Fiskars brand)
- Do hot glue projects at the kitchen table where I can supervise (and where spills can be wiped up easily)
- Set up a “craft zone” with a plastic tablecloth underneath,trust me, you will need it
We also have a strict “no crafting in pajamas” rule in our house. Between glue stains and paint splatters, I’ve ruined enough clothes to know better. Everyone changes into old clothes or an apron before we start. And yes, I keep a stash of OxiClean on hand for those inevitable accidents.
10 Rainy Day Craft Projects We Actually Love
1. Paper Plate Animals (Ages 3+)
This was our first “official” craft project, and it’s still a favorite. We use:
- Paper plates (the cheap dollar store kind)
- Acrylic paint
- Googly eyes (because every craft needs googly eyes)
- Construction paper for ears/tails
- Glue sticks (the Elmer’s Disappearing Purple is a hit with kids)
My daughter once made a “unicorn-hippo hybrid” that still sits on her bookshelf. The best part? It took us 20 minutes and cost less than $5. Check out our version here.
2. Nature Collages (Ages 4+)
After a rainstorm, we love collecting leaves, twigs, and flowers for collages. We press them between books for a day, then arrange them on cardboard. My son once made a “dinosaur habitat” that looked surprisingly realistic. We hang these in our reading nook as seasonal decor.
3. DIY Bird Feeders (Ages 5+)
This project combines crafting with science,always a win. We use:
- Clean pine cones
- Peanut butter (or sunflower seed butter for allergies)
- Birdseed
- String
We coat the pine cones in peanut butter, roll them in birdseed, and hang them outside. The kids love watching birds visit “their” feeders. This project is especially great in winter when we’re all cooped up inside.
4. Fabric Scrap Wall Hangings (Ages 6+)
I save all our fabric scraps in a bin, and when we have a rainy day, we turn them into wall hangings. We use:
- Embroidery hoops (I got a set of 5 at Michaels for $10)
- Fabric scraps
- Yarn or ribbon
- Needles and thread
We layer different fabrics in the hoops and decorate with yarn patterns. My daughter made one that looks like a rainbow,it now hangs in her bedroom. This is a great way to add personality to plain walls without painting.
5. Upcycled Tin Can Planters (Ages 7+)
This is one of my favorite upcycling projects. We clean empty tin cans (like from vegetables), then:
- Paint them with acrylic paint
- Add decorative elements (buttons, washi tape, etc.)
- Plant succulents or herbs
We’ve made these for gifts and for our own patio decor. The kids love choosing different paint colors and designs.
6. DIY Memory Jars (Ages 8+)
This project is perfect for older kids who want something more meaningful. We use:
- Mason jars
- Small pieces of paper
- Markers
- Ribbon
Everyone writes down favorite memories, inside jokes, or things they love about each other. We read them aloud and add them to the jar. It’s become a tradition,we pull one out during holidays or tough times. You can display these on a shelf or keep them in a special box.
7. Wooden Spoon Birdhouses (Ages 9+)
This is a great project for kids who want to work with wood. We use:
- Unsanded wooden spoons (from the dollar store)
- Acrylic paint
- Twine
- Hot glue gun
We paint the spoons, then glue on small perches made from popsicle sticks. The kids love hanging them in our backyard. It’s a great way to introduce basic woodworking skills.
8. DIY T-Shirt Tote Bags (Ages 10+)
We turn old t-shirts into tote bags using this simple method:
- Cut off the sleeves and neckline
- Cut strips along the bottom hem
- Tie the strips together to create the bag
My teens love customizing these with fabric paint. We use them for grocery shopping or beach trips. It’s a great way to upcycle old clothes.
9. Painted Rock Garden Markers (Ages 5+)
This is one of our simplest but most useful projects. We collect smooth rocks, then:
- Paint them with acrylic paint
- Write plant names on them
- Seal with Mod Podge
We use them in our garden to mark different plants. The kids love hunting for the perfect rocks.
10. Family Quilt Squares (All Ages)
This is our most ambitious project,one square per person per year. We use:
- Fabric squares (12″ x 12″)
- Fabric markers
- Embroidery thread
- Old clothes or special fabrics
Everyone designs their own square with drawings, stitching, or fabric paint. We’ll sew them together when we have enough for a quilt. It’s a long-term project that grows with us. This would make a beautiful addition to any bedroom.
Tips for Stress-Free Crafting
After years of crafting with kids, I’ve learned a few things that make the process smoother:
- Set up a dedicated craft space. We use a corner of our dining table with a plastic tablecloth underneath. When we’re done, we just roll it up and toss it in the laundry.
- Have a “craft cleanup crew”. Everyone helps put away supplies. We use a timer,whoever puts away the most items in 5 minutes gets to pick the next project.
- Embrace imperfection. That lopsided paper plate lion? It’s still hanging in my son’s room. The point isn’t perfection,it’s the process.
- Document the process. I take photos of each step (even the messy ones). We’ve created a digital scrapbook that we look back on during holidays.
- Keep it simple. If a project takes more than 30 minutes to set up, I’ve learned we’ll lose interest before we even start.
One thing I’ve noticed is that the best projects are the ones we do together, not the ones that turn out “perfect.” Like the time we tried to make peel-and-stick wallpaper in our playroom. It took three tries to get it right, but the laughter we had during the process was worth every bubble and misalignment.
What’s Your Family’s Favorite Craft?
I’d love to hear what projects your family enjoys! We’re always looking for new ideas,especially ones that don’t require too much cleanup. Drop me a note or tag me on Instagram @christinaprojects with your family’s favorite rainy day activity.
And if you try any of these projects, I’d love to see your creations! Snap a photo and share it with the hashtag #ChristinaProjectsRainyDay. I’ll feature my favorites on my gallery page.
Now, if you’ll excuse me, I need to go find that glue gun before my kids start “redecorating” without me…