
Wood Slice Coasters & Decor: My Real-Life Tips for Rustic Charm
Let me tell you about the time I turned a pile of leftover firewood into the coziest set of coasters our family has ever used. What started as a “quick weekend project” ended up being a three-day endeavor (thanks, sandpaper burns), but those wood slices now sit proudly on our coffee table,right next to the farmhouse table I built last summer that still has a few nicks from when my kids “helped” with the sanding.
There’s something magical about bringing a piece of nature into your home. These wood slices aren’t just functional,they’re conversation starters. My husband still laughs about the time my mom asked if I’d “finally taken up woodworking” after seeing them, and I had to explain that no, I hadn’t suddenly developed carpentry skills overnight. (Though I did learn that a good orbital sander is worth its weight in gold.)
What I love most? You don’t need to be a crafting expert to make these look amazing. I’ve seen everything from Pinterest-perfect minimalist designs to my kids’ “abstract art” attempts (which somehow ended up being our favorite pieces). The beauty of wood slices is that they’re forgiving,they let your personality shine through, whether that’s through precise painting or happy accidents.
Why Wood Slices Work in Any Home
I’ll never forget the first time I saw wood slices used as decor. It was in a tiny coffee shop downtown, and I was immediately drawn to how they made the space feel warm and inviting. That’s the power of these natural elements,they bring that “cabin in the woods” coziness without requiring you to actually live in a cabin (which, let’s be honest, would involve a lot more than just decorating).
Here’s what I’ve learned through trial and error (mostly error, at first):
- They’re versatile. Need coasters that won’t scratch your newly refinished wood stairs? Wood slices. Hosting a dinner party and want something rustic-chic for the table? Wood slices. Want to cover up that ugly drywall patch in your entryway until you get around to fixing it properly? Wood slices. (Yes, I’ve done all of these.)
- They’re eco-friendly. I source most of my wood from fallen branches in our backyard or leftover cuts from when my neighbor had his tree trimmed. If you don’t have access to free wood, check your local craft store,they often sell pre-cut slices that are already sanded and ready to go.
- They’re customizable. Want something modern? Paint them matte black. Prefer a farmhouse look? Stain them and add a little chalk paint for contrast. My personal favorite? Leaving them natural and just sealing them with a clear coat,it’s the easiest option and still looks stunning.
And here’s a pro tip I wish I’d known sooner: Test your display angle before committing. I once spent an entire afternoon painting a set of coasters, only to realize they wobbled like a drunk sailor when I tried to use them. Turns out, I hadn’t sanded the bottom edge enough. Now I always test stability before I start decorating.
My Step-by-Step Guide to Wood Slice Projects
Alright, let’s get into the nitty-gritty. This is how I actually make wood slice coasters and decor,no fluff, just the real steps (and the mistakes I made along the way).
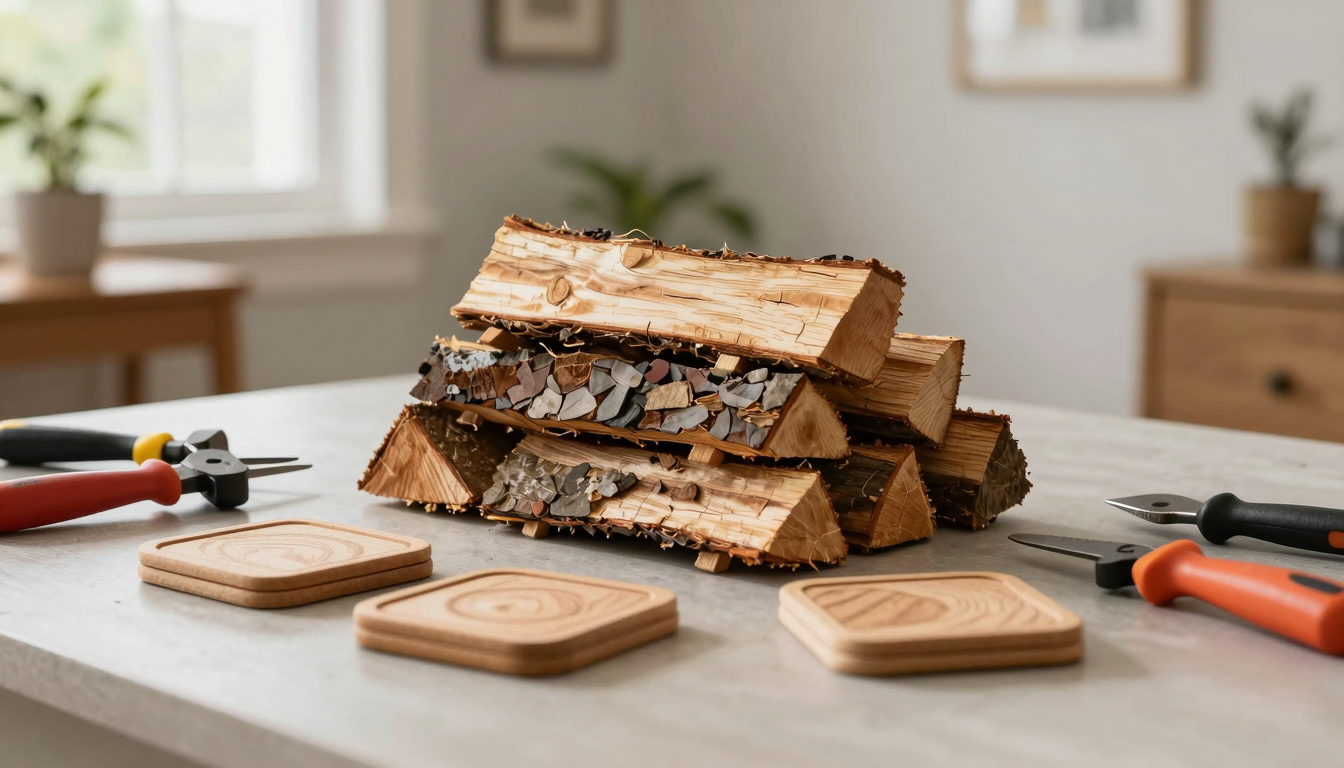
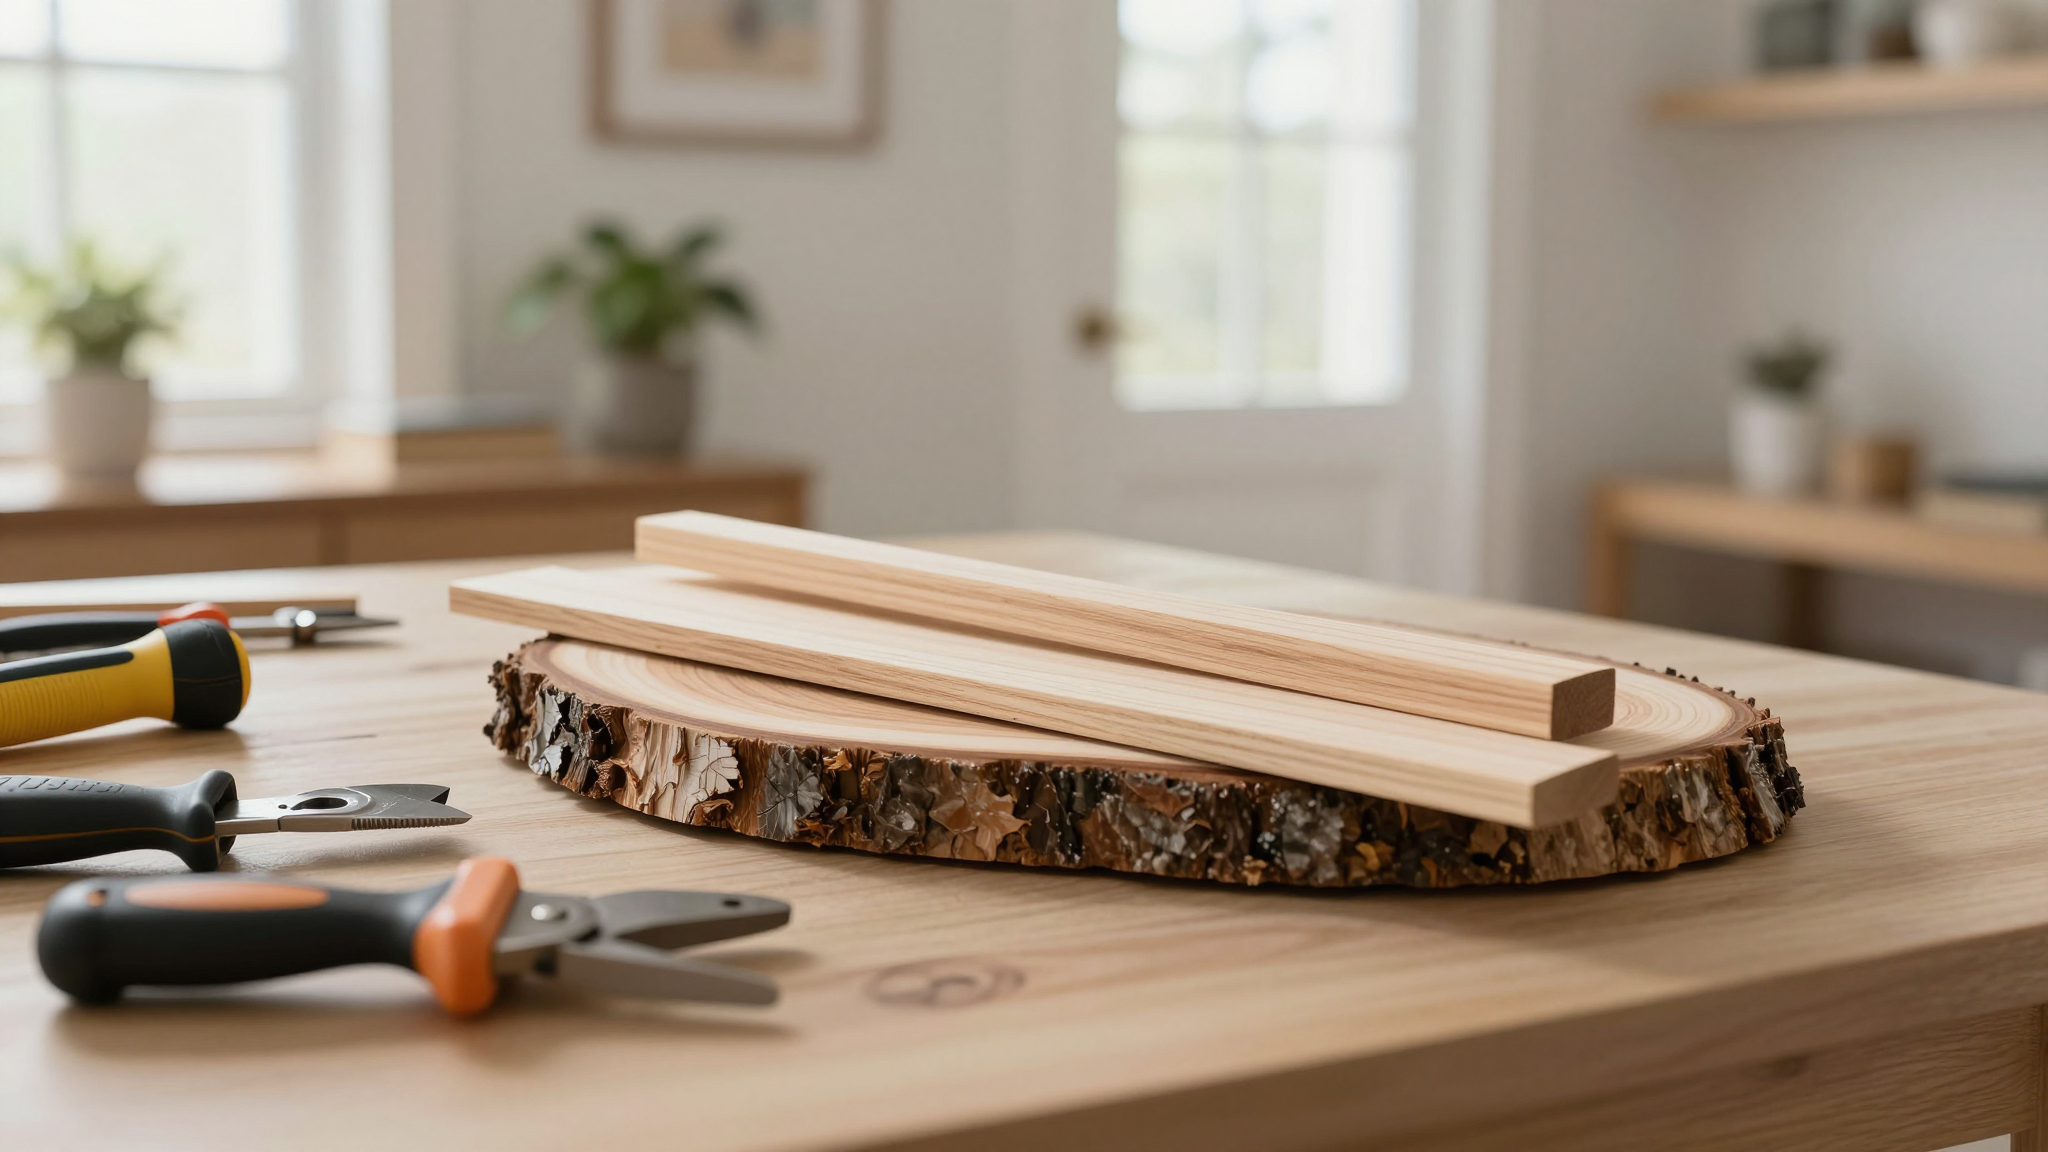
Tools and Supplies You’ll Actually Need
Before you start, gather these essentials. I’ve linked to the exact brands I use because, trust me, not all sanders are created equal:
- A Ryobi Corner Cat sander (my absolute favorite,it fits into tight spaces and doesn’t destroy my hands like my old random-orbit sander did).
- Acrylic paint in your chosen colors (I swear by Liquitex Basics,it’s affordable and dries fast).
- Paintbrushes (a mix of Rosemary & Co. synthetic brushes for smooth application and cheap dollar-store brushes for details).
- Clear sealer (I alternate between Mod Podge for a matte finish and Minwax Polycrylic for a glossy look).
- Safety glasses (non-negotiable,sanding wood without them is like texting while driving: a bad idea you’ll regret).
- Wood preservative (I keep Epoxy WET System on hand to prevent cracking,more on that later).
Where to get your wood slices? If you’re not cutting your own (and honestly, unless you have a chainsaw and a death wish, I don’t recommend it), check:
- Your local craft store (Michaels and Hobby Lobby usually have pre-cut slices in the woodworking section).
- Etsy (search for “wood slices bulk”,I’ve found great deals on larger quantities).
- Facebook Marketplace (people often sell leftover wood from projects for cheap).
- Your own backyard (fallen branches work great,just make sure they’re from a non-toxic tree like oak or maple).
Sanding, Painting, and Sealing: My Exact Process
This is where most people either give up or make mistakes that ruin their project. Let me walk you through how I do it,including the things I did wrong the first time.
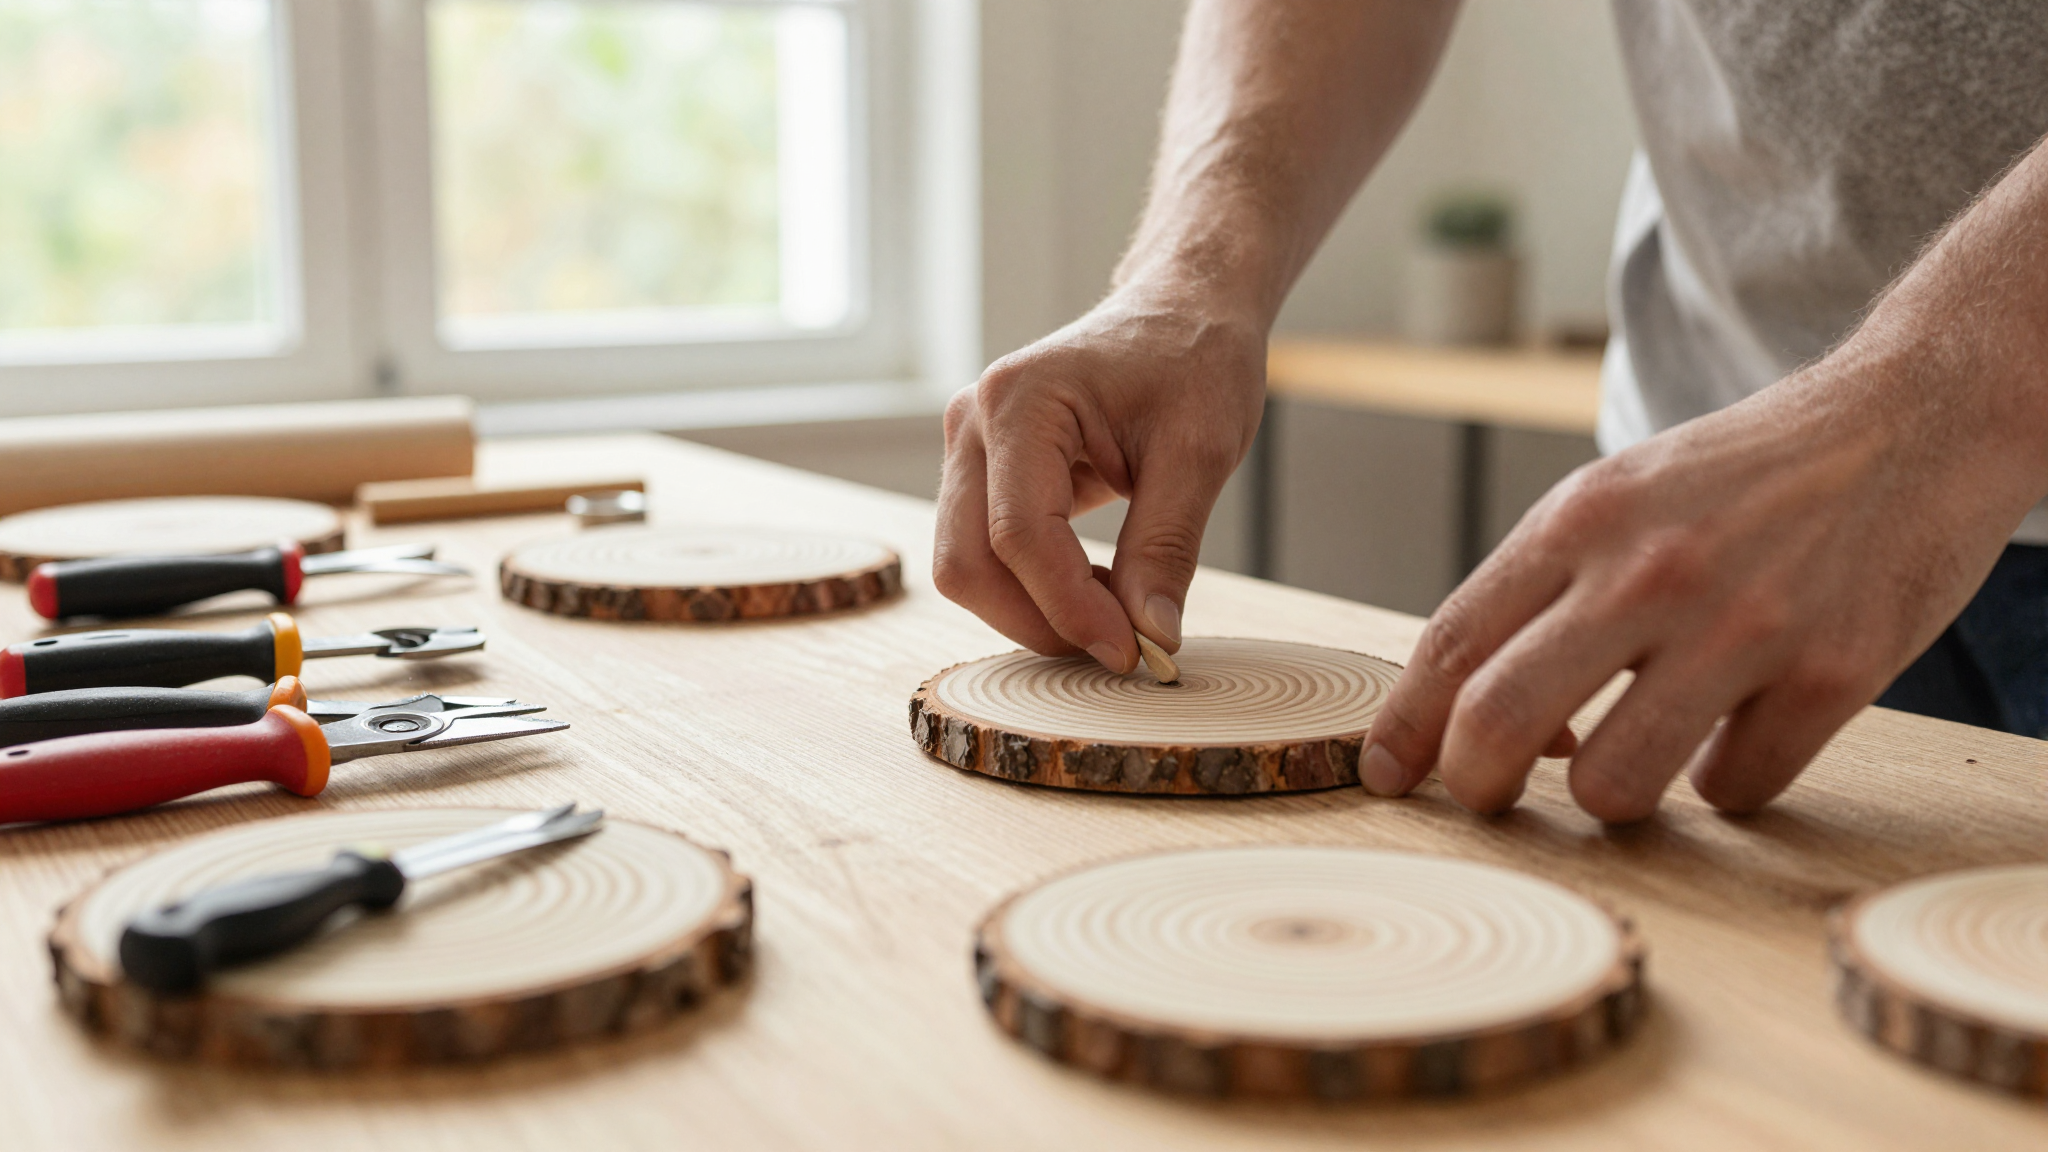
Step 1: Sanding (The Most Important Step)
I cannot stress this enough: sand until your arm feels like it’s going to fall off. My first attempt at wood slice coasters looked beautiful after painting,until I tried to use them and realized they were rougher than sandpaper. (Yes, I actually tried to use them. No, I don’t recommend it.)
Here’s how I do it now:
- Start with 80-grit sandpaper to remove any rough edges or bark. If your slices are really thick, you might need to sand both sides.
- Switch to 120-grit to smooth out the surface. This is where I usually spend the most time,don’t rush it!
- Finish with 220-grit for a silky-smooth surface. This is especially important if you’re planning to paint with fine details.
Pro tip: Wipe down the wood with a damp cloth after sanding to remove any dust. This helps the paint (and sealer) adhere better. I keep a spray bottle of water nearby for this step,it’s a game-changer.
Step 2: Painting (Where the Fun Begins)
This is where you can let your creativity run wild. Here are a few ideas based on what I’ve tried (and what my kids have “helped” with):
- Classic coasters: Paint the entire slice one color (I love a deep navy or forest green), then add a thin white or gold line around the edge for a polished look.
- Rustic farmhouse: Use chalk paint for a matte finish, then distress the edges with sandpaper. Add a stenciled design if you’re feeling fancy.
- Kids’ projects: Let them go wild with acrylic paints. My daughter’s “abstract art” coasters are now her favorite set,even if they’re not perfectly symmetrical.
- Seasonal decor: Paint pumpkins for fall, snowflakes for winter, or flowers for spring. (I have a whole post on seasonal DIYs if you want more ideas!)
If you’re painting designs (like words or patterns), use a paint pen for clean lines. I love the Pentel Arts Sign Pen,it’s easy to control and dries quickly.
Step 3: Sealing (Don’t Skip This!)
This is where I went wrong on my very first project. I painted a set of coasters, let them dry, and then,because I was impatient,tried to use them right away. Big mistake. Within a week, the paint was chipping off because I hadn’t sealed them properly.
Now I always seal my wood slices, and here’s how:
- Let your paint fully dry (usually 24 hours). I know, waiting is the hardest part!
- Apply a thin coat of sealer with a foam brush (it gives the smoothest finish). I like to do this outside or in a well-ventilated area,the fumes can be strong.
- Let it dry completely (check the product instructions,usually 2-4 hours).
- Add a second coat for extra protection. This is especially important if your coasters will see a lot of use (or if you have kids who like to “test” them by stacking cups on them).
For a glossy finish, use a spray sealer like Minwax Polycrylic. For a matte finish, Mod Podge is my go-to. If you want something super durable (like for outdoor decor), I recommend Epoxy WET System,it’s waterproof and UV-resistant.
Step 4: Adding Hanging or Display Elements
If you’re making wall art or ornaments, you’ll need to add a way to hang them. Here’s what I do:
- For wall art: Drill a small hole near the top and thread a piece of twine or leather cord through it. I use a Harbor Freight drill for this,it’s cheap and gets the job done.
- For coasters: If you want to display them vertically (like on a shelf), sand a small flat spot on the bottom edge so they stand upright. I’ve also seen people glue small wooden dowels to the back for stability.
- For centerpieces: Stack a few slices together and secure them with a strong adhesive like E6000. Then add a candle or small vase on top!
Creative Ideas to Try at Home
Once you’ve mastered the basics, the possibilities are endless. Here are some of my favorite ways to use wood slices in our home,plus a few ideas I’m dying to try but haven’t gotten around to yet (send help).
Seasonal Projects That Bring the Holidays to Life
I love making seasonal decor because it’s a great way to refresh your home without spending a fortune. Here are a few of my favorite ideas:
- Winter wonderland: Paint your slices white, then use Aleen’s True Snow to create a snowy texture. Add tiny houses, trees, or even a mini snowman for a charming winter village. (I did this last year and my kids still ask to play with it!)
- Fall harvest: Stain your slices a warm brown, then add a painted pumpkin or leaf design. I like to use fall colors like orange, yellow, and deep red for a cozy feel.
- Christmas ornaments: Paint your slices in festive colors, then add ribbons for hanging. Last year, I made a set of oversized ornaments for our tree,they looked amazing and were a hit with our guests.
Pro tip: If you’re making ornaments, drill your hanging hole before you paint. Trust me, it’s much easier than trying to hang them after they’re dry!
Everyday Decor That Adds Character
Wood slices aren’t just for the holidays,they’re perfect for everyday decor too. Here’s how I use them year-round:
- Table centerpieces: Stack a few slices of different sizes, then add a candle or a small vase of flowers. It’s an easy way to dress up your dining table for a dinner party. (I did this for my sister’s wedding last summer, and the guests loved it!)
- Wall art: Arrange a few slices in a shadow box frame for a rustic gallery wall. I like to mix different sizes and stains for a natural look. Check out my guide to gallery walls for more ideas!
- Personalized gifts: Paint a slice with someone’s initials or a special message, then seal it. I made these for my mom last Mother’s Day, and she still displays them on her mantle.
- Chalkboard coasters: Paint one side with chalkboard paint, then use it as a coaster and a mini chalkboard! I keep one on my kitchen counter to jot down grocery lists or reminders.
If you’re feeling ambitious, try pyrography (wood burning) for a more rustic look. I borrowed my dad’s wood-burning tool last summer and ended up with some surprisingly decent results,though I’ll admit, my first attempt looked more like a “scribble” than a design.
Troubleshooting: What to Do When Things Go Wrong
Let’s be real,sometimes things don’t go as planned. Here’s how I’ve fixed (or prevented) common wood slice mishaps.
Preventing Cracks and Splits (The #1 Frustration)
I’ll never forget the time I spent an entire afternoon painting a set of coasters, only to wake up the next morning and find them split in half. Turns out, I hadn’t let them dry out properly before painting. Lesson learned!
Here’s how to avoid this:
- Soak your wood slices in water for 24 hours before you start. This helps them dry out more evenly and reduces the risk of cracking. (I know it sounds counterintuitive, but it works!) After soaking, let them dry completely before sanding.
- Use a wood preservative like Epoxy WET System before painting. It stabilizes the wood and helps prevent splits. I apply it with a brush and let it soak in for a few hours before sanding.
- Avoid thin slices if you’re worried about cracking. Thicker slices (at least 1/2 inch) are less likely to split. If you’re cutting your own wood, aim for slices that are at least 3/4 inch thick.
If a crack does appear, don’t toss your project! You can:
- Fill the crack with Minwax Wood Filler, sand it smooth, and repaint.
- Embrace the rustic look and leave it as-is. Sometimes imperfections add character!
- Turn it into a cracked-glaze effect by painting over the crack with a contrasting color (like white over dark wood).
Display Tips for Stable, Wobble-Free Pieces
Nothing’s more frustrating than a coaster that won’t stay put. Here’s how I make sure my wood slice projects stand (or lay) perfectly:
- Test the angle before you start decorating. Lay your slice on its side and see which edge is the most stable. Sand that edge flat for a smooth surface.
- Add a non-slip pad to the bottom if you’re using them as coasters. I cut small pieces of felt and glue them to the bottom,it keeps my coasters from sliding around.
- For wall art: Use a picture-hanging kit to ensure your slices stay level. I like the 3M Command Picture Hanging Strips,they’re easy to use and won’t damage your walls.
- For centerpieces: Glue a small wooden dowel or cork slice to the bottom to create a stable base. This keeps your arrangement from tipping over.
If you’re making standing decor (like a wood slice clock or candle holder), drill a small hole in the bottom and insert a wooden dowel for stability. I’ve also seen people use hot glue to attach a small base,just make sure it’s strong enough to support the weight!
Final Thoughts (and What to Try Next)
Wood slices are one of those projects that seem simple but can take on a life of their own. What started as a quick weekend activity for me has turned into a full-blown obsession,our home is now filled with wood slice coasters, wall art, and even a coffee table made from slices (okay, fine, my husband helped with that one).
If you’re just starting out, I recommend beginning with coasters. They’re the easiest project, and you can experiment with different paints and finishes without a big commitment. Once you’re comfortable, try:
- A wood slice clock (I have a tutorial for this here!).
- Wood slice ornaments for the holidays (my kids love helping with these!).
- A wood slice mirror frame (I’ve been meaning to try this,want to do it together?).
And if you make a mistake? Don’t stress. My first attempt at wood slice decor looked more like a “modern art experiment” than anything intentional. But you know what? It ended up being one of my favorite pieces,flaws and all.
Now I want to hear from you: What’s your favorite way to use wood slices? Are you team coasters, or do you prefer wall art? Drop a comment below or tag me on Instagram @christinaprojects,I’d love to see what you create!
Happy crafting! And remember, if your project doesn’t turn out perfectly, you can always upcycle it into something else. That’s the beauty of DIY!
FAQs: Your Wood Slice Questions Answered
How do I prevent my wood slice ornaments from cracking?
This is my #1 tip: soak your wood slices in water for 24 hours before you start. It helps them dry out evenly and reduces the risk of cracks. After soaking, let them dry completely (another 24 hours) before sanding and painting. I also like to use a wood preservative like Epoxy WET System,it stabilizes the wood and gives it extra strength. If a crack does appear, you can fill it with wood filler, sand it smooth, and repaint.
Can I paint directly onto a cut piece of wood for a holiday craft?
Absolutely! Just make sure you sand the surface first,it helps the paint stick better. I like to use acrylic paint for holiday crafts because it’s easy to clean up and dries quickly. After painting, let it dry completely (I usually wait 24 hours), then seal it with a clear coat like Mod Podge or Minwax Polycrylic. This protects your design and makes it durable enough for gifts or decor.
How do I make sure my family gift project turns out great?
Start with a simple design,coasters or ornaments are perfect for beginners. Gather all your supplies before you start (trust me, nothing kills the mood like realizing you’re out of paint halfway through). Follow the steps carefully, especially the drying times,rushing this step is how I ruined my first project! If you’re working with kids, let them pick the colors and designs (even if it means your coasters end up looking like a rainbow exploded). The most important thing? Have fun with it! Gifts made with love (and a little bit of chaos) are always the best.
Where can I find materials if I don’t have a tree to cut from?
No tree? No problem! Check your local craft store (Michaels, Hobby Lobby, or Joann have pre-cut wood slices in the woodworking section). I’ve also found great deals on Etsy (search for “wood slices bulk”) and Facebook Marketplace (people often sell leftover wood from projects). If you’re feeling adventurous, ask around your neighborhood,someone might have a fallen tree they’re willing to part with. Pro tip: Look for slices that are already sanded and dried,they’re ready to paint and save you time!
What’s a good method for creating a table centerpiece?
One of my favorite centerpiece ideas is to stack wood slices of different sizes and add a candle or small vase on top. Here’s how I do it: Start with the largest slice as your base, then layer smaller slices on top, staggering them slightly for a natural look. Secure them with hot glue (I use a high-temperature glue gun for extra hold). For a festive touch, paint the slices in seasonal colors or add a ribbon around the base. I did this for Thanksgiving last year, and it was a huge hit with my guests!