
My First Macrame Wall Hanging: A Beginner’s Honest Guide
Let me tell you, I was skeptical when I first considered making a macrame wall hanging. I’m more of a “paint a wall” or “build a coffee table” kind of DIYer,I’ve got the battle scars to prove it,but something about those boho textures kept pulling me in. Turns out, macrame is actually one of the most beginner-friendly crafts I’ve tried, and I’ve made enough mistakes along the way to save you from the same frustrations.
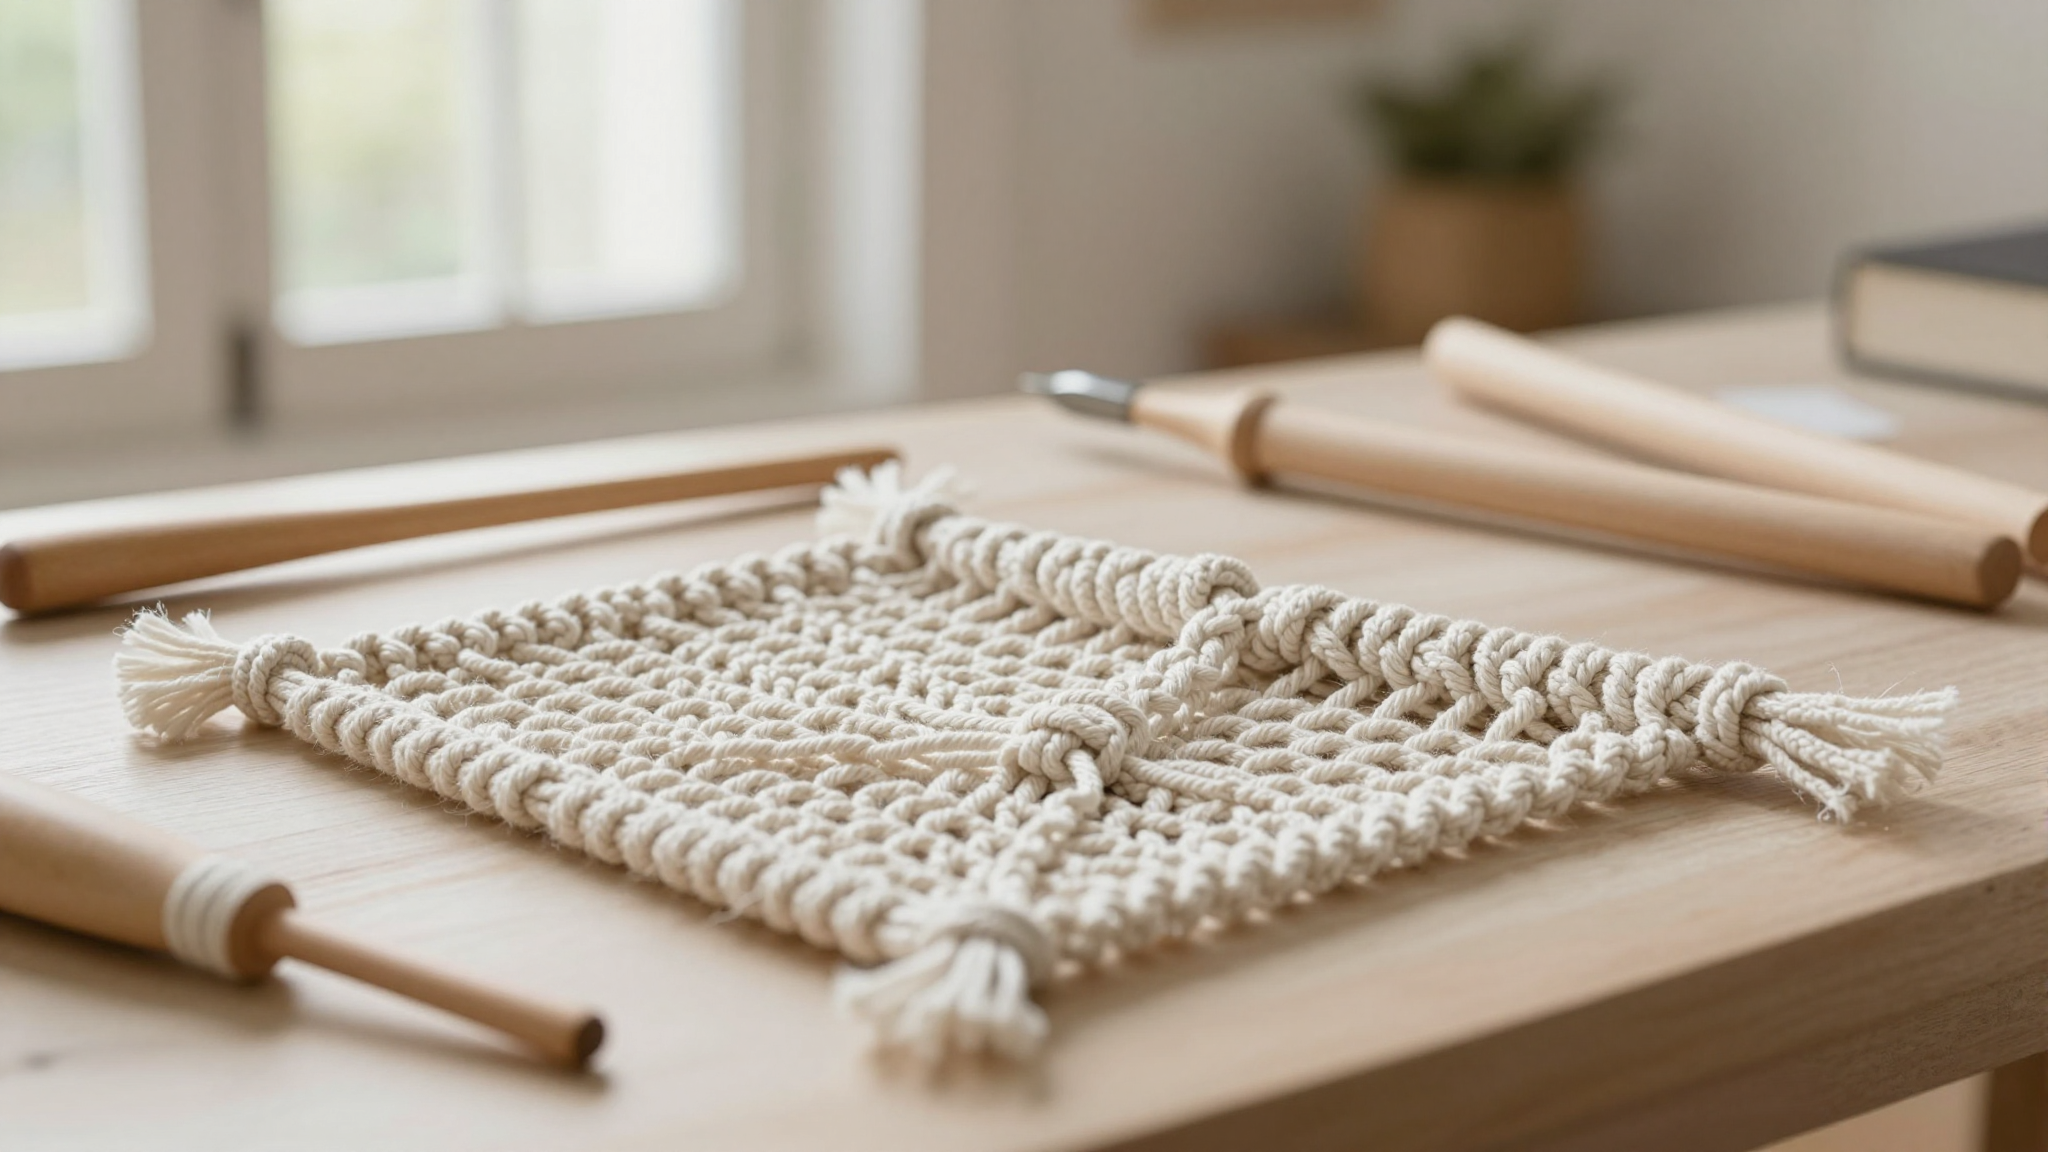
This isn’t some perfect, polished guide written by someone who’s been knotting for years. It’s exactly how I learned,with tangled cords, uneven rows, and a few choice words when my knots wouldn’t cooperate. But here’s the thing: even my “flawed” first piece looks amazing in my living room, and I’m proud of every imperfect knot. That’s the beauty of macrame,it’s supposed to be handmade, not machine-perfect.
By the end of this, you’ll have a wall hanging that actually looks intentional (even if it took you three tries to get the tension right), and you’ll understand why I’m now obsessed with this craft. Oh, and you’ll also have the skills to tackle more advanced projects,like that gallery wall I’ve been dreaming of.
Why I Fell in Love with Macrame (Despite My Early Struggles)
The first time I saw a macrame wall hanging in person, I was at a friend’s house, and it was hanging above her couch. I reached out to touch it,because, let’s be honest, texture is everything,and I was immediately hooked. There’s something so warm and inviting about handmade fiber art. It’s not just decor; it’s a conversation piece, a tactile experience, and a reminder that not everything in your home has to be mass-produced.
I’ll admit, my first attempt was… well, let’s just say it looked like a kindergartener had gone wild with some rope. But here’s what I love about macrame: it’s forgiving. Even my “messy” first piece had character. The knots weren’t perfect, the rows weren’t straight, but it was mine. And that’s the whole point of boho decor,it’s about imperfection, about layers, about bringing a little bit of handmade soul into your space.
What I didn’t expect was how therapeutic it would be. There’s something meditative about tying knots, about watching a pattern come together strand by strand. It’s the perfect antidote to a stressful day,way better than scrolling through my phone. And the best part? You don’t need a fancy workspace or expensive tools to get started. All you need is some cord, a dowel, and a little patience.
Now, I’m not saying macrame is easy. My first project took me twice as long as the tutorial said it would, and I had to redo a few sections because I pulled my knots too tight. But that’s part of the learning process. And trust me, the satisfaction of finishing something with your own two hands? It’s unbeatable.
What You’ll Actually Need to Get Started
Before you dive in, let’s talk supplies. I made the mistake of assuming I needed a bunch of specialty tools, and I ended up with more than I actually used. Here’s what you really need,and what you can skip:
The Essentials (That Actually Matter)
- Cord: I started with 4mm cotton rope from Lion Brand because it’s affordable and easy to work with. Avoid anything too slippery,it’ll make knotting a nightmare. (I learned this the hard way with some cheap nylon rope that kept sliding out of my knots.)
- Dowel: A simple wooden dowel from the hardware store works perfectly. I used a 36-inch one for my first project, and it was the perfect size for above my couch. Sand the ends so they don’t snag your cords.
- Scissors: Don’t skimp here. I used my Gingher scissors,they’re sharp enough to cut through thick cord without fraying it. Dull scissors will make your fringe look messy, and trust me, you don’t want that.
- Masking tape: This is your best friend for keeping rows straight. I taped a guide along my wall to make sure my dowel was level before I started. (Pro tip: Use a small level to double-check,my first attempt was crooked, and it was not cute.)
- A comfortable workspace: I hung my dowel from a clothing rack in my living room so I could work while watching TV. It kept everything at a good height and gave me room to move around.
The “Nice-to-Haves” (That I Didn’t Need Right Away)
You’ll see a lot of tutorials recommend things like macrame combs, bead caps, and fancy dowel hangers. Here’s the thing: I didn’t use any of those for my first project, and my wall hanging still turned out great. Save your money for now and focus on the basics. Once you’re hooked (and you will be), you can invest in the extras.
That said, if you want to add a little extra flair, I did use ceramic drawer pulls as finials on my dowel ends. They were $2 each at a thrift store, and they gave my piece a polished, intentional look. But again, this is totally optional.
The Two Knots You Need to Know (And How I Messed Them Up)
Macrame is all about knots, but don’t let that intimidate you. You only need to master two basic knots to start: the lark’s head knot and the square knot. I’ll walk you through them, plus the mistakes I made (so you don’t have to!).
The Lark’s Head Knot: Where It All Begins
This is how you attach your cords to the dowel, and it’s so simple,once you get the hang of it. My first attempt looked like a tangled mess because I didn’t fold my cord in half before starting. Here’s how to do it right:
- Fold your cord in half so you have a loop at the top.
- Drape the loop over your dowel from front to back.
- Bring both ends of the cord up through the loop.
- Pull gently to tighten the knot against the dowel.
My mistake? I pulled too hard and made the knot too tight, which made it nearly impossible to tie the next knot in the row. The key is to pull just enough to secure the cord, but not so tight that it’s rigid. Think “firm but flexible.”
The Square Knot: The Building Block of Macrame
This is where the magic happens. The square knot is what creates those beautiful, textured patterns in macrame. It’s a little trickier than the lark’s head knot, but once you get the rhythm, it becomes second nature. Here’s how I do it:
- Start with four strands (two from the left, two from the right).
- Take the right outside strand and cross it over the two center strands.
- Bring it under the left center strand and up through the loop you just created.
- Pull gently to tighten,this is your first half-knot.
- Now take the left outside strand and do the same thing in reverse: cross it over the two center strands, under the right center strand, and up through the loop.
- Pull gently to tighten. You should now have a neat square knot!
Where I went wrong? I kept skipping strands, which threw off my entire pattern. To avoid this, I now count my strands out loud as I go. It sounds silly, but it keeps me from losing my place. Also, I used to pull my knots too tight, which made my rows pucker. Now I pull just until the knot is snug, then I stop. It’s all about finding that sweet spot.
Pro tip: If you’re struggling with tension, try using a clamp to hold your dowel in place. It keeps everything stable and makes it easier to tie neat knots.
Step-by-Step: My First Wall Hanging (With All My Mistakes)
Now that you know the basics, let’s walk through how I made my first wall hanging. I’ll be honest,it took me three tries to get it right, but each attempt taught me something new. Here’s what worked (and what didn’t).
Step 1: Planning and Measuring (Where I Overcomplicated Things)
I started by picking a simple pattern,a basic diamond design with alternating square knots. I thought I’d be done in a weekend. Ha! My first mistake was not measuring my cord lengths carefully enough. I cut everything too short, and I had to start over. Here’s what I wish I’d known:
- Measure your dowel length and add 4-6 inches to each side for the lark’s head knots.
- For the main body of your hanging, cut cords about 4-5 times the length of your finished piece. (For a 24-inch hanging, I used 96-inch cords.)
- Cut a few extra cords just in case. You’d be surprised how many you’ll go through while learning.
I also made the mistake of not labeling my cords. By the time I realized I’d mixed up my lengths, I had to unravel half my work. Now I use masking tape to label each cord with its length and purpose (e.g., “Fringe – 48 inches”).
Step 2: Attaching the Cords (Where I Learned Patience)
I hung my dowel from a clothing rack at chest height so I could work comfortably. Then I attached my cords using lark’s head knots. My first attempt was a disaster because I didn’t space my knots evenly. Here’s how I fixed it:
- Use a ruler to mark even intervals along your dowel. I spaced mine 2 inches apart.
- Attach your cords in pairs (two cords per lark’s head knot) for a fuller look.
- Double-check that all your knots are facing the same direction. Mine were a mix of front and back, which made my rows look uneven.
I also learned that it’s easier to tie knots if your cords are hanging freely. If they’re tangled, take a break and untangle them before continuing. Trust me, fighting with tangled cords will make you want to throw the whole project across the room.
Step 3: Tying the Square Knots (Where I Finally Got the Rhythm)
This is where the real magic happens, but it’s also where I struggled the most. My first few rows were a mess because I wasn’t consistent with my tension. Here’s how I improved:
- Start each row by tying a square knot on the left side. This sets the tension for the entire row.
- Work your way across, tying one knot at a time. I found it helpful to count out loud: “One, two, three,pull gently.”
- After every few knots, step back and check your work. If a row starts to slope, adjust the tension on the next knot to bring it back in line.
I also discovered that it’s easier to tie knots if I keep my working cords separated. I used a small piece of tape to hold the inactive cords out of the way while I worked. It’s a tiny trick, but it made a big difference.
Step 4: Finishing and Fringe (Where I Let Go of Perfection)
Once I finished my pattern, it was time to trim the fringe. This is where I had to let go of my perfectionist tendencies. My first attempt at trimming was a disaster,I tried to make all the ends perfectly even, and it looked stiff and unnatural. Here’s what I did instead:
- Lay your wall hanging flat on the floor and straighten all the cords.
- Use masking tape to create a V-shape along the bottom. This gives you a guide for trimming.
- Trim the cords in sections, following your tape guide. Don’t worry if they’re not perfectly even,it’s supposed to look handmade!
- For a boho look, I left some cords longer than others and added a few wooden beads for extra texture.
I also added ceramic finials to the ends of my dowel. I drilled small holes and screwed them in place. It was a simple touch, but it gave my piece a polished, intentional look.
Troubleshooting: When Things Go Wrong (Because They Will)
Macrame is forgiving, but that doesn’t mean it’s always smooth sailing. Here are the most common problems I encountered,and how I fixed them.
Problem: My Knots Are Too Tight (And My Wall Hanging Looks Puckered)
This was my biggest struggle. I kept pulling my knots too tight, which made my rows bunch up and look uneven. Here’s how I fixed it:
- Instead of pulling hard, I now pull just until the knot is snug. I say “gentle pull” to myself as a reminder.
- If a knot is too tight, I carefully untie it and re-tie it with looser tension.
- I also learned to check my tension after every few knots. If I notice my rows starting to slope, I ease up on the next knot.
Pro tip: If you’re really struggling with tension, try using a rubber band to hold your dowel in place. It keeps everything stable and makes it easier to tie even knots.
Problem: My Rows Aren’t Straight (And My Wall Hanging Looks Crooked)
This happened to me more times than I’d like to admit. My first few attempts had rows that sloped wildly, and it drove me crazy. Here’s how I fixed it:
- I started using a small level to check that my dowel was straight before I began. (I learned this after my first crooked attempt!)
- I taped a horizontal guide along my wall to keep my rows aligned. I used masking tape and a ruler to mark even intervals.
- I also made sure to tie my first knot in each row on the left side. This helped keep my rows straight and even.
If you’re still struggling, try stepping back and looking at your work from a distance. Sometimes it’s easier to spot uneven rows when you’re not up close.
Problem: I Skipped a Cord (And Now My Pattern Is a Mess)
This happened to me more than once, and it’s frustrating because it throws off your entire pattern. Here’s how I fixed it:
- Stop immediately when you realize you’ve skipped a cord. Don’t keep going and hope it will work itself out,it won’t.
- Untie back to the problem area and start over. It’s tempting to just keep going, but it’s better to fix it now than deal with a bigger mess later.
- I also started counting my strands out loud as I work. It sounds silly, but it helps me stay on track.
Remember, macrame is supposed to be handmade, not perfect. A few imperfections add character to your piece. Don’t stress too much about making everything flawless.
Adding Boho Touches (Where I Let My Creativity Run Wild)
Once I finished the basic pattern, it was time to add some boho flair. This is where I really had fun experimenting with different textures and materials. Here are a few ideas I tried:
Finials and Dowel Decor
I added ceramic finials to the ends of my dowel, and it made a huge difference. They gave my piece a polished, intentional look. I found mine at a thrift store for $2 each, but you can also buy them at craft stores or online.
If you want to get creative, you can also:
- Wrap the dowel in leather or rattan for a natural look.
- Paint the dowel in a bold color for a pop of contrast.
- Add wooden beads or feathers for extra texture.
Fringe and Beads
I left some of my fringe longer than others for a boho, layered look. I also added a few wooden beads to some of the strands. It was a simple touch, but it gave my piece extra dimension.
If you want to add beads, here’s what I did:
- Thread your bead onto the cord before you start knotting.
- Position it where you want it in your design.
- Tie your knots as usual, and the bead will stay in place.
You can also add beads to the ends of your fringe for a little extra sparkle. I used a mix of wooden and ceramic beads for a natural, earthy look.
Natural Elements
I added a few feathers and a small piece of driftwood to my wall hanging. It was a simple touch, but it gave my piece a more organic, boho feel. You can also try:
- Dried flowers or leaves for a natural look.
- Shells or sea glass for a coastal vibe.
- Small pieces of fabric or yarn for extra texture.
The key is to have fun and experiment. There’s no wrong way to add boho touches to your macrame. It’s all about what makes you happy!
Where to Hang Your Wall Hanging (And How to Style It)
Now that you’ve finished your wall hanging, it’s time to find the perfect spot for it. Here are a few ideas I tried in my own home:
Above the Bed
This is where I hung my first wall hanging, and it looks amazing. It adds texture and warmth to the space, and it’s a great alternative to a traditional headboard. I paired it with some simple DIY projects like painted nightstands and a woven throw blanket for a cozy, boho bedroom.
Pro tip: If you’re hanging your piece above a bed, make sure it’s at least a few inches wider than the mattress. This creates a balanced, intentional look.
In the Living Room
I also tried hanging my wall hanging in the living room, above the couch. It looks great with some gallery wall arrangements and a few potted plants. It adds a touch of boho charm to the space without overwhelming it.
If you’re hanging your piece above a couch, make sure it’s centered and at eye level. This creates a focal point that draws the eye.
In the Entryway
I’ve seen some stunning macrame wall hangings in entryways, and I can see why. They add a warm, welcoming touch to the space. I paired mine with a upcycled console table and a few plants for a boho entryway that makes guests feel right at home.
If you’re hanging your piece in an entryway, make sure it’s at a height where people can appreciate it. You don’t want it to be too high or too low,it should be the first thing people notice when they walk in.
Sharing Your Work (And Why You Should)
One of the best parts of macrame is sharing your work with others. It’s a great way to connect with fellow crafters, get feedback, and inspire others to try their hand at this amazing craft. Here’s how I’ve shared my own projects:
Documenting Your Process
I started taking photos of my work-in-progress, and it’s been so helpful. Not only does it let me track my progress, but it also gives me a record of what worked (and what didn’t). I’ve even used some of my photos to create my own tutorials for friends who want to try macrame.
Here are a few tips for taking great photos of your macrame:
- Use natural light,avoid harsh overhead lighting.
- Take close-ups of your knots to show off the details.
- Photograph your finished piece in the space where you’ll hang it.
- Take progress shots so you can see how far you’ve come.
Joining the Macrame Community
I joined a few online groups, like the Macrame for Beginners and Beyond Facebook group, and it’s been a game-changer. I’ve made so many great connections, and I’ve learned so much from other crafters. It’s also a great place to share your own work and get feedback.
If you’re on Instagram, I also recommend using hashtags like #macramebeginner, #macrameart, and #bohodecor. It’s a great way to connect with other macrame lovers and see what they’re creating.
I’ve even started sharing my own tutorials and tips, and it’s been so rewarding. It’s a great way to give back to the community and help others learn this amazing craft.
Final Thoughts (And What I’d Do Differently Next Time)
If I could go back to my first macrame project, I’d do a few things differently. I’d measure my cord lengths more carefully, I’d use a level to make sure my dowel was straight, and I’d be more patient with myself when things didn’t go as planned. But you know what? I’m glad I didn’t. Because those mistakes taught me so much, and they made my finished piece uniquely mine.
Macrame is a journey, not a race. It’s about learning, experimenting, and enjoying the process. And trust me, the more you do it, the more you’ll love it. I’m already planning my next project,a plant hanger this time,and I can’t wait to see what I create.
So if you’re thinking about trying macrame, I say go for it. It’s easier than you think, and the results are so rewarding. Plus, you’ll have a beautiful, handmade piece to hang in your home,a reminder of your creativity and your journey.
Now, go tie some knots and make something amazing!
FAQs: Your Macrame Questions Answered
What’s the best type of cord for beginners?
I started with 4mm or 5mm single-strand cotton rope from Lion Brand. It’s soft on the hands, holds knots well, and is easy to work with. Avoid anything too slippery,it’ll make knotting a nightmare. I also like Crafteza for their affordable, high-quality options.
How do I prevent my knots from becoming too tight?
The key is to pull the strands firmly but not with excessive force. Keep your movements smooth and consistent. If a knot feels stiff, gently wiggle the working cords to loosen it a bit before moving to the next step. I say “gentle pull” to myself as a reminder,it’s saved me from many puckered rows!
How much cord should I cut for a basic wall hanging?
A great rule of thumb is to cut your cords about four to six times the desired finished length of your piece. For example, if you want a final piece that is 2 feet long, cut your strands to 8-12 feet each. This accounts for the material used up in all the knots. I always cut a few extra cords just in case,I’ve learned the hard way that running out mid-project is frustrating!
What’s the difference between a lark’s head and a square knot?
A lark’s head knot is primarily used to attach your cords to the dowel rod at the very beginning. It’s simple but essential. A square knot is a fundamental knot used to create the main body of the pattern. It’s formed by alternating left and right half-knots and is the building block for many designs. Think of the lark’s head as the anchor and the square knot as the fabric of your piece.
My rows are uneven. How can I fix this?
Use a piece of painter’s tape as a horizontal guide on your work surface. After completing each row, gently press your knots against the tape to ensure they are aligned. A small level can also check that your dowel is straight before you start. I also recommend stepping back periodically to check your work from a distance,it’s easier to spot uneven rows when you’re not up close.
Can I add beads or other decorations?
Absolutely! Adding wooden beads, feathers, or shells is a fantastic way to personalize your creation with boho flair. You can often thread them onto a cord before tying a knot or attach them at the ends of your strands for a beautiful finish. I love adding beads to the fringe for extra texture. Just make sure they’re lightweight so they don’t weigh down your piece.