
String Art: How I Turned Wood, Nails, and Thread into Stunning Wall Decor
I’ll never forget the first time I saw string art in person. It was at a friend’s house,one of those cozy, slightly cluttered homes where every wall tells a story. Hanging above her couch was this gorgeous geometric design, all sharp angles and vibrant threads, and I just stood there staring. “Did you buy that?” I asked. She laughed and said, “Nope, made it myself. Want me to show you how?”
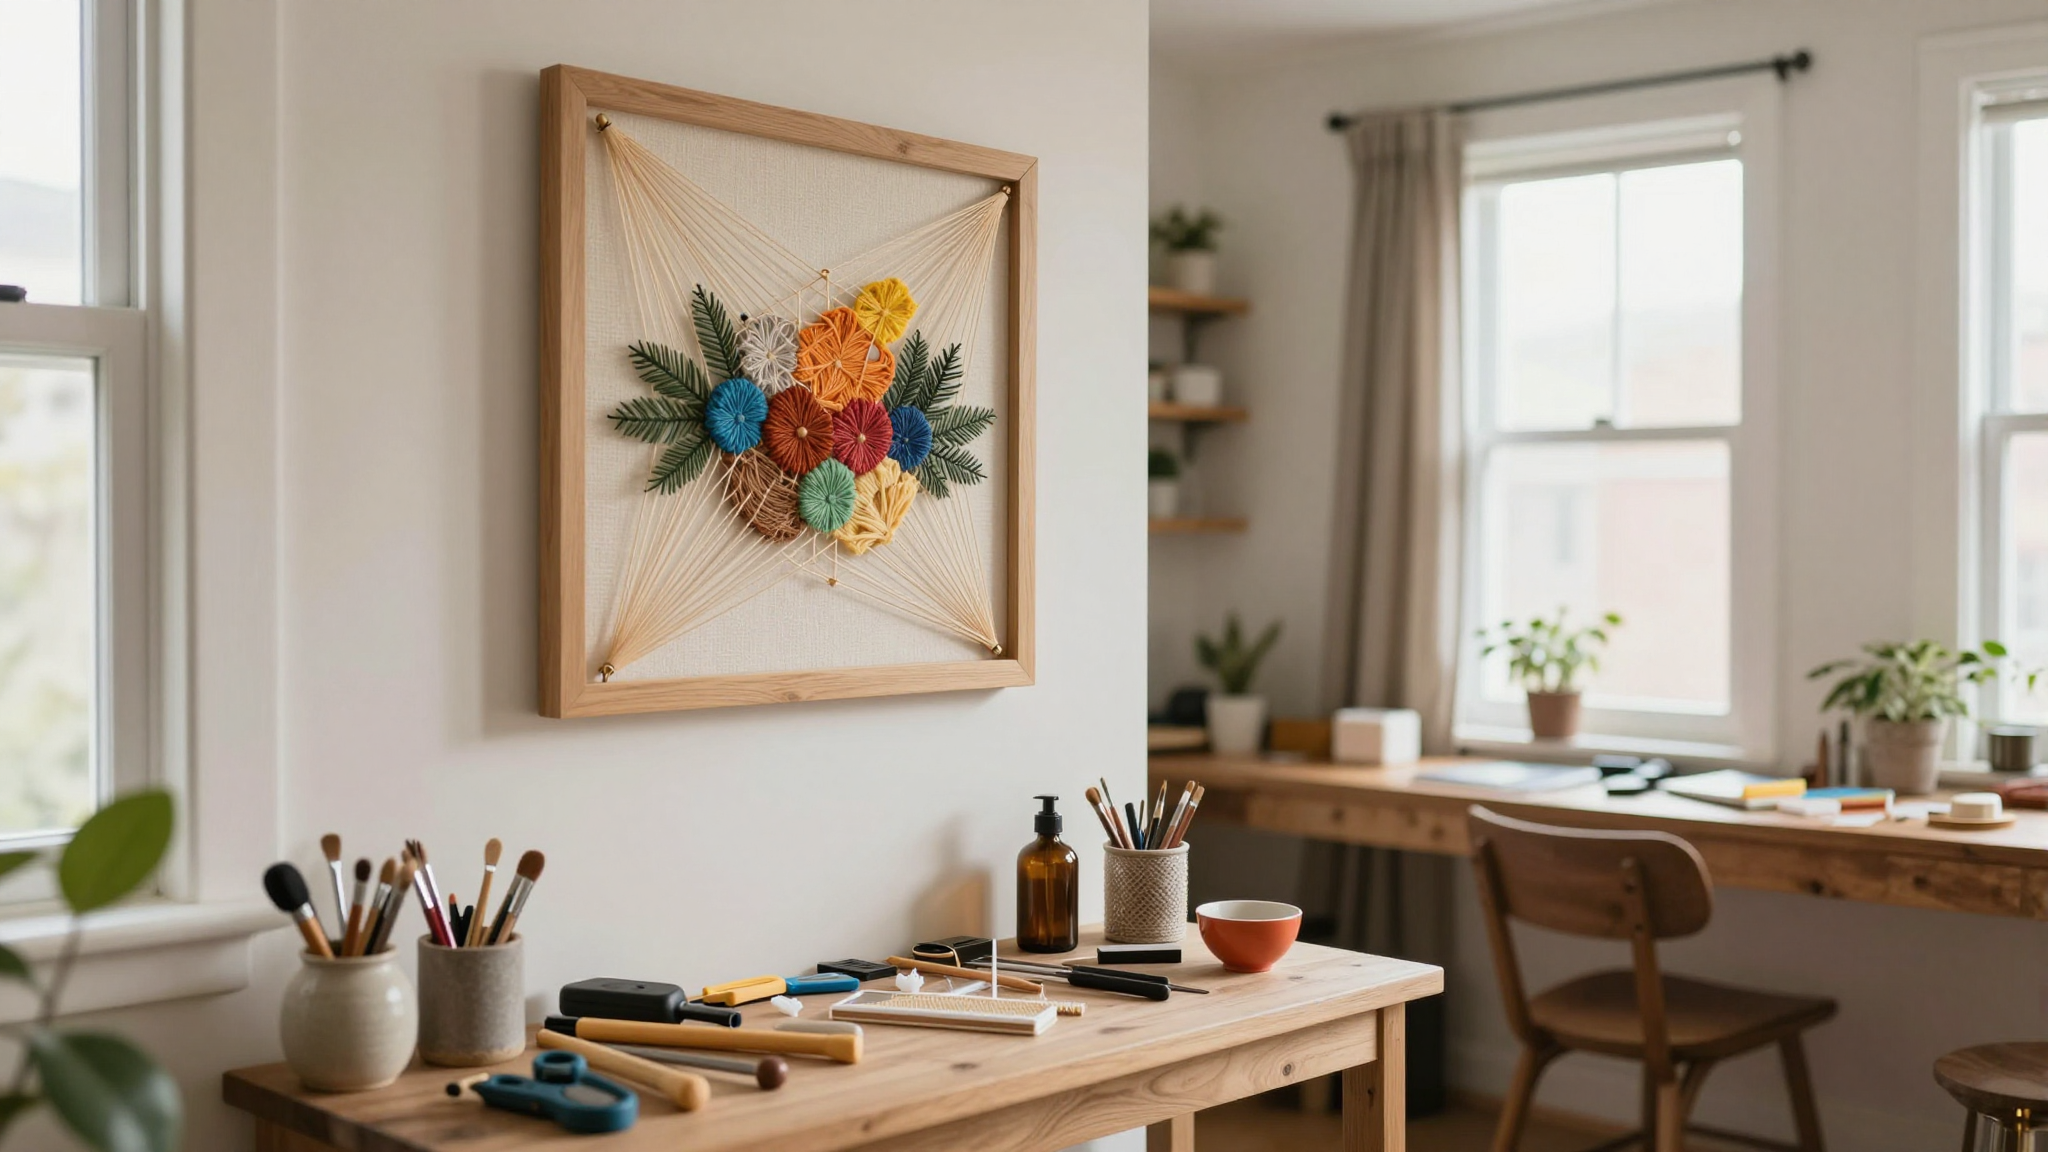
Fast forward to last weekend, and I was hammering nails into a piece of plywood in my garage, cursing under my breath because nothing was going as smoothly as it had in the YouTube tutorial. (Spoiler: It turned out way better than I expected.) If you’ve ever wanted to try string art but felt intimidated by the “perfect” Pinterest examples, let me tell you,it’s so much more forgiving than it looks. And honestly? The “imperfections” are what make it yours.
This isn’t about creating museum-worthy pieces (though, hey, if that’s your goal, go for it). It’s about turning simple supplies,wood, nails, thread,into something that makes your home feel alive. Whether you’re making a moon-and-stars accent for your kid’s room or a bold geometric statement for your living room, the process is weirdly satisfying. And yes, it’s way easier than it seems.
I’ve spent the last few months experimenting with different techniques, colors, and even materials (yes, I tried yarn,more on that later). What I’ve learned? String art is one of those crafts where the “rules” are really just suggestions. The real magic happens when you start playing with it. So if you’re ready to dive in, let’s talk about how to get started,without the overwhelm.
Why I Fell in Love with String Art (and Why You Will Too)
Here’s the thing about string art: It’s deceptively simple. You don’t need a fancy studio or expensive tools. Just a few basics,a piece of sanded wood, some embroidery floss, a hammer, and a printed template,and you’re ready to go. I started with a 6×6-inch birch plywood panel from Home Depot (about $5) and a pack of DMC embroidery floss (the good stuff, not the cheap craft store version). Trust me, the quality of your thread makes a difference.
I’ll admit, my first attempt was a disaster. I skipped sanding the wood because, well, I was impatient. Big mistake. The threads kept snagging on rough edges, and the whole thing looked like a kindergartener had taken a swing at it. Lesson learned: Always sand your wood. I also learned the hard way that not all nails are created equal. The first set I bought were too thin, and they kept bending when I hammered them in. Now? I swear by 1-inch flat-head nails from Lowe’s. They stay put, and they give you a nice clean surface to wrap the thread around.
What I love about string art is how versatile it is. It’s not just for walls,though, let’s be real, that’s where it shines. I’ve seen people turn it into coffee table centerpieces, gift toppers, and even bedroom accents. And because it’s so customizable, you can match it to any room in your house. Want something rustic? Go for natural wood and neutral threads. Craving a pop of color? Bright embroidery floss and a bold design will do the trick.
Oh, and one more thing,I love how this craft forces you to slow down. In a world where everything moves at lightning speed, there’s something weirdly meditative about wrapping thread around nails, one at a time. It’s the perfect project to do while binge-watching your favorite show or catching up on a podcast.
Getting Started: My Exact Supplies and Where to Find Them
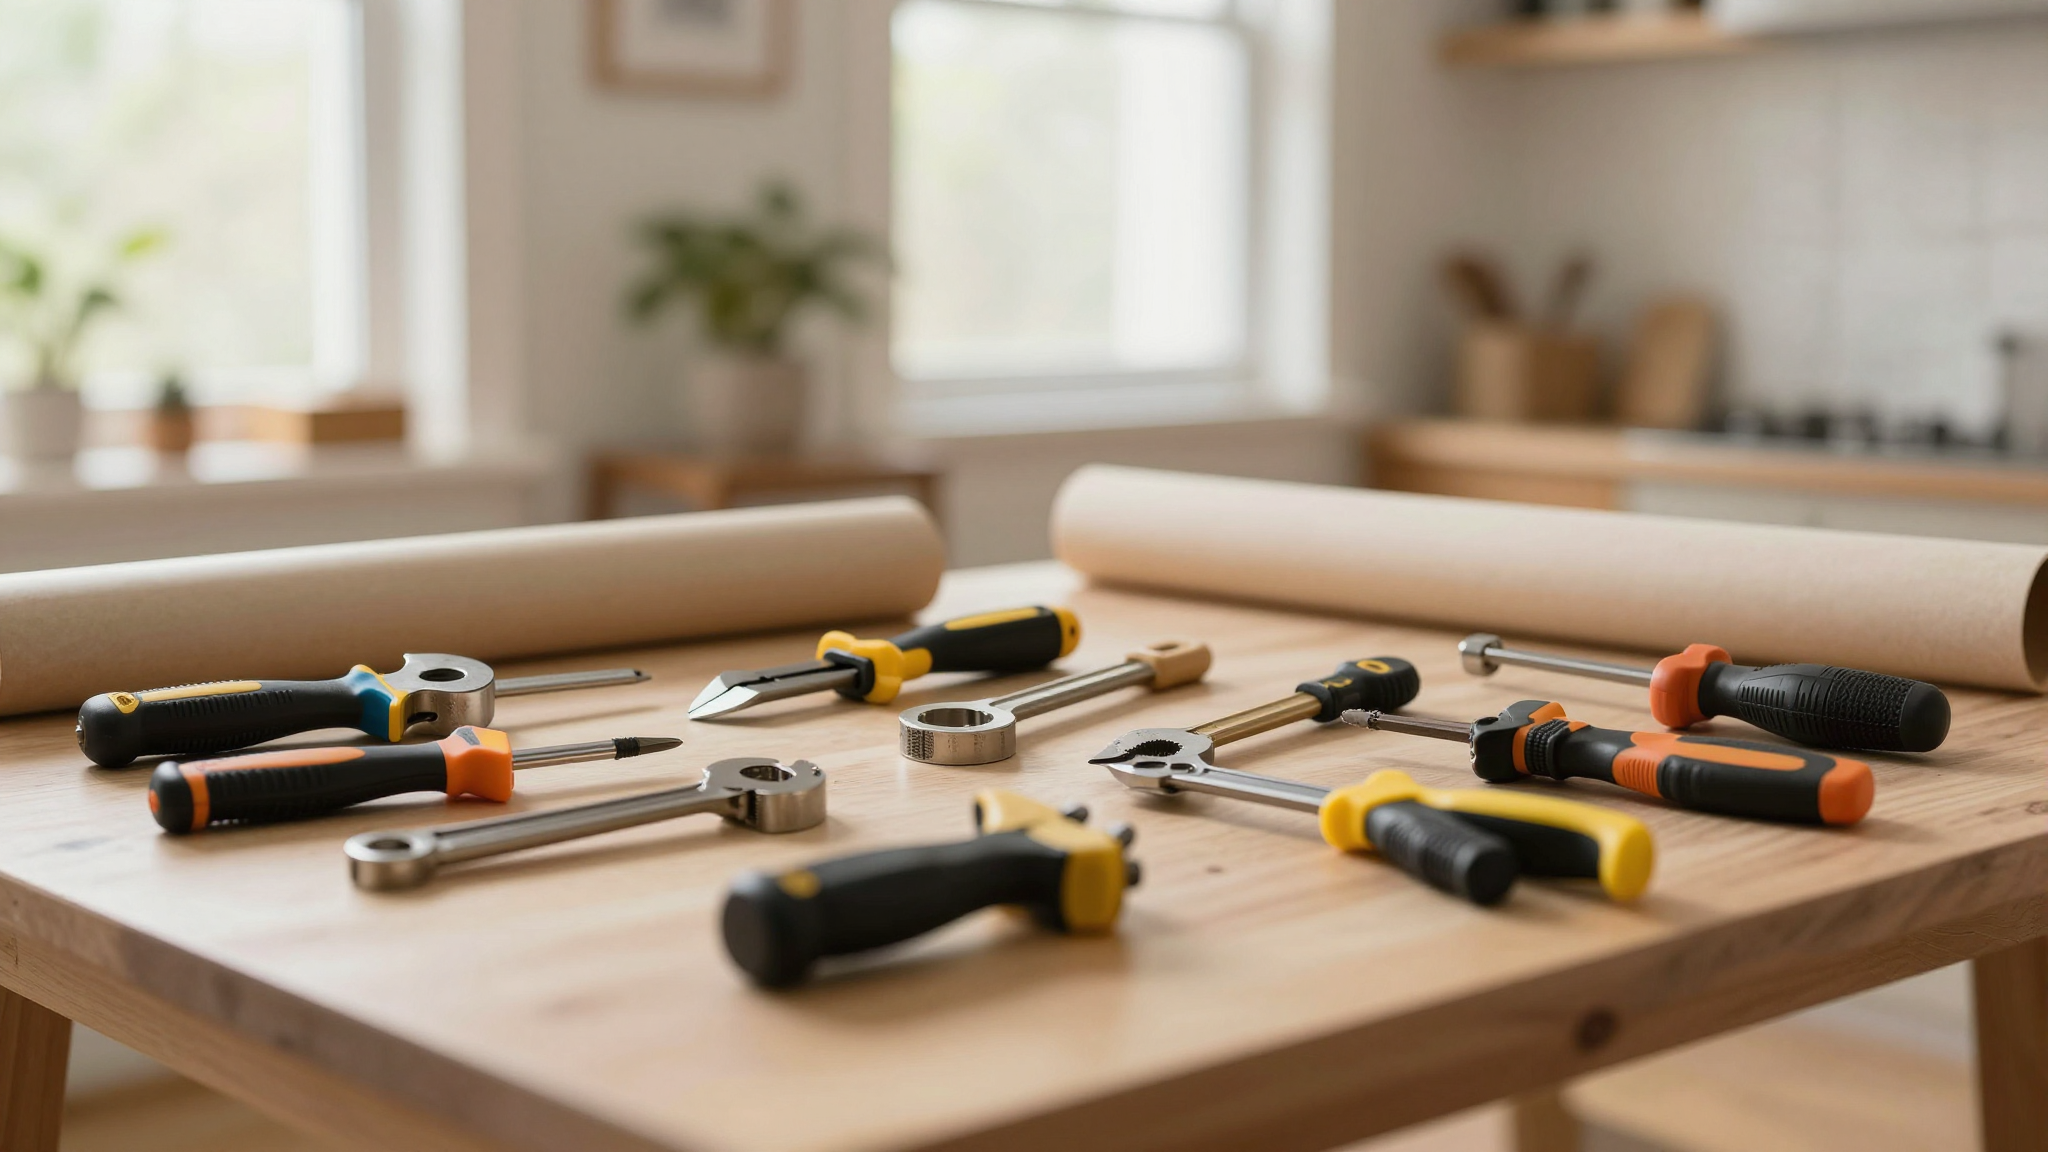
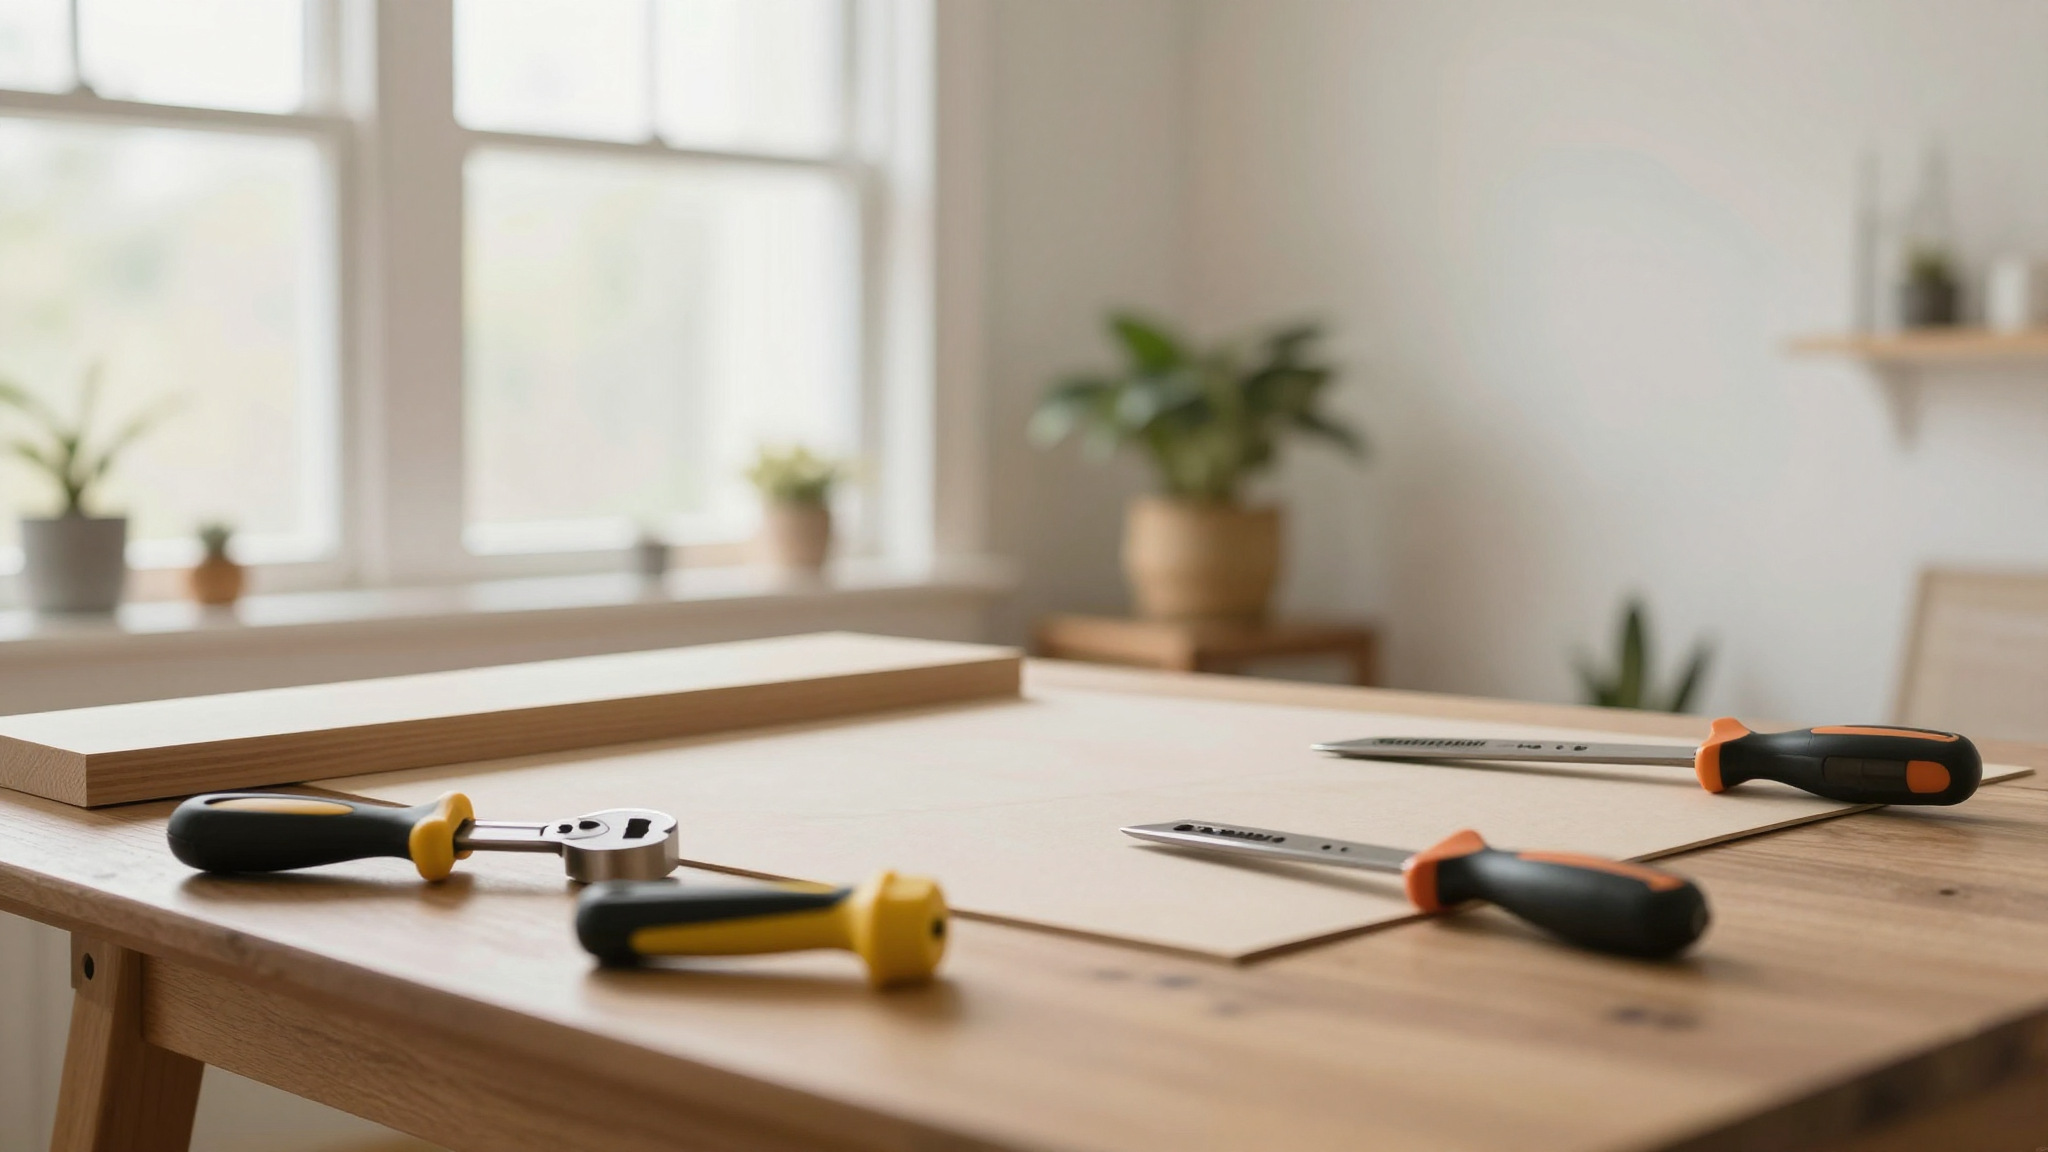
Before you start, let’s talk tools. You don’t need a ton, but you do need the right stuff to avoid frustration (yes, I speak from experience). Here’s what I use,and what I’ve learned to avoid:
- Wood panel: I started with birch plywood (½-inch thick) from Home Depot. It’s affordable, sanded smooth, and holds nails like a dream. If you’re feeling fancy, you can use reclaimed wood for a rustic look. (Pro tip: If you’re upcycling furniture, leftover wood from that project works great too.)
- Nails: 1-inch flat-head nails are your best friend. They’re sturdy, easy to hammer, and give you a nice flat surface to wrap the thread around. Avoid thin nails,they bend, and nobody wants that.
- Thread: DMC embroidery floss is my go-to. It’s strong, vibrant, and doesn’t fray easily. I also love Pearl Cotton for a slightly thicker look. Avoid cheap craft store thread,it pills and loses its color fast.
- Hammer: Any basic claw hammer will do. Mine’s a 20-ounce Estwing (it’s been with me since college, and it’s still going strong).
- Template: I print mine from Etsy or use free ones from WikiHow. If you’re feeling creative, you can design your own in Canva or even freehand it with a pencil.
- Extras:
- A sewing needle (for threading floss smoothly between nails).
- Painter’s tape (to secure your template to the wood).
- Sandpaper (120-grit for smoothing edges).
- Mod Podge (to seal your finished piece and protect it from dust).
Oh, and one more thing,always wear safety glasses when hammering. I learned that the hard way when a nail flew off and nearly took out my eye. (Yes, I’m dramatic. No, I’m not kidding about the safety glasses.)
If you’re just starting out, I’d recommend grabbing a pre-cut wood panel (they sell them at Michaels and Hobby Lobby) and a beginner-friendly template, like a heart or a star. Once you get the hang of it, you can move on to more complex designs.
Step-by-Step: How I Made My First (and Most Disastrous) String Art Piece
Alright, let’s get into the nitty-gritty. I’m going to walk you through exactly how I made my first piece,including the mistakes I made so you can avoid them.
Step 1: Choose Your Design (and Don’t Overcomplicate It)
I started with a simple heart shape because, let’s be honest, hearts are foolproof. If you’re new to this, I’d recommend sticking to designs with fewer than 50 nails. Anything more, and you’re asking for frustration (again, speaking from experience).
Where to find templates? I love Etsy because you can find everything from minimalist line art to intricate floral designs. If you’re on a budget, Pinterest has tons of free printables. Just search “free string art templates.”
Pro tip: If you’re not feeling confident in your freehand skills, print your template, cut it out, and tape it to your wood panel. This keeps everything aligned and makes it way easier to mark your nail positions.
Step 2: Mark Your Nail Positions (Precision Matters)
This is where I messed up the first time. I thought I could eyeball the nail spacing, and,surprise!,it looked nothing like the template. Lesson learned: Measure twice, hammer once.
Here’s how I do it now:
- Tape your template to the wood panel. Use painter’s tape so you don’t damage the wood.
- Use a pencil to mark where each nail will go. For straight lines, space nails ½ inch apart. For curves, go ¼ inch apart to keep the lines smooth.
- If you’re doing a freehand design, sketch it lightly with a pencil first. You can always erase mistakes.
I also like to number my nails with a pencil so I know the order to hammer them in. It sounds silly, but it really helps when you’re working with a complex design.
Step 3: Hammer in the Nails (Gently!)
This is where I almost gave up. My first attempt, I hammered the nails in too deep, and the heads were flush with the wood. Big mistake. The thread kept slipping off because there was nothing to wrap around.
Here’s how to do it right:
- Use a 1/16-inch drill bit to pre-drill holes at each marked spot. This keeps the wood from splitting and makes hammering easier.
- Hammer the nails in ⅓ of the way. You want enough of the head exposed to wrap the thread around, but not so much that it looks messy.
- If a nail bends, use needle-nose pliers to straighten it out. (Yes, this happens. No, it’s not the end of the world.)
Oh, and wear those safety glasses. I’m not kidding.
Step 4: Thread Your Design (The Fun Part!)
This is where the magic happens. Start by cutting a 36-inch length of thread (longer if you’re doing a big design). I like to use a sewing needle to thread the floss through the nails,it makes it so much easier than trying to wrap it by hand.
Here’s my process:
- Start at the bottom of your design and work your way up. This keeps the thread from tangling.
- Wrap the thread clockwise around each nail. This creates a smooth, even line.
- Keep the thread taut as you go. If it’s too loose, your design will look saggy. If it’s too tight, the thread might break.
- When you need to change colors, tie a knot at the back of the wood and trim the excess thread.
I made the mistake of skipping the knots at first, thinking I could just tuck the ends under the thread. Big mistake. The threads kept coming loose, and the whole thing looked messy. Now? I always knot the ends and trim them short.
Pro tip: If you’re using multiple colors, plan your design ahead of time so you know where to switch. I like to sketch a color key on a separate piece of paper to keep track.
Step 5: Seal and Display (Because You Worked Hard for This!)
Once your design is complete, it’s time to seal it so it lasts. I use Mod Podge (the glossy kind) because it’s easy to apply and gives a nice finish. Just spray a light coat over the entire piece, let it dry, and you’re good to go.
Where to hang it? I’ve seen people get super creative with this. Some mount their string art in floating frames, others use it as a coffee table centerpiece. I hung my first piece in the hallway because it’s the first thing you see when you walk in the door, and I love the way it catches the light.
Oh, and if you’re feeling extra fancy, you can add LED string lights behind the design for a glowing effect. I did this with a moon-and-stars piece in my daughter’s room, and it looks incredible at night.
Advanced Techniques (Once You’re Hooked)
Alright, so you’ve made a few pieces, and now you’re ready to level up. Here are some of the tricks I’ve picked up along the way,some from trial and error, others from watching way too many YouTube tutorials.
How to Add Dimension with Layered Threads
One of the things I love about string art is how you can play with depth. Here’s how to make your designs pop:
- Use vertical and horizontal layers. Start by wrapping your thread vertically, then go back and add horizontal layers on top. This creates a woven effect that looks super dimensional.
- Try different thread thicknesses. Mix embroidery floss with Pearl Cotton or even yarn for texture. I did this with a floral design, and the contrast between the thin and thick threads made it look like a real piece of art.
- Play with color. Ombré effects are so easy to do,just blend similar hues as you wrap. For a bolder look, try complementary colors (think blue and orange, or purple and yellow).
I also love adding metallic thread for a little sparkle. It catches the light in a way that regular thread just doesn’t. I used it in a winter-themed piece with silver thread over a dark blue background, and it looked like frost.
How to Fix Mistakes (Because We All Make Them)
Let’s be real,everyone messes up at some point. Here’s how I’ve learned to fix the most common issues:
- Thread slipping off nails? Dab a tiny bit of clear glue (like Loctite) on the nail heads after wrapping. It keeps everything in place without looking messy.
- Nail in the wrong spot? Use needle-nose pliers to pull it out and reposition it. If the hole is too big, fill it with a wood filler and sand smooth.
- Thread tangled? Gently untangle it with tweezers. If it’s a total mess, just snip the thread and start over from the last knot.
- Design looks uneven? Step back and look at it from a distance. Sometimes, what looks crooked up close is actually fine from far away.
And if all else fails? Embrace the imperfections. String art is supposed to be handmade, and a few quirks just add to the charm. (Trust me, my first piece has a nail that’s slightly off, and I love it because it reminds me of how far I’ve come.)
How to Make It Last (Because You Don’t Want to Re-do It Every Year)
If you want your string art to stay looking fresh, here’s what I do:
- Seal it properly. I use Mod Podge (glossy finish) because it protects the threads from dust and UV rays. If you’re hanging it outside (yes, people do this!), use a UV-resistant sealant.
- Avoid direct sunlight. If possible, hang your piece in a spot where it won’t get direct sunlight. The threads can fade over time if they’re exposed to too much light.
- Dust it regularly. I use a soft paintbrush to gently dust my pieces every few weeks. It keeps them looking clean and fresh.
Oh, and if you’re winterizing your home, string art is a great way to add warmth to a room. The textures and colors make a space feel cozy and lived-in.
FAQ: Your String Art Questions, Answered
I get a lot of questions about string art, so I’m going to answer the most common ones here. (And if I don’t know the answer, I’ll tell you where to find it!)
What’s the easiest design for a beginner?
Start with something simple and symmetrical, like a heart, star, or circle. These designs have fewer nails and are forgiving if you make a mistake. I also love monograms because they’re personal and don’t require super precise spacing.
If you’re really nervous, try a single-color design first. It’s easier to focus on tension and spacing when you’re not worrying about color changes.
Can I use plywood instead of a pre-cut board?
Absolutely! I always use plywood because it’s affordable and easy to find. Just make sure it’s sanded smooth and at least ½-inch thick. I buy mine from Home Depot or Lowe’s,it’s usually around $10 for a 2×4-foot sheet, and you can cut it down to whatever size you need.
Pro tip: If you’re upcycling furniture, leftover wood from that project works perfectly for string art.
How do I prevent threads from slipping off nails?
This is one of the most common issues, and it’s so frustrating. Here’s how I fix it:
- Make sure your nails are hammered in far enough that the thread can wrap around the head.
- Use a sewing needle to thread the floss,it helps keep the tension even.
- Dab a tiny bit of clear glue (like Loctite) on the nail heads after wrapping. It’s invisible once the thread is in place, but it keeps everything secure.
I also like to wrap the thread twice around each nail before moving on to the next one. It gives you a little extra hold.
Are printed templates better than freehand sketches?
It depends on what you’re going for! Printed templates are great if you want perfect symmetry, like for typography or geometric designs. They’re also a lifesaver if you’re not confident in your freehand skills.
But if you want something unique and organic, freehand sketches are the way to go. I did this with a tree design for my son’s room, and the imperfect lines made it feel even more special. You can also combine both,use a printed template as a guide and then add freehand details on top.
Where to find templates? I love Etsy for digital downloads, but you can also find free ones on Pinterest or WikiHow.
What type of thread lasts the longest?
If you want your string art to last, avoid cheap craft store thread. It pills, fades, and loses its shape way too fast. Instead, go for:
- DMC embroidery floss,it’s strong, vibrant, and doesn’t fray easily.
- Pearl Cotton,thicker and more durable, great for bold designs.
- Crochet yarn,if you want a chunkier look, this is a great option.
I also love metallic thread for special effects, but it’s a little trickier to work with. If you’re using it, go slow and be patient,it’s worth the extra effort!
How do I fix mistakes without starting over?
Oh, I’ve been here so many times. Here’s how I salvage my projects:
- Thread slipped off? Use tweezers to gently reposition it. If it’s a total mess, snip the thread and start over from the last knot.
- Nail in the wrong spot? Pull it out with pliers, fill the hole with wood filler, sand smooth, and rehammer it in the right place.
- Design looks uneven? Step back and look at it from a distance. Sometimes, what looks crooked up close is actually fine from far away. If it’s really off, you can adjust the thread tension to make it look more balanced.
And if all else fails? Embrace the chaos. String art is supposed to be handmade, and a few quirks just add to the charm. (Seriously, my first piece has a nail that’s slightly off, and I love it because it reminds me of how far I’ve come.)
Can I add lights to my project?
Oh, absolutely! Adding lights takes your string art to the next level. Here’s how I do it:
- Use mini LED string lights (the kind you’d use for a Christmas tree). They’re small, flexible, and easy to weave between the threads.
- Weave the lights behind the design so they glow through the threads. It looks incredible at night!
- If you want a 3D effect, layer the lights in different spots to create depth.
I did this with a moon-and-stars piece in my daughter’s room, and it looks like magic when the lights are on. You can find LED string lights at Amazon, Michaels, or Home Depot.
What’s the best way to seal finished pieces?
Sealing your string art is so important if you want it to last. Here’s what I use:
- Mod Podge (glossy),it’s easy to apply with a spray bottle and gives a nice, protective finish.
- Clear acrylic sealer,if you want something a little more durable, this is a great option. Just make sure it’s non-yellowing.
- Polyurethane,if you’re using it on a piece that might get a lot of handling (like a gift), this is a great choice.
I like to spray a light coat of Mod Podge over the entire piece, let it dry, and then do a second coat if needed. It keeps the threads protected from dust and UV rays.
How do I choose colors for multi-layered designs?
Color is everything in string art. Here’s how I pick my palettes:
- Use a color wheel. If you’re not sure where to start, a triadic color scheme (three colors evenly spaced on the wheel) is always a safe bet. Think blue, yellow, and red, or teal, coral, and purple.
- Try an ombré effect. Blend similar hues as you wrap the thread. For example, start with light pink and gradually move to dark pink for a soft gradient.
- Go for contrast. If you want something bold, try complementary colors (colors opposite each other on the wheel, like blue and orange).
- Use a color inspiration tool. I love Pinterest and Canva for color ideas. Just search “string art color palettes,” and you’ll find tons of inspiration.
Pro tip: If you’re not sure about a color combo, test it on a small piece first. I keep a color swatch book (like the ones from Michaels) to test different threads before committing to a big design.
Can I repurpose old frames for this craft?
Oh, 100%! I love upcycling old frames for string art. Here’s how I do it:
- Sand the frame lightly to remove any rough spots or old paint.
- Paint it (if you want) with chalk paint or acrylic paint. I like a matte black or white for a clean look.
- Once it’s dry, attach your string art panel to the back of the frame using small nails or a strong adhesive.
- If the frame has a glass front, you can remove it for a more dimensional look, or leave it on for protection.
I’ve done this with thrifted frames from Facebook Marketplace and garage sales, and they look amazing. It’s a great way to give old frames new life!
Ready to Start Your String Art Journey?
Alright, I think that covers everything. If you’re feeling overwhelmed, don’t be. String art is one of those crafts where the more you do it, the easier it gets. My first piece looked like a kindergartener made it, and now? I’m actually proud of how far I’ve come.
So grab your supplies, pick a simple design, and start hammering. And if you make a mistake? Good. It means you’re learning. (Trust me, I’ve made plenty of them.)
Oh, and if you’re looking for more inspiration, check out these posts:
- 5 DIY Projects to Instantly Add Charm to Your Home (including some amazing wall decor ideas!)
- Easy DIY Projects to Give Your Bedroom a Makeover (string art looks incredible
- DIY Accent Walls: 10 Creative Ideas for Every Room (string art makes a stunning accent wall!)
And if you finish a piece you’re proud of, send me a photo! I’d love to see what you create. Happy hammering! 🔨✨