
Let me tell you,nothing ruins a peaceful morning like a slamming door at 6 AM, especially when you’ve got a toddler who thinks doors are just giant toys. That’s why I became obsessed with finding the perfect doorstop that actually works while not looking like a sad rubber wedge someone left in the garage. After years of trial and error (and one particularly embarrassing moment when my husband’s work client tripped over a DIY “solution” I made from a sock stuffed with rice), I’ve learned that the best doorstops do double duty: they keep doors from swinging shut and actually look like you meant to put them there.
I’ve seen the store-bought options at Home Depot,over 200 of them, from basic plastic wedges to fancy weighted designs. But here’s the thing: most of them look like they were designed by someone who’s never actually lived in a house with kids, pets, or, you know, life. That’s why I started making my own. The first one was a disaster (seriously, that rice-filled sock? Not my finest hour), but now I’ve got a collection of custom doorstops that not only work but actually match my decor. And the best part? They’re all made from things I already had lying around or picked up for under $10.
If you’re ready to ditch the sad little plastic wedges and create something that’s actually useful and pretty, stick around. I’ll walk you through everything from choosing the right materials to installing them without making a mess (or waking up the baby). And yes, I’ll share the mistakes I made so you don’t have to!
Why Custom Doorstops Are a Game-Changer (For Real)
I used to think doorstops were just those sad little plastic triangles you find at hardware stores,the kind that always seem to disappear when you need them most. But after my daughter “redecorated” our living room by slamming the door into the fresh paint (twice), I realized I needed a better solution. That’s when I discovered that custom doorstops can be both practical and stylish. They keep doors from swinging shut, prevent wall damage, and,if you do it right,actually look like you meant to put them there.
Here’s what I’ve learned from my own experiments (and a few epic fails):
- The right doorstop can save your walls. I learned this the hard way when my husband’s work boots left a permanent dent in our freshly painted hallway. A good doorstop,especially one with a soft base,can prevent that.
- You can match them to your decor. My first attempt was a fabric-covered rice bag (yes, really). It worked, but it also looked like a sad throw pillow on the floor. Now? I’ve got doorstops that match my living room, my kitchen, and even the mudroom.
- They don’t have to be expensive. Some of my favorite doorstops cost less than $10 to make, and they look way better than anything I’ve found in stores.
- They can be functional and decorative. My favorite is the one I made from an old wooden spoon and a chunk of granite I found at a thrift store. It holds the door open and looks like a piece of art.
If you’re ready to upgrade from those sad little plastic wedges, keep reading. I’ll share my favorite DIY doorstop ideas, the materials I’ve used (and the ones I’d never use again), and how to install them without making a mess.
Custom Doorstops: Practical and Decorative DIY Projects
Every home needs a way to keep doors open without damaging walls or floors. But why settle for those ugly plastic wedges when you can make something that’s both functional and stylish? That’s where custom doorstops come in. They’re the perfect project for beginners and experienced DIYers alike because they’re simple, practical, and,if you do it right,actually look like you meant to put them there.
I’ve tried just about every type of doorstop out there, from the classic rubber wedge to fancy weighted designs. But my favorites? The ones I made myself. They’re not only more affordable but also way more personalized. Plus, I can make them match whatever decor I’m going for at the moment.
Here are a few of my favorite DIY doorstop ideas:
- Fabric-covered rice bags. These are great for lightweight doors and can be made in any color or pattern. (Just don’t use them in high-traffic areas,they tend to leak.)
- Wooden doorstops. I made one from an old wooden spoon and a chunk of granite. It’s heavy enough to hold the door open and looks like a piece of art.
- Ceramic or stone doorstops. These are great for heavier doors and can be painted or decorated to match your decor.
- Metal doorstops. I’ve made a few from old hardware and pipe fittings. They’re sturdy and look industrial-chic.
If you’re new to DIY, don’t worry,these projects are beginner-friendly. And if you’re looking for more ideas, check out my post on 5 DIY projects to instantly add charm to your home. Some of those ideas can be adapted for doorstops too!
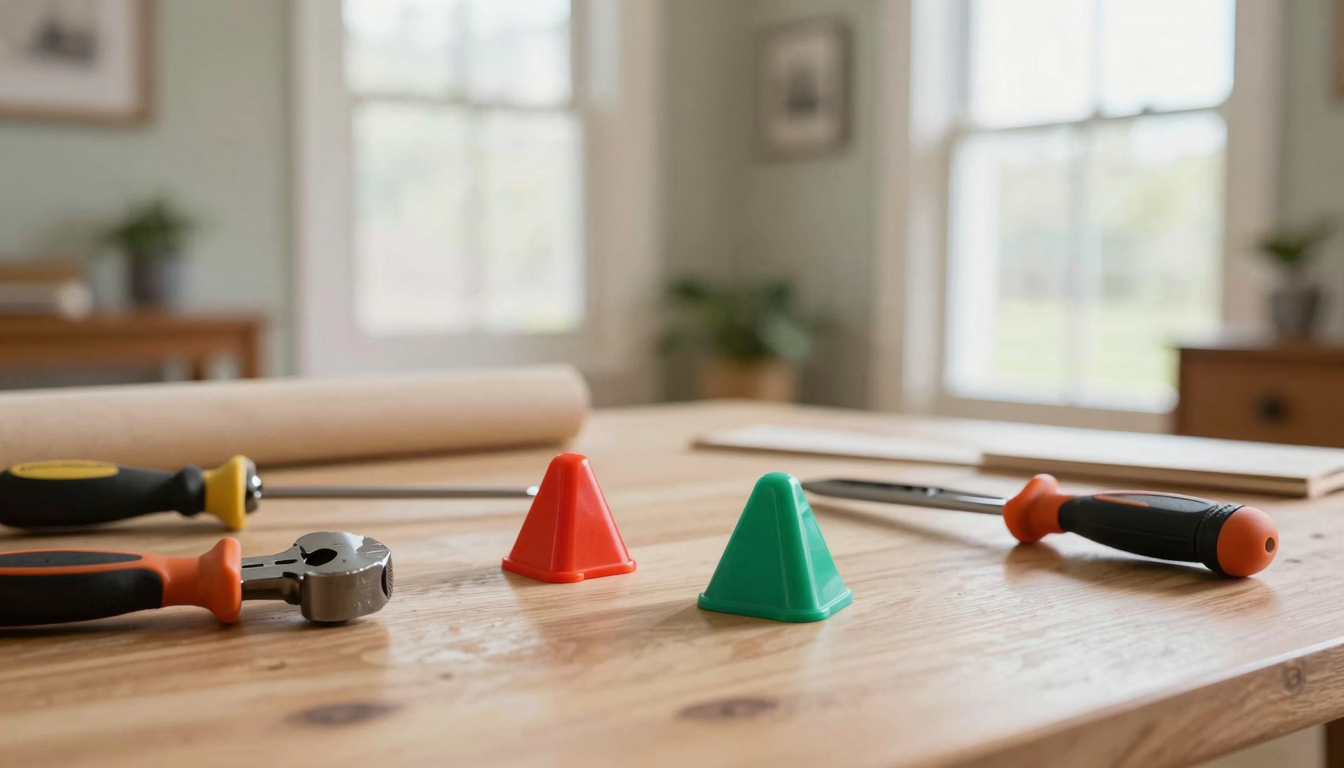
Materials and Tools You’ll Need
Before you start, let’s talk about the materials and tools you’ll need. I’ll keep it simple and share what I’ve used (and what I’d never use again).
Materials
Here’s what I’ve used for my doorstops, depending on the project:
- Fabric. I’ve used old t-shirts, scrap fabric, and even a few thrifted towels. Just make sure it’s sturdy enough to hold the filling.
- Filling. Rice, beans, or sand work well for fabric doorstops. I’ve also used pebbles and even old coins (don’t ask).
- Wood. I’ve used scrap wood, old cutting boards, and even a broken chair leg. Just make sure it’s sturdy enough to hold the door open.
- Stone or ceramic. I’ve found great pieces at thrift stores, garage sales, and even the dollar store. Look for smooth, heavy pieces that won’t roll away.
- Metal. I’ve used old pipe fittings, hardware, and even a few pieces of scrap metal. Just make sure they’re not sharp!
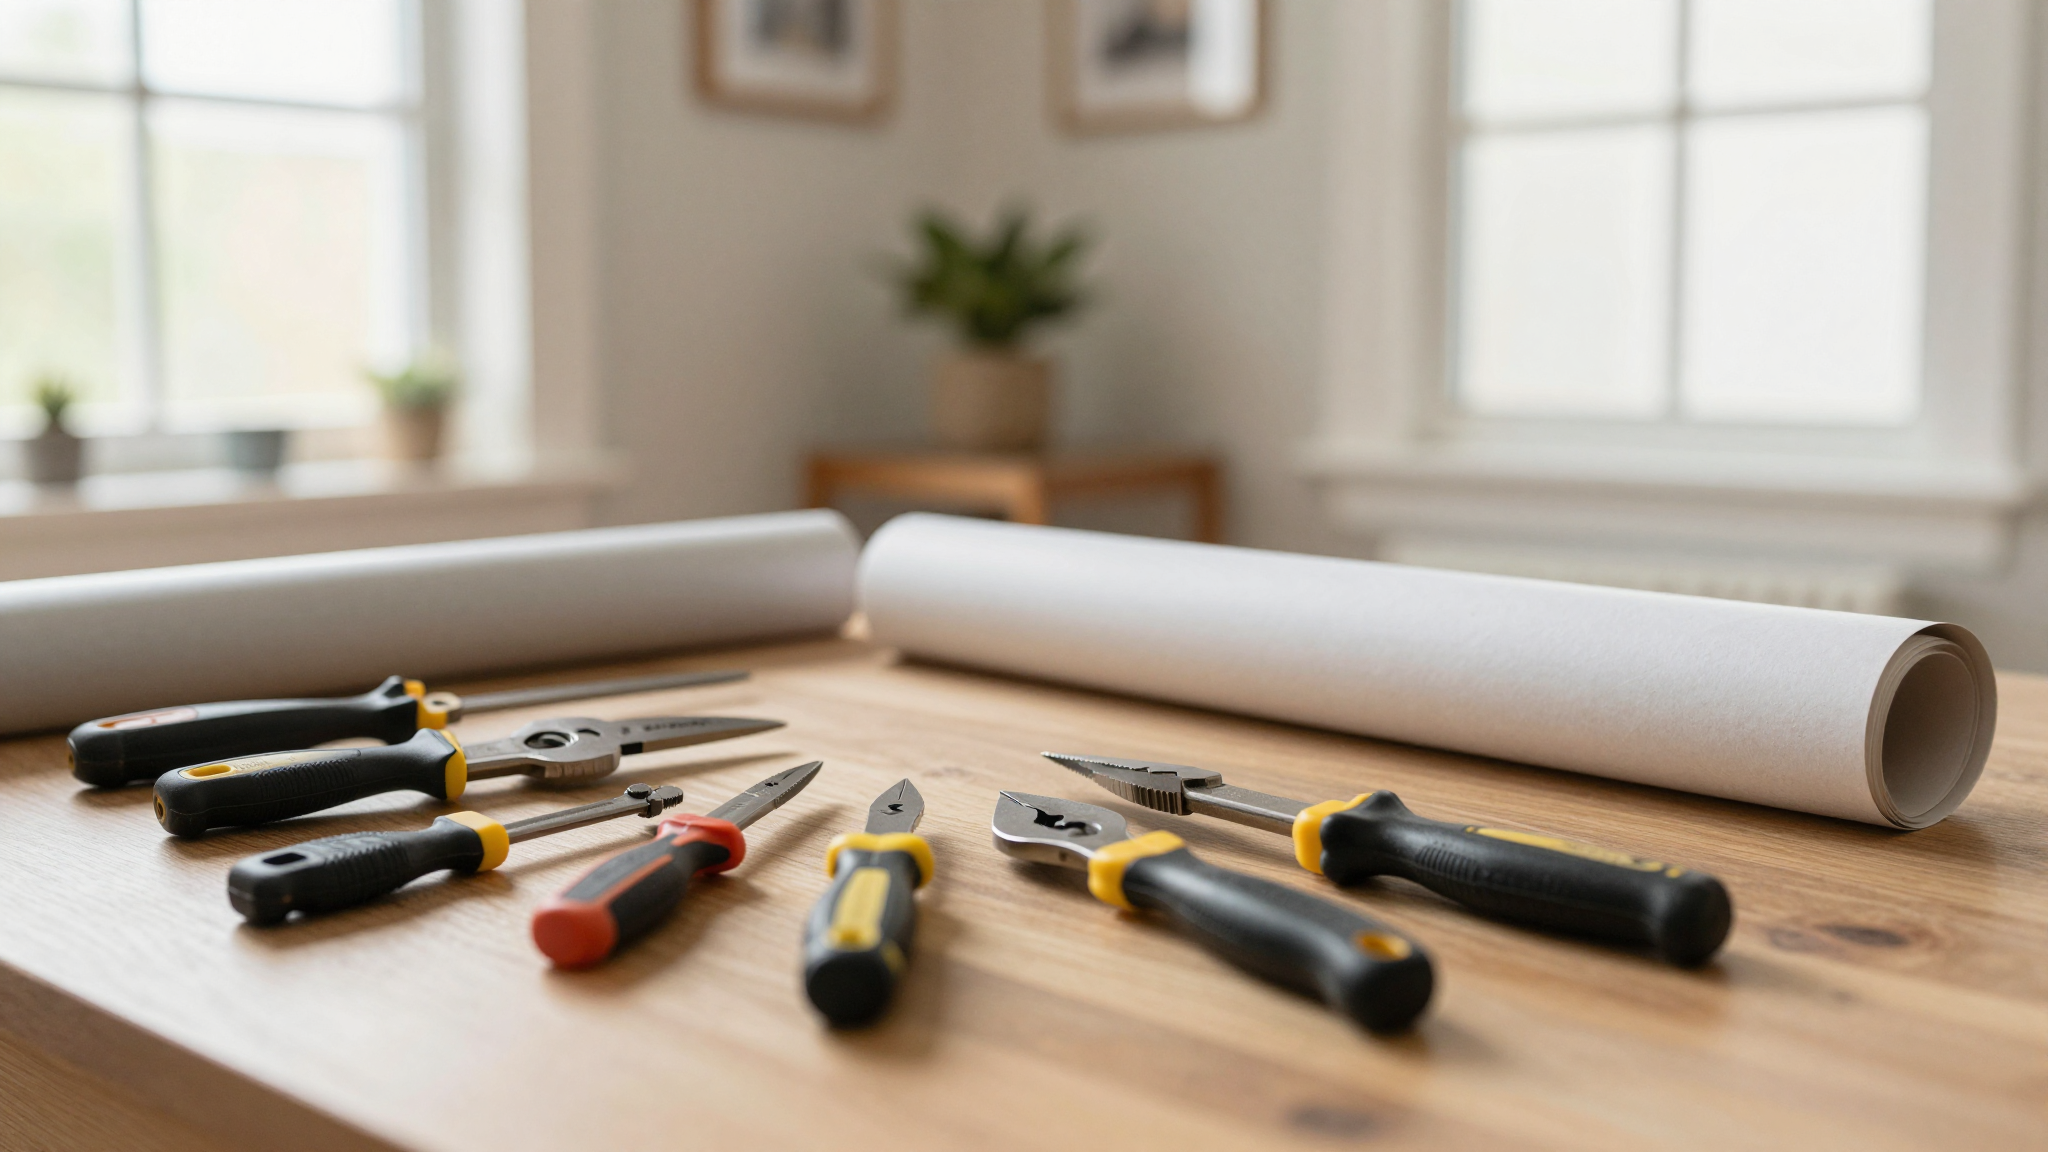
Tools
You don’t need a lot of fancy tools for this project. Here’s what I keep on hand:
- A sewing machine (or a needle and thread if you’re sewing by hand). I used my basic sewing kit for most of my fabric doorstops.
- A hot glue gun. This is great for attaching fabric to wood or stone.
- A drill (if you’re making wooden doorstops). I used my essential drill set for most of my projects.
- A saw (if you’re cutting wood). I used my favorite handsaw for most of my woodworking projects.
- Sandpaper (if you’re working with wood). I keep a few grits on hand for smoothing out rough edges.
- Paint or stain (if you want to customize your doorstop). I used my favorite paint for most of my projects.
That’s it! No fancy tools required. And if you’re new to DIY, don’t worry,these projects are beginner-friendly. If you’re looking for more beginner-friendly projects, check out my post on easy DIY projects to give your bedroom a makeover. Some of those ideas can be adapted for doorstops too!
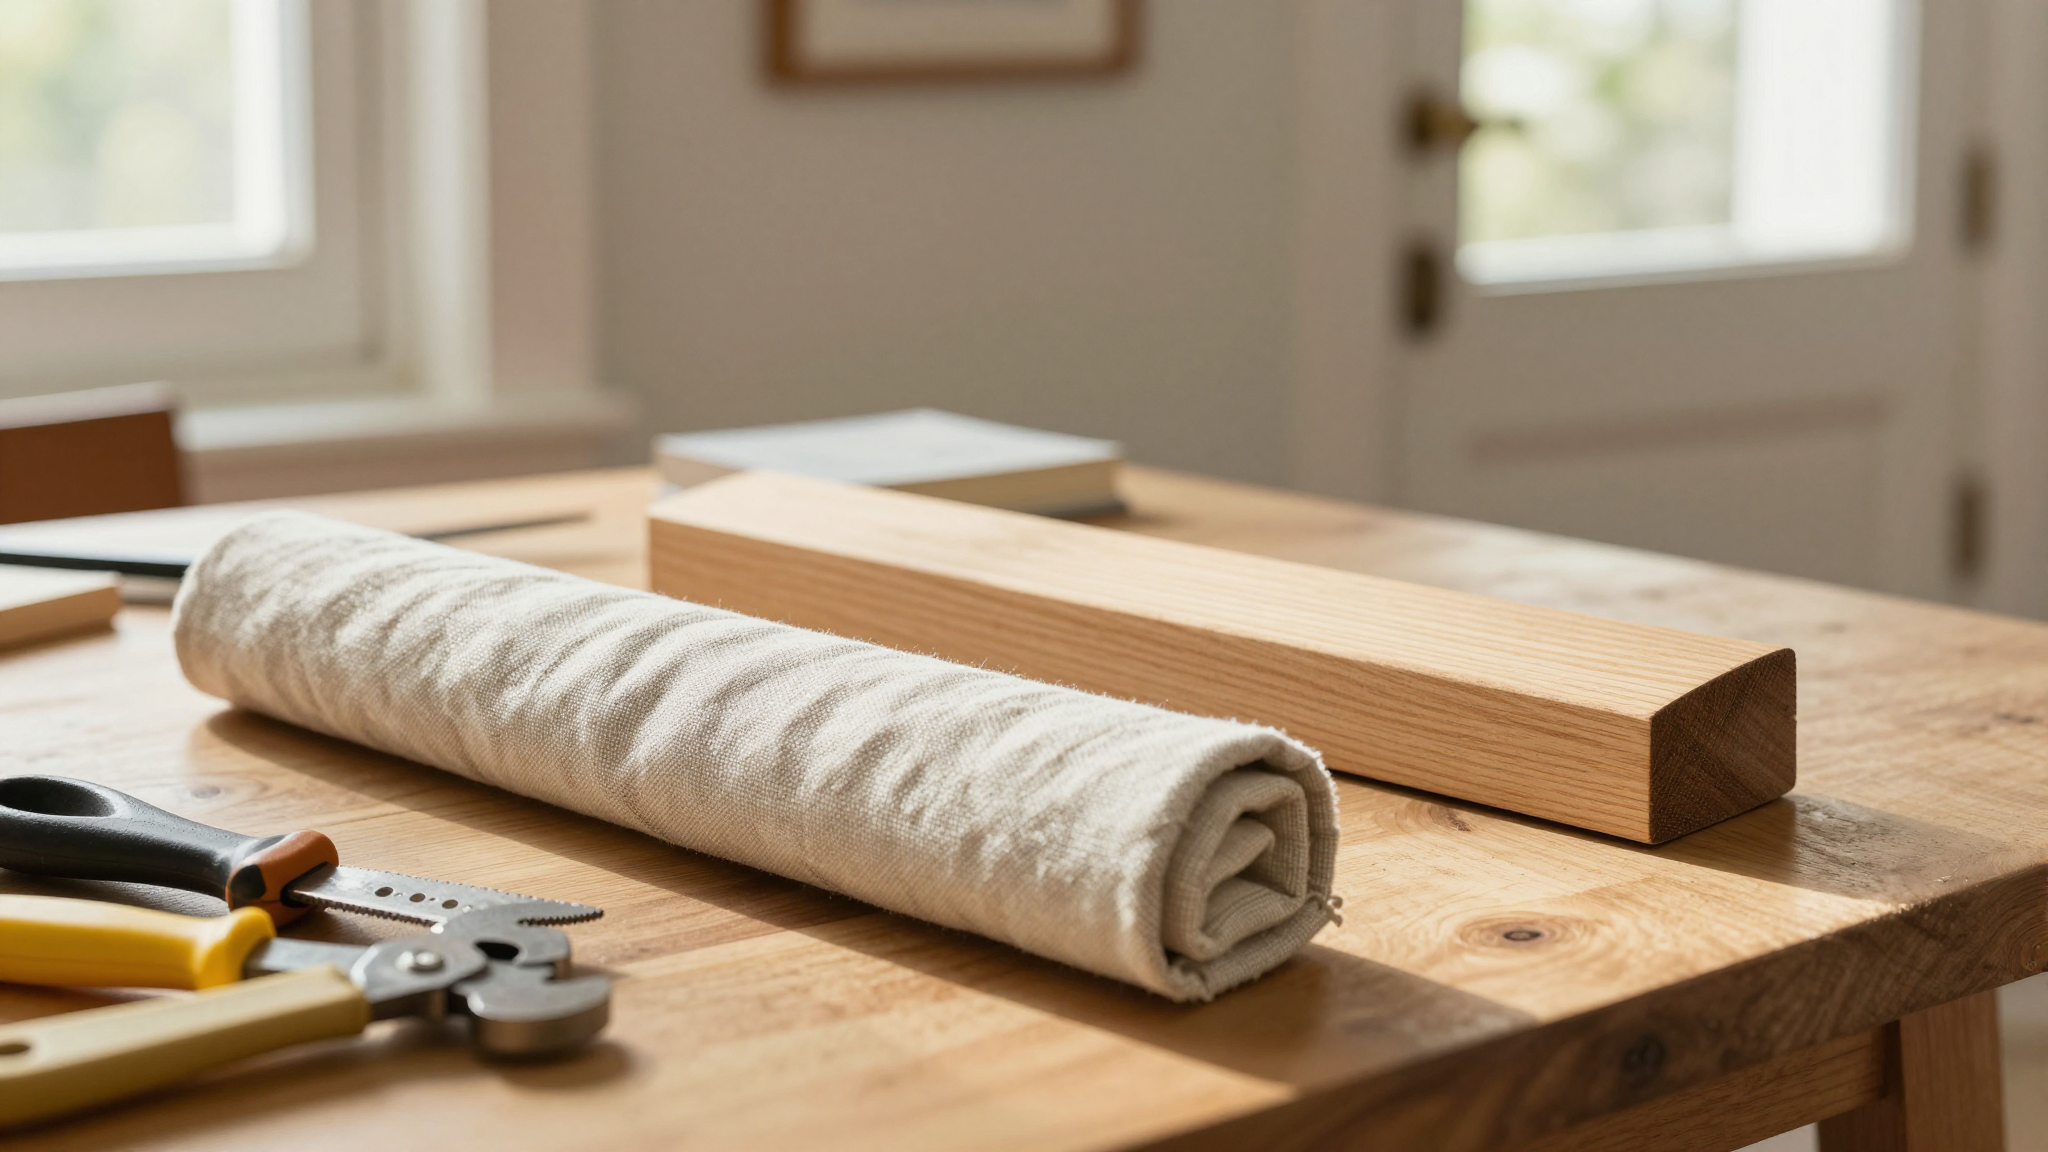
Step-by-Step: How to Make a Fabric Doorstop
Let’s start with one of my favorite doorstops: the fabric-covered rice bag. It’s simple, affordable, and customizable. Plus, it’s a great project for beginners.
What You’ll Need
- Fabric (old t-shirt, scrap fabric, or thrifted towel)
- Rice, beans, or sand (for filling)
- Sewing machine or needle and thread
- Scissors
- Measuring tape
- Pins (optional, but helpful)
Step 1: Cut Your Fabric
First, decide how big you want your doorstop to be. I like mine to be about 6 inches long and 4 inches wide, but you can adjust the size based on your needs.
Cut two pieces of fabric to your desired size. If you’re using an old t-shirt, you can cut a rectangle from the body of the shirt. If you’re using scrap fabric, just make sure the pieces are the same size.
Step 2: Sew the Fabric
Place the two pieces of fabric together, right sides facing in. Pin them together if you’re using pins.
Sew around three sides of the fabric, leaving one side open. I like to use a straight stitch and a ½-inch seam allowance. If you’re sewing by hand, just make sure your stitches are tight and even.
Step 3: Fill the Doorstop
Turn the fabric right side out through the open side. Then, fill it with rice, beans, or sand. I like to use rice because it’s lightweight and easy to find, but beans or sand work too.
Once it’s filled to your desired weight, sew the open side shut. Make sure your stitches are tight so the filling doesn’t leak out.
Step 4: Add a Finishing Touch
If you want to add a little extra flair, you can embroider a design on the fabric or add a ribbon or bow. I like to add a simple embroidered design to mine, but you can do whatever you like!
And that’s it! You’ve got a custom fabric doorstop that’s both functional and stylish. Plus, it’s a great way to upcycle old fabric or t-shirts.
If you’re looking for more upcycling ideas, check out my post on upcycling furniture tips for a professional-looking finish. Some of those ideas can be adapted for doorstops too!
Other DIY Doorstop Ideas
Fabric doorstops are great, but they’re not the only option. Here are a few other DIY doorstop ideas I’ve tried (and some I’d never try again).
Wooden Doorstop
This is one of my favorites. I made it from an old wooden spoon and a chunk of granite I found at a thrift store. It’s heavy enough to hold the door open and looks like a piece of art.
What You’ll Need
- Wood (scrap wood, old cutting board, or broken chair leg)
- Stone or ceramic (thrift store find or dollar store purchase)
- Hot glue gun
- Sandpaper
- Paint or stain (optional)
Step 1: Cut Your Wood
Cut your wood to your desired size. I like mine to be about 6 inches long and 2 inches wide, but you can adjust the size based on your needs.
Step 2: Sand the Wood
Sand the wood until it’s smooth. I like to use a medium-grit sandpaper first, then a fine-grit sandpaper for a smooth finish.
Step 3: Attach the Stone
Use a hot glue gun to attach the stone to the wood. Make sure it’s centered and secure. If you want, you can add a little extra glue to the sides for extra security.
Step 4: Add a Finishing Touch
If you want to add a little extra flair, you can paint or stain the wood. I like to use a clear finish to let the wood grain show, but you can do whatever you like!
And that’s it! You’ve got a custom wooden doorstop that’s both functional and stylish.
Ceramic or Stone Doorstop
This is another one of my favorites. I’ve found great pieces at thrift stores, garage sales, and even the dollar store. Look for smooth, heavy pieces that won’t roll away.
What You’ll Need
- Ceramic or stone (thrift store find or dollar store purchase)
- Paint (optional)
- Paintbrush (optional)
Step 1: Find Your Piece
Look for a smooth, heavy piece of ceramic or stone. I’ve found great doorstops in the form of old candle holders, paperweights, and even a few decorative rocks.
Step 2: Clean the Piece
Clean the piece with soap and water. If it’s dirty or dusty, you might need to use a little elbow grease to get it clean.
Step 3: Paint (Optional)
If you want to add a little extra flair, you can paint the piece. I like to use acrylic paint because it’s easy to find and easy to use. Just make sure to let it dry completely before using it as a doorstop.
And that’s it! You’ve got a custom ceramic or stone doorstop that’s both functional and stylish.
Metal Doorstop
This is one for the more advanced DIYers. I’ve made a few from old pipe fittings and hardware. They’re sturdy and look industrial-chic.
What You’ll Need
- Metal (old pipe fittings, hardware, or scrap metal)
- Drill
- Screws or bolts
- Washers (optional)
Step 1: Gather Your Materials
Look for sturdy pieces of metal. I’ve used old pipe fittings, hardware, and even a few pieces of scrap metal. Just make sure they’re not sharp!
Step 2: Drill Holes
Drill holes in the metal pieces so you can attach them together. I like to use a ¼-inch drill bit, but you can adjust the size based on your needs.
Step 3: Attach the Pieces
Use screws or bolts to attach the pieces together. If you want, you can add washers for a little extra security.
Step 4: Add a Finishing Touch
If you want to add a little extra flair, you can paint the metal. I like to use spray paint because it’s easy to use and gives a smooth finish. Just make sure to let it dry completely before using it as a doorstop.
And that’s it! You’ve got a custom metal doorstop that’s both functional and stylish.
Installation Tips
Now that you’ve made your custom doorstop, it’s time to install it. Here are a few tips to make the process easier.
Where to Place Your Doorstop
First, decide where you want to place your doorstop. I like to place mine about 1-2 inches from the door frame, but you can adjust the position based on your needs.
If you’re placing it on a hard floor, like tile or hardwood, you might want to add a non-slip pad to the bottom. I like to use a piece of felt or rubber to prevent scratching.
How to Secure Your Doorstop
If you’re worried about your doorstop moving around, you can secure it with a little double-sided tape or a non-slip pad. I like to use a piece of felt because it’s soft and won’t scratch the floor.
If you’re placing your doorstop on a carpeted floor, you might not need to secure it at all. Just make sure it’s heavy enough to stay in place.
Testing Your Doorstop
Once you’ve placed your doorstop, give it a test run. Open the door and let it swing shut to see if the doorstop does its job. If it doesn’t, adjust the position or add a little more weight.
And that’s it! Your custom doorstop is ready to keep your doors open and your walls safe.
Maintenance and Care
To keep your doorstop looking and working its best, here are a few maintenance tips:
Cleaning
Dust your doorstop regularly with a soft cloth or duster. If it’s fabric, you can spot clean it with a little soap and water. Just make sure to let it dry completely before using it again.
Repairs
If your doorstop starts to look worn, you can give it a little TLC. For fabric doorstops, you can re-sew any loose stitches or add a little extra filling. For wooden or metal doorstops, you can sand down any rough edges or touch up the paint.
Storage
If you’re not using your doorstop for a while, store it in a cool, dry place. For fabric doorstops, you might want to store them in a breathable bag to prevent moisture buildup.
With a little care, your custom doorstop will keep your doors open and your walls safe for years to come.
Final Thoughts
Custom doorstops are a great way to add a little personality to your home while solving a practical problem. Whether you’re making a fabric-covered rice bag or a wooden doorstop, the possibilities are endless. And the best part? You can make them match your decor, your budget, and your skill level.
So, what are you waiting for? Grab some materials, pick a project, and get started! And if you’re looking for more DIY inspiration, check out my post on 5 DIY projects to instantly add charm to your home. Happy crafting!