
Chalk Paint 101: How I Transformed My Grandma’s Dresser Without Sanding (And Saved My Sanity)
Let me tell you about the dresser that nearly broke me. It was my late grandmother’s,solid oak, beautiful craftsmanship, but covered in 40 years of nicks, scratches, and that awful 1980s teal paint my uncle thought was “fashionable.” I’d spent three weekends sanding it by hand (because my husband “borrowed” the orbital sander for his “important” workshop project) when I stumbled upon chalk paint at my local hardware store.
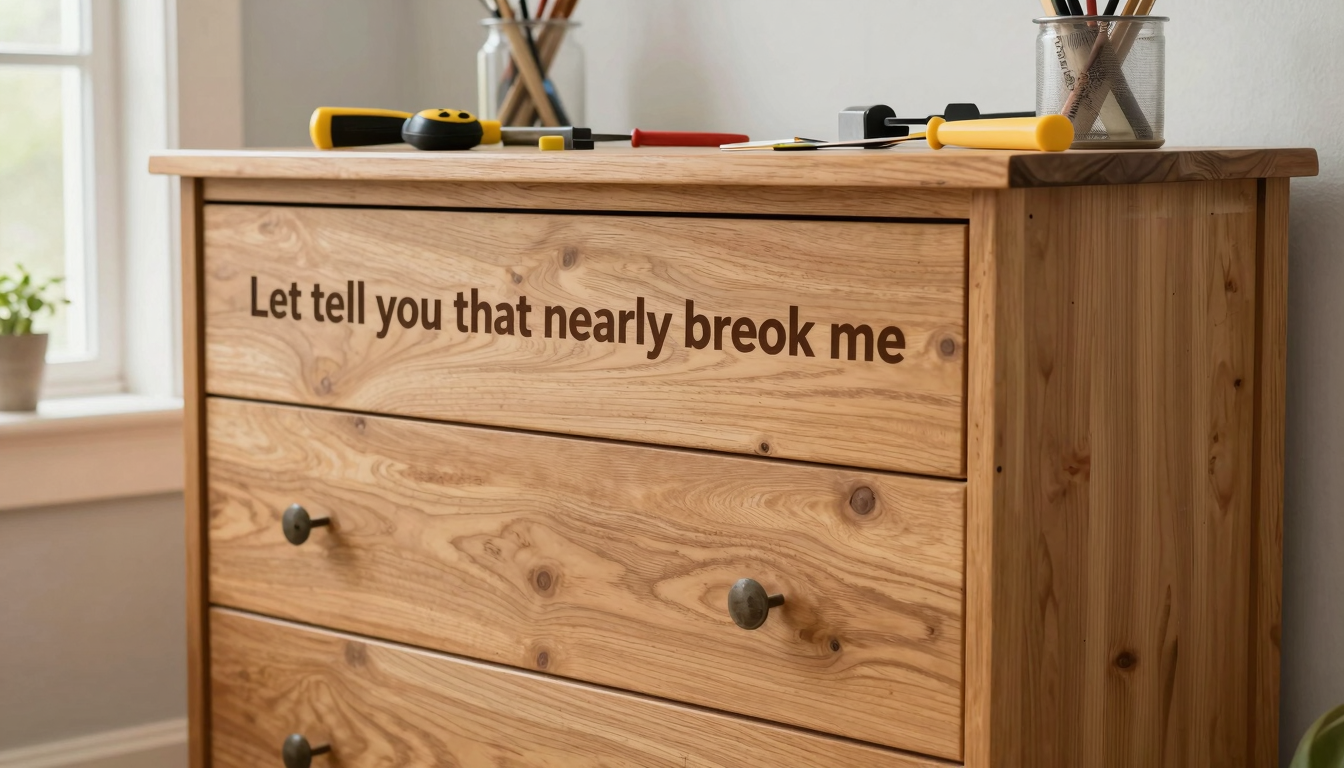
Fast forward to the next morning,I’d transformed that dresser into a soft white farmhouse piece with visible wood grain peeking through in just two coats. No sanding. No primer. Just a little elbow grease and this magical paint that sticks to anything. That was three years ago, and I’ve since chalk-painted everything from my kids’ toy boxes to my husband’s “man cave” bar (which now matches our kitchen, much to his dismay).
If you’re new to chalk paint like I was, let me walk you through exactly how it works, what tools you’ll need, and how to avoid the mistakes I made along the way (like using a cheap brush that left bristles embedded in my first project,don’t ask how long it took to get them out).
What Is Chalk Paint, Anyway?
Chalk paint is this wonderful, thick, matte-finish paint that was originally created by British designer Annie Sloan in the 1990s. I remember reading about her in one of those home decor magazines at the dentist’s office,she was frustrated with how much prep work traditional painting required, so she developed a formula that could stick to almost any surface without sanding.
What makes it different from regular paint? Everything. It’s water-based, dries to a velvety matte finish, and has this amazing ability to hide imperfections. I’ve used it on wood, metal, laminate,even that plastic patio furniture my mother-in-law insisted we keep. The texture is thicker than regular paint, which means you don’t need to do multiple coats (though I always do two just to be safe).
People often confuse it with chalkboard paint, but they’re completely different. Chalkboard paint is smooth and meant for writing on, while chalk paint is all about that beautiful, slightly textured matte finish that gives your furniture that “I spent a fortune at an antique shop” look.
Pro tip: If you’re working with a very glossy surface, you might need to do a light sanding (220-grit paper) to help the paint adhere. But for 90% of projects? You can skip the sanding entirely.
Why I Fell in Love With Chalk Paint (And You Will Too)
Let me be honest,when I first started, I was skeptical. “How can paint this good be this easy?” I thought. But after my first successful project (that dresser I mentioned), I was hooked. Here’s why I think it’s a game-changer:
- No sanding required (most of the time). I saved myself hours of back-breaking work.
- Covers imperfections beautifully. That dresser had more dings than a bumper car, but the paint hid them all.
- Dries quickly. I can usually do a project in a weekend without it taking over my life.
- Customizable finishes. You can distress it, wax it, or leave it as-is for a different look each time.
- Budget-friendly. A single jar can cover multiple projects if you’re strategic.
I’ve used it for everything from updating thrift store finds to giving my bedroom a fresh look without breaking the bank. The only downside? Now I see “project potential” in every piece of furniture I encounter. My husband has threatened to ban me from flea markets.
Essential Tools and Materials You’ll Need
Before you start, let me save you some frustration by telling you exactly what you’ll need for a smooth project. I learned the hard way that not all brushes are created equal!
What You’ll Need:
- Chalk paint – I swear by Annie Sloan and Rust-Oleum’s versions. They’re a bit pricier but worth it.
- High-quality brushes – Get a 2-inch angled brush (Purdy or Wooster are my favorites) and a smaller detail brush for edges.
- Wax or sealant – Clear wax for protection, dark wax for that antique look. I like Annie Sloan’s wax because it’s easy to work with.
- Sandpaper – 220-grit for light sanding if needed, and 400-grit for smoothing between coats.
- Cleaning supplies – TSP substitute (like Krud Kutter) and microfiber cloths for prep work.
- Painter’s tape – For protecting areas you don’t want to paint.
- Drop cloths – Trust me, you’ll thank me later.
Pro tip: If you’re working with a piece that has a lot of detail (like my grandmother’s dresser with all its carvings), get a small foam brush for getting into tight spots. And for the love of all things holy, don’t use a cheap brush,you’ll end up with bristles embedded in your paint like I did on my first project.
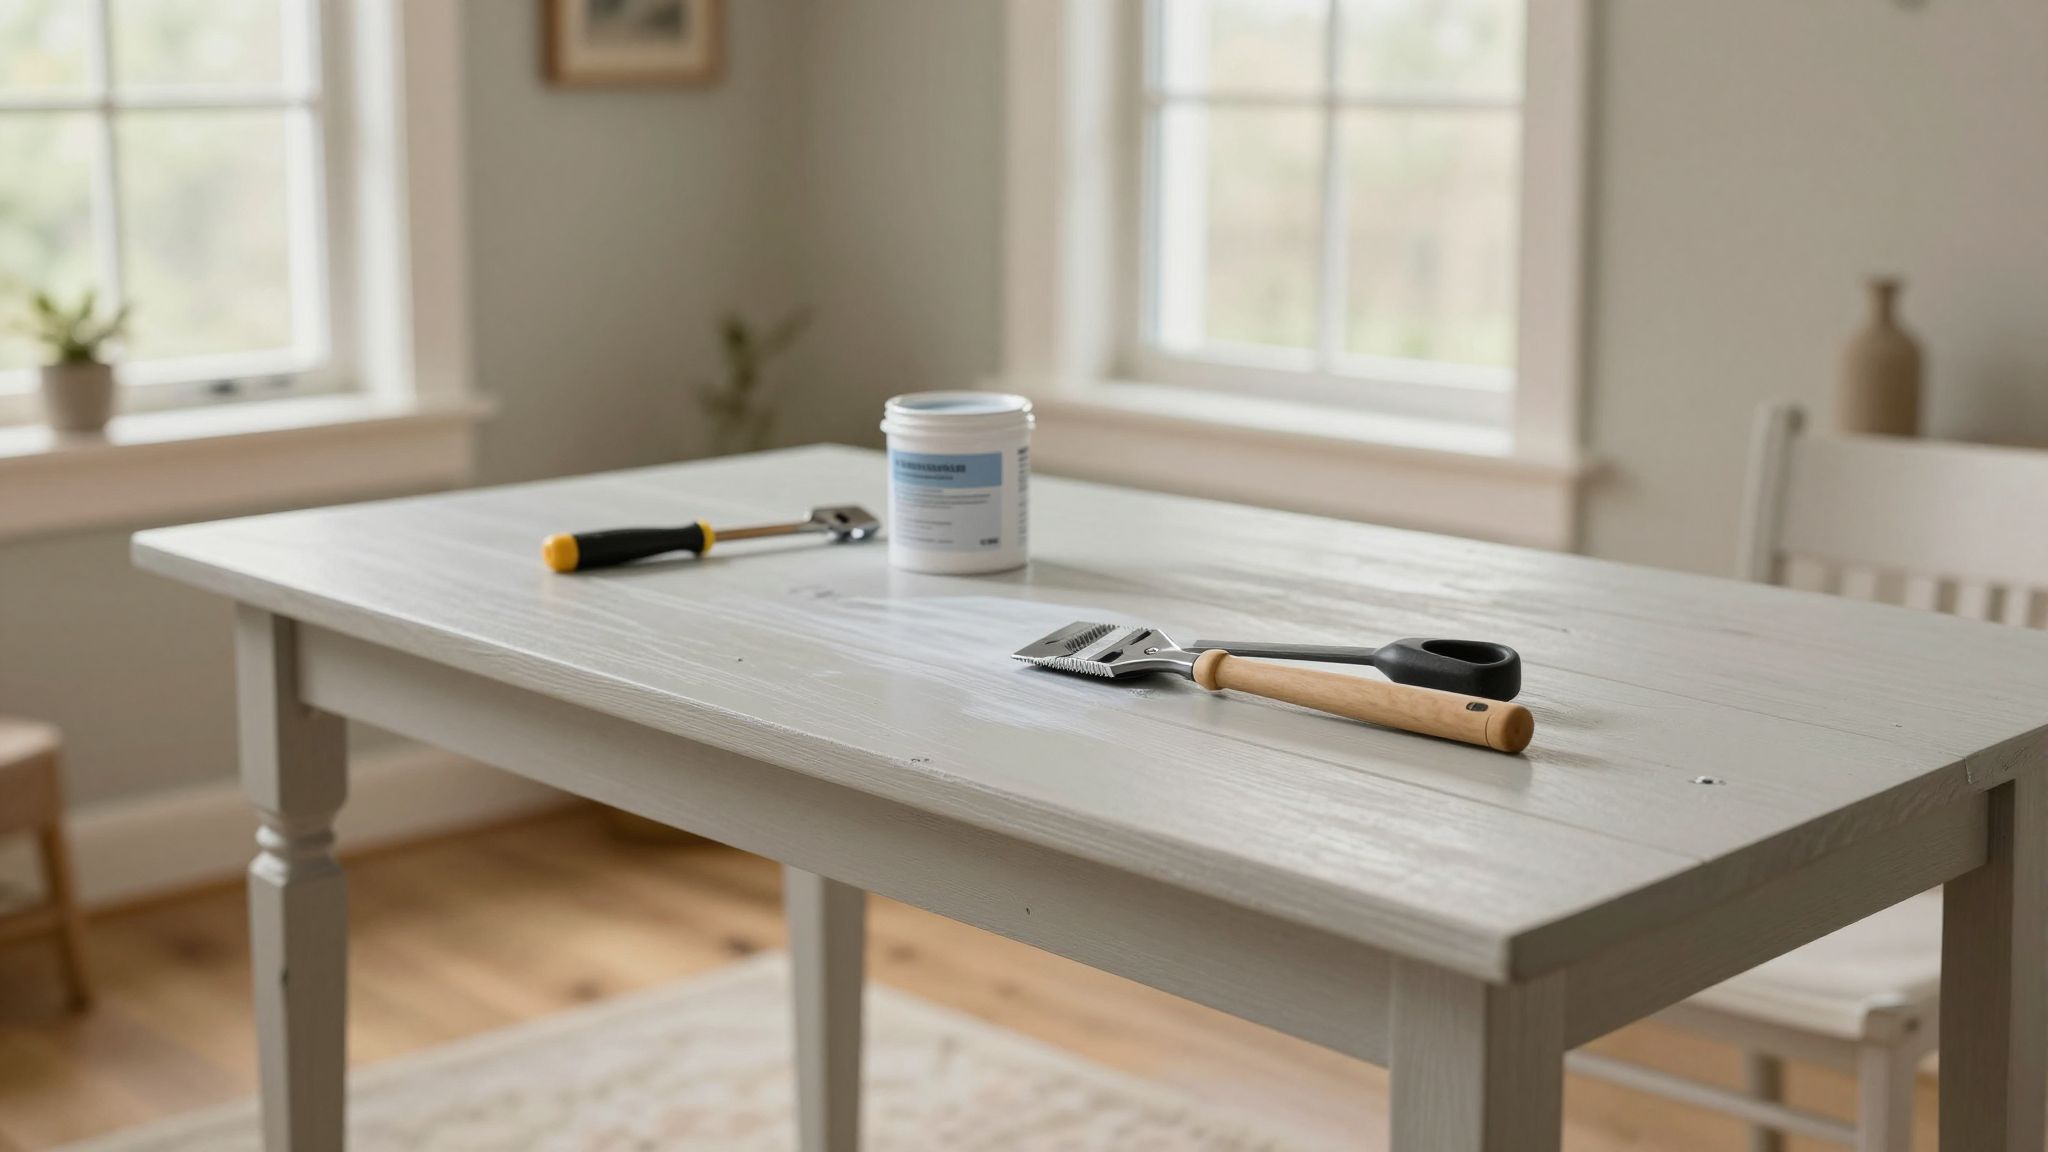
Prepping Your Furniture (The Easy Way)
One of the best things about chalk paint? The prep work is minimal. But you still need to do a few things to ensure your paint adheres properly.
Step 1: Clean Your Piece Thoroughly
First, I clean the furniture with a mixture of warm water and a little dish soap. For really grimy pieces, I’ll use a TSP substitute (never the actual TSP,it’s too harsh and can damage some surfaces). Then I wipe it down with a microfiber cloth to remove any dust or debris.
If there are any loose pieces or wobbly parts, I’ll tighten screws or add wood glue before painting. Nothing’s more frustrating than finishing a project only to have a drawer fall off!
Step 2: Light Sanding (Only If Needed)
Here’s where chalk paint really shines. For most wood surfaces, you don’t need to sand at all. But if your piece is super glossy (like that teal dresser was), I’ll do a very light sanding with 220-grit paper just to help the paint adhere. I’m talking 30 seconds of sanding, not hours.
For pieces with a lot of wear and tear, I might fill in deep scratches or holes with wood filler, let it dry, and then sand it smooth. But that’s the exception, not the rule.
Step 3: Wipe Down with a Tack Cloth
Before painting, I always wipe down the piece with a tack cloth to remove any remaining dust. It’s a small step that makes a big difference in the final finish.
And that’s it! No primer, no hours of sanding,just a clean surface ready for paint.
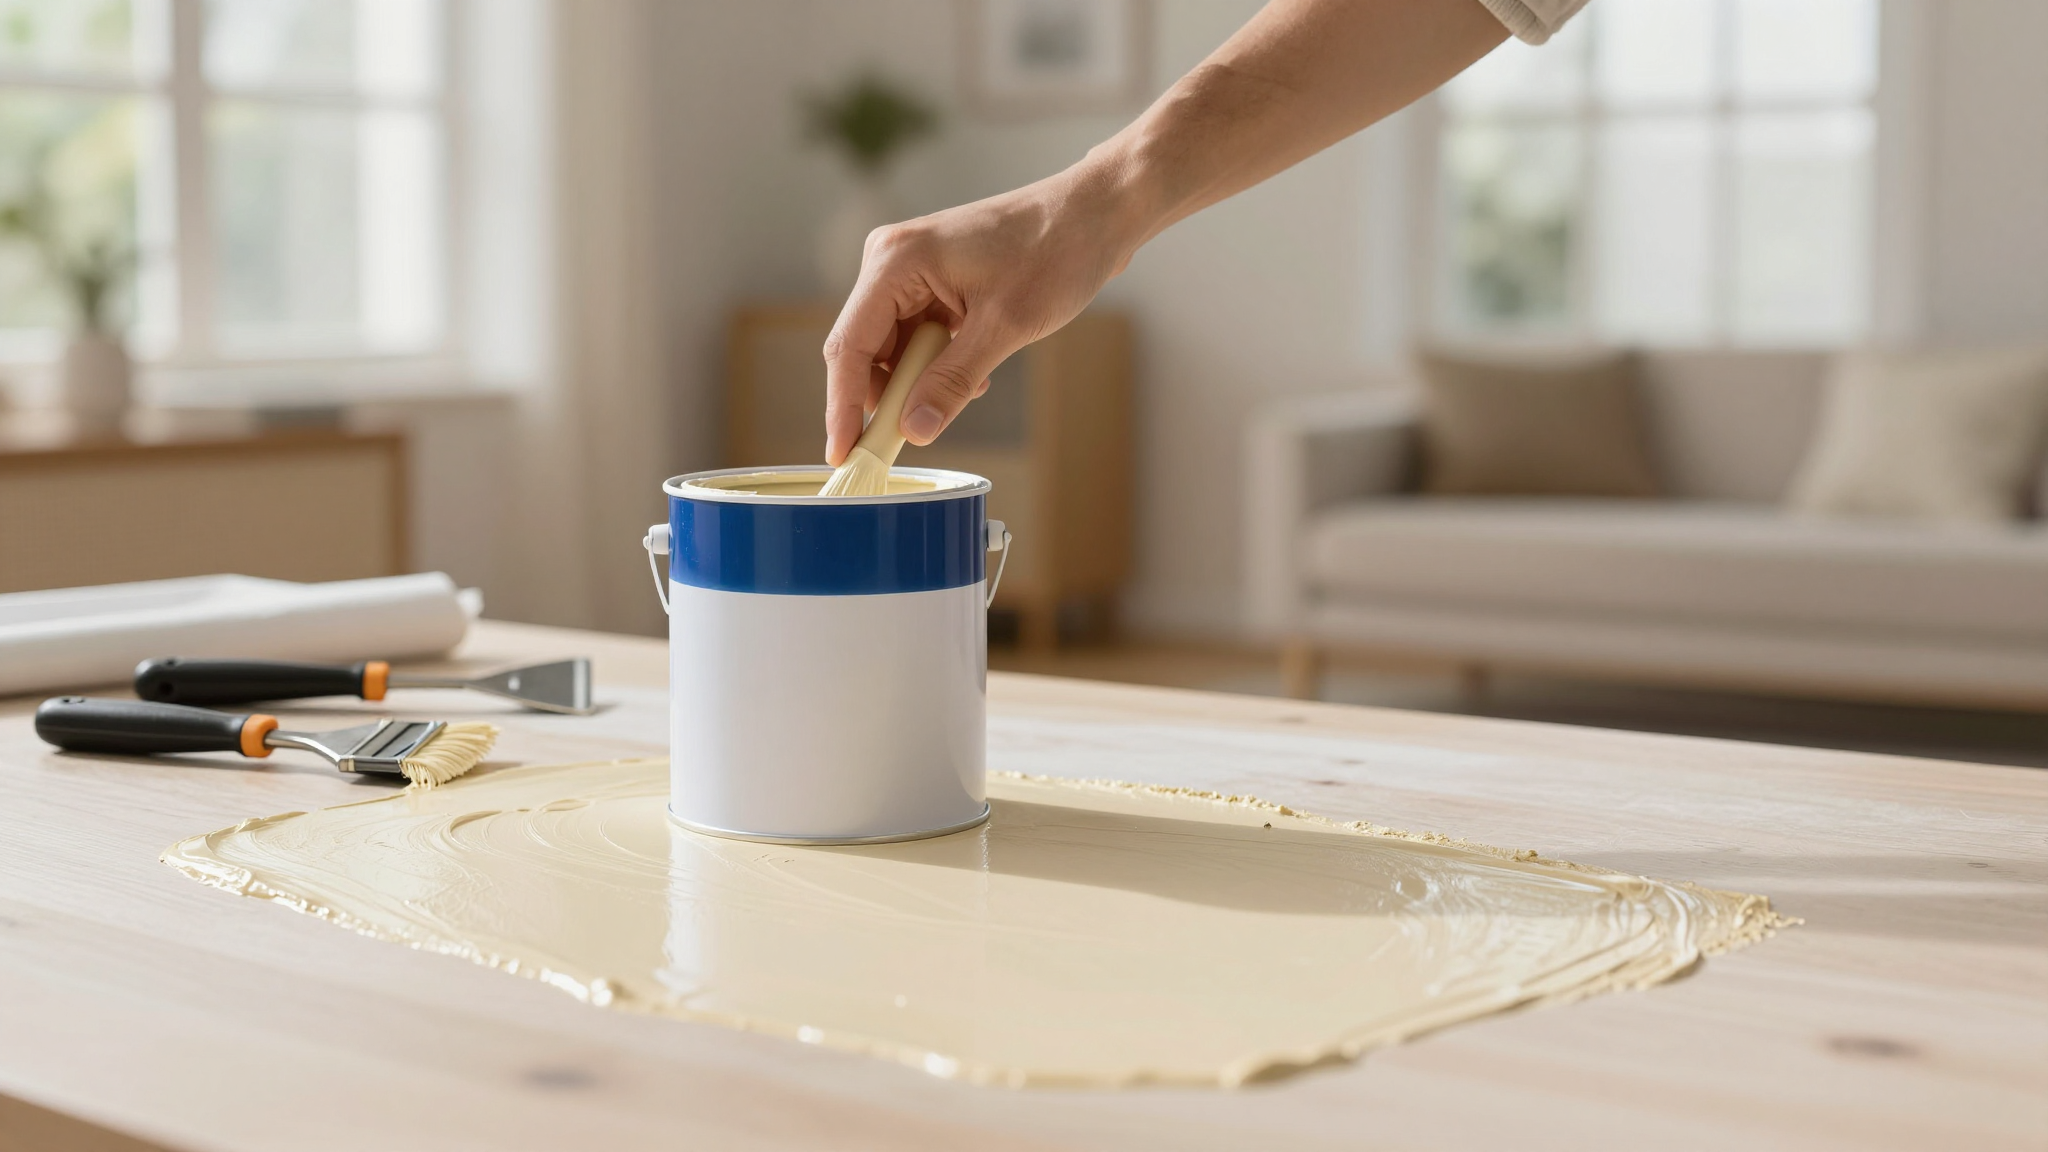
How to Apply Chalk Paint Like a Pro
Now for the fun part,painting! Here’s how I do it to get that beautiful, smooth finish every time.
Step 1: Stir, Don’t Shake
First, I stir the paint thoroughly. I learned this the hard way,shaking it creates bubbles that can ruin your finish. Stirring keeps it smooth and even.
Step 2: Load Your Brush Properly
I dip my brush about halfway into the paint, then tap off the excess on the side of the container. This prevents drips and gives me better control. I use a high-quality angled brush for most of the piece, and a smaller detail brush for edges and corners.
Step 3: Paint in Thin, Even Coats
This is the most important part. I paint in thin, even coats, working from the top down. I keep a “wet edge” by slightly overlapping each stroke before the paint dries. If I see any streaks, I don’t try to fix them while the paint is wet,that just makes it worse. Instead, I let it dry and then do a second coat if needed.
Pro tip: If you’re painting a piece with a lot of detail (like my grandmother’s dresser), I’ll sometimes use a small foam brush to get into all the nooks and crannies. It takes a little longer, but the results are worth it.
Step 4: Let It Dry Completely
This is where I used to make mistakes. I’d get impatient and try to do the second coat too soon, which would cause the paint to streak or not adhere properly. Now I wait at least 2 hours between coats, and I’ve never had an issue.
Step 5: Light Sanding Between Coats (Optional)
If I see any imperfections after the first coat dries, I’ll lightly sand with 400-grit paper to smooth it out before adding the second coat. But most of the time, I don’t even need to do this.
Achieving That Perfect Matte Finish
One of the things I love most about chalk paint is that matte finish. It gives your furniture that beautiful, soft look that’s perfect for farmhouse or shabby chic styles. Here’s how I get it just right every time.
Step 1: Use Thin Coats
Thin coats are key to that smooth matte finish. If I use too much paint, it can look streaky or uneven. I’d rather do two thin coats than one thick one.
Step 2: Let It Dry Completely
This is crucial. If you try to rush the drying process, you’ll end up with a tacky finish that’s not truly matte. I wait at least 2 hours between coats, and I’ve never had an issue with the finish.
Step 3: Lightly Sand Between Coats (If Needed)
If I see any imperfections after the first coat, I’ll lightly sand with 400-grit paper to smooth it out before adding the second coat. But most of the time, I don’t even need to do this.
Step 4: Seal with Wax
Once the paint is completely dry, I seal it with wax. I use a clear wax for a natural look, or a dark wax if I want to add some depth and character. I apply the wax with a lint-free cloth, buffing it in circular motions until it’s smooth and even.
Pro tip: If you want that really authentic antique look, you can rub dark wax into the crevices and edges of your piece before buffing it out. It gives it that beautiful, worn-in appearance.
Advanced Techniques: Distressing and Layering
Once you’ve mastered the basics, you can start playing with more advanced techniques to create really unique looks.
Distressing Your Piece
Distressing is one of my favorite techniques. It gives your furniture that beautiful, time-worn look. Here’s how I do it:
- First, I paint my piece with two coats of chalk paint, letting it dry completely between coats.
- Then, I use a piece of 150-grit sandpaper to lightly sand the edges and corners where wear would naturally occur.
- I also use a screwdriver or a nail to create little dents and scratches in the paint.
- Finally, I wipe the piece down with a damp cloth to remove any dust, and then I seal it with wax.
Pro tip: If you want a more subtle distressed look, you can use a credit card or a piece of steel wool to gently rub through the paint in certain areas. It gives a more natural, worn-in appearance.
Layering Colors
Layering colors is another great way to add depth and character to your furniture. Here’s how I do it:
- First, I paint my piece with a base coat of one color. I let it dry completely.
- Then, I paint a second color over the first, but I don’t cover it completely. I let some of the first color peek through.
- I can do this with a dry brush technique, or I can just be a little more liberal with my paint application.
- Finally, I seal it with wax to protect the layers.
Pro tip: If you want to create a really unique look, you can layer three or even four colors. Just let each layer dry completely before adding the next one.
Sealing Your Masterpiece
Once your paint is dry, you’ll want to seal it to protect it and give it that beautiful, durable finish. There are two main options: wax and lacquer.
Wax vs. Lacquer: What’s the Difference?
Wax is great for a soft, natural look. It’s perfect for vintage or farmhouse styles. Lacquer, on the other hand, gives you a harder, more durable finish. It’s better for pieces that get a lot of use, like kitchen cabinets or dining tables.
I like to use wax for most of my projects because I love that soft, matte finish. But for pieces that get a lot of wear and tear, I’ll use a lacquer. It’s a little more work to apply, but it’s worth it for the extra protection.
How to Apply Wax
Applying wax is easy. I use a lint-free cloth to apply a thin, even layer of wax to the piece. Then, I buff it in circular motions until it’s smooth and even. I let it dry for about an hour, and then I apply a second coat if needed.
Pro tip: If you want to add some color to your wax, you can mix in a little bit of pigment. I like to use a dark wax on the edges and corners of my pieces to give them that antique look.
How to Apply Lacquer
Applying lacquer is a little more involved than wax. I use a foam brush to apply a thin, even coat of lacquer to the piece. I let it dry for about 30 minutes, and then I lightly sand it with 400-grit paper to smooth out any imperfections. Then, I apply a second coat and let it dry completely.
Pro tip: If you’re using lacquer, make sure you’re working in a well-ventilated area. The fumes can be strong!
Styling Your Chalk-Painted Furniture
Now that you’ve transformed your piece, it’s time to style it! Here are some of my favorite ways to incorporate chalk-painted furniture into my home decor.
Farmhouse Style
I love using chalk paint to create that beautiful farmhouse look. I’ll often paint my furniture in soft, neutral colors like white, gray, or beige. Then, I’ll pair it with natural wood tones and linen textiles for a cozy, inviting look.
For example, I recently painted my dining table a soft gray. I paired it with natural wood chairs and a linen table runner for a beautiful, cohesive look. It’s perfect for our farmhouse-style dining room.
Bohemian Style
Chalk paint is also great for boho style. I’ll often use bold, colorful paints and pair them with patterned textiles and global-inspired decor. For example, I painted a side table in a deep turquoise and paired it with a macramé wall hanging and a colorful area rug.
Pro tip: If you’re going for a boho look, don’t be afraid to mix and match patterns and colors. The key is to create a cohesive color palette and then have fun with your textures and patterns.
Modern Style
You can even use chalk paint for a modern look. I’ll often paint my furniture in bold, saturated colors and pair them with sleek, minimalist decor. For example, I painted a bookshelf in a deep navy and paired it with white shelves and a few carefully curated decor pieces.
Pro tip: If you’re going for a modern look, stick to a neutral color palette and let your furniture be the focal point. Then, add in a few bold, colorful decor pieces to create contrast.
Chalk Paint for Outdoor Furniture
While chalk paint is primarily designed for indoor use, you can use it for outdoor furniture with a few modifications. Here’s what I’ve learned from my own experiments.
Choosing the Right Paint
Not all chalk paints are created equal when it comes to outdoor use. I’ve had the best luck with brands that are specifically designed for outdoor furniture, like Country Chic Paint’s All-In-One. It’s weather-resistant and adheres well to most outdoor surfaces.
Prepping Your Outdoor Furniture
Prepping outdoor furniture is a little more involved than indoor pieces. I’ll often clean my furniture with a pressure washer to remove dirt and grime. Then, I’ll sand it lightly to help the paint adhere. For wood furniture, I’ll also apply a wood conditioner to prevent cracking.
Sealing Your Outdoor Piece
Sealing is crucial for outdoor furniture. I’ll use a waterproof sealant to protect my piece from the elements. I like to apply it with a brush, making sure to get into all the nooks and crannies. Then, I’ll let it dry completely before using my furniture.
Pro tip: If you’re painting outdoor furniture, try to do it on a dry, overcast day. This will help the paint dry more evenly and prevent it from drying too quickly in the sun.
Maintenance and Cleaning Tips
Once your chalk-painted furniture is sealed, it’s important to take care of it to keep it looking its best. Here are some of my top tips for maintenance and cleaning.
Regular Cleaning
I clean my chalk-painted furniture regularly with a damp microfiber cloth. For tougher stains, I’ll use a mild soap solution. I never use harsh chemicals or abrasive cleaners, as they can damage the finish.
Reapplying Wax
I reapply wax to my furniture every 6-12 months, depending on how much use it gets. This helps to protect the finish and keep it looking its best. I’ll often do this in the spring, as part of my annual furniture refresh.
Touching Up Scratches
If I notice any scratches or chips in the finish, I’ll touch them up with a little bit of paint. I keep a small jar of leftover paint from each project, just in case. Then, I’ll seal it with a little bit of wax to blend it in.
Pro tip: If you have a piece that gets a lot of wear and tear, consider using a clear lacquer instead of wax. It’s more durable and will hold up better over time.
Troubleshooting Common Issues
Even with the best prep work, sometimes things don’t go as planned. Here are some common issues I’ve encountered and how I’ve fixed them.
Brush Marks
Brush marks are one of the most common issues, and they’re usually caused by using too much paint or not blending properly. To fix them, I’ll lightly sand the area with 400-grit paper and then apply a second coat of paint. I’ll make sure to blend it well and use thin, even coats.
Uneven Drying
Uneven drying can cause streaks or an uneven finish. To prevent this, I’ll work in small sections and keep a wet edge. If I notice any issues, I’ll let the paint dry completely and then sand it lightly before applying a second coat.
Drips
Drips are another common issue, especially when painting vertical surfaces. To fix them, I’ll let the paint dry completely and then sand the drips smooth. Then, I’ll touch up the area with a little bit of paint.
Pro tip: If you’re painting a vertical surface, I recommend using a paint tray with a grid. It helps to control the amount of paint on your brush and prevents drips.
Final Thoughts and Next Steps
Chalk paint has completely transformed the way I approach furniture makeovers. It’s forgiving, easy to use, and gives beautiful results. Whether you’re a beginner or a seasoned DIYer, I think you’ll love it as much as I do.
If you’re ready to give it a try, start with a small project like a side table or a chair. Once you’ve mastered the basics, you can move on to bigger pieces like dressers or cabinets. And don’t forget to check out my other posts for more tips on upcycling furniture and easy DIY projects to refresh your home.
Happy painting! And remember, if you make a mistake, it’s just paint. You can always fix it. That’s what I tell myself, anyway, after I accidentally painted my husband’s favorite toolbox pink.