
Pottery Painting at Home: No Kiln? No Problem!
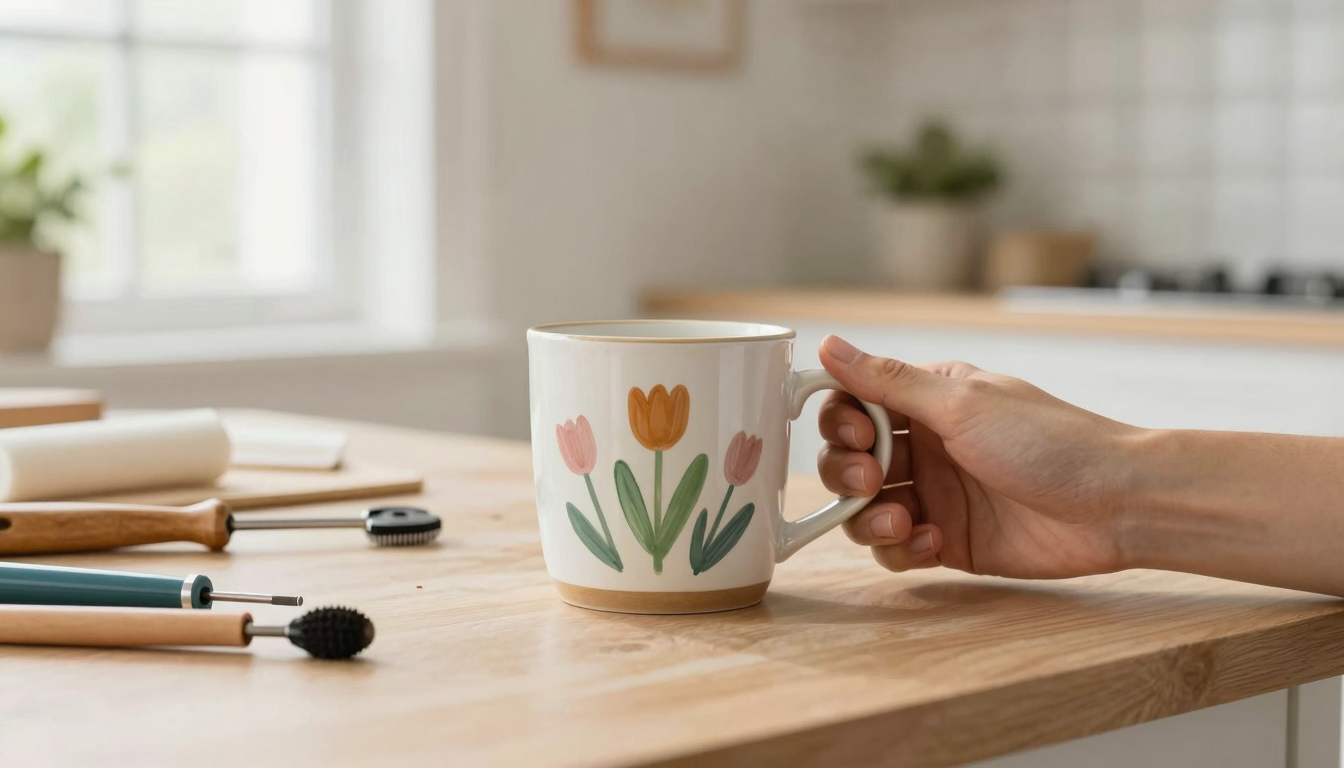
Let me tell you,there’s nothing quite like the satisfaction of holding a hand-painted mug you made yourself, especially when it’s sitting on your kitchen counter, slightly uneven but full of your favorite coffee. I’ll never forget the first time I tried pottery painting. I was so sure I’d mess it up. (Spoiler: I did. The first mug looked like a kindergartener’s finger-painting experiment. But here’s the thing,it’s still in use, and now it’s my favorite because it reminds me how far I’ve come.)
You don’t need a fancy studio or a kiln to create beautiful, durable ceramics at home. In fact, I’ve found that some of the best pieces I’ve made have come from simple, no-fuss methods using air-dry clay, oven-safe paints, and a little bit of patience. This guide is all about the real way to do it,no fluff, no overpromising. Just the honest, tried-and-true techniques I’ve learned (and sometimes botched) over the years.
Whether you’re looking to add a personal touch to your home with handmade decor or just want a fun weekend project, pottery painting is one of those crafts that feels fancy but is actually super approachable. And the best part? You can do it all from your kitchen table.
Why Kiln-Free Pottery Painting Works (And Why I Love It)
I used to think pottery was one of those crafts that required a ton of equipment,you know, the kind that takes up half your garage and costs more than your first car. But then I discovered kiln-free methods, and it changed everything. No more waiting for studio time, no more worrying about firing cycles, and definitely no more kiln-related anxiety (trust me, those things get hot).
Here’s the breakdown of what you’re actually getting into:
| Aspect | Traditional Pottery | Kiln-Free DIY |
|---|---|---|
| Equipment | A kiln (which is basically a small oven that costs as much as a vacation), glazes, and a studio space (or at least a very dedicated corner of your home). | Your oven, a few tubes of acrylic paint, some brushes, and a roll of parchment paper. Oh, and maybe a hairdryer if you’re impatient like me. |
| Cost | At least $500 just to get started, and that’s if you’re thrifty. Studios charge by the hour, and glazes aren’t cheap. | Under $50 for everything you need. I once turned a $10 set of mugs from Michaels into a full set of hand-painted dinnerware. (Okay, fine, they’re not technically dinner plates, but they look great on my bookshelf.) |
| Time | Days, sometimes weeks, depending on firing schedules. Studios book up fast, and you’re at their mercy. | Hours. Seriously. Air-dry clay sets in 24-48 hours, and oven-baked paints dry in under an hour. Need it faster? Pop it in the oven on low for 10 minutes. |
I’ll admit, I was skeptical at first. I mean, how could something this simple actually work? But after my first successful project,a set of coasters that didn’t look like abstract art,I was hooked. Now? I’ve got hand-painted mugs, vases, and even a slightly lopsided but charming planter that my kids “help” me decorate every year. (Their idea of “helping” usually involves more glitter than I’d like, but I digress.)
If you’re ready to dive in, let’s talk about what you’ll actually need to get started,no fancy tools required.
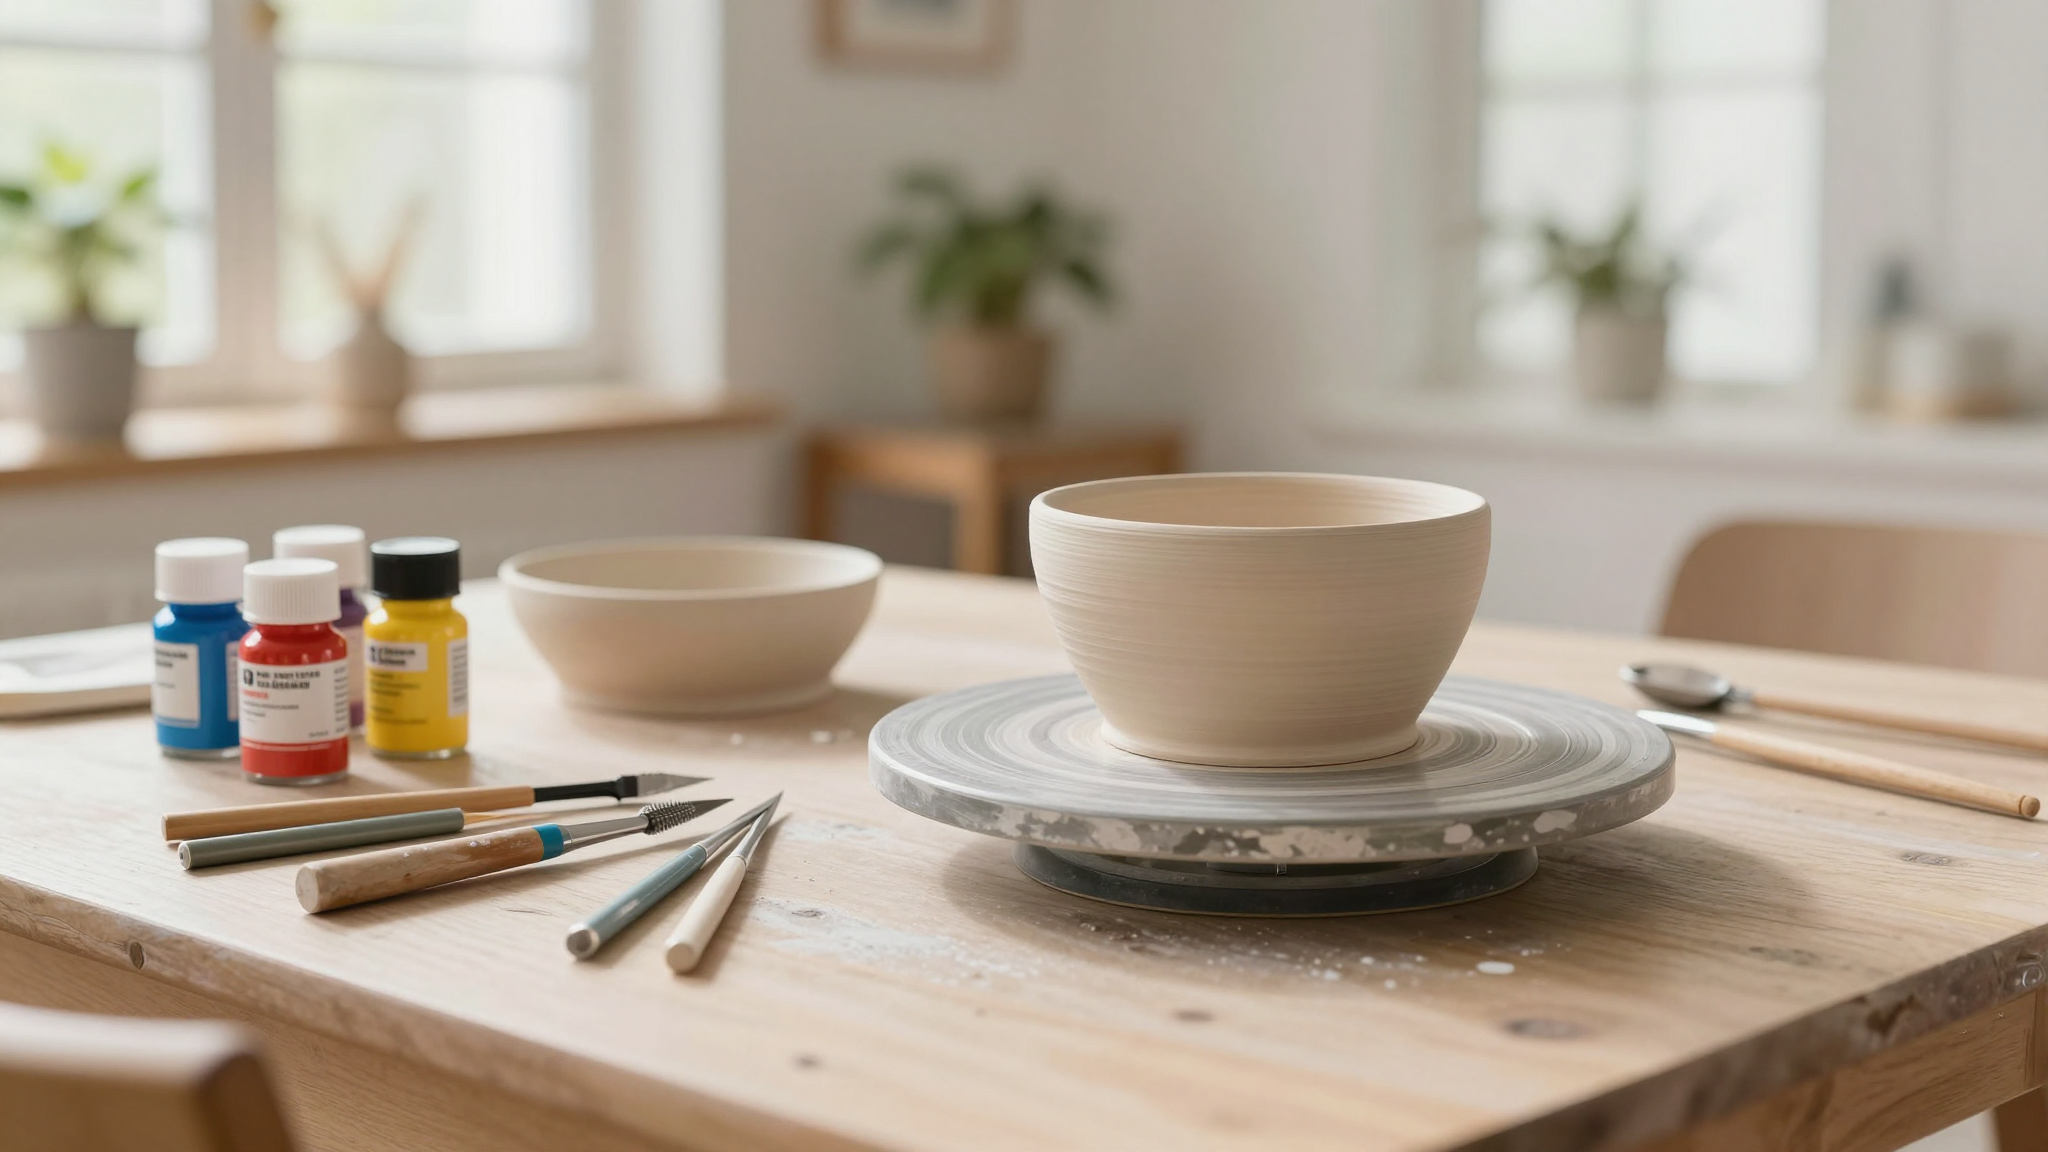
Your Kiln-Free Pottery Painting Toolkit
I’ll be honest: my first attempt at pottery painting was a disaster. I grabbed whatever I had lying around,some old acrylic paints from my kids’ art supplies, a toothbrush for “detail work” (which just ended up splattering paint everywhere), and a mug I’d picked up at a thrift store. The result? A mess. A beautiful mess, but a mess nonetheless.
Since then, I’ve learned a few things. Here’s what I actually use now, and why:
The Non-Negotiables
- Oven-safe acrylic paints. I swear by FolkArt Enamel Paints. They’re affordable, come in a million colors, and actually stay put after baking. (Pro tip: If you’re painting something functional, like a mug, make sure the paint is labeled “food-safe” or “dishwasher-safe” if you’re feeling ambitious. I usually hand-wash mine just to be safe.)
- A set of good brushes. You don’t need a dozen, but get at least a few sizes. I like the Royal & Langnickel short-handled brushes,they’re sturdy, affordable, and don’t shed bristles everywhere. A size 6 for base coats, a size 2 for details, and a tiny liner brush for those fiddly bits.
- Clear sealant. For pieces that need a little extra protection, I use Mod Podge Hard Coat for air-dry clay or ArtResin for a glossy, durable finish. (Yes, resin is a little more involved, but it’s worth it for special pieces.)
- Texturing tools. This is where you can get creative. I keep a stash of sponges, lace scraps (from old curtains or fabric stores), silicone stamps, and even a piece of bubble wrap for fun textures. One of my favorite tricks? Pressing crumpled foil into wet paint for a metallic, hammered look. It’s weirdly satisfying and looks way more expensive than it is.
Oh, and one more thing: parchment paper. Trust me on this. The first time I painted a mug without it, I ended up with a ring of paint stuck to my table. Now I always line my workspace with parchment,it’s cheap, easy to clean up, and saves me from scrubbing paint off my IKEA table.
Setting Up Your Space
I used to think I needed a dedicated “studio” to do this kind of thing. (Spoiler: I don’t.) My setup is simple: a corner of my kitchen table, a few plastic bins for supplies, and a small fan to help things dry faster. But here’s what I’ve learned makes a difference:
- Lighting matters. Natural light is your best friend. I set up near a window so I can see what I’m doing without squinting. If you’re working in the evening, get a good task lamp with a daylight bulb. It makes a huge difference in how your colors look.
- Keep it organized. I use a IKEA Kallax shelf to store my paints and brushes. It’s cheap, easy to assemble, and keeps everything within reach. (I also keep a small tray for my “wet palette”,just a plastic container with a damp paper towel to keep my paints from drying out.)
- Drying zone. Designate a spot where things can dry undisturbed. I use a wire rack I got from a thrift store,it’s elevated, so air circulates, and nothing gets knocked over. (Lesson learned: Do not dry your pieces on a napkin. They’ll stick. I’ve made this mistake.)
Oh, and if you’re like me and get easily distracted, keep a small project tray nearby for quick cleanups. Trust me, you’ll thank yourself later.
Step-by-Step: How to Paint Pottery Without a Kiln
Alright, let’s get to the good stuff. Here’s how I actually do it,no fancy steps, just the real deal.
Step 1: Prep Your Piece
First, you’ve got to start with a clean slate. Literally.
- Wipe down your bisqueware (that’s just a fancy word for unfired clay) with a damp cloth. I use a microfiber towel,it picks up dust without leaving lint behind.
- If your piece has any rough spots, sand them lightly with 220-grit sandpaper. (I keep a small piece in my toolkit just for this.) The smoother the surface, the better your paint will adhere.
- Sketch your design lightly with a pencil. This is your roadmap,it keeps you from second-guessing as you paint. (I once started freehanding a floral design and ended up with a blob that looked like a sad sunflower. Lesson learned: Plan ahead.)
- If you’re painting something dark, like a black mug, apply a thin layer of gesso primer first. It gives your colors something to grab onto. I use Liquitex Basics Gesso,it’s cheap and works great.
Oh, and wear cotton gloves if you’re worried about fingerprints. I usually skip them, but if I’m doing something super detailed, I’ll grab a pair. (They also come in handy if you’re painting something for a gift and don’t want to leave smudges.)
Step 2: Paint Like a Pro (Or at Least Like a Confident Beginner)
This is where the magic happens. Here’s how I do it:
- Start with the background. Use a flat brush to block in your base colors. I like to work in thin layers,it gives a more professional look and prevents drips. (Thick paint = mess. Thin paint = happy Christina.)
- Let it dry completely. I know, it’s tempting to rush, but if you paint over wet layers, you’ll end up with muddy colors. Use a fan or a hairdryer on low to speed things up if you’re impatient.
- Add details with a smaller brush. This is where the fun part comes in. I like to use a size 2 round brush for outlines and a liner brush for tiny details. If you’re shaky (like me), try taping off sections with painter’s tape to keep lines clean.
- Experiment with textures. This is my favorite part. Press a sponge into wet paint for a mottled effect, or drag a toothbrush across it for a splatter look. (My kids love this part,it’s basically legal graffiti.) For metallic accents, I use a dry sponge to dab on gold or silver paint.
Pro tip: If you’re painting something functional (like a mug), avoid painting the inside rim. It’s a pain to clean and doesn’t look as nice. Stick to the outside and maybe the handle.
Step 3: Seal It Like a Boss
This is the step that turns your “cute but fragile” creation into something durable. Here’s what I do:
- For air-dry clay pieces, I use Mod Podge Hard Coat. It’s water-based, dries clear, and gives a nice satin finish. Just brush it on in thin layers and let it dry between coats.
- For a glossy finish, I reach for ArtResin. It’s a two-part epoxy, so you’ve got to mix it carefully, but the results are gorgeous. I use it for special pieces, like a vase I made for my mom’s birthday.
- If you’re painting something that’ll get handled a lot (like a kid’s toy or a frequently used mug), add an extra coat of sealant. It’s worth the extra time.
Oh, and if you’re using oven-safe paints, bake them according to the package instructions. I usually pop my pieces in the oven at 200°F for 30 minutes. (Just make sure your oven is clean first,nobody wants to bake their art with last night’s pizza crust still in there.)
Common Mistakes (And How I Fixed Them)
Let’s be real,nobody’s perfect, especially not me. Here are the mistakes I’ve made (and how I recovered):
Mistake #1: Skipping the Sanding Step
I once painted a mug without sanding it first, thinking the paint would just “stick.” Spoiler: It didn’t. The paint sat on top of the rough surface in weird clumps, and it looked terrible. Lesson learned: Always sand. It takes two minutes and makes a world of difference.
Mistake #2: Using the Wrong Paint
I tried using regular acrylic paint on a mug once. It looked fine at first, but after a few washes, the colors started to streak. Now I only use oven-safe ceramic paints or FolkArt Enamel. If I’m not sure, I test it on a spare tile first.
Mistake #3: Rushing the Drying Time
I’ll admit it,I’ve been guilty of painting over wet layers because I was excited to see the final product. Big mistake. The colors get muddy, and the details blur. Now I set a timer and wait. Patience is key.
Mistake #4: Skimping on Sealant
I made a set of coasters once and only applied one coat of Mod Podge. They looked great at first, but after a few uses, the colors started to wear off. Now I do at least two coats, and I let them dry completely between each one.
If you mess up, don’t panic. Most mistakes can be fixed with a little sanding, a fresh coat of paint, or an extra layer of sealant. And if all else fails? Embrace the imperfections. Some of my favorite pieces have “happy accidents” that make them unique.
Taking Your Pottery Painting to the Next Level
Once you’ve got the basics down, it’s time to have some fun. Here are a few ways I like to level up my projects:
Try Mixed Media
Don’t be afraid to combine techniques. I’ve used rubber stamps for patterns, washi tape for clean lines, and even gold leaf for a fancy touch. One of my favorite projects was a set of vases where I painted the base, then wrapped the top with lace and sealed it with resin. It looked like something out of a boutique.
Experiment with Textures
Household items can create amazing textures. I’ve used:
- Bubble wrap for a dimpled effect
- Lace for delicate patterns
- A fork for wavy lines
- Crinkled foil for a metallic, hammered look
Pro tip: Press your texturing tool into wet paint for the best results. If the paint is dry, it won’t stick as well.
Play with Color
I used to stick to safe colors,blues, greens, neutrals,but now I love experimenting with bold palettes. One of my favorite projects was a set of mugs I painted in mustard yellow, burnt orange, and avocado green. (Yes, it’s a 70s throwback, and yes, I love it.) Don’t be afraid to mix unexpected colors,sometimes the weirdest combinations turn out the best.
Join a Community
I’ll be honest: I get stuck in a creative rut sometimes. That’s why I love joining local pottery painting groups or online challenges. A few years ago, I signed up for a “Paint Your Own Pottery” night at a local studio, and it was a game-changer. Seeing what other people were creating gave me a ton of ideas, and I ended up with a set of hand-painted plates that I still use today.
If you’re looking for inspiration, check out:
- Local art classes (many studios offer drop-in sessions)
- Online challenges (like #PotteryPainting on Instagram)
- DIY groups on Facebook (where people share tips and tricks)
Even if you’re a beginner, don’t be afraid to jump in. Most people are happy to help, and you’ll learn so much just by watching others work.
FAQs: Your Pottery Painting Questions, Answered
I get a lot of questions about pottery painting, so I’ve rounded up the most common ones here.
What’s the easiest way to start?
Grab a plain mug or plate from a craft store (Michaels or Hobby Lobby usually have bisqueware), a set of acrylic paints, and a few brushes. Follow the steps above, and you’ll have something handmade in no time. I started with a simple geometric design,it’s forgiving and looks great even if your lines aren’t perfect.
How do I know if my piece is dry enough to seal?
Press your finger gently against the painted surface. If it feels cool and dry (not tacky), it’s ready. If it leaves a mark, wait another hour or use a fan to speed up drying. I’ve ruined a few pieces by sealing too soon,don’t make the same mistake!
Can I use regular paint?
You can, but it won’t last. Regular acrylic paint isn’t formulated to adhere to clay or withstand heat. Stick with oven-safe ceramic paints or FolkArt Enamel for the best results.
How do I fix a mistake?
If the paint is still wet, dab it with a damp cloth or a soft brush. If it’s dry, lightly sand the area with 400-grit sandpaper, then repaint. I’ve had to do this more times than I’d like to admit,it’s part of the process!
Can I paint over glaze?
Not easily. Glaze is slippery, and paint won’t stick well. If you want to paint a glazed piece, rough up the surface with sandpaper first. (I’ve tried this, and it’s a pain,stick to bisqueware if you can.)
How do I make my designs look more professional?
Here’s what I do:
- Use painter’s tape for clean lines.
- Work in thin layers,it prevents drips and gives a smoother finish.
- Let each layer dry completely before adding details.
- Step back and look at your piece from a distance,it helps you spot mistakes.
And remember: Even “professional” pieces have imperfections. It’s all about embracing the handmade charm!
Ready to give it a try? Grab a piece, pick a color, and start painting. The best part? You’re not just making something,you’re creating a memory, a gift, or a one-of-a-kind piece for your home. And who knows? Maybe in a few years, you’ll look back at your first lopsided mug and smile, just like I do.
Now, if you’ll excuse me, I’ve got a set of coasters to paint before the kids get home. (And yes, I’m hiding the glitter this time.)
Happy painting!
P.S. If you’re looking for more DIY inspiration, check out these projects: