
Let me tell you, there’s nothing quite like the satisfaction of turning a pile of fabric scraps into something beautiful for your home,especially when it costs next to nothing. I’ve been doing this for years, and every time I pull out my stash of leftover cotton, linen, and old T-shirts, I’m reminded of how much waste we avoid by getting creative. This garland project is one of my favorites because it’s simple, customizable, and looks way more expensive than it actually is.
I first made one of these garlands for our living room last Christmas, and my kids still ask to hang it up every holiday season. (Okay, fine,they mostly just like to play with the fabric strips, but still!) The best part? It took me less than two hours, and I already had everything I needed lying around the house. If you’ve got fabric scraps, twine, and a pair of scissors, you’re already halfway there.
This isn’t just a holiday project, either. I’ve used versions of this garland for spring wreaths, summer party decor, and even as a cozy throw draped over our farmhouse-style coffee table (here’s how I built that, by the way). The key is picking the right colors and textures to match the season or mood you’re going for. And trust me, once you see how easy it is, you’ll be making these for every occasion.
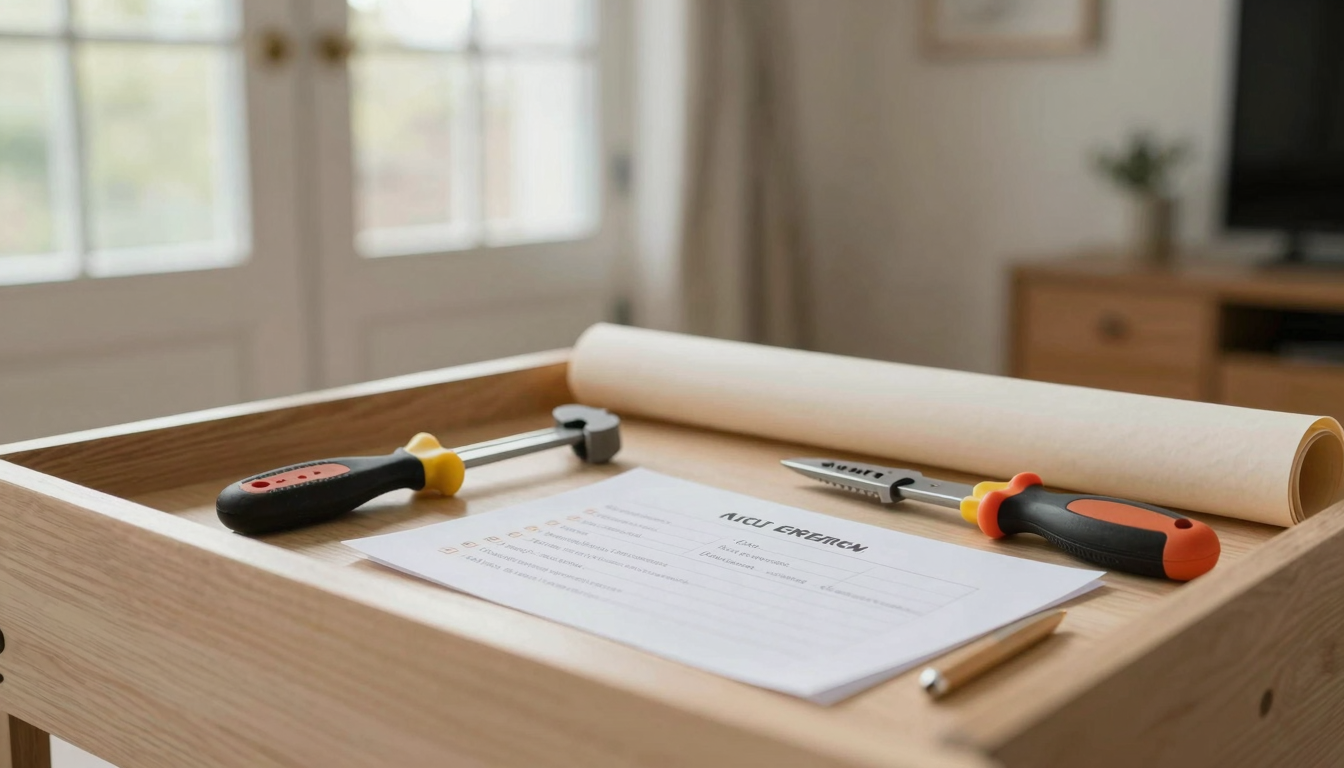
What You’ll Need (And What I Actually Use)
Before we dive in, let’s talk supplies. I’ll list the “official” tools, but I’ll also tell you what I *actually* grab from my craft drawer,because let’s be real, not all of us have a fully stocked sewing room.
Fabric Scraps: The Stars of the Show
You can use just about anything here: old clothes, thrifted linens, fat quarters from your last quilting project, or even those weirdly shaped pieces left over from a furniture upcycling project. I keep a bin under my cutting table specifically for this stuff. My go-to sources?
- Outgrown kids’ clothes (RIP, that dinosaur T-shirt from 2018).
- Mismatched dish towels I got at a garage sale for $1.
- Fabric remnants from that accent wall project I did last summer (yes, I still have leftover paint-stained cotton).
- Old bedsheets that wore out but are still soft enough for decor.
Pro tip: If you’re short on fabric, hit up your local thrift store’s “by the pound” bin. I once scored a whole bag of floral cotton for $3,perfect for a spring garland.
Tools: The Basics (And My Cheat Codes)
Here’s what the “experts” recommend, followed by what I *actually* use:
| “Official” Tool | What I Use Instead | Why It Works |
|---|---|---|
| Rotary cutter + self-healing mat | My trusty Fiskars scissors (the good ones, not the dollar-store kind) | I cut fabric strips all the time, and these scissors haven’t let me down. Plus, no mat means no extra clutter on my table. |
| Slotted cutting ruler | A metal yardstick I got at Home Depot for $5 | It’s not as precise, but it’s straight enough for garland strips. I just measure twice, cut once. |
| Pinking shears (to prevent fraying) | Regular scissors + a quick iron with steam | I iron the edges of my strips for 10 seconds to seal them. Works 90% of the time, and it’s free. |
| Jute twine (for the base) | Old shoelaces or that cheap twine from the garden section | As long as it’s sturdy enough to hold the weight, it’ll work. I once used a repurposed jump rope for a kid’s bedroom garland,no one noticed! |
For hanging, I swear by Command hooks. They’re my secret weapon for damage-free decorating. No more putting holes in my walls (or, let’s be honest, my husband’s patience).
Oh, and if you’re wondering how much fabric to buy? Start with 1–2 yards total. That’s enough for a 4–5 foot garland, which is plenty for a mantel or a small tree. If you’re making something bigger, just grab more scraps as you go.
Step-by-Step: How to Make a Fabric Scrap Garland
Alright, let’s get to the fun part. I’ll walk you through exactly how I make these, including the mistakes I’ve made (and how to avoid them).
Step 1: Cutting Your Strips (And Not Losing Your Mind)
First, decide how long you want your garland to be. For a mantel, I usually aim for about 4–5 feet. For a tree, 6–8 feet works well. Then, cut your fabric into strips.
Here’s how I do it:
- Fold your fabric in half lengthwise (so the edges meet). Then fold it in half again, so you’ve got a long, skinny rectangle.
- Cut along the folded edge. This gives you two strips at once, which saves time. (I learned this the hard way after cutting 50 individual strips one year,my hands were sore for days!)
- Unfold the strips and trim them to your desired length. I like mine around 6–8 inches long, but you can go shorter for a denser look or longer for a flowy one.
- If your fabric frays easily (looking at you, cheap cotton), either:
- Use pinking shears, or
- Iron the edges with a little steam (works like a charm).
I usually cut all my strips first, then sort them by color or pattern. This way, I can see how everything will look before I start knotting. Pro tip: If you’re mixing patterns, lay them out on the floor first. It’s easier to spot clashing colors that way.
Step 2: Prepping Your Twine (Or Shoelaces, or Whatever You’re Using)
Cut your twine (or shoelaces, or old jump rope) to your desired garland length plus about 10 inches extra. You’ll need the extra for hanging loops at each end.
Here’s my trick for the loops:
- Fold one end of the twine in half to form a loop. The fold should be about 1–2 inches from the end.
- Tie a knot right where the fold is, pulling the loose end through the loop. This creates a secure hanging loop.
- Repeat on the other end.
I’ve tried fancy macramé knots before, but honestly? This simple loop works just as well and takes half the time. Don’t overcomplicate it!
Step 3: Tying on the Fabric Strips (The Fun Part!)
This is where the magic happens. Here’s how I attach the strips:
- Fold a fabric strip in half lengthwise (so the right side is facing out).
- Slide the folded strip under your twine, about 1–2 inches from the last strip you tied on.
- Pull the loose ends of the fabric through the fold and tie them into an overhand knot around the twine.
- Pull the knot tight so the fabric strip sits flat against the twine.
- Push the strip snug against the previous one. This keeps everything looking neat and full.
Now, here’s where I used to mess up: I’d tie the knots too loose, and the strips would flop around like sad little flags. Then I realized,pull each end of the fabric strip individually (not both at once) to get a tight, even knot. It makes a huge difference.
Keep going until you’ve used up all your fabric strips. If you run out of fabric but still have twine left, just space the remaining strips farther apart. Or, if you’re feeling fancy, tie on a few extra elements like dried flowers, small pom-poms, or even miniature frames from an old gallery wall project.
Once you’re done, fluff the strips in different directions so they lay nicely. I like to give them a little tug here and there to make sure everything’s secure.
Customizing Your Garland (Because One Size Doesn’t Fit All)
This is where you can really make this project your own. I’ve made garlands for every season, and each one turns out totally different. Here’s how I play with colors, textures, and themes.

Color Schemes: How to Pick the Right Palette
I used to stress out over color choices, but now I just go with what I have. Here’s what I’ve learned:
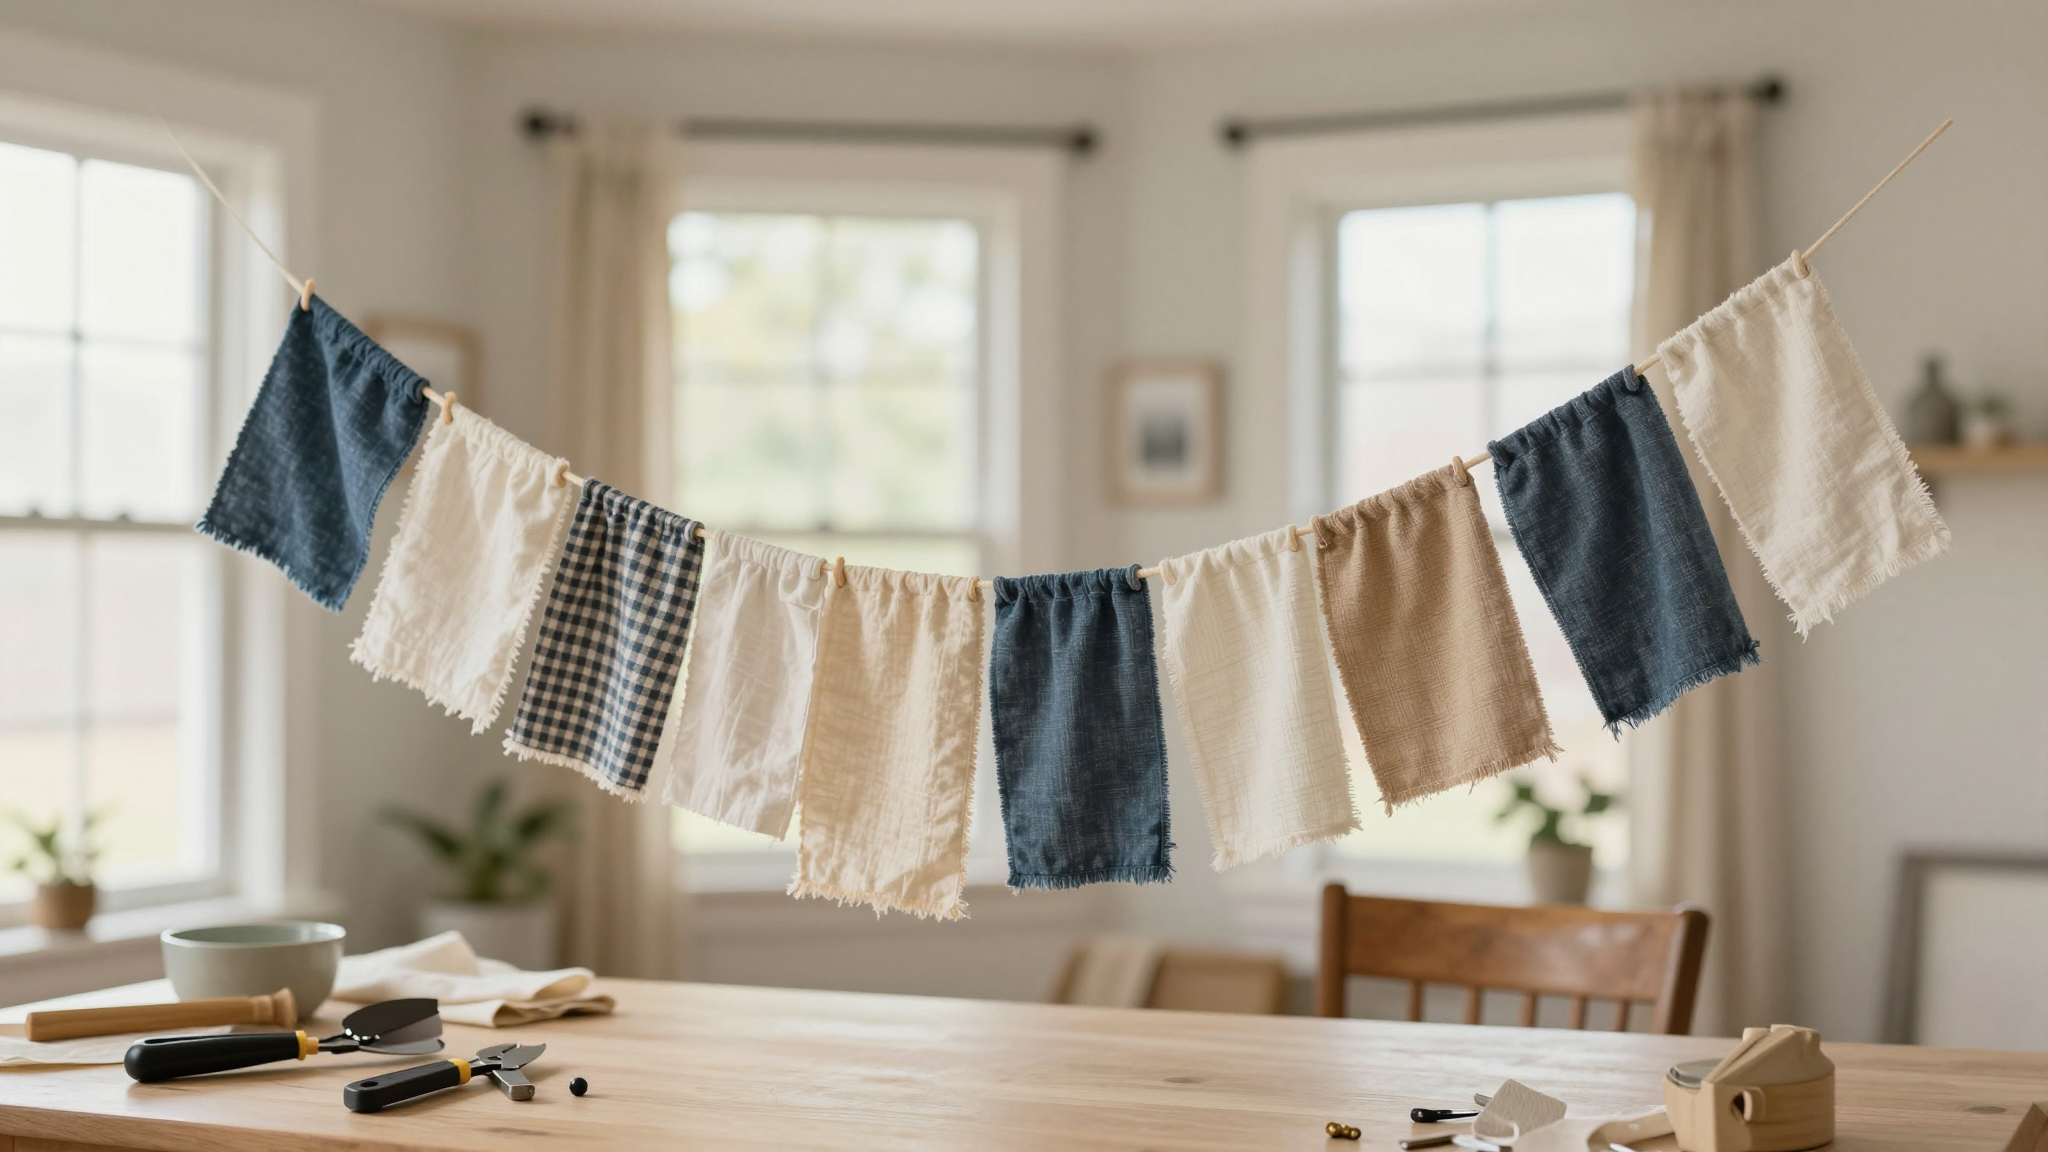
- Monochromatic: Stick to one color in different shades. For example, I made a garland with all shades of blue,light denim, navy, and teal,for our bedroom. It looks super sophisticated but was crazy easy.
- Complementary colors: Pick two colors opposite each other on the color wheel (like red and green, or pink and teal). This is great for holiday garlands. My kids’ room has a red-and-green one that we put up year-round,it’s become a tradition.
- Rainbow chaos: Mix every color you have. This works best for kids’ rooms or playful spaces. I did this for a baby shower once, and it turned out brighter than I expected,but in a good way!
If you’re not sure what colors go together, grab a few strips and lay them out on a table. Step back and squint. If it looks harmonious, it probably is.
Textures: More Than Just Pretty
Don’t be afraid to mix fabrics! Here’s what I’ve used in past garlands:
- Cotton (soft and casual)
- Linen (rustic and textured)
- Velvet (luxurious for winter)
- Burlap (great for a farmhouse look)
- Old sweaters (cozy and unique,see my winterizing guide for more sweater hacks!)
I once made a garland with strips from an old flannel shirt, some burlap, and a few velvet scraps. It looked like it belonged in a fancy boutique, but it cost me nothing. Texture is what makes these garlands feel special.
Themes: Beyond the Holidays
Garlands aren’t just for Christmas! Here’s how I’ve repurposed them:
- Spring: Pastel cotton + dried lavender strips. I hung it on our recently refinished stairs for a fresh look.
- Summer: Bright citrus colors + striped fabric. Perfect for a backyard party or draped over a summer-themed mantel.
- Fall: Orange, red, and mustard yellow scraps + a few dried leaves tucked in. I added tiny pinecones for extra texture.
- Winter (non-holiday): Silver, white, and gray fabrics with a few metallic threads woven in. It looks like a snowy wonderland without being Christmas-specific.
I even made a garland for my daughter’s birthday party last year using her favorite colors,pink, gold, and white. It matched the balloons perfectly and cost less than $5.
Troubleshooting: When Things Go Wrong (And How to Fix Them)
Let’s be real,sometimes things don’t go as planned. Here’s how I’ve fixed common garland disasters.
Problem: My strips are fraying like crazy.
This happened to me the first time I used an old bedsheet. The edges were unraveling everywhere. Here’s what I did:
- If it’s just a little fraying, iron the edges with steam. Works 80% of the time.
- If it’s bad, use pinking shears to cut the edges at an angle. The zigzag prevents fraying.
- For a quick fix, dab a tiny bit of fabric glue on the ends. (I keep a small bottle in my craft drawer for emergencies.)
Problem: My knots are uneven or too loose.
I’ve had this happen when I’m rushing (which, let’s be honest, is often). Here’s how to fix it:
- Undo the loose knots and retie them, pulling each end individually (not both at once). This gives you more control.
- If a strip is flopping around, add a tiny dab of fabric glue to the knot before pulling it tight. It’ll hold better.
- If you’re really struggling, switch to a double knot. It’s not as pretty, but it works.
Problem: I ran out of fabric before finishing the garland.
This has happened to me twice. Here’s what I do:
- Space the remaining strips farther apart. It’ll look intentional, like a “sparse” design.
- Add a new loop of twine and tie the next set of strips to that. It’ll look like a two-part garland.
- If you’re desperate, raid another project. I once finished a garland by cutting strips from an old tablecloth I was going to donate.
Problem: The garland looks flat and boring.
This usually happens when I don’t mix up the textures or colors enough. Here’s how to fix it:
- Add a few strips of a completely different texture (like velvet or burlap) to break up the monotony.
- Mix in a few solid-color strips if you’ve gone overboard with patterns.
- Fluff the strips in different directions so they lay more naturally.
- Hang it somewhere with better lighting. Sometimes it’s not the garland,it’s the room!
Final Thoughts (And What to Do Next)
There you have it,my no-fuss, zero-waste way to make a fabric scrap garland. It’s one of those projects that seems simple, but the little details (like how you tie the knots or mix the fabrics) make all the difference.
Now, here’s what I want you to do:
- Grab that bin of fabric scraps you’ve been meaning to use.
- Pick a color scheme that makes you happy (even if it’s “rainbow chaos”).
- Start cutting. Don’t overthink it,just begin.
- When you’re done, hang it up somewhere you’ll see it every day. Trust me, you’ll get a little thrill every time you walk by.
And if you’re feeling inspired, check out some of my other quick DIY projects for more ways to use up scraps. Or, if you’re in the mood for something bigger, try upcycling a piece of furniture with leftover fabric.
Happy crafting! And remember,if your garland isn’t perfect, that’s okay. The best part is that it’s yours.
FAQs (Because I Get These Questions a Lot!)
What’s the easiest way to cut fabric strips?
If you don’t have a rotary cutter, just fold your fabric into a long rectangle (like a burrito) and cut straight down. It’s not as precise, but it works! I’ve done this a hundred times, and it’s saved me from buying fancy tools.
How long should the fabric strips be?
I like mine around 6–8 inches long, but you can go shorter for a denser look or longer for something flowy. For a tree garland, I’ll sometimes make them 10–12 inches so they drape nicely. Experiment and see what you like!
Can I use different types of fabric together?
Absolutely! Mixing textures is what makes these garlands interesting. I’ve used cotton, linen, velvet, burlap, and even old sweaters. Just make sure the fabrics are all about the same weight so the garland hangs evenly.
How do I keep the knots from coming undone?
Pull each end of the fabric strip individually when tying the knot,don’t pull both at once. This gives you better control. If a knot feels loose, add a tiny dab of fabric glue to secure it. (I keep a bottle in my craft drawer for emergencies.)
How much fabric do I need for a 6-foot garland?
For a 6-foot garland, plan for about 1–1.5 yards of fabric total. If you’re mixing a lot of different colors/patterns, lean toward 1.5 yards. I usually cut 20–25 strips, but you can adjust based on how close you space them.