
How I Installed a Sliding Barn Door (And Why It Was Easier Than I Thought)
I’ll admit it,I was skeptical at first. When my husband suggested replacing our bedroom closet door with a sliding barn door, I pictured a weekend of frustration, crooked tracks, and a door that wouldn’t stop squeaking. But after digging into the project, I realized how simple and rewarding it actually was. Now, I can’t imagine our space without it.
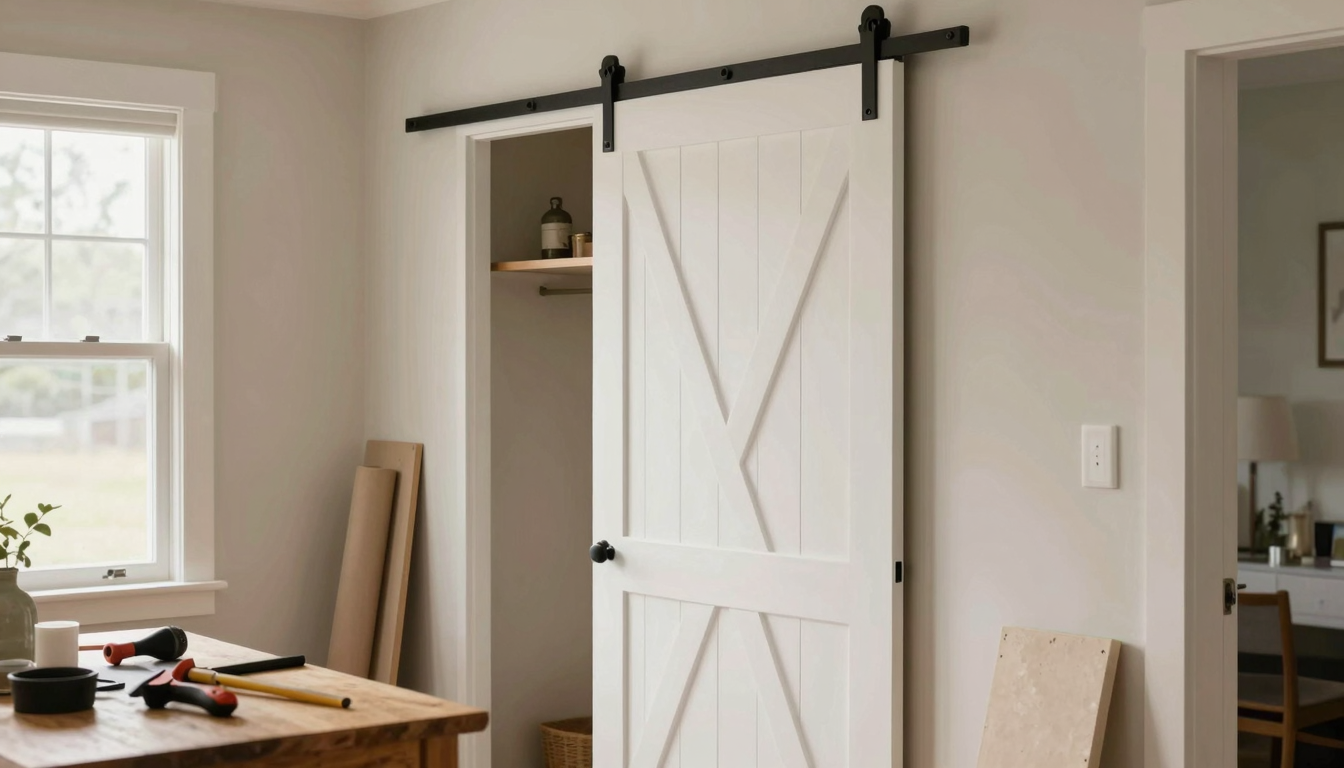
Sliding barn doors aren’t just a trend,they’re a game-changer for small spaces. They save floor space (no more doors swinging into furniture), add that cozy farmhouse charm, and,let’s be honest,look way more intentional than a basic hollow-core door. I’ve used them in our laundry room, pantry, and even as a room divider in our home office. The best part? They’re way easier to install than I expected.
If you’re thinking about swapping out a door (or just adding one where there wasn’t one before), I’ll walk you through exactly how I did it,including the mistakes I made so you don’t have to. And yes, it really only took me 90 minutes once I got the hang of it. (Spoiler: The hardest part was measuring correctly.)
This isn’t one of those projects where you need a degree in carpentry. If you can handle a drill and a level, you’ve got this. And if you’re curious about other ways to add character to your home, check out my five favorite DIY upgrades,some of them are just as simple as this one.
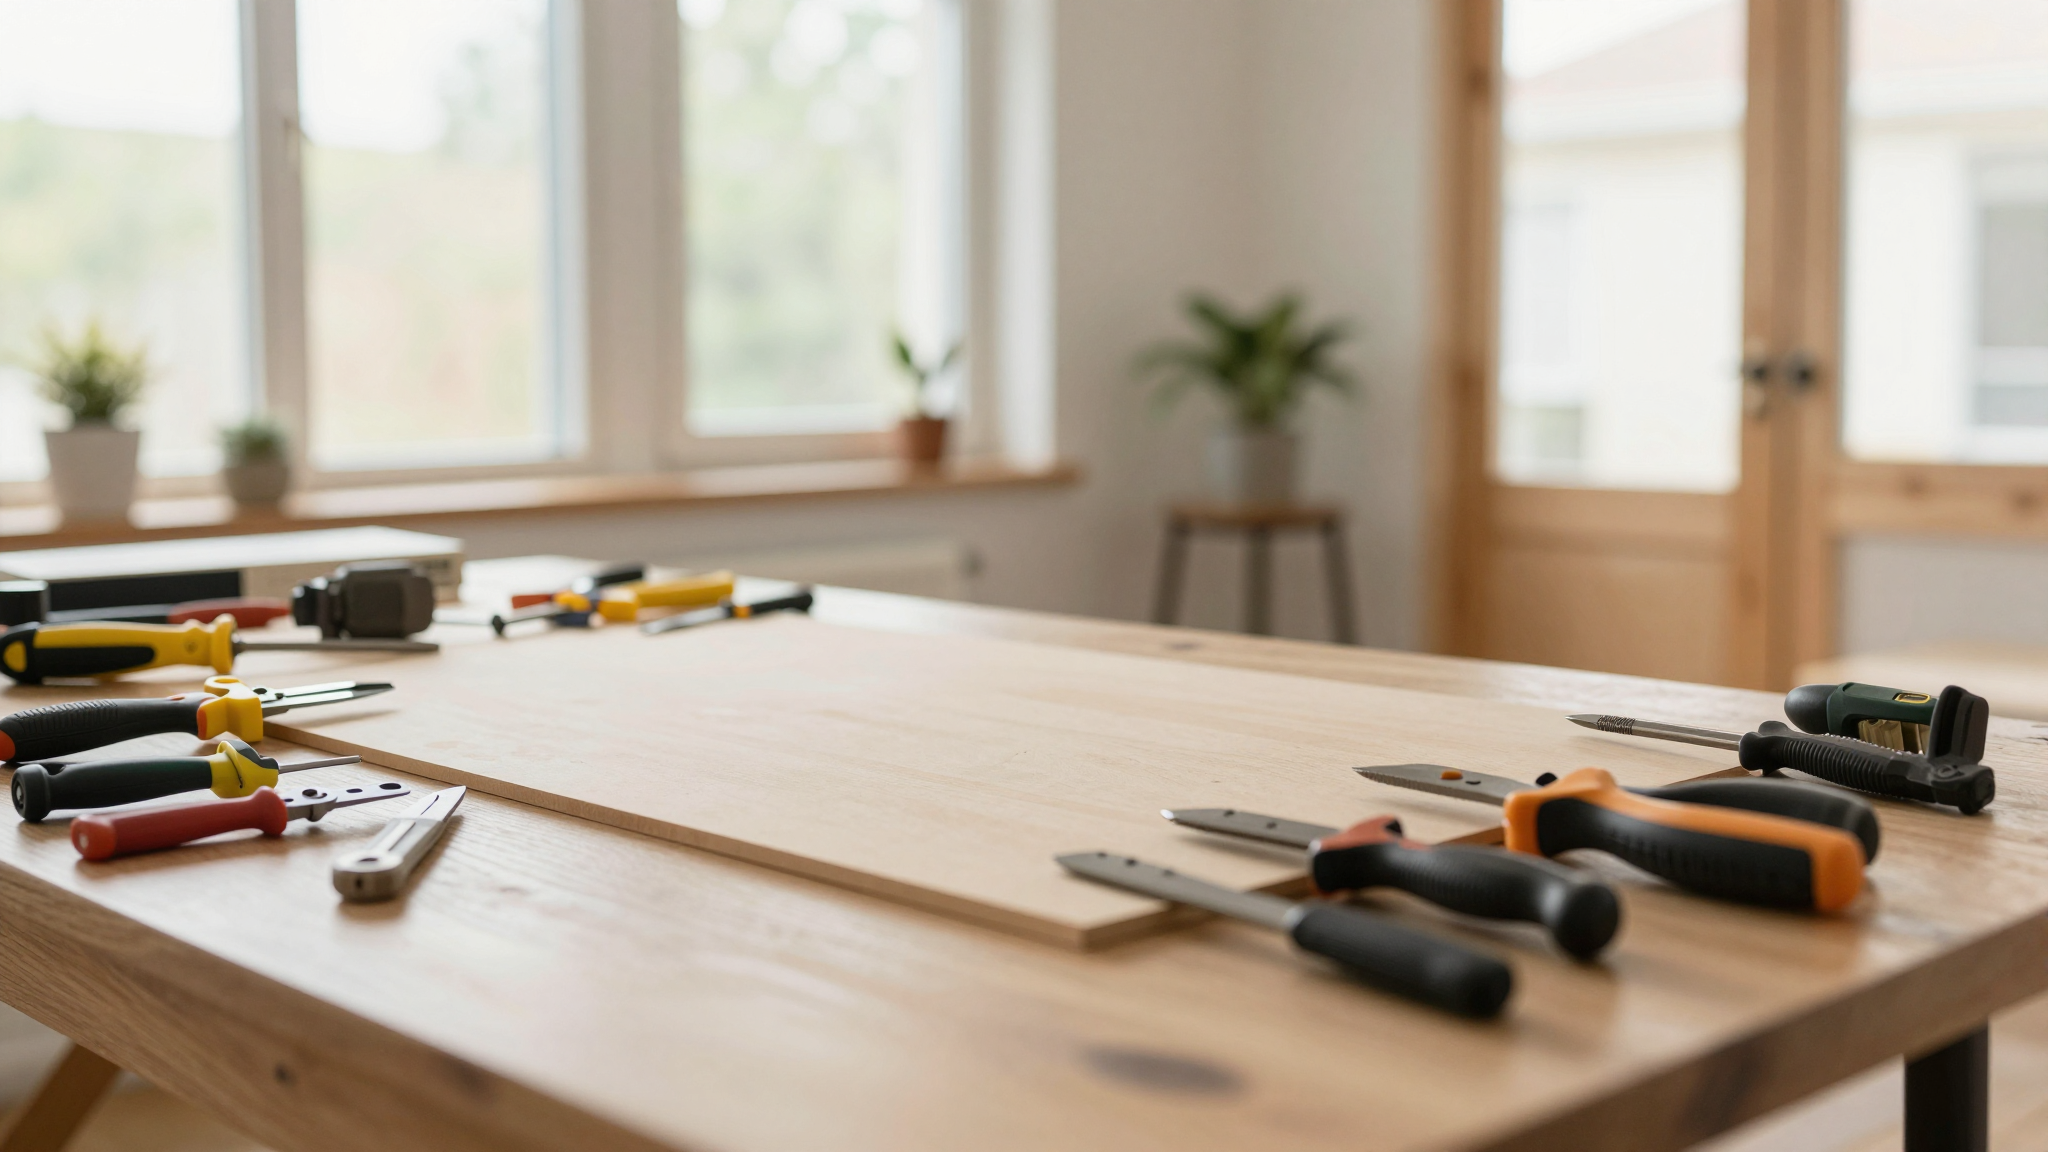
What You’ll Need (And What I Learned the Hard Way)
Before you grab your tools, let’s talk supplies. I’ll be honest,I initially underestimated how much I’d need, and I ended up making a second trip to the hardware store. Here’s what you actually need to pull this off:

Tools and Materials
- A stud finder (I used my DeWalt stud finder, and it’s a lifesaver,don’t skip this step).
- A power drill (I prefer my cordless Ryobi,it’s lightweight and has enough torque for this job).
- A level (A 24-inch level is perfect for checking the track).
- A tape measure (I keep a Stanley FatMax on hand,it’s sturdy and easy to read).
- A pencil (For marking where you’ll drill).
- A barn door hardware kit (I went with a Rustica kit,it’s mid-range in price but includes everything you need, including the track, hangers, and handle).
- A helper (Optional, but highly recommended. My husband held the door while I secured the hangers, and it made the whole process smoother).
Pro tip: If you’re working with a wide doorway (like our 36-inch closet), you’ll need a longer track. I initially grabbed a 48-inch track for a 36-inch opening, thinking it would be “close enough.” Big mistake. The door didn’t slide smoothly because there wasn’t enough overhang on either side. Always add at least 6 inches to your doorway width when measuring for the door panel itself. For example, a 36-inch doorway needs a 42-inch door to cover it fully.
Checking Your Wall (And Why I Almost Ruined Mine)
Here’s where I almost made a costly error. I was so excited to get started that I didn’t fully check the wall space beside the doorway. I assumed it was clear,until I realized there was an electrical outlet right where the track needed to go.
Luckily, I caught it before drilling. If you’re installing near an outlet, light switch, or vent, you’ll need to:
- Adjust the track position (if possible).
- Move the electrical box (this requires turning off the power and some rewiring,not a DIY job unless you’re experienced).
- Choose a different location for the door (sometimes the simplest solution).
I ended up shifting the track a few inches to the left, which meant I had to adjust the header board accordingly. It was a minor hassle, but it saved me from a bigger headache later.
Another thing to double-check: the wall behind the drywall. Barn doors are heavy, and they need real support,not just drywall anchors. I used my stud finder to mark every stud behind the wall where the track would mount. If your studs don’t align with the track’s mounting points, you’ll need to install a header board (a long, sturdy piece of wood) screwed into the studs. This gives you a flat surface to attach the track to.
I learned this the hard way when I tried mounting the track directly to drywall in our laundry room. After a few weeks, the whole thing started to sag. Always, always mount to studs or a header board. Trust me on this.
Step-by-Step: How I Installed My Sliding Barn Door
Now for the fun part,the actual installation. I broke this down into simple steps, and I’ll be honest: once I got the hang of it, it went way faster than I expected. Here’s how I did it:
Step 1: Install the Header Board (The Foundation)
This is the most important step, so don’t rush it. The header board is what holds the track in place, and if it’s not secure, your whole door will be wobbly.
I measured the width of my doorway (36 inches) and added 12 inches to each side for overhang (so the door could slide past the opening). That gave me a total header board length of 60 inches. I cut a 1×4 pine board to that length, then secured it to the wall studs using 3-inch wood screws (I used these ones from Home Depot).
Pro tip: If your studs aren’t spaced evenly, you might need to add extra support with construction adhesive (like Liquid Nails) to keep the header board from shifting.
Step 2: Mount the Track (Level Is Everything)
This is where I almost messed up,again. I thought I could eyeball the track and get it straight, but I was so wrong. I used my level to double-check every few inches as I screwed the track into the header board. If your track isn’t level, your door will not slide smoothly.
I used 2-inch decking screws to attach the track (they’re longer than regular screws and give you a stronger hold). I spaced them about 12 inches apart for even support.
Step 3: Attach the Hangers to the Door
This part was easier than I thought. The hardware kit I used came with pre-drilled holes for the hangers, so I just lined them up and screwed them into the top of the door. I made sure they were evenly spaced,if they’re not, the door will hang crooked.
I also added anti-jump discs (those little plastic pieces that keep the door from lifting out of the track). I placed them on the inside of the hangers, with the holes facing forward. This was a game-changer,before I added them, the door would occasionally jump off the track when I pulled it too hard.
Step 4: Lift the Door Into Place (Where a Helper Comes in Handy)
This is where having a second person really helps. The door is heavier than it looks, and lifting it straight up onto the track takes some coordination. My husband held the door steady while I guided the hangers into the track.
Once it was in place, I tested the slide. If it felt stiff or uneven, I adjusted the hangers slightly until it glided smoothly. I also added door stops at both ends of the track to keep the door from sliding off.
Step 5: Add the Handle and Finishing Touches
This is the fun part,the part where it starts to look put together. I chose a simple black metal handle (I got mine from Anthropologie,it’s a little pricier but looks amazing). I marked where I wanted it, pre-drilled the holes, and screwed it into place.
Finally, I added decorative caps to cover the exposed track ends. It’s a small detail, but it makes the whole thing look more polished.
And just like that, I had a fully functional, gorgeous sliding barn door. No more doors swinging into my dresser, no more wasted space, and,best of all,no more frustration.
Design Tips (And What I’d Do Differently Next Time)
Now that I’ve installed a few of these, I’ve picked up some tricks to make the process even smoother. Here’s what I wish I’d known before I started:
Choosing the Right Hardware (Don’t Skimp!)
I initially thought all barn door hardware was the same, but oh boy, was I wrong. The cheap kits I found online had flimsy tracks and handles that stripped after a few uses. I ended up returning them and splurging on a Rustica kit. It was worth every penny,the track is smooth, the hangers are sturdy, and the handle hasn’t budged.
If you want something even more custom, check out Simpson Strong-Tie. Their hardware is built for heavy doors and comes in a ton of finishes.
Avoiding Obstructions (Measure Twice, Install Once)
This is where I made my biggest mistake. I didn’t account for the depth of the door frame when measuring. Our doorway had a thick trim board, and when I installed the door, it kept scraping against it every time I slid it open.
To fix it, I had to sand down the trim slightly (not ideal, but it worked). If I could do it over, I would’ve:
- Measured the depth of the trim and added an extra inch to the clearance.
- Used a door with a thinner profile if the space was tight.
- Considered a pocket door instead if the wall space was limited.
If you’re working with a very narrow space, you might need to adjust the track position or choose a thinner door. It’s all about planning ahead!
Where to Use Sliding Barn Doors (Beyond the Obvious)
I started with our bedroom closet, but now I’ve installed them in:
- Our laundry room (it hides the washer and dryer when we have guests over).
- Our pantry (it makes the space feel more intentional).
- Our home office (as a room divider to separate my workspace from the living area).
If you’re short on space, they’re a fantastic way to add storage or privacy without taking up floor room. And if you’re curious about other ways to maximize small spaces, check out my DIY stair makeover,it’s another project that adds function and style.
FAQ: Answers to the Questions I Had Before Starting
What’s the easiest way to measure for a sliding barn door?
Measure your doorway’s width, then add 6 inches to each side for overhang. For example, a 36-inch doorway needs a 42-inch door. For the track, double the door’s width (so a 42-inch door needs an 84-inch track). And always check for obstructions like outlets or vents before you start!
Can I install a sliding barn door on a masonry wall?
Yes, but it’s trickier. You’ll need masonry screws (like these Tapcon screws from Home Depot) and a masonry drill bit. If you’re not comfortable drilling into brick or concrete, hire a pro,it’s not worth the risk of cracking your wall.
How do I keep my barn door from derailing?
Anti-jump discs are your best friend. I put them on the inside of the hangers, with the holes facing forward. They prevent the door from lifting out of the track, even if you pull it a little too hard. I also added door stops at both ends to keep it from sliding off completely.
What’s the best way to paint or stain a barn door?
If you’re staining, I recommend using a gel stain (it goes on smoother and gives better coverage). For paint, a chalk paint (like Annie Sloan) works great,it adheres well to wood and gives a beautiful matte finish. Just sand the door lightly first, and use a high-quality brush to avoid streaks.
Can I use a barn door as a room divider?
Absolutely! I did this in our home office, and it’s perfect for creating separate spaces without building a wall. Just make sure the track is long enough to span the area you want to divide. I used a 96-inch track for our office, and it works like a charm.
If you’re still on the fence about trying this project, let me put it this way: it’s easier than it looks, it saves space, and it looks a million times better than a basic door. Plus, once you’ve done one, you’ll want to add them everywhere. (I’ve got my eye on our guest bathroom next.)
Now, grab your tools, measure twice, and get ready to transform your space. And if you run into any snags, I’ve got tips for fixing drywall mistakes,because let’s be real, we’ve all been there.