
How I Finally Got Crown Molding Right (And How You Can Too)
Let me tell you,our living room used to look like a sad, flat box. No character, no depth, just walls meeting ceilings in the most boring way possible. Then I installed crown molding, and suddenly? The room felt like it belonged in a magazine. Not the kind with 10-page ads for expensive furniture, but the real ones where normal people have homes that actually look put-together.
I’ve tried a lot of DIY projects over the years,some successes, some let’s never speak of them again failures,but crown molding might be the one that gave me the most confidence boost. It’s not as hard as it looks, but there are definitely tricks to making it look professional instead of like a kindergartener glued it up there. I’m going to walk you through exactly how I did it, including the mistakes I made (so you don’t have to) and the tools that actually made this project doable for a beginner.
If you’re anything like I was, you’re probably thinking: “This looks expensive. I can’t afford to hire someone. But can I really do this myself?” The answer is yes. And I’ll prove it to you.
Why Crown Molding Isn’t Just for Fancy Houses
I used to think crown molding was one of those things only custom home builders used,like built-in bookshelves or hardwood floors that cost more than my car. But then I realized: it’s just decorative trim. It’s the icing on the cake of your walls. And just like icing, you don’t need to be a pastry chef to make it look good.
Here’s what crown molding actually does for a room:
- Makes ceilings look higher. Even if your ceilings are standard 8-footers, crown molding creates the illusion of more space. It’s like visual magic.
- Hides imperfections. If your walls aren’t perfectly plumb or your ceiling has a slight slope (hello, older homes), crown molding can camouflage those issues.
- Adds character without a full renovation. Want your living room to feel more put-together? Crown molding is cheaper than redoing your floors or knocking out walls.
- It’s a great project for beginners. Yes, really. I’ve done plenty of DIY projects that felt overwhelming, but crown molding was one of the most satisfying because the payoff is immediate.
Now, I won’t lie,my first attempt was a disaster. I bought the wrong kind of molding, cut the angles all wrong, and ended up with gaps so big you could fit a pencil through them. But I learned from it, and now? Our dining room looks like it belongs in a farmhouse chic catalog. (If you want to see how I fixed my mistakes, check out my guide on patching drywall,it came in handy after I had to pull out the first attempt.)
Flat vs. Traditional Crown Molding: Which One Should You Choose?
This is where a lot of people get stuck. You walk into the hardware store, and suddenly there are dozens of options. Do you want ornate? Simple? Wide? Narrow? And what’s the difference between flat-back and traditional?
Here’s the breakdown, based on what I’ve learned (and what I wish I’d known before buying $200 worth of molding I couldn’t use):
| Type | Best For | Difficulty Level | Christina’s Verdict |
|---|---|---|---|
| Traditional Crown Molding | Formal spaces, high ceilings, rooms where you want a classic look | Hard (requires compound angle cuts) | I tried this first. Big mistake. The angles are not beginner-friendly, and if your walls aren’t perfectly straight, it shows. Save this for your second project,or hire someone. |
| Flat-Back Crown Molding | Older homes, uneven walls, beginners, modern or minimalist spaces | Easy (straight cuts or simple miters) | This is what I should have started with. It’s forgiving, cheaper, and you can still get a beautiful result. I used a flat-back profile in our bedroom, and it looks just as good as the fancy stuff,without the headache. |
Pro tip: If you’re unsure, buy a small amount of both and test them in your room. Hold them up against the wall in natural light. You’ll be surprised how different they look in person vs. online.
Oh, and one more thing,measure twice, buy once. I ordered extra “just in case” and ended up with leftover molding I had to return. Now I measure everything three times before cutting.
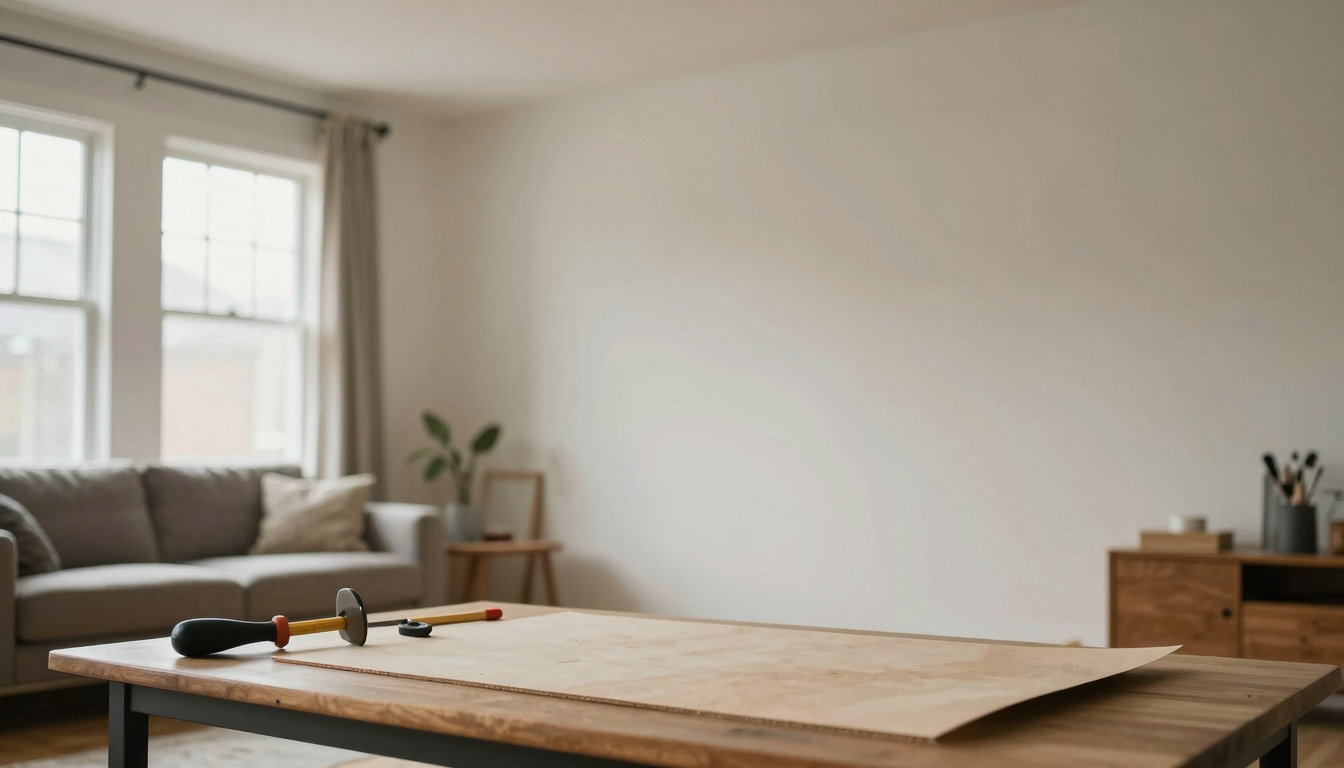
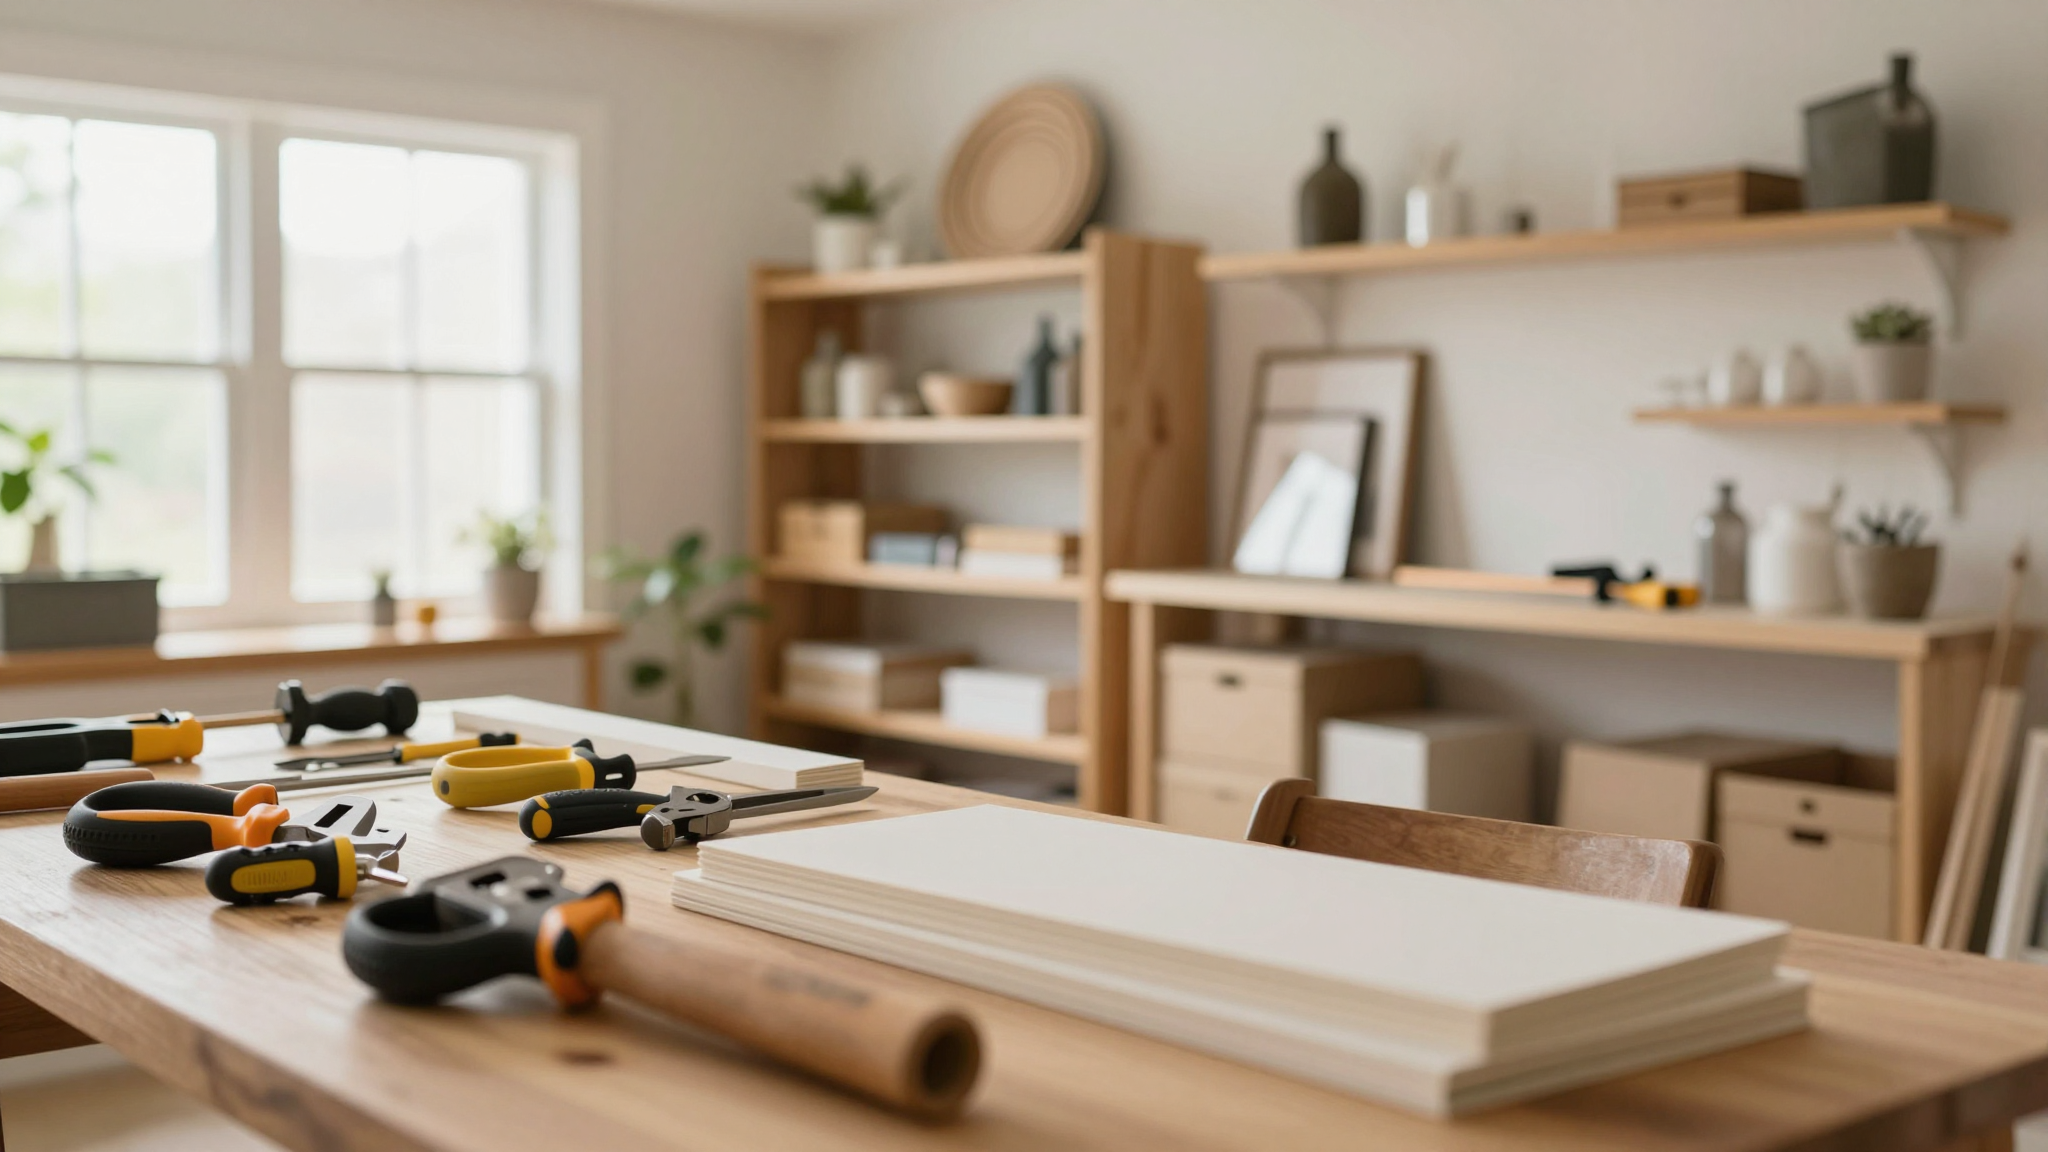
Tools You’ll Actually Need (And the Ones You Can Skip)
I’ll be honest,when I started this project, I went a little overboard on tools. I thought I needed everything to make it look professional. Turns out, you don’t. Here’s what actually made a difference:
Must-Haves:
- Compound miter saw. This is non-negotiable. I used a DeWalt DWE7491RS, and while it was pricey, it’s the only saw I’ve ever used that makes perfect cuts every time. If you’re on a budget, check Facebook Marketplace,people sell barely used ones for half price.
- Kreg Crown Jig. This $35 tool saved me hours of frustration. It clamps onto your molding and shows you exactly where to set your saw for perfect angles. I used it for every cut after my first disaster.
- 23-gauge pin nailer. This is what secures the molding to the wall without splitting the wood. I borrowed mine from my husband (he’s a contractor), but if you’re buying, the Bostitch TT23A is a solid choice.
- 2-foot level. A cheap one is fine,just make sure it’s accurate. I learned this the hard way when my first “straight” wall turned out to be very not straight.
- Cordless finish nailer. For the final attachment. I used a Senco 563833, and it’s been a game-changer for trim work.
Nice-to-Haves (But Not Essential):
- A coping saw for inside corners (I used a BAHCO 320-15 and loved it).
- A paint sprayer if you’re painting before installation (I used a Rust-Oleum 200 and it made priming a breeze).
- A ladder with a shelf for holding tools. I improvised with a step stool and a milk crate, but my back hated me by the end.
What I wish I’d skipped: A chisel set. I thought I’d need it for fixing mistakes, but the coping saw and a little sandpaper did the job just fine.
Oh, and always wear safety glasses. I learned this after a near-miss with a rogue piece of molding. (Thank you, safety first.)
Step-by-Step: How I Installed Crown Molding (Without Losing My Mind)
Alright, let’s get to the good stuff. This is how I actually did it,mistakes and all.
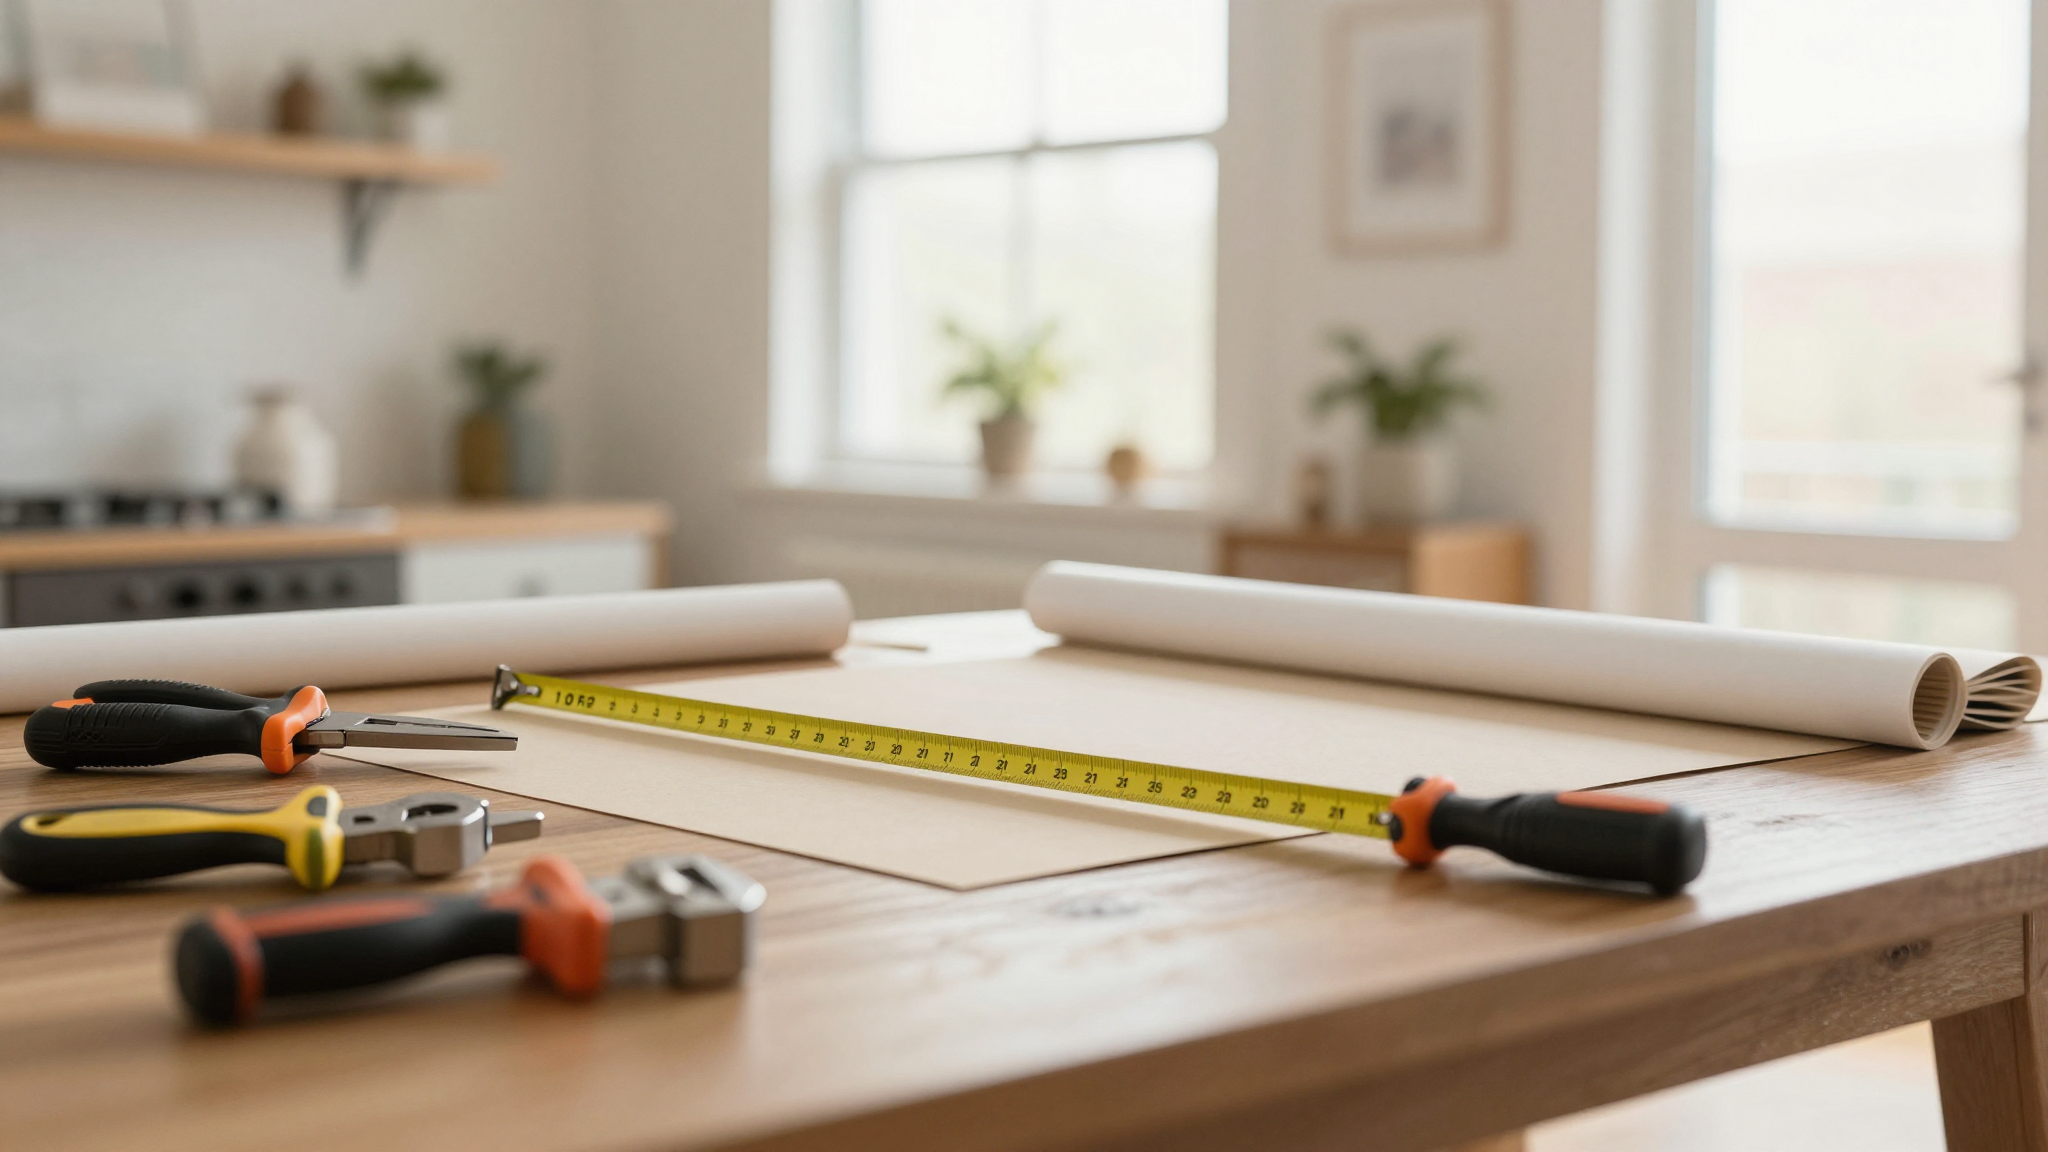
Step 1: Measure Like Your Life Depends on It
I’ll say it again: Measure twice, cut once. I measured three times for my first piece, and I still messed up. Here’s how I did it right the second time:
- Sketch your room on graph paper. Draw each wall and label the measurements. I used a notebook I had lying around from a failed fireplace project.
- Identify your corners. Label them “inside” or “outside.” This matters for cutting.
- Measure from the ceiling down to where you want the molding to sit. I held my level against the wall and marked a pencil line all the way around the room. This gave me a straight reference line to follow.
Pro tip: If your walls aren’t straight (and let’s be real, most aren’t), you’ll need to adjust. I used a stud finder to locate the studs and marked them with a pencil. This helped me keep the molding level even when the wall wasn’t.
Step 2: Cut the Molding (Without Crying)
This is where most people give up. The angles are tricky, and if you mess up, you’re staring at a piece of molding that’s useless. Here’s how I did it:
- Set up your miter saw on a flat surface. I used our dining table (covered in a drop cloth, because of course I spilled sawdust everywhere).
- Use the Kreg Crown Jig to hold the molding in place. It shows you exactly where to set the saw for the correct angle. I marked the angles on the jig with a Sharpie so I didn’t have to keep adjusting.
- Cut one piece at a time. I made the mistake of cutting multiple pieces before test-fitting, and I ended up with a pile of molding that didn’t match. Now I cut one, test-fit it, and only then do I cut the next.
- For inside corners, use the coping saw to fine-tune the fit. This is where the Kreg Jig really comes in handy,it shows you exactly where to make the coping cut.
I also learned the hard way that you should always cut a test piece from scrap wood first. My first “perfect” cut was not perfect, and I had to start over.
Step 3: Nail It Down (Without Splitting the Wood)
This is where the pin nailer comes in. Here’s my process:
- Start in a corner. Hold the molding in place with one hand and use the other to guide the nailer. I found it easier to not look at the nailer,just feel where the head is and pull the trigger.
- Nail every 12-16 inches. Don’t skimp here,if you don’t nail it down well, the molding will pop off later. I used 1-inch finish nails for a secure hold.
- Use a brad nailer for the final attachment if you have one. It leaves smaller holes that are easier to patch.
I also pre-drilled a few holes where I knew the molding would hit studs. This prevented the wood from splitting when I nailed it down.
Step 4: Fill, Sand, and Paint (The Fun Part!)
Now for the part that makes it look really professional:
- Fill the nail holes with paintable caulk. I used DAP Alex, and it sanded smooth after drying.
- Sand any rough edges. I used a 120-grit sanding sponge for the edges and a fine-grit sandpaper for the seams.
- Paint! I primed the molding before installation (using a sprayer for smooth coverage), then did a final touch-up after it was up. For paint, I used Sherwin-Williams Emerald Urethane Trim Enamel,it dries hard and lasts forever.
Pro tip: If you’re painting after installation, use a high-quality angled brush (I love the Purdy 44022) to get into the corners without leaving brush strokes.
Advanced Tips (For When You’re Ready to Level Up)
Once you’ve got the basics down, here’s how to make your crown molding look even more professional:
Preassemble for a Flawless Fit
I didn’t do this the first time, and I regretted it. Preassembling the molding on a flat surface (like your garage floor or a big table) lets you fine-tune the fit before nailing it to the wall. Here’s how:
- Lay out your molding pieces in order along the wall.
- Use your pin nailer to tack them together in sections (every 3-4 feet).
- Test-fit the section on the wall to make sure it’s perfect.
- Nail it up as one piece.
This saved me so much time and frustration. No more holding a 6-foot piece of molding in place while trying to nail it up one-handed.
The Shadow Line Trick (For Uneven Walls)
If your walls aren’t perfectly straight (and let’s be real, most aren’t), the shadow line technique is a lifesaver. Here’s how I did it in our living room:
- Hold the molding about 1/2 inch below the ceiling and mark a line with a pencil.
- Use a level to make sure the line is straight (even if the wall isn’t).
- Nail the molding to this line instead of flush with the ceiling.
This creates a shadow line that hides imperfections and adds a little extra drama. It also makes the ceiling look higher, which is always a bonus in an older home.
Stacking Profiles for a Custom Look
Want your molding to look even more expensive? Try stacking profiles. Here’s what I did in our dining room:
- Install a flat-back crown molding first, about 1/4 inch below the ceiling.
- Add a second layer of a different profile (I used a simple 1×3 board) below it.
- Paint both layers the same color for a cohesive look.
This gives the illusion of custom, high-end molding without the custom price tag. Plus, it’s easier to install in sections because each layer is simpler.
FAQ: Answers to the Questions I Wish I’d Known Before Starting
What tools do I absolutely need for a DIY crown molding project?
You need:
- A compound miter saw (or at least a miter saw with a sliding bevel).
- A Kreg Crown Jig (or a coping saw if you’re feeling ambitious).
- A pin nailer or brad nailer (18- or 23-gauge).
- A 2-foot level (to keep things straight).
- A tape measure (and patience).
You don’t need:
- A chisel set (unless you’re doing very intricate work).
- A fancy coping saw (a $10 one from the hardware store works fine).
- A table saw (unless you’re cutting a lot of molding).
How do I cut crown molding for inside corners?
This is where most people mess up. Here’s what actually works:
- Cut the first piece with a straight 90-degree butt cut (no angle).
- Cut the second piece with a 45-degree miter cut on your saw.
- Use a coping saw to cut along the profile of the 45-degree cut on the second piece. This creates a coping cut that fits perfectly against the first piece.
- Test-fit before nailing. If there’s a gap, sand it down slightly.
I messed this up the first time and ended up with a huge gap. The coping saw saved me,just go slow and take your time.
Should I paint my trim before or after I install it?
I did it both ways, and here’s what I learned:
- Paint before installation: Easier to get a smooth finish on all sides (especially the top edge). Less mess. But harder to touch up nail holes later.
- Paint after installation: Easier to touch up nail holes and seams. But you have to be very careful not to get paint on the walls.
My recommendation? Prime before installation (so the wood doesn’t absorb all your paint), then do a final coat after it’s up. That way, you get the best of both worlds.
What’s the best way to handle outside corners?
Outside corners are way easier than inside ones. Here’s how I did it:
- Cut a 45-degree miter on both pieces.
- Test-fit them together. If there’s a gap, sand it down slightly.
- Use a paintable caulk to fill any tiny gaps after nailing.
Pro tip: If the corner isn’t perfect, you can slightly adjust the angle on one of the pieces to make it fit. Just go slow and check as you go.
Can I install this trim by myself, or do I need a partner?
You can do it alone, but it’s much easier with a helper. Here’s why:
- Holding a 6-foot piece of molding in place while nailing it up is hard. A second set of hands makes it so much easier.
- Someone can hold the level while you nail, ensuring everything stays straight.
- If you’re preassembling sections, a helper can hold pieces in place while you tack them together.
If you’re flying solo, here’s what I did:
- Used painter’s tape to temporarily hold pieces in place while I nailed.
- Worked in small sections (2-3 feet at a time) so I didn’t have to hold too much at once.
- Used a clamp to hold the molding against the wall while I nailed.
It took me twice as long, but I got it done. If you’re determined to go solo, just be patient and take breaks.
Final Thoughts (And What I’d Do Differently Next Time)
If you’ve made it this far, congratulations,you’re way ahead of where I was when I started. Crown molding isn’t as scary as it looks, but it does require patience. Here’s what I’ve learned:
- Start with flat-back molding if you’re a beginner. It’s forgiving, cheaper, and looks just as good.
- Invest in a Kreg Crown Jig. It’s $35 and will save you hours of frustration.
- Preassemble sections on the floor before nailing them up. It’s so much easier than trying to hold everything in place on a ladder.
- Use the shadow line technique if your walls aren’t straight. It hides imperfections and makes the room look more intentional.
- Don’t rush the cutting. I can’t stress this enough,measure twice, cut once.
Oh, and one more thing,don’t try to do the whole house at once. I started in our living room, and by the time I finished, I was so ready to be done. Pick one room, get it right, and then move on to the next.
If you’re still feeling overwhelmed, start with a smaller DIY project to build your confidence. Or check out my bedroom makeover guide,it’s got some great tips for working with trim and paint.
Now go forth and crown-mold your heart out. And if you mess up? Welcome to the club. I’ve got a guide on fixing drywall if you need it.
Happy building! ,Christina