
Mason Jar Light Fixtures: How I Brought Farmhouse Charm to My Home for Under $50
Let me tell you about the time I turned a pile of old mason jars and some scrap wire into the most talked-about lighting in my house. My husband still teases me about the “jar phase” I went through last summer, but honestly? Those fixtures saved me hundreds on a kitchen remodel while making the space feel cozier than any designer light ever could.
I was skeptical at first,how could something so simple look intentional? But after my first attempt (which involved a lot of cursing and rewiring), I realized these aren’t just budget decor. They’re versatile, customizable, and surprisingly easy to make once you get the hang of it. I’ve since used them in my kitchen, above the dining table, and even in the bathroom (yes, really,more on that later).
If you’re looking for a way to add that instant farmhouse charm without dropping a fortune, this is how I did it. No fancy tools required,just patience and a willingness to embrace the “ugly middle” of a project (trust me, yours will have one too).
Why I Fell in Love with Mason Jar Lighting (And Why You Will Too)
The first time I saw a mason jar pendant in a magazine, I rolled my eyes. “Cute, but not for me,” I thought. Then I stumbled on a Pinterest board full of DIY versions, and something clicked. These weren’t just lights,they were conversation pieces. They turned ordinary spaces into places that felt lived-in and loved.
Here’s what sold me:
- The cost. I spent $12 on a pack of mason jars from the grocery store and $8 on wire at Home Depot. That’s less than one bulb from a fancy boutique.
- The flexibility. Need light over your kitchen island? Done. Want to brighten a dark hallway? Easy. Even my bathroom,where I swapped out the harsh overhead fixture for a cluster of frosted jars,feels warmer now.
- The glow. There’s something magical about the way warm light filters through glass. It’s not harsh like LED strips or fluorescent bulbs. It’s soft, like candlelight but without the fire hazard.
- The imperfections. My first attempt was lopsided. The wire was bent weird, and the jar wobbled. But you know what? No one noticed. In fact, my friend Rachel said it gave the fixture “character.” (Translation: It looked handmade, which is exactly the point.)
Pro tip: If you’re not into DIY, brands like The Ball Jar Company sell pre-made versions. I bought one as a “backup” and honestly? It’s beautiful, but I still prefer mine because I know exactly how it’s put together.
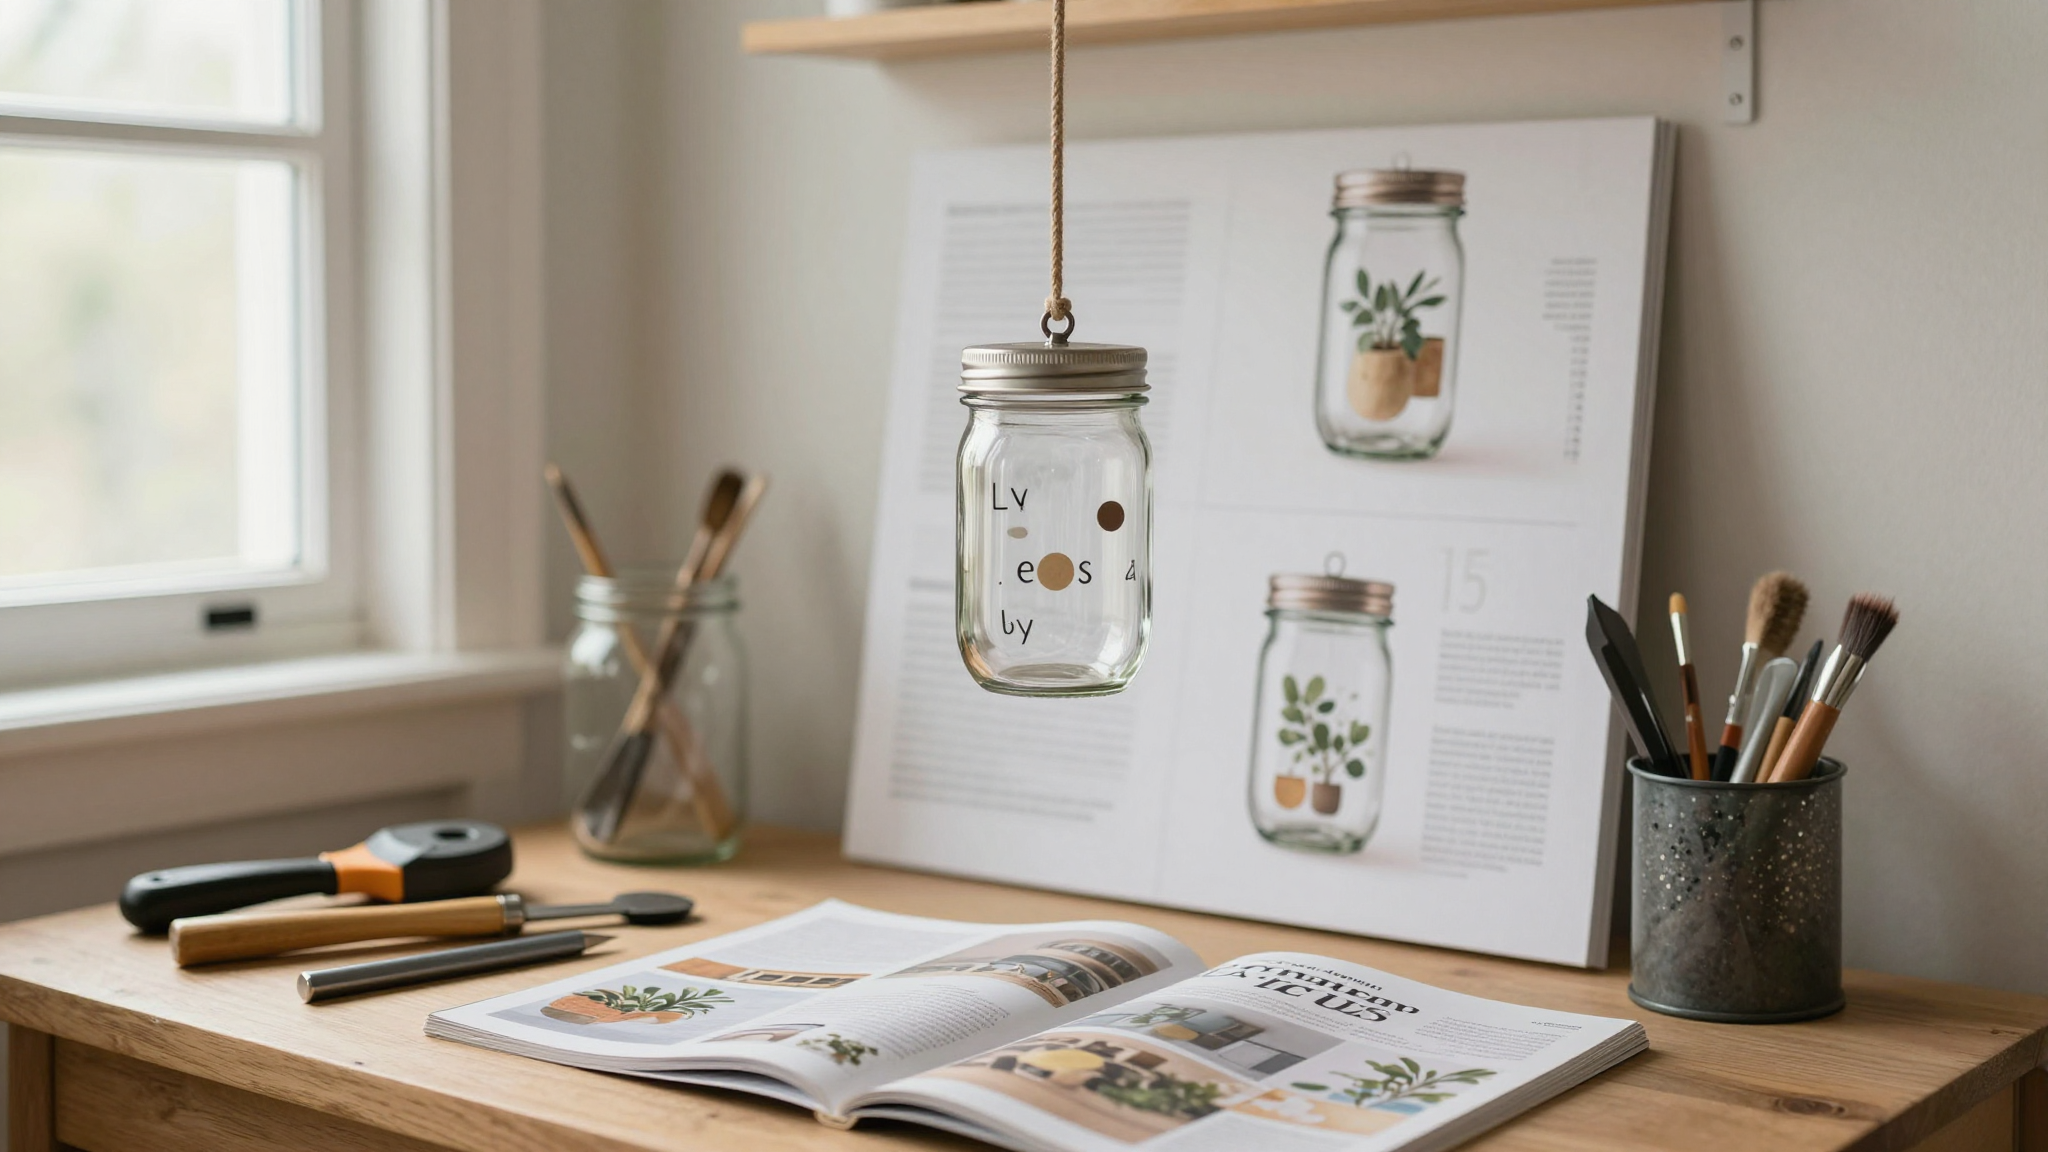
How Different Glass Jars Change the Mood (And Where to Use Them)
Not all mason jars are created equal, and the type of glass you choose can totally transform the vibe of a room. Here’s what I’ve learned from trial and error:
| Jar Type | Light Effect | Best For | My Real-Life Example |
|---|---|---|---|
| Clear glass | Bright, direct light (like a spotlight) | Task lighting,kitchens, home offices, over a desk | I used these above my reading nook because I needed light to see my book without squinting. Paired with a good task lamp, it’s perfect. |
| Frosted glass | Soft, diffused glow (like a candle) | Bedrooms, living rooms, anywhere you want cozy | My favorite setup is a cluster of three frosted jars over our dining table. It makes dinner feel like a fancy restaurant,no joke. I even got a compliment from my mother-in-law, which is basically the DIY equivalent of winning an Oscar. |
| Colored glass (amber, green, blue) | Warm, tinted light (think: stained-glass effect) | Dining rooms, bars, or anywhere you want drama | I have two green jars in my bathroom, and they cast this amazing emerald glow at night. It’s like a spa. (Okay, fine, it’s still a tiny bathroom, but it feels like a spa.) |
Fun fact: I once tried using pint-sized jars in my kid’s room, and they were too small,they looked like tiny fairy lights. Moral of the story? Stick to quart-sized jars for most rooms unless you’re going for a whimsical look.
Oh, and if you’re feeling fancy, you can paint the lids to match your decor. I did this with my dining room set, and now they look like they were custom-made.
Step-by-Step: How I Made My First Mason Jar Pendant (And Fixed My Mistakes)
Full disclosure: My first attempt was a disaster. The wire was too thin, the jar kept slipping, and I nearly gave up. But then I watched a YouTube tutorial (shoutout to DIY with Christina,yes, that’s me, no, I’m not biased), and it clicked. Here’s how I did it right the second time.
What You’ll Need (And What I Wish I’d Bought First)
Here’s my shopping list, plus the things I learned the hard way:
- Mason jars (quart-sized are my go-to). Pro tip: Check the “scratch and dent” section at grocery stores,you can often find them for half price!
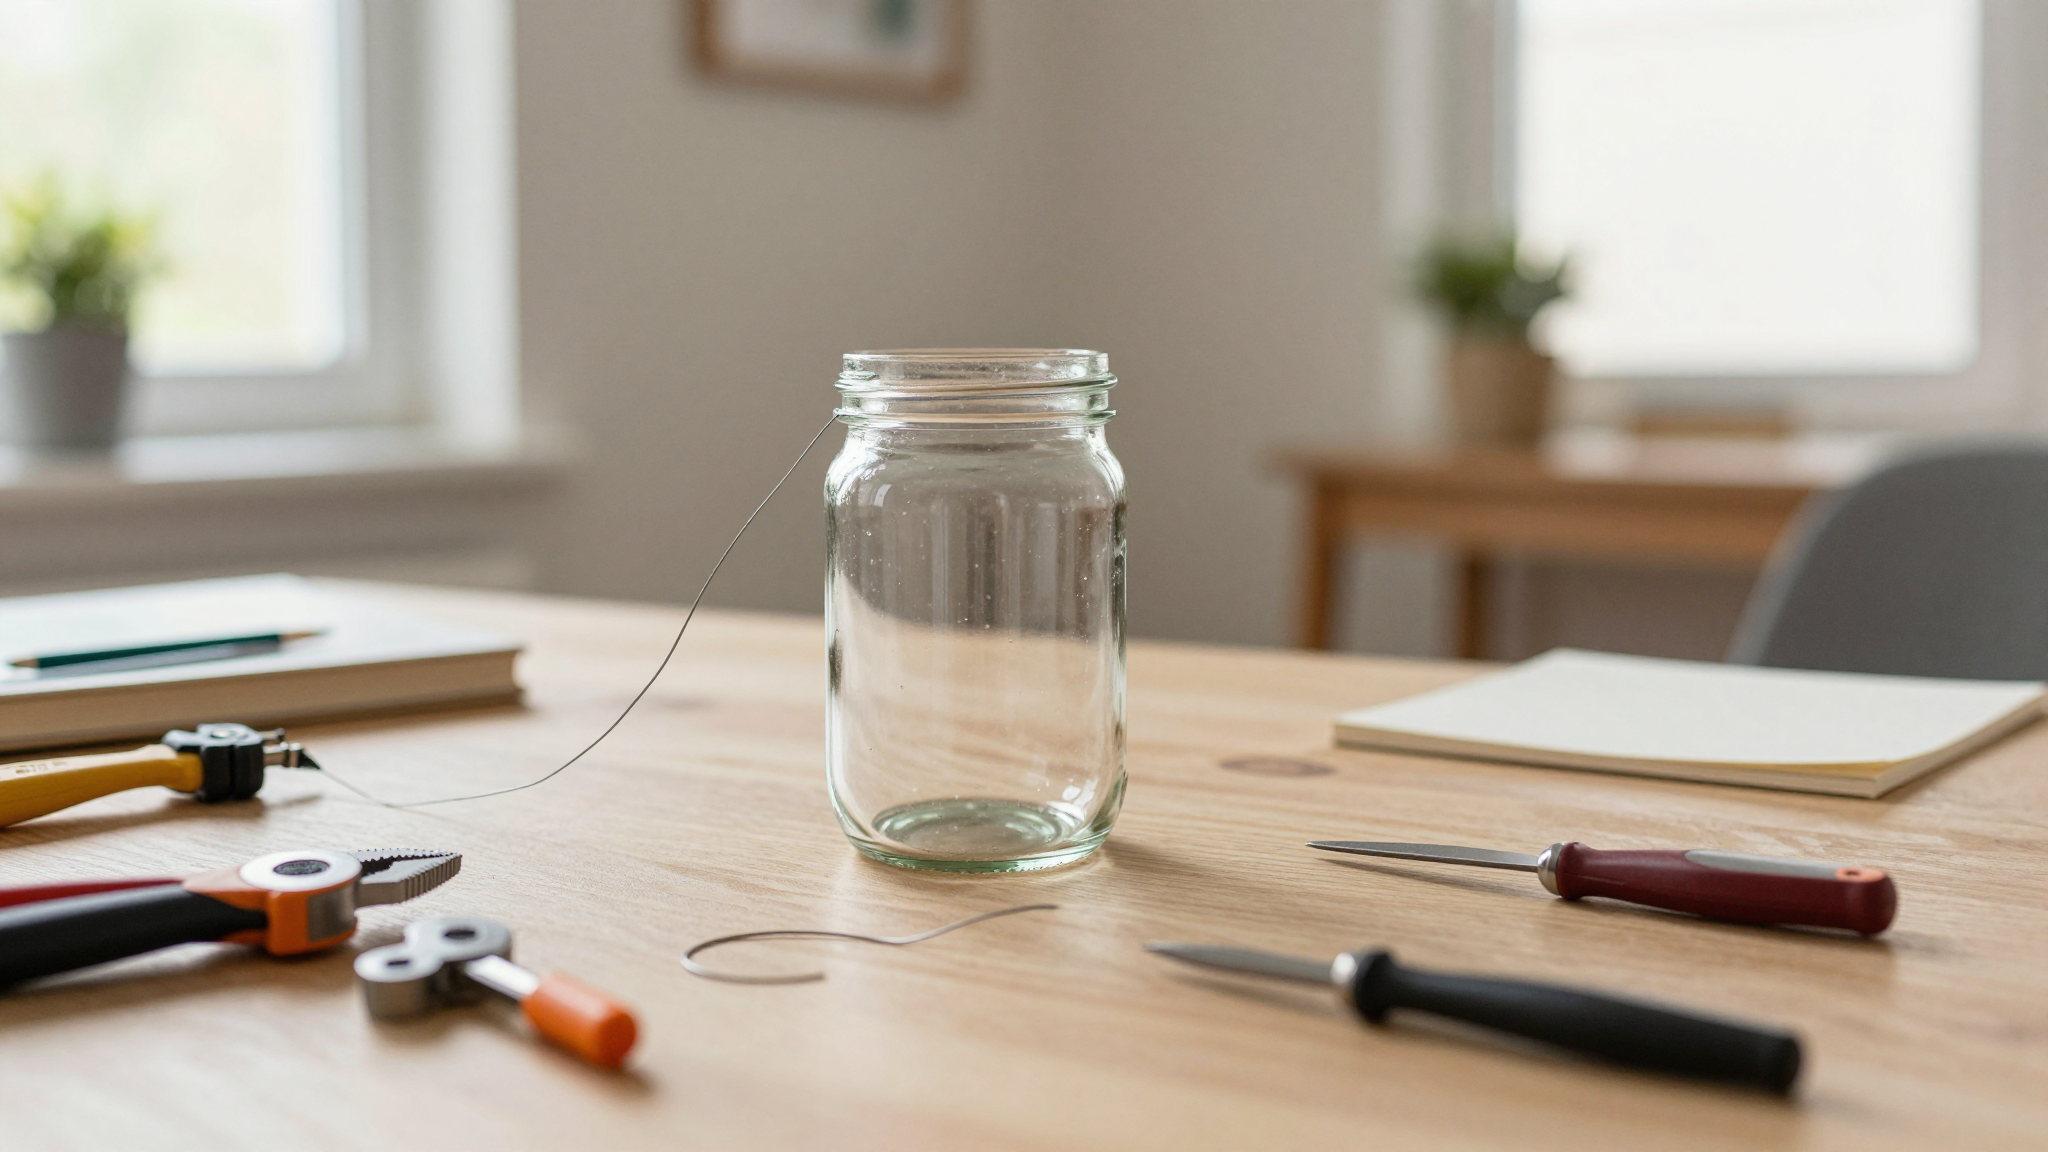
- 16-gauge wire (thicker than I first tried,thin wire bends too easily). I used Home Depot’s house brand, and it’s held up perfectly.
- Dry cleaner hangers (for the handle,more on this below). These are cheap and sturdy.
- Needle-nose pliers (non-serrated, or you’ll scratch the glass). I ruined a pair of cheap ones before splurging on these.
- Wire cutters (don’t use scissors,they’ll fray the wire).
- LED tea lights or fairy lights (no heat = no risk of melting the jar). I love these battery-operated ones because they’re safe for kids and pets.
- Safety glasses (wire will snap and fly at your face. Trust me.)
What I wish I’d known before starting:
- Skip the cheap wire. It bends like licorice and won’t hold the jar’s weight. Spend the extra $10 on good stuff.
- Use frosted jars if you’re nervous about glass breaking. They’re more forgiving if you drop them (which I did. Twice.).
- Test the weight before hanging. I had one jar that was just heavy enough to make the wire sag after a week. I had to reinforce it with a second loop.
The Actual Steps (With My Honest Feedback)
Okay, let’s get into it. I’ll walk you through my process, including where I messed up and how I fixed it.
- Make the center loop.
Bend about 6 inches of wire into a loop (this is what the jar will hang from). I made mine too small at first, so the jar wobbled. Fix: Make the loop at least 2 inches wide so the jar sits snugly.
- Wrap the wire around the jar’s rim.
Start at the loop and wrap the wire tightly around the jar’s opening, spacing the coils about ½ inch apart. I used pliers to twist the wire at the end to secure it. Mistake: I didn’t wrap tightly enough, and the jar slipped after a few days. Fix: Use pliers to squeeze the wire coils together,no gaps!
- Create the handle from a dry cleaner hanger.
Unravel the hanger and cut a 12-inch piece. Bend it into a graceful curve (this is the “elegant” part). Attach it to the loop with a few tight wraps of wire. Pro tip: If you’re bad at bending wire (like me), practice on scrap pieces first.
- Add the light source.
I used these LED tea lights because they’re safe and give off a warm glow. If you’re using fairy lights, tuck them inside the jar so the cords aren’t visible. Warning: Never use incandescent bulbs,they get way too hot and can crack the glass.
- Hang it up and admire your work.
I hung mine from a drywall hook in the kitchen ceiling. If you’re not comfortable with wiring, stick to battery-operated lights or hire an electrician for hardwiring. Safety first!
Oh, and if you’re like me and want to show off your fixtures, try clustering three or four at different heights. It looks intentional (even if it’s not).
How I Customized Mine (And How You Can Too)
Here’s where the fun starts. Mason jar lights are like a blank canvas,you can dress them up however you want. Here’s what I’ve tried:
- Painted lids. I used Benjamin Moore’s “Chantilly Lace” (a creamy white) on the lids of my kitchen jars. It ties in with my cabinet hardware and makes them look designer.
- Added decorative wire shapes. I twisted extra wire into little hearts and leaves (yes, it was messy) and attached them to the handles. They look like they came from a boutique.
- Used colored jars for mood lighting. My daughter’s room has blue jars, and at night, it feels like you’re underwater. (She loves it. I love that she loves it.)
- Turned them into planters. I drilled a tiny hole in the lid of one jar, added soil, and planted a succulent. Now it’s a light and a plant. Two problems solved!
- Hanged them outside. I have a set on my porch with citronella candles inside. Mosquitoes be gone!
If you’re feeling extra, you can even add a peel-and-stick wallpaper backing to the inside of the jar for a stained-glass effect. I did this with floral paper in my guest bathroom, and it’s gorgeous.
Design Trends, Energy Savings, and What I’ve Learned
Mason jar lighting isn’t just a DIY fad,it’s here to stay. I’ve seen it in magazines, on home tours, and even in high-end boutiques (for way more money than I’d ever pay). Here’s what’s trending right now, plus how to make your fixtures work harder.
Contemporary vs. Vintage Farmhouse Styles (And Where to Use Them)
Not all farmhouse lighting is created equal. Here’s how I’ve styled mine to fit different spaces:
- Industrial farmhouse. I paired black-painted jars with a metal coffee table in my living room. The mix of rustic and modern looks so intentional. (It’s not. I just got lucky.)
- Classic farmhouse. In my dining room, I went with natural wood lids and frosted jars. It’s warm, cozy, and feels like a grandma’s house,in a good way.
- Modern farmhouse. For my kitchen, I used clear jars with black wire handles and Edison bulbs. It’s sleek but still rustic.
Pro tip: If you’re mixing styles, stick to a color palette. My whole house uses white, black, and wood tones, so the lights tie everything together.
Why LED Bulbs Are a Game-Changer (And How to Install Them Safely)
I used to think LED bulbs were just for energy savings, but now I’m obsessed with them for mason jar lights. Here’s why:
- They don’t get hot. I burned my finger on an incandescent bulb once,never again.
- They last forever. I’ve had the same bulbs in my jars for two years, and they’re still bright.
- They’re dimmable. I put a dimmer switch in my dining room, and now I can adjust the mood from “bright task lighting” to “romantic dinner glow.”
- They save money. My electric bill dropped noticeably after I switched everything to LED.
If you’re wiring your jars into your home’s electrical system (instead of using battery-operated lights), please turn off the power at the circuit breaker first. I know, I know,it’s obvious. But I’ve seen too many DIYers skip this step. Don’t be that person.
And if you’re not comfortable with wiring, hire an electrician. It’s not worth the risk. I paid $80 for a pro to hardwire my kitchen lights, and it was the best $80 I’ve ever spent.
FAQ: Answers to the Questions I Get All the Time
I’ve been making these lights for years, and people always ask me the same things. Here’s what I tell them:
Can I use regular incandescent bulbs in my pendant?
Nope. Incandescent bulbs get way too hot and can crack or melt the glass. I learned this the hard way when I singed my eyebrow trying to adjust a bulb. Stick to LED tea lights or fairy lights,they’re safe and give off a beautiful glow.
What’s the best way to hang these lights securely?
If you’re using battery-operated lights, you can hang them from drywall hooks or even a sturdy branch in your porch. But if you’re hardwiring them, please follow the manufacturer’s instructions or call an electrician. I once saw a Reddit post about someone’s fixture crashing to the floor because the wire wasn’t secured properly. Don’t let that be you.
Are there mini versions available for smaller spaces?
Absolutely! I found these adorable mini pendants on Etsy, and they’re perfect for hallways, bathrooms, or even above a desk. I bought a set of three for my daughter’s reading nook, and they’re so cute.
How do I clean my glass fixture without damaging it?
Gently wipe the glass with a damp microfiber cloth. No harsh chemicals, no abrasive sponges. I use the same cloth I clean my glass fireplace screen with, and it works great. For the wire, just dust it with a soft brush.
Do these lights come with bulbs, or do I need to buy them separately?
It depends! Some pre-made fixtures include bulbs, but most don’t. I always buy mine separately so I can choose the color temperature (I prefer 2700K warm white for that cozy feel). Always check the product description before ordering!
Ready to give it a try? Grab a few jars, some wire, and let me know how it goes,I’d love to see your creations! (And if you mess up? Welcome to the club. My first attempt is still in my garage, gathering dust as a reminder of how far I’ve come.)
Happy DIY-ing!
,Christina
P.S. If you loved this project, check out my guide to gallery walls or my stair makeover tutorial for more ways to update your home on a budget.