
Outdoor Holiday Lighting: What I’ve Learned (and Messed Up) After 10 Years of DIY Decorating
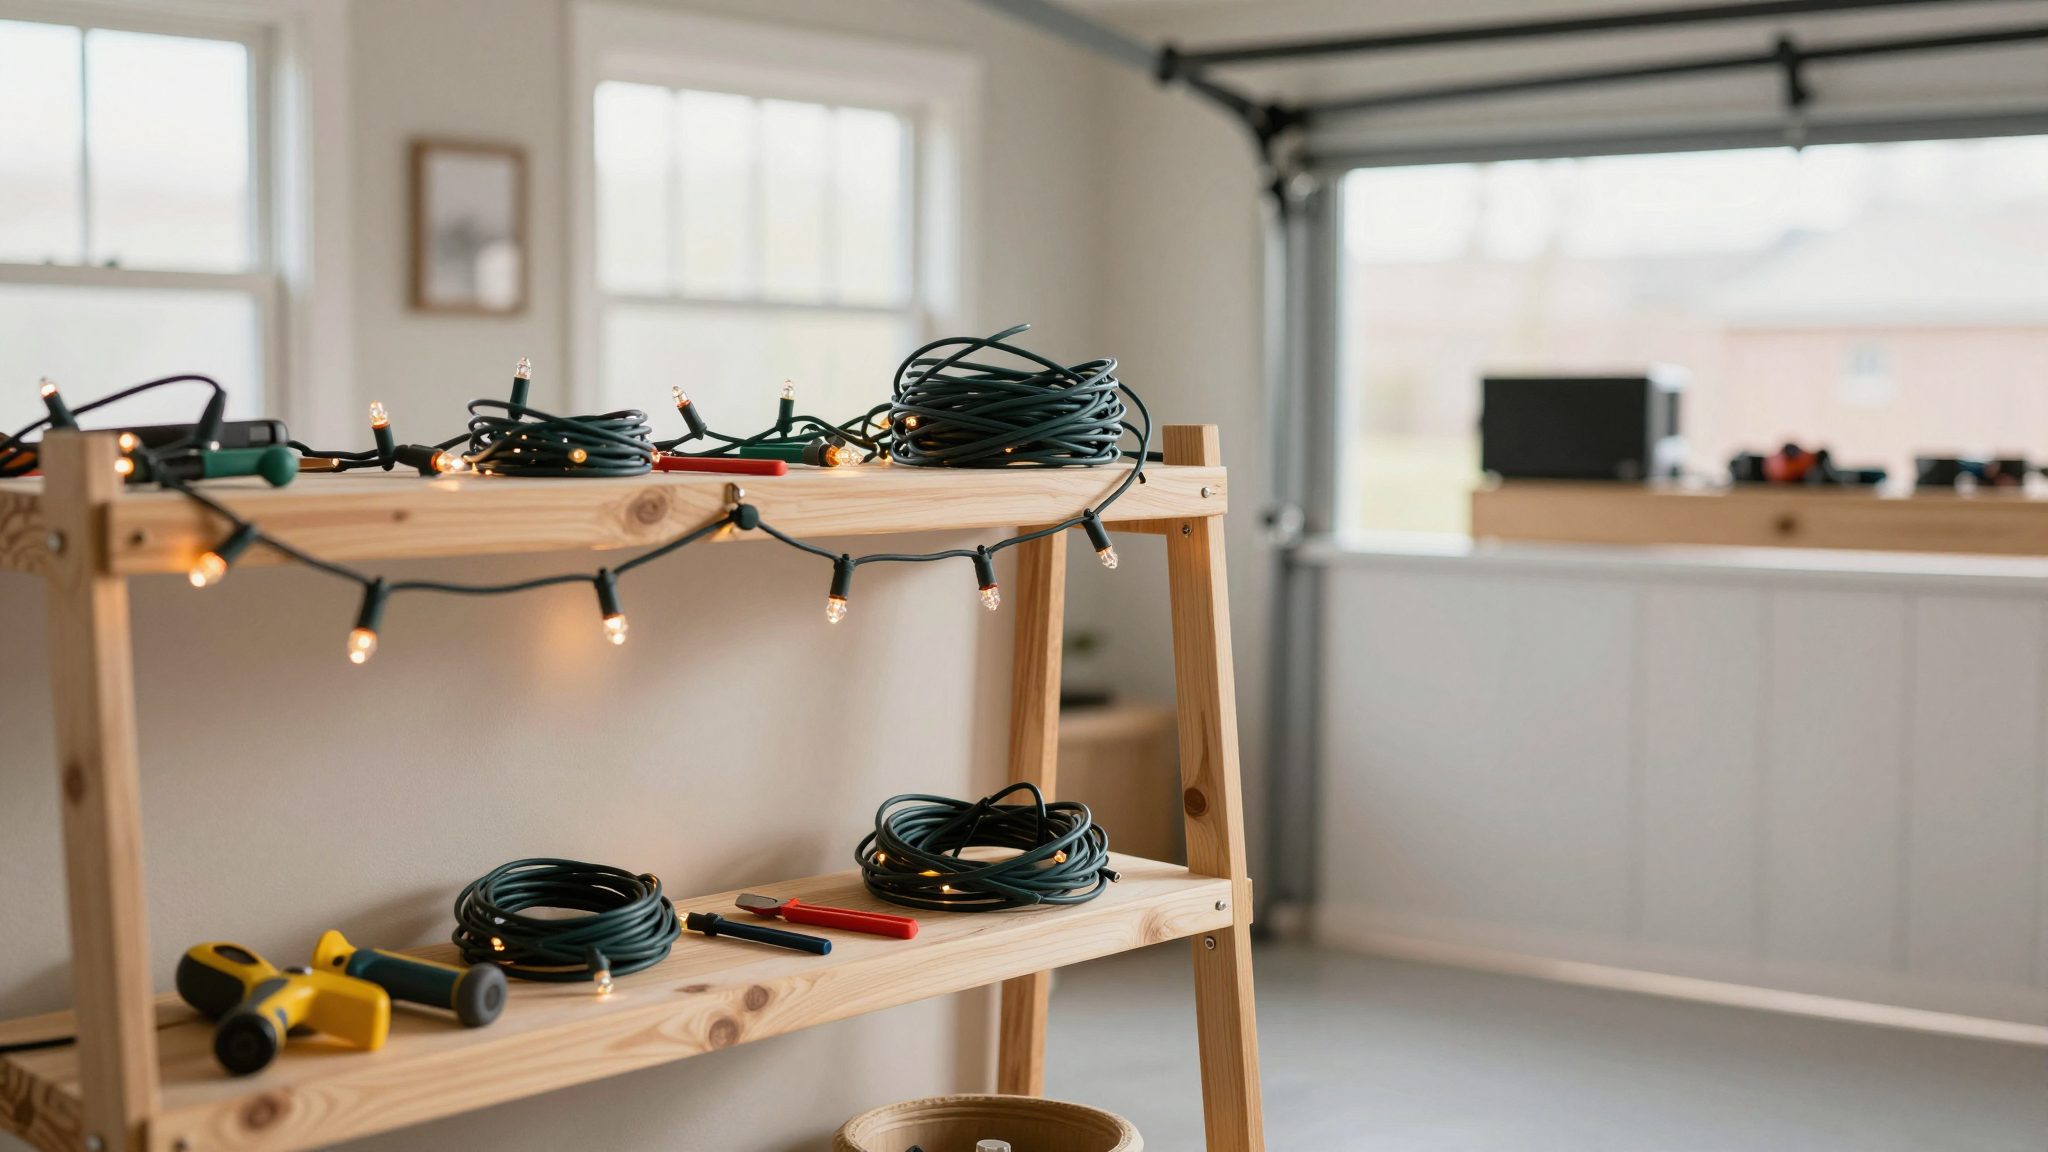
Every November, I start eyeing my garage shelves where the holiday lights live,some still tangled from last year, others with cords that look like they’ve been chewed by a squirrel (they probably have). But I keep coming back to this project because there’s nothing like walking outside on a crisp December night and seeing your house glow like a cozy winter postcard. The key? Safety first, creativity second,and I’ve learned that the hard way.
This year, I’m sharing exactly what’s worked (and what hasn’t) after a decade of stringing lights, testing setups, and occasionally calling my husband to help untangle a disaster. If you’re new to outdoor holiday lighting,or if you’ve ever had a strand of lights short out mid-decorating,this guide is for you.
We’ll cover:
- How to plan a display that wows (without looking like a fire hazard)
- Why I switched to LEDs after my incandescent lights nearly burned down our porch
- Design tricks to make your home stand out (including my favorite “hidden gem” technique)
- Tools you actually need (no, you don’t require a $200 light tester)
- How to troubleshoot when your lights go dark,or worse, when the neighborhood’s dogs start howling at your flickering display
Let’s get started,before the snow flies and we’re all scrambling.
Why My Outdoor Lights Almost Ruined Christmas (And How to Avoid My Mistakes)
Three years ago, I decided to go “all out” with our holiday lights. I bought every type of string light at Home Depot, wrapped them around our roof, trees, and even our mailbox (yes, the mailbox). The first night, I plugged everything in,only to hear a pop and see half the display go dark. Turns out, I’d overloaded a single outlet with eight strands of incandescent lights. The circuit breaker tripped, and I spent the next hour untangling everything in the freezing cold.
That’s when I learned the hard way: outdoor holiday lighting isn’t just about aesthetics,it’s about electrical safety. Since then, I’ve refined my approach to focus on planning, durability, and smart design. If you skip these steps, you’ll end up like me,cursing in the dark while your neighbors’ houses shine like beacons.
Here’s what I wish I’d known from the start:
- Measure twice, buy once. I once bought enough lights to wrap a small mansion, only to realize our ranch-style home needed half as many. Pro tip: Sketch your home’s outline on graph paper and map out where lights will go before purchasing.
- Weatherproof everything. My first year using non-weatherproof lights, I woke up to a soggy, sparking mess after a rainstorm. Now, I only use Homelite weather-resistant LED strings,they’re pricier upfront but save me headaches (and potential fires) every year.
- Test your lights before hanging them. Nothing’s worse than climbing a ladder, securing a strand, and realizing half the bulbs are dead. I plug in every string the night before I decorate and replace any faulty ones.
If you’re just starting out, don’t worry,you don’t need a degree in electrical engineering. But you do need to prioritize safety. Let’s break it down.
Step 1: Planning Your Display (So You Don’t End Up Like I Did)
Last year, I spent two hours wrapping lights around our oak tree, only to realize the branches were too thick for the strands to lay flat. The result? A lumpy, uneven mess that looked like a kindergartener had decorated it. Since then, I’ve gotten smarter about planning.
Here’s my current process:
- Sketch your vision. Grab a notebook and draw your home’s outline. Then, mark where you want lights,roofline, trees, bushes, porch. I use Crayola washable markers so I can erase and adjust as needed.
- Measure your space. For trees, measure the trunk circumference and branch spread. For roofs, measure the length of each side. I once guessed and bought 50 feet of lights for a 30-foot roof,don’t make this mistake.
- Calculate your power needs. Most outdoor outlets are 15-amp circuits, which can handle about 144 watts of lights per outlet. I use this power calculator to avoid overloading. (Yes, I’ve had to reset our breaker twice.)
- Choose a color scheme. My first year, I mixed red, green, blue, and white lights,it looked like a disco exploded. Now, I stick to a monochromatic palette (usually warm white or soft blue) for a cohesive look. If you want color, limit it to one feature, like a single colored tree.
Pro tip: If you’re unsure about spacing, use painter’s tape to mock up your design on the ground first. It’s a game-changer for visualizing how lights will look.
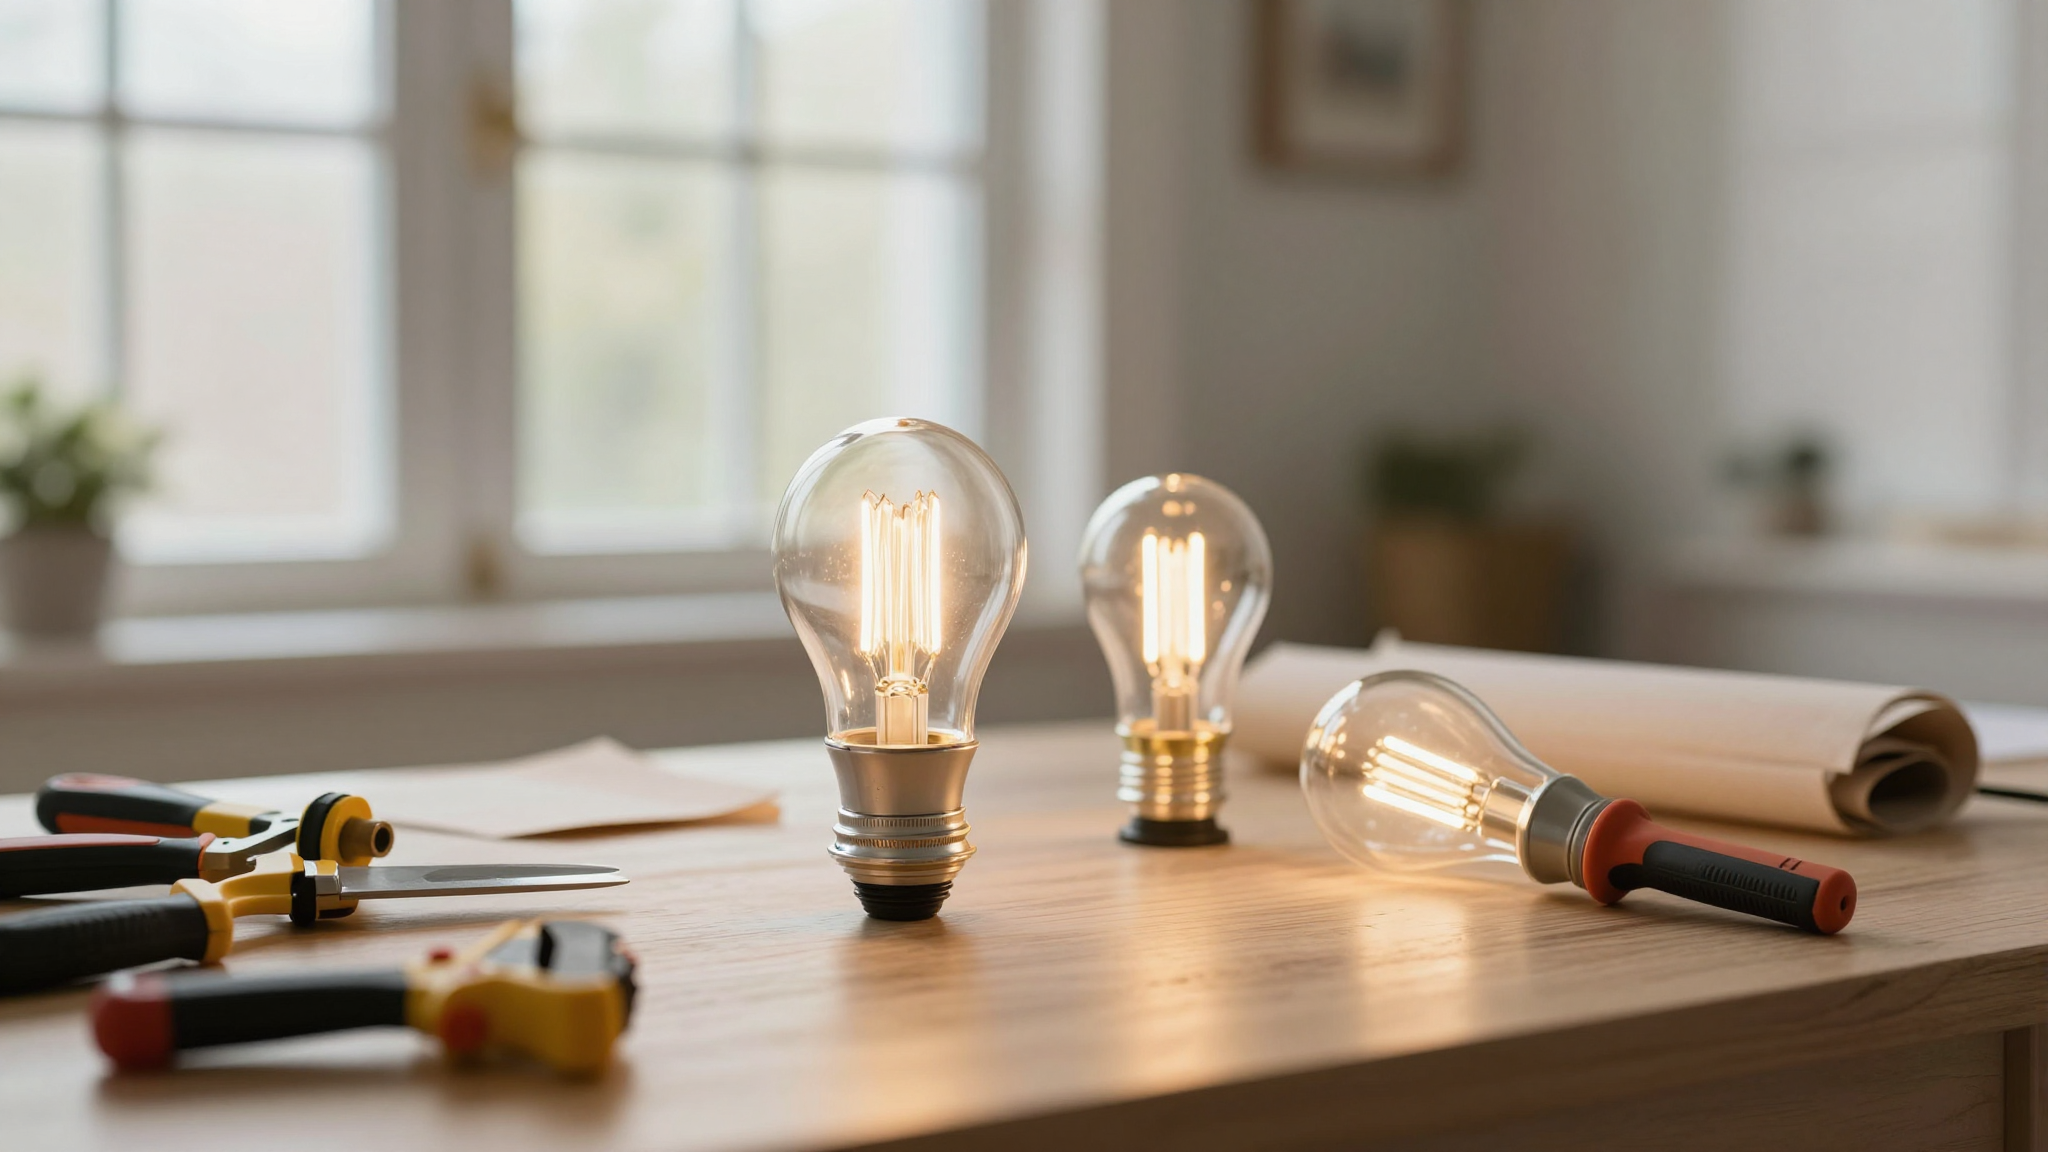
Step 2: Picking the Right Lights (LED vs. Incandescent: The Showdown)
I used to swear by incandescent lights,they’re cheaper upfront and give that “classic holiday” glow. But after my great circuit breaker incident of 2023, I switched to LEDs. Here’s why:
| Feature | LED Lights | Incandescent Lights |
|---|---|---|
| Energy Use | 90% less energy than incandescent | Burns through power like a teenager with a credit card |
| Lifespan | Up to 50,000 hours (lasts decades) | 2,000 hours (dies after a few seasons) |
| Heat Output | Runs cool (safe for roofs, trees, etc.) | Gets hot,not ideal for wooden surfaces |
| Cost | $20–$50 per strand (but saves money long-term) | $5–$15 per strand (but replaces every 2–3 years) |
That said, incandescent lights do have one advantage: they’re brighter and give off that “old-school” warm glow. If you love that look, I recommend using them sparingly,maybe just for a single tree or wreath,and keeping the rest of your display LED.
My top LED picks for 2026:
- GE Weather-Resistant LED String Lights – Great for roofs and trees. The warm white option looks amazing on our brick house.
- Colorlights Warm White LED Lights – Affordable and durable. I’ve used these for five years with no issues.
- Brightech Ambiance LED Lights – My favorite for icicle effects. The bulbs are larger and give a more dramatic look.
If you’re on a budget, start with one high-quality LED strand for a focal point (like your front door or a tree) and build from there. You’ll thank me when your lights last years without burning out.
Step 3: Design Tricks to Make Your Home the Talk of the Neighborhood
I’ll admit it: I’m a little competitive when it comes to holiday lights. Last year, our neighbor across the street went all out with a synchronized light show (complete with music). So, I had to up my game. Here’s what I learned:
1. Start with a Focal Point
Every great display has a star. For me, it’s our large oak tree in the front yard. I wrap it in net lights (not string lights,they lay flatter and look more professional) and add a few icicle strands for texture. Last year, I added a projection light that casts a snowflake pattern on the house. It cost $30 and got so many compliments.
2. Layer Your Lights
Flat lighting is boring. To add depth, I mix:
- Roofline lights – I use warm white LED strings clipped along the edge of our roof. It’s a clean, classic look.
- Tree wrapping – For smaller trees, I spiral string lights upward. For larger trees, I use net lights for even coverage.
- Ground lighting – I place solar-powered pathway lights along our walkway. They’re low-maintenance and add a warm glow.
Pro tip: If you have a porch, add uplighting (shine lights upward from the ground) to highlight architectural details. I did this with our front pillars, and it made them look so elegant.
3. Don’t Forget the Little Details
Last year, I added fairy lights to our mailbox and a wreath with battery-operated lights on the door. It sounds small, but those tiny touches make the display feel complete. I also wrapped our porch railings in mini string lights,it’s cozy and inviting.
If you want to go the extra mile, add motion-activated lights near your walkway. I used these TC Lighting sensors, and they’re a hit with trick-or-treaters and guests.
Step 4: Tools You Actually Need (No, a $200 Tester Isn’t One of Them)
I used to think I needed a ton of fancy tools for outdoor lighting. Turns out, you only need a few essentials:
- A sturdy ladder – I use my 24-foot extension ladder from Home Depot. It’s tall enough for our two-story house, and the rungs have grip tape so I don’t slip.
- Heavy-duty clips and hooks – I swear by Suncast weather-resistant hooks. They’re $10 for a pack of 50 and hold lights in place even in wind.
- Wire cutters and electrical tape – For trimming cords and securing connections. I keep a roll of 3M electrical tape in my garage for emergencies.
- Gloves – Trust me, you’ll thank me after untangling 50 strands of lights. I use Mechanix Wear gloves,they’re grippy and keep my hands warm.
- A multimeter (optional but helpful) – If you’re really serious about safety, a basic multimeter ($20) helps test for shorts in your cords.
That’s it. No need for a light tester, fancy drills, or anything else. Keep it simple!
Step 5: Installation Like a Pro (Without the Meltdowns)
Here’s my step-by-step process for hanging lights without wanting to throw them in the trash:
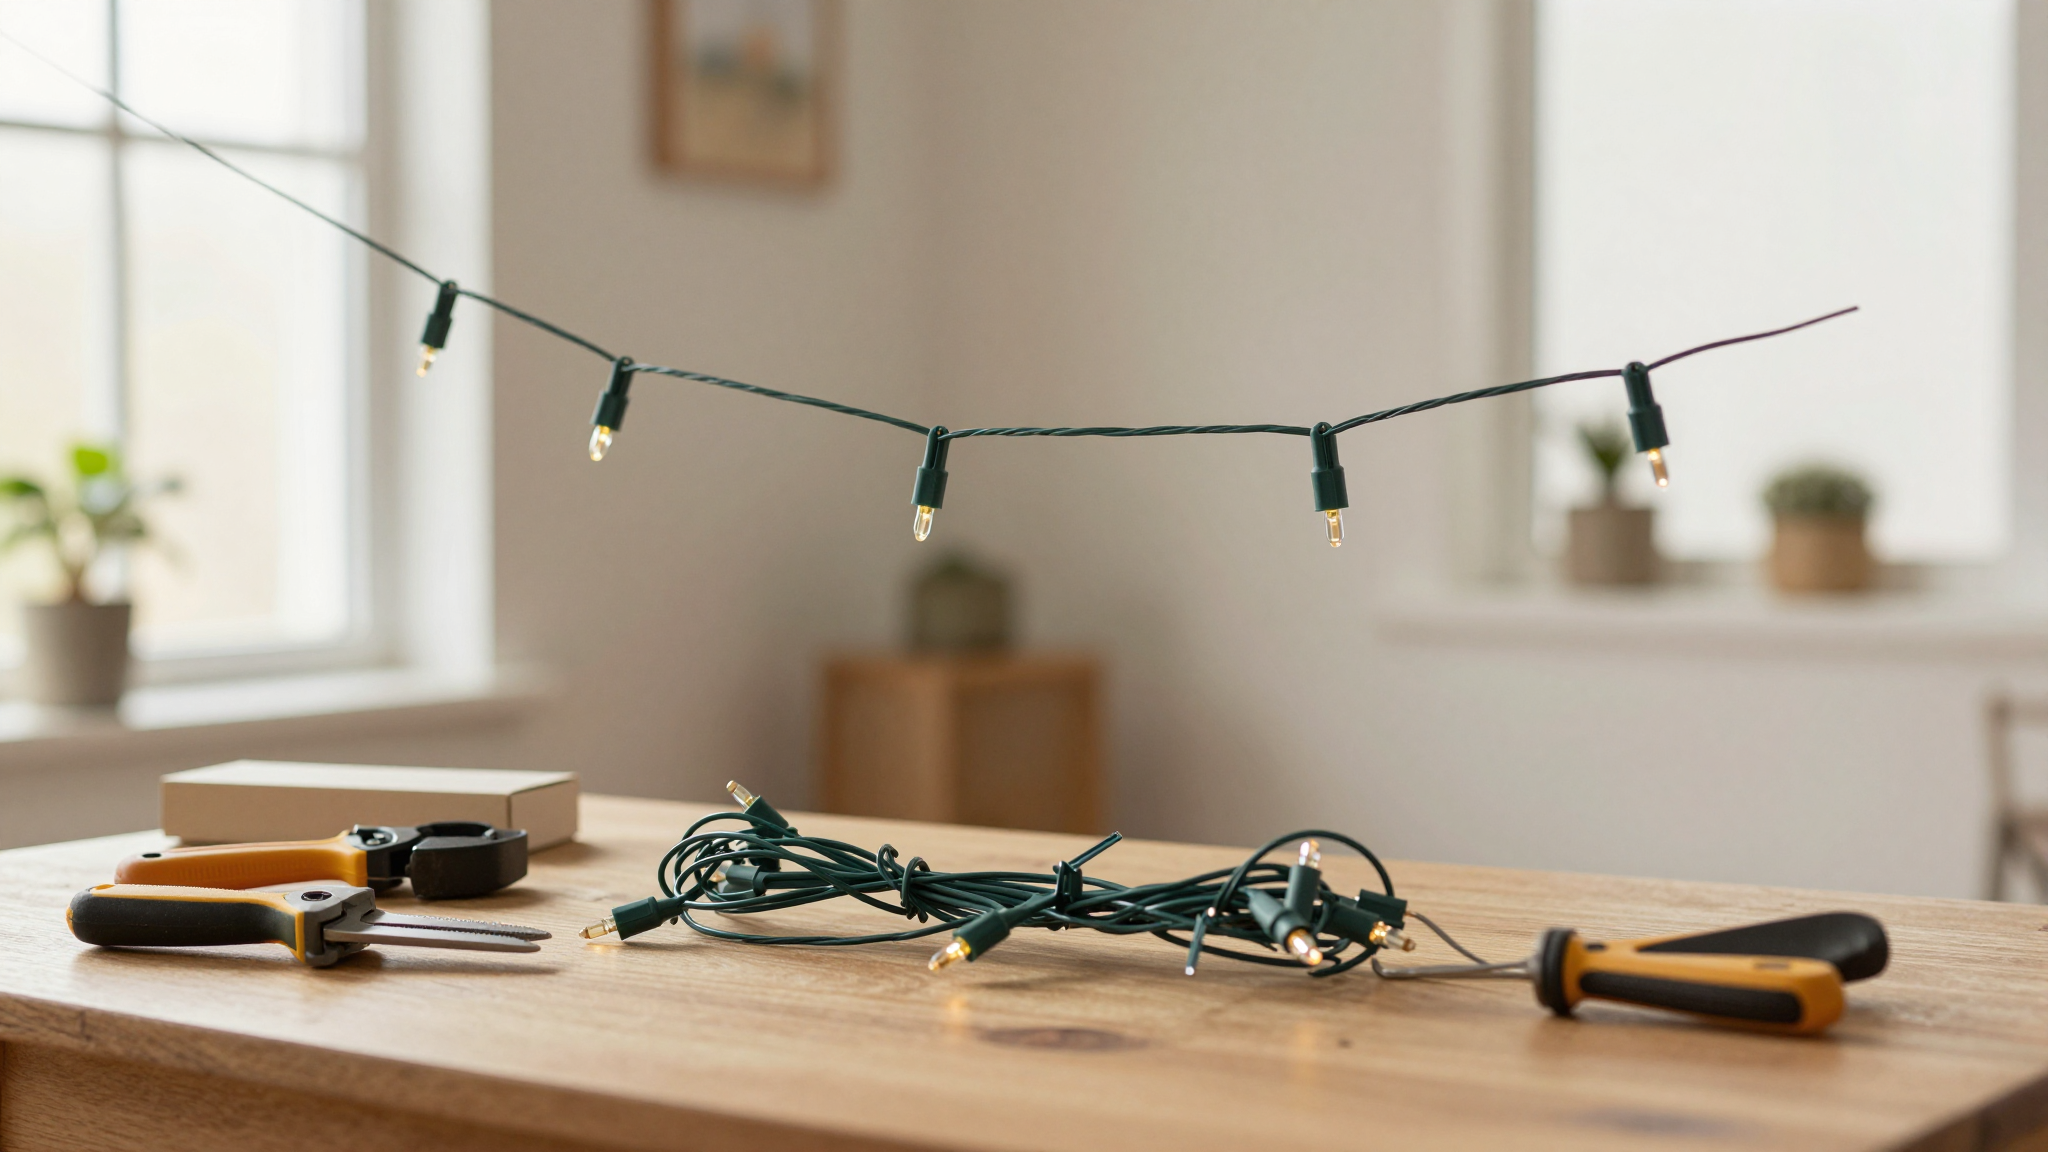
- Test every strand. Plug in each string of lights and replace any with dead bulbs. I keep a pack of replacement bulbs on hand for this.
- Start from the top. I always begin with the roofline because it’s the hardest part. I use my ladder to clip lights along the edge, working from one side to the other.
- Work in sections. Break your display into zones (e.g., front yard, porch, trees) and tackle one at a time. It’s less overwhelming,and you won’t get frustrated and quit halfway.
- Secure everything. Use clips for roofs and trees, stakes for ground lights, and hooks for porches. I learned the hard way that not securing lights leads to tangled messes after windstorms.
- Plug in and check. Before calling it a day, plug in your entire display to make sure everything works. If a section is dark, unplug and troubleshoot before climbing back up the ladder.
Pro tip: If you’re hanging lights on a tree, wrap them in a spiral (not a zigzag). It looks neater and distributes the weight better. I also avoid wrapping lights too tightly,it can damage branches.
Step 6: Troubleshooting Like a Boss (When Your Lights Go Rogue)
Even with the best planning, things go wrong. Here’s how I fix the most common issues:
1. A Strand of Lights Won’t Stay Lit
First, check for loose connections. If a plug isn’t fully seated, the circuit won’t complete. I once spent 20 minutes replacing bulbs, only to realize the plug had come loose. Next, look for burnt-out bulbs. Replace them one by one until the strand lights up. If the whole strand is dead, the cord inside might be damaged,time for a new string.
2. Your Display Keeps Tripping the Circuit Breaker
This happened to me twice last year. The fix? Distribute your lights across multiple outlets. I plugged half my roofline lights into one outlet and the other half into another. If you’re still tripping the breaker, switch to LED lights,they use way less power.
3. Lights Flicker in the Wind
This is usually a sign of a loose connection or damaged cord. Turn off the lights, unplug them, and check for:
- Frayed or cut wires
- Loose plugs
- Cords rubbing against rough surfaces (like tree bark)
If you find damage, replace the strand. Don’t risk a fire!
4. Lights Are Dim or Flickering
This often means the voltage is too low. If you’re daisy-chaining too many strands, the power gets divided, and the lights dim. Solution: Limit each outlet to 3–4 strands of LED lights (or 2 strands of incandescent).
Step 7: Storing Lights So They Last (No More Tangled Nightmares)
Every January, I dread pulling out my lights because they’re always a tangled mess. Last year, I finally organized them properly, and it’s made a huge difference. Here’s my system:
- Test and replace bulbs. Before storing, I plug in each strand and replace any dead bulbs. I keep a bulk pack of replacements in my garage.
- Coil the cords neatly. I use a cord spool organizer ($10) to keep strands from tangling. If I don’t have one, I coil the cord around my arm and then slide it off into a neat loop.
- Store in a dry, cool place. I keep my lights in plastic bins with lids in the garage. Moisture is the enemy of holiday lights!
- Label everything. I use a dry-erase marker to label bins with the type of lights inside (e.g., “Roofline – Warm White LED”).
Pro tip: If you have a lot of lights, invest in a hanging storage system. I hang mine on the garage wall so they’re easy to grab next year.
Final Thought: Make It Fun (Even If It’s Messy)
Let’s be real: decorating for the holidays is not always glamorous. You’ll probably step on a cord, drop a strand of lights, and question your life choices at least once. But here’s the thing,the process is half the fun.
Last year, my kids “helped” by wrapping lights around the dog’s collar (don’t ask). The display wasn’t perfect, but it was ours. And when we sat on the porch with hot cocoa, watching the lights twinkle, none of the imperfections mattered.
So grab your ladder, plug in those lights, and embrace the chaos. Your neighbors will admire your display, but you’ll remember the laughter (and the occasional curse word) that went into creating it.
Now, if you’ll excuse me, I have a garage full of lights to untangle. Wish me luck!
FAQs
What’s the first step in planning a holiday light display?
Start by sketching your home’s outline and marking where you want lights. Measure the areas you’ll decorate (roof, trees, etc.) and calculate how many strands you’ll need. Don’t forget to check your power capacity,most outlets can only handle about 144 watts of lights. Pro tip: If you’re unsure, start small and expand next year.
What are the most important safety rules for outdoor holiday lights?
Always use weatherproof lights and cords to prevent shorts. Never overload outlets,stick to 3–4 strands per circuit. Keep lights away from flammable materials (like dry leaves or wooden surfaces), and turn them off when you’re not using them. If you’re using a ladder, have someone spot you,I learned this the hard way after a near-fall.
Should I use LED or incandescent lights?
LED lights are the clear winner for most people. They’re energy-efficient, last decades longer, and won’t overheat like incandescent bulbs. That said, if you love the warm glow of incandescent lights, use them sparingly,maybe just for a single tree or wreath,and keep the rest of your display LED.
How do I create a cohesive holiday light display?
Start with a color scheme,stick to one or two colors for a polished look. Choose a focal point (like a tree or porch) and build around it. Layer different types of lights (roofline, net lights, pathway lights) to add depth. And don’t forget the little details, like lights on your mailbox or a wreath with battery-operated bulbs.
What should I do if my lights keep flickering or going out?
First, check for loose connections or damaged cords. If a strand is dead, replace it,don’t risk a fire. If your display keeps tripping the circuit breaker, distribute your lights across multiple outlets or switch to LED lights. And if lights flicker in the wind, secure them with clips or stakes to prevent movement.
How do I store my holiday lights so they last?
Before storing, test each strand and replace any dead bulbs. Coil the cords neatly (I use a cord spool organizer) to prevent tangling. Store lights in dry, plastic bins in a cool place, like a garage or basement. Label each bin so you know what’s inside next year. If you have a lot of lights, consider a hanging storage system to keep them organized.