
Testing Your Sump Pump Before the Rainy Season (And Why You’ll Be Glad You Did)
Last spring, I learned the hard way why testing a sump pump isn’t just a chore,it’s a lifesaver. We had one of those sudden downpours that turned our basement into a wading pool, and I stood there in my socks, watching water creep toward my hand-painted accent wall while my husband fumbled with the sump pump switch. Turns out, the float switch had been stuck for months, and neither of us had noticed. $2,000 in water damage and a ruined area rug later, I made a rule: No more skipping the sump pump test.
Here’s what I’ve learned since then,how to test your sump pump like a pro, what to look for, and why a 20-minute check now could save you thousands later. No fluff, no jargon, just the real steps I use in my own basement.
Why This Matters (Or: How I Almost Lost a Basement Full of DIY Projects)
Your sump pump is the unsung hero of your home, quietly sitting in that dark pit waiting for the moment it needs to spring into action. When it works, you don’t even think about it. But when it fails? Suddenly, you’re knee-deep in water, wondering why your carefully painted accent wall is now a Jackson Pollock original.
Here’s the deal: A working sump pump doesn’t just keep your basement dry,it protects your foundation. Water pooling around your home’s base can weaken the soil, shift your foundation, and eventually lead to cracks in your walls. And once mold gets in? Good luck getting rid of it. Trust me, I’ve tried.
I test our sump pump twice a year,once in early spring and again before the fall rains hit. I also do a quick check before any big storms, especially after we’ve had a long dry spell (because, weirdly, dry soil can sometimes cause issues when the rain finally comes). And if we lose power? I test it the second the lights come back on.
Here’s what to watch for if you’re not sure your pump is ready:
- Weird noises,grinding, squealing, or a motor that sounds like it’s struggling. (Ours sounded like a dying lawnmower before it gave out.)
- Nonstop running,if it’s humming away but no water’s coming in, something’s wrong.
- Rust or gunk,if the float switch is caked in dirt or the intake screen is clogged, it won’t work when you need it.
- Tangled cords or debris,I once found a sock (don’t ask) wrapped around our float switch. It’s amazing the stuff that ends up down there.
Don’t wait for a problem to show up. Do a quick test now,it takes less time than fixing a running toilet, and it’s a lot cheaper than dealing with a flooded basement.
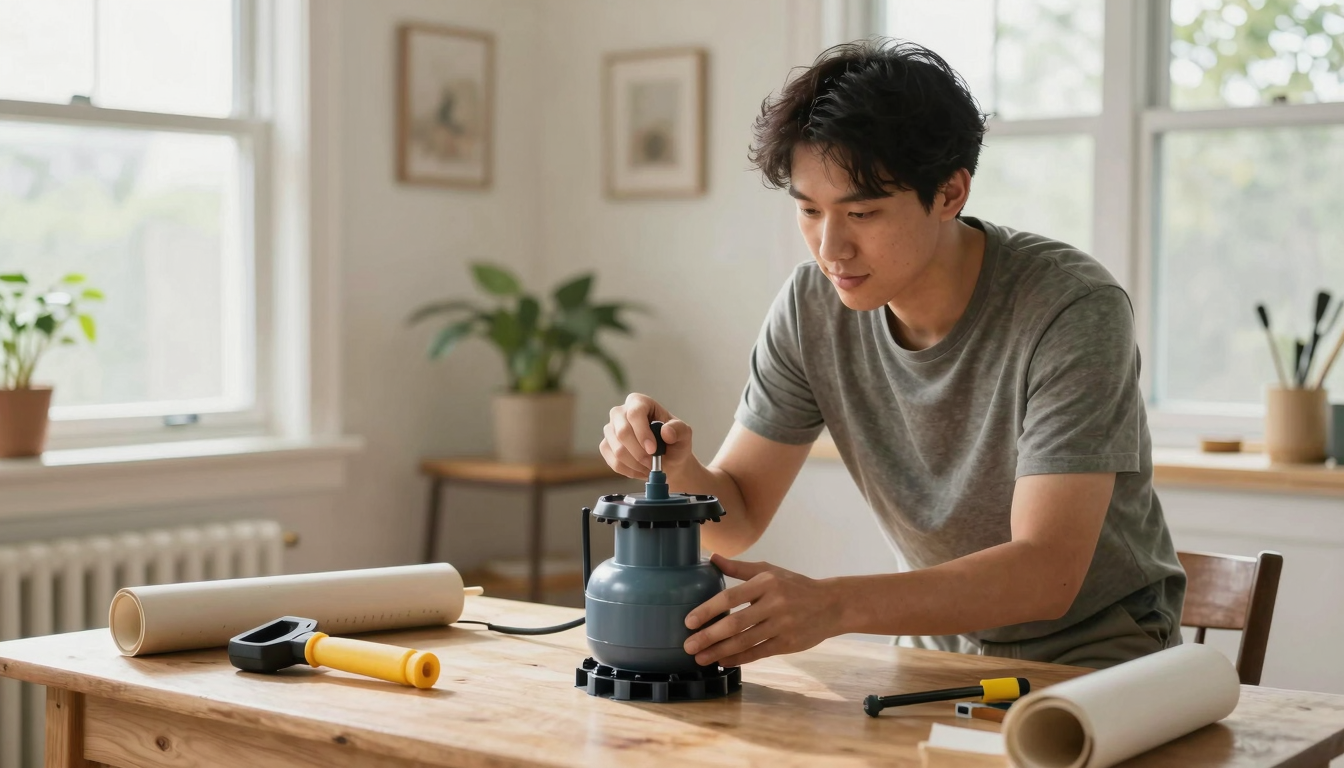
Getting Your Sump Pump Ready for Testing
Before you even think about pouring water into the pit, you’ve got to prep the area. I keep a small tool caddy by the sump pit with everything I need: a flashlight (the one with the magnetic base,game changer), a bucket, a pair of gloves, and a shop vacuum (for when things get messy). Oh, and towels. Always towels.

Step 1: Find the Pit and Do a Quick Visual Check
Our sump pit is in the corner of the basement, hidden behind a shelf of upcycled mason jars I haven’t gotten around to turning into lights yet. (Don’t judge.) Pop off the lid,if yours has one,and shine that flashlight inside. You’re looking for:
- Debris,leaves, dirt, or,yes,random household items that shouldn’t be there.
- Clogs,check the intake screen at the bottom. If it’s covered in gunk, your pump is working overtime.
- Water level,if it’s already high, that’s a red flag. Something’s not draining right.
I once pulled a whole pinecone out of ours. I still don’t know how it got there.
Step 2: Check the Power and Battery Backup
This is where I’ve made mistakes before. Last year, I tested the pump, and it didn’t turn on. I spent 20 minutes poking at the float switch before realizing the GFCI outlet had tripped. Always check the power first.
Here’s what to do:
- Plug the pump in (if it’s not already). Yes, I’ve forgotten this step too.
- Test the GFCI outlet by pressing the “Test” button. If it trips, press “Reset.”
- If you have a battery backup (and you should), check the charge. Ours is a Zoeller 525 Mk II, and I replace the battery every two years, no matter what.
- Flip the breaker if it’s off. (I keep a label on ours that says “DO NOT TURN OFF,SUMP PUMP.”)
Step 3: Know Your Pump Type (And Why It Matters)
There are two main types of sump pumps: pedestal and submersible. Ours is submersible, which means the motor sits in the water. Pedestal pumps have the motor above the pit, which makes them easier to service but louder.
Either way, the float switch is the heart of the system. It’s that little plastic thing that rises with the water and tells the pump to turn on. If it’s tangled, stuck, or covered in gunk, your pump won’t work. Give it a gentle tug,it should move freely. If it doesn’t, that’s your first fix.
Pro tip: If you have a submersible pump, mark the water level with a piece of tape on the side of the pit. That way, you can tell at a glance if the water’s rising too high.
Testing Your Sump Pump: The Two Methods I Actually Use
You’ve got two options here: the water test (the real deal) and the no-water test (for when you’re in a hurry or just want a quick check). I do both,water test in spring, no-water test before storms.
What You’ll Need
- A bucket or garden hose (I use a 5-gallon bucket from Home Depot,it’s the perfect size).
- A flashlight (the magnetic one, remember?).
- Towels (trust me).
- Gloves (optional, but I wear them,sump pits are gross).
Method 1: The Water Test (The Gold Standard)
This is the test that actually mimics real conditions. Here’s how I do it:
- Pour water slowly,don’t dump it all at once. I fill the bucket and pour it in a steady stream, like a slow rain. You want the float to rise naturally.
- Watch the float,it should lift smoothly as the water rises. If it sticks or moves jerkily, that’s a problem.
- Listen for the motor,it should start with a quiet hum, not a grind or squeal. If it sounds like it’s struggling, shut it off and check for clogs.
- Check the discharge,water should flow out strongly and steadily. If it’s trickling or sputtering, your pump is weak or the pipe is clogged.
- Let it shut off,as the water level drops, the float should lower, and the pump should turn off on its own. If it keeps running, the switch is faulty.
I always do this test twice. The first time is to see if it works. The second time is to catch any issues that only show up after the pump’s been running. Last year, the second test revealed a slow drain,turns out, our discharge pipe was partially clogged with roots.
Method 2: The No-Water Test (For When You’re Short on Time)
If you don’t want to deal with water (or you’re in a hurry), you can test the pump by manually lifting the float. Here’s how:
- Gently lift the float,just enough to hear the motor kick on. Don’t hold it for more than a second or two.
- Listen for the motor,it should start immediately. If it hesitates or doesn’t start, there’s an issue with the switch or power.
- Release the float,the motor should shut off right away. If it keeps running, the switch is stuck.
This test is not as thorough as the water test, but it’s a quick way to check if the pump is getting power and the float is working. I do this before big storms when I don’t have time for the full test.
One warning: Never let the pump run dry. I learned this the hard way when I left ours running too long during a test. The motor overheated, and we had to replace it. Now I set a timer for 30 seconds max during manual tests.
Checking the Discharge Pipe (Because Water Going Out Is Just as Important as Water Coming In)
Your sump pump can be in perfect condition, but if the discharge pipe is clogged or leaking, all that water’s just going to come right back in. This is where I’ve had the most headaches,last summer, we had a backup because a tree root had grown into our pipe. By the time I noticed, water was pooling in the basement.
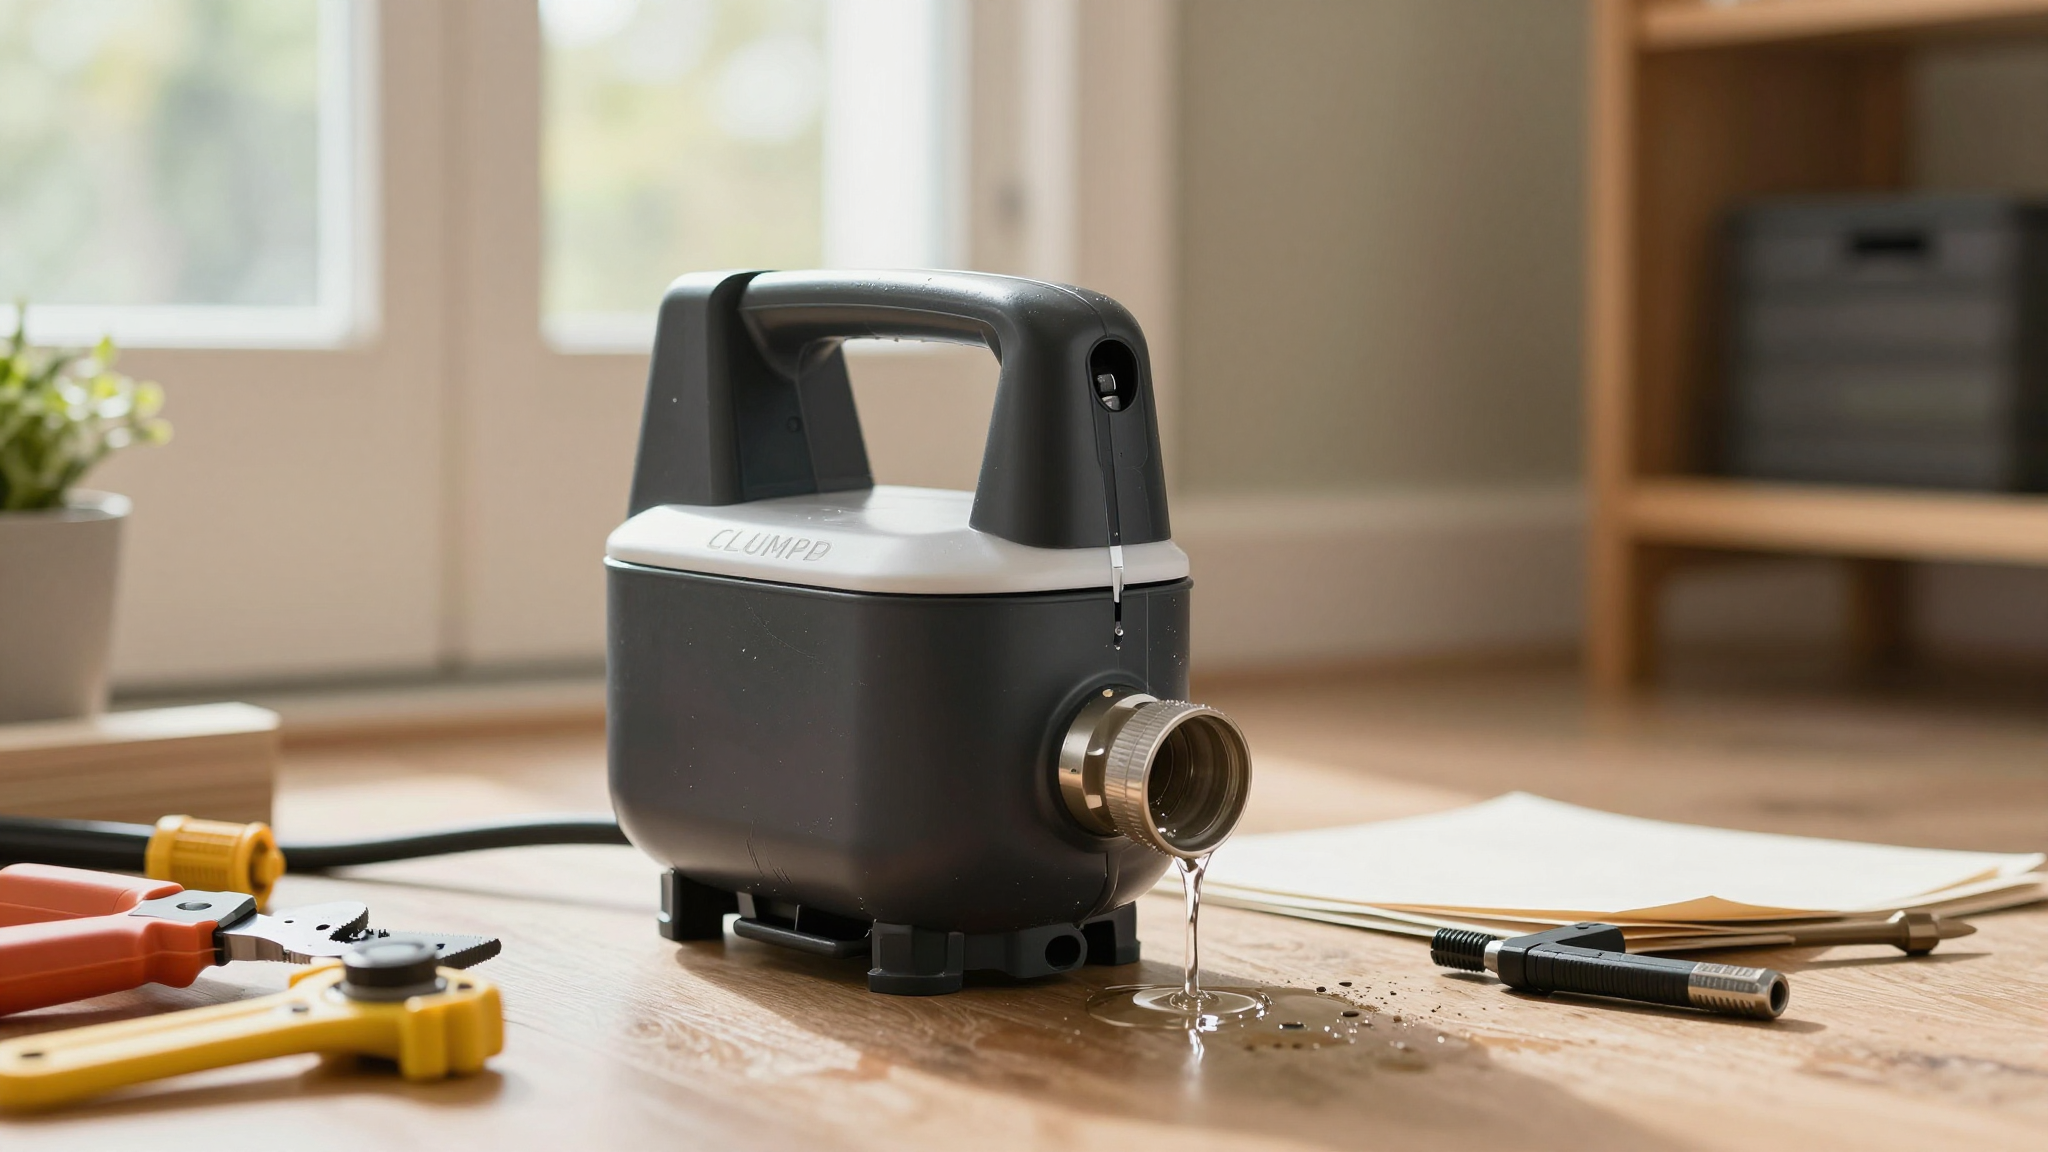
What to Look For
First, find where your discharge pipe exits the house. Ours goes out through the foundation wall and empties into a drain pipe that leads to the street. Here’s what I check:
- Leaks,look for wet spots or dripping around the pipe. If it’s leaking inside the house, that’s a big problem.
- Cracks or damage,if the pipe is crushed, split, or corroded, it needs to be replaced.
- The check valve,this little flap (usually near where the pipe exits the house) keeps water from flowing back into the pit. If it’s broken or clogged, water will just cycle in and out.
Our check valve has an arrow showing the direction of flow. If yours doesn’t, make sure the valve is installed so water flows away from the house. I’ve seen people install them backward,don’t be that person.
How to Test the Discharge Pipe
During the water test, watch where the water goes. It should flow out strongly and stay out. If you see water trickling back into the pit or pooling near the house, your check valve is faulty or the pipe is clogged.
If you suspect a clog, disconnect the pipe (if it’s safe to do so) and clear out any debris. I use a plunger or a wire hanger to poke through blockages. If the pipe is frozen (a winter problem), use a hairdryer to thaw it,never use a propane torch near plastic pipes.
Pro tip: If your discharge pipe is buried, consider rerouting it above ground where you can inspect it easily. Ours is now a bright orange PVC pipe that’s impossible to miss,no more hidden clogs.
What to Do If Your Sump Pump Fails the Test
Okay, so your pump didn’t pass the test. Don’t panic,most issues are easy fixes. Here’s what I do when ours acts up:
Quick Fixes to Try First
Before you call a plumber, walk through this checklist. I’ve fixed most of our sump pump issues with these steps:
- Reset the GFCI and breaker,I keep a label on ours that says “SUMP PUMP,DO NOT TURN OFF!” but somehow, it still happens.
- Check the battery backup,if it’s dead, replace it. If it’s old, replace it anyway. Better safe than sorry.
- Untangle the float,I once found a shoe lace wrapped around ours. Kids, am I right?
- Clear the intake screen,if it’s clogged, the pump can’t pull water in. I use an old toothbrush to scrub it clean.
- Check for debris in the pit,leaves, dirt, or random household items can jam the pump. I vacuum it out with my shop vac.
Last year, our pump wouldn’t turn on at all. After resetting the breaker and checking the float, I realized the cord had come unplugged. Yes, really.
When the Discharge Pipe Is the Problem
If water’s backing up or the pump is running nonstop, the issue is usually with the discharge pipe. Here’s how I troubleshoot it:
- Frozen pipe,if it’s winter, thaw it with a hairdryer. Then, wrap it in heat tape to prevent it from freezing again.
- Clogged pipe,disconnect it (if safe) and clear out debris. I use a wire hanger to fish out leaves and dirt.
- Leaking pipe,if it’s cracked or loose, replace the damaged section. I keep spare PVC fittings on hand for this.
- Check valve failure,if water’s flowing backward, the valve is broken. Replace it,it’s a cheap fix that saves a ton of headaches.
If the pipe is buried and you can’t access it, you might need to dig it up or reroute it. I called a plumber for this,some jobs are better left to the pros.
When to Call a Professional
Some problems are beyond DIY. Call a plumber if you see:
- Recurring clogs,if it’s happening all the time, there might be an issue with the pit or pipe.
- Electrical problems,if the pump smells burnt or the cord is frayed, don’t touch it.
- Nonstop running,if it’s cycling on and off without stopping, the switch or motor is likely faulty.
- You’re uncomfortable,if you’re not sure what you’re doing, call a pro. Better safe than electrocuted.
I replaced our sump pump last year after it started making a grinding noise. The plumber said it was on its last legs,turns out, it was 10 years old. Most pumps last 5–10 years, so if yours is getting up there, start saving for a replacement.
Final Thoughts (And a Reminder to Test Your Pump)
I could write a whole book on sump pump disasters, but here’s the short version: Test it now. It takes 20 minutes, and it could save you thousands in water damage. I test ours twice a year,once in spring, once in fall,and I do a quick check before every big storm.
If you’re not sure where to start, grab a bucket, a flashlight, and follow the steps above. And if you’ve never tested your sump pump before? Do it today. Trust me, your future self will thank you.
Oh, and if you’re looking for more ways to prep your home for the rainy season, check out my posts on winterizing your home and HVAC maintenance. Stay dry, friends!