
How to Clean and Maintain Your Garbage Disposal Like a Pro
Let me tell you,nothing ruins a Saturday morning like a garbage disposal that sounds like it’s chewing on a fork. I learned that the hard way after my kids “helped” by dropping a plastic spoon down the sink while I was making pancakes. (Yes, I had to fish it out with tongs while my husband laughed.)
But here’s the good news: with a few simple habits and a little elbow grease, your disposal can last 10+ years without drama. I’ve been using the same unit since we moved into this house eight years ago, and it still runs like a champ,mostly because I’ve learned the right way to care for it (and the wrong way, too).
In this post, I’ll walk you through:
- How your disposal actually works (so you know what you’re cleaning)
- Daily habits that keep it running smoothly (no weird noises, no clogs)
- How to deep-clean it with stuff you already have in your pantry
- What not to put down the drain (trust me, I’ve made these mistakes)
- Quick fixes for when it jams or stalls (so you don’t have to call a plumber)
I’ll also share the one tool I keep under my sink that’s saved me from multiple disasters,more on that later.
How a Garbage Disposal Actually Works (And Why It Matters)
I used to think my disposal was just a magical vortex that made food disappear. Then I had to take mine apart after my son dropped a Lego in it (don’t ask), and I realized it’s more like a tiny, angry blender with a bad attitude.
Here’s what’s really happening when you flip that switch:
- Food collects under the splash guard in the upper chamber.
- The shredding ring (those sharp teeth you see) breaks it into smaller pieces.
- The flywheel spins like crazy, forcing the food against the ring.
- Impellers (those little spinning arms) push the mush downward into the drain.
But here’s the kicker: if you don’t run water while it’s grinding, you’re basically turning your sink into a paste factory. Starchy foods (like pasta or potato peels) mix with grease and soap residue, creating a gross, sticky film that coats the inside. Over time, that gunk builds up, slows down the motor, and,you guessed it,causes clogs and bad smells.
I learned this the hard way after a Thanksgiving dinner where I didn’t run the water long enough. The next morning, my sink smelled like a sewer, and the disposal was humming like a broken lawnmower. (More on how I fixed it below.)
| Part | What It Does | How It Fails (And How to Avoid It) |
|---|---|---|
| Shredding Ring | Breaks food into tiny pieces | Clogs from fibrous foods (celery, corn husks) or grease buildup. Fix: Run cold water always and avoid fibrous scraps. |
| Flywheel & Impellers | Spins to force food downward | Jams from hard items (bones, fruit pits) or overloading. Fix: Feed small batches, never stuff it. |
| P-Trap & Drainpipe | Carries ground food away | Backs up when food isn’t flushed properly. Fix: Run water for 15–20 seconds after grinding. |
| Motor (1/3–1 HP) | Powers everything; has a reset button | Overheats from repeated jams or heavy loads. Fix: Let it rest if it trips, don’t force it. |
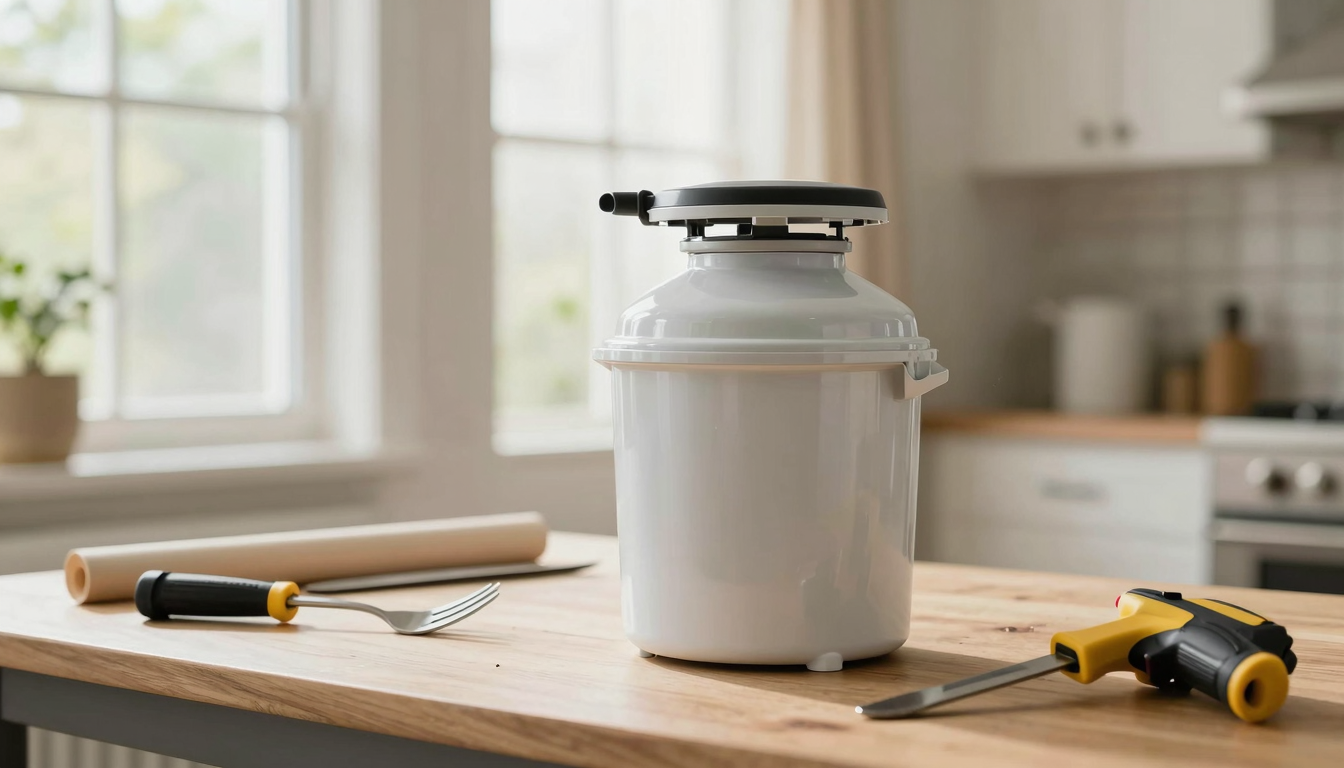
Pro tip: If you’re ever unsure about your model, check the manual (yes, I know,nobody reads those). Mine came with a little hex key tool that’s saved me more times than I can count. I keep it in a small jar under the sink with my other essential tools.
Safety First: How to Avoid a Trip to the ER (Or Worse)
Before you stick your hand near that disposal, listen to me: I’ve seen too many DIY disasters to let you skip this part. Last summer, my neighbor’s husband tried to “quickly” fish out a fork and ended up with a trip to urgent care. Don’t be that guy.
Here’s my pre-cleaning checklist (I print this out and tape it under my sink):
- Turn off the power at the switch under the sink and flip the breaker if you’re unsure. Yes, really.
- Remove all jewelry, utensils, and small items from the sink and counter. Kids, pets, and curious spouses included.
- Use a flashlight to inspect inside before touching anything. (I keep a small LED one in my junk drawer for this exact reason.)
- If you must reach in, use tongs, pliers, or the handle of a wooden spoon. Never, ever your hands.
And please, for the love of all things holy, do not use chemical drain cleaners. I tried one of those “miracle” products once, and it not only didn’t work,it melted the rubber gasket inside my disposal. Now I have to replace the whole unit in a few years. Lesson learned.
If you smell burning, see leaks, or the disposal trips repeatedly, stop and call a pro. Those are signs of bigger problems, and I’d rather spend $100 on a plumber than $500 on a new disposal.
Daily Habits That Keep Your Disposal Running Like New
I know, I know,another “daily habit” post. But hear me out: these take less than 30 seconds and save you from disaster. I’ve trained my whole family (even the kids) to follow these rules, and it’s made a huge difference.

1. Always Run Cold Water
This is the #1 rule in my house. Cold water keeps grease and oils solid so they flush out instead of coating the pipes. Hot water melts fats, which then re-solidify farther down the line and cause clogs.
I learned this the hard way after a deep-fryer incident. I poured hot grease down the drain (I know, I know,never do this), and the next day, my sink was backing up. I had to call a plumber, and it cost me $200 to snake the pipes. Now I always run cold water.
2. Feed Scraps in Small Batches
I used to just dump everything in at once, and my disposal would sound like it was about to explode. Now I drop in small handfuls and wait for each batch to clear. It takes 10 extra seconds but saves me from jams.
Pro tip: If you’re grinding something tough (like chicken bones), run the disposal for a few seconds, then turn it off, let the water flush it, and repeat. This gives the motor a break and prevents overloading.
3. Run It At Least Once a Day
Even if you don’t have much food waste, I run my disposal for about 10 seconds with cold water every day. This keeps the seals lubricated and prevents residue buildup. Think of it like exercise for your disposal.
I also keep a small bowl by the sink for food scraps. That way, I can dump everything in at once instead of running it constantly. It’s a game-changer for my sanity.
How to Deep-Clean Your Disposal (Without Harsh Chemicals)
Every month (or every two weeks if I’ve been cooking a lot), I do a deep clean. It takes about 10 minutes and keeps my disposal smelling fresh and running smoothly. Here’s exactly what I do:
1. Scrub the Splash Guard
First, I turn off the power and lift the rubber splash guard. It’s amazing how much gunk builds up under there! I scrub it with an old toothbrush and a little dish soap, then rinse it with cold water.
I keep a dedicated toothbrush under my sink just for this. It’s weirdly satisfying to see all the grime come off.
2. Ice Cube Scrub
This is my favorite trick. I run cold water, then drop in a handful of ice cubes and turn on the disposal. The ice acts like tiny scrubbers, knocking loose any built-up gunk. I let it run for about 20–30 seconds.
For extra tough buildup, I add 1 cup of coarse salt (like kosher or rock salt) with the ice. The salt is abrasive and helps scrape away stuck-on food. Just be careful,it can be a little loud!
3. Vinegar & Baking Soda Fizz
I pour 1 cup of white vinegar into the sink, followed by ½ cup baking soda. I let it fizz for about 5–10 minutes (it’s like a science experiment!), then run cold water and turn on the disposal to flush it out.
This step kills bacteria and neutralizes odors naturally. No harsh chemicals needed!
4. Citrus Freshener
For a fresh scent, I grind a few lemon or lime wedges (frozen works great!) with cold water. It leaves the disposal smelling amazing and gives the blades a little extra sharpening.
I keep a small container of frozen citrus wedges in my freezer just for this. It’s a great way to use up citrus that’s about to go bad.
What Not to Put Down Your Disposal (Trust Me on This)
I’ve made every mistake on this list, so consider this my apology to my plumbing system.
1. Fibrous Foods (The Worst Offenders)
Celery, corn husks, asparagus, and banana peels are disposal kryptonite. They wrap around the impellers and shredding ring, creating a tangled mess. I learned this the hard way when I put a whole celery stalk down and had to call a plumber to fish it out. ($120 later, I now know better.)
2. Grease, Fats, and Oils (Just Say No)
Pouring grease down the drain is like inviting a clog to move in. It coats the pipes and solidifies, creating a sticky trap for other debris. I used to wipe pans with a paper towel and toss the grease in the trash, but now I freeze it in an old coffee can and throw it out when it’s solid.
3. Hard Items (Bones, Fruit Pits, Nutshells)
I once put a chicken bone down the disposal, and it chipped the shredding ring. Now I throw bones in the trash or compost them. Same goes for fruit pits (peach, cherry, avocado) and nutshells,they can damage the blades.
4. Coffee Grounds and Eggshells (They Add Up)
Coffee grounds and eggshells might seem harmless, but they create a gritty paste that coats the inside of your pipes. I compost my coffee grounds and crush eggshells for my garden instead.
5. Non-Food Items (Yes, This Happens More Than You Think)
Utensils, bottle caps, plastic, and even produce stickers can slip down the drain. I keep a strainer in my sink to catch anything that shouldn’t go down. It’s saved me more times than I can count.
I also tell my kids: “If it’s not food, it doesn’t go down the disposal.” (They’ve heard this lecture more than once.)
Troubleshooting: What to Do When Your Disposal Acts Up
Even with the best habits, sometimes things go wrong. Here’s how I fix the most common issues:

1. It’s Humming but Not Turning
This usually means the flywheel is jammed. First, I turn off the power at the switch and breaker. Then I use the hex key tool (the one that came with my disposal) to turn the flywheel manually. It usually frees whatever’s stuck.
I keep my hex key in a small jar under the sink with my other tools. It’s saved me from multiple disasters.
2. It Tripped the Reset Button
If the motor overheats, it will trip the reset button. I press the button (usually on the bottom of the unit) and wait a few minutes for it to cool down. Then I run cold water and try it again.
If it trips again, I stop and call a plumber. That’s a sign of a bigger problem.
3. It’s Making Weird Noises
Rattling usually means a foreign object (like a fork or spoon) is stuck. Grinding or screeching can mean worn blades or a jam. I turn off the power, shine a flashlight inside, and use tongs to remove anything that doesn’t belong.
If I smell burning or see leaks, I do not mess with it. That’s a job for a pro.
4. The Drain Is Slow
Most of the time, the clog isn’t in the disposal,it’s in the P-trap (that U-shaped pipe under the sink). I place a bucket under the trap, loosen the hand-tight fittings, and let the water and gunk drain out. Then I scrub it clean and put it back together.
I keep a small bucket and rags under my sink just for this. It’s messy but worth it!
Final Tips to Keep Your Disposal Happy
Here’s what I’ve learned after years of trial and error:
- Run cold water always,it’s the #1 rule.
- Feed scraps in small batches,don’t overload it.
- Clean it monthly with ice, salt, and vinegar.
- Avoid the “no” list,fibrous foods, grease, hard items.
- Use the hex key for jams,it’s a lifesaver.
And if all else fails? Call a plumber. It’s worth it to avoid a bigger mess (and a bigger bill).
Now, if you’ll excuse me, I need to go check on my kids and make sure they’re not feeding the disposal anything it shouldn’t have. Wish me luck!
More DIY Tips You’ll Love
If you enjoyed this post, you might also like:
- How to Patch Holes in Drywall Like a Pro (Because kids + walls = accidents)
- How to Give Your Stairs a Wood Makeover in a Weekend (I did this last summer,it was a game-changer!)
- How to Fix a Running Toilet in 5 Easy Steps (Save water and your sanity!)