
How to Clean and Seal Grout: My Real-Life Tips for Tile That Stays Fresh
Let me tell you,nothing makes a kitchen or bathroom look dingy faster than grimy grout. I’ve spent way too many weekends scrubbing at those stubborn lines between my tiles, only to have them look clean for about five minutes before the grime creeps back. After years of trial and error (and a few ruined grout brushes), I’ve finally figured out a system that actually works. This isn’t some perfect, Pinterest-worthy method,it’s what I actually do in my own home, with my kids tracking in dirt and my husband “helping” by splashing water everywhere.
I’ll walk you through exactly how I clean and seal grout,whether it’s in my kitchen, shower, or entryway,so your tile looks brand new again. And trust me, I’ve made enough mistakes to save you from the worst of them.
Why Grout Gets Dirty (And Why Regular Cleaning Isn’t Enough)
Grout is like the wallflower of your tile,it’s always there, but no one really notices it until it starts looking gross. The problem? Those little lines between your tiles are porous. That means they soak up water, dirt, and spills like a sponge. Over time, that buildup darkens the grout, making it look dingy even if your tiles themselves are still bright.
I learned this the hard way when I redid our kitchen floor a few years ago. I spent hours picking out the perfect tile, only to realize six months later that the grout was already turning gray. No amount of mopping was making a difference,because mopping just spreads the dirt around. It doesn’t actually clean the grout.
Where Grout Gets Dirty Fastest
Some areas just seem to collect grime faster than others. In my house, the worst offenders are:
- The kitchen floor near the stove (thanks, splattered tomato sauce).
- The shower (because, well, shower).
- The entryway (muddy shoes, meet porous grout).
- Around the dog’s water bowl (I don’t even want to think about what’s in those lines).
If you’ve got kids, pets, or a life, your grout is probably already on its way to looking sad. The good news? A deep clean and seal can bring it back to life.
Before You Start: How to Avoid Ruining Your Tile (Or Your Marriage)
I once used a vinegar-and-baking-soda mix on our bathroom grout without testing it first. Let’s just say my husband was not happy when the grout turned patchy and the vinegar etched the edge of our marble vanity. (Yes, I learned that lesson the hard way.)
Here’s how to prep properly so you don’t end up with a grout disaster:
Step 1: Figure Out What Kind of Tile You Have
Not all tile is created equal. If you’ve got natural stone (like marble, travertine, or limestone), you’ve got to be extra careful,acidic cleaners like vinegar will eat right through it. Ceramic and porcelain tile are tougher, but they still need the right treatment.
How to tell? Tap it,ceramic and porcelain sound denser. If it’s soft or has a veiny pattern, it’s probably stone. When in doubt, test a tiny, hidden spot first.
Step 2: Pretest Your Cleaner (Yes, Really)
I know, testing feels like a hassle. But trust me, it’s worth it. Grab an old toothbrush, mix up a tiny bit of your cleaner (whether it’s store-bought or DIY), and apply it to a corner of your grout. Wait 10 minutes, then rinse. If the grout looks lighter and the tile isn’t damaged, you’re good to go. If not, time to pick a different cleaner.
Step 3: Protect Everything Else
Nothing ruins a cleaning session faster than accidentally splashing bleach on your baseboards. I learned this when I was in a rush and didn’t tape off the edges,now I always grab some painter’s tape and cover anything nearby. A drop cloth on the floor doesn’t hurt either.
Step 4: Sweep or Vacuum First
This is one of those steps that feels unnecessary until you skip it. I did that once, and all I accomplished was turning my grout into a muddy mess. Always start with a dry sweep or vacuum to get rid of loose dirt before you bring in water.
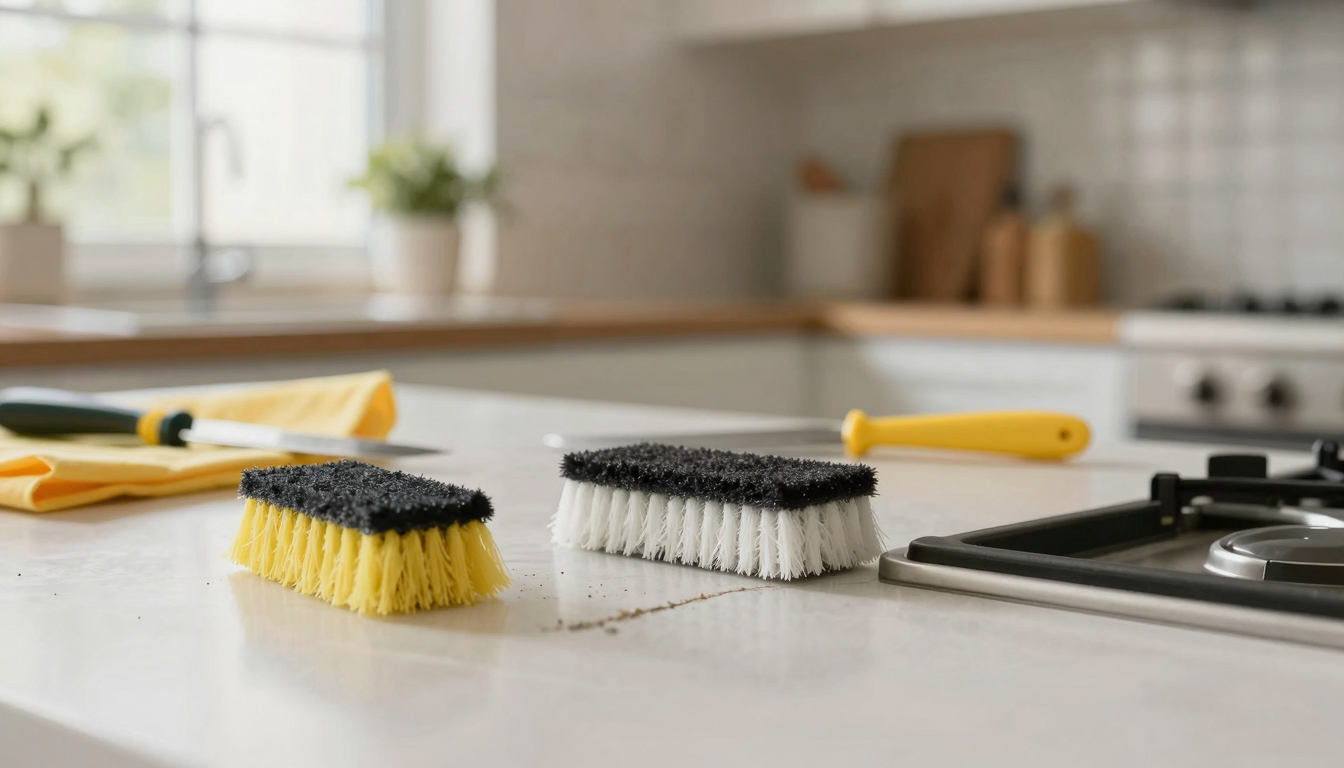
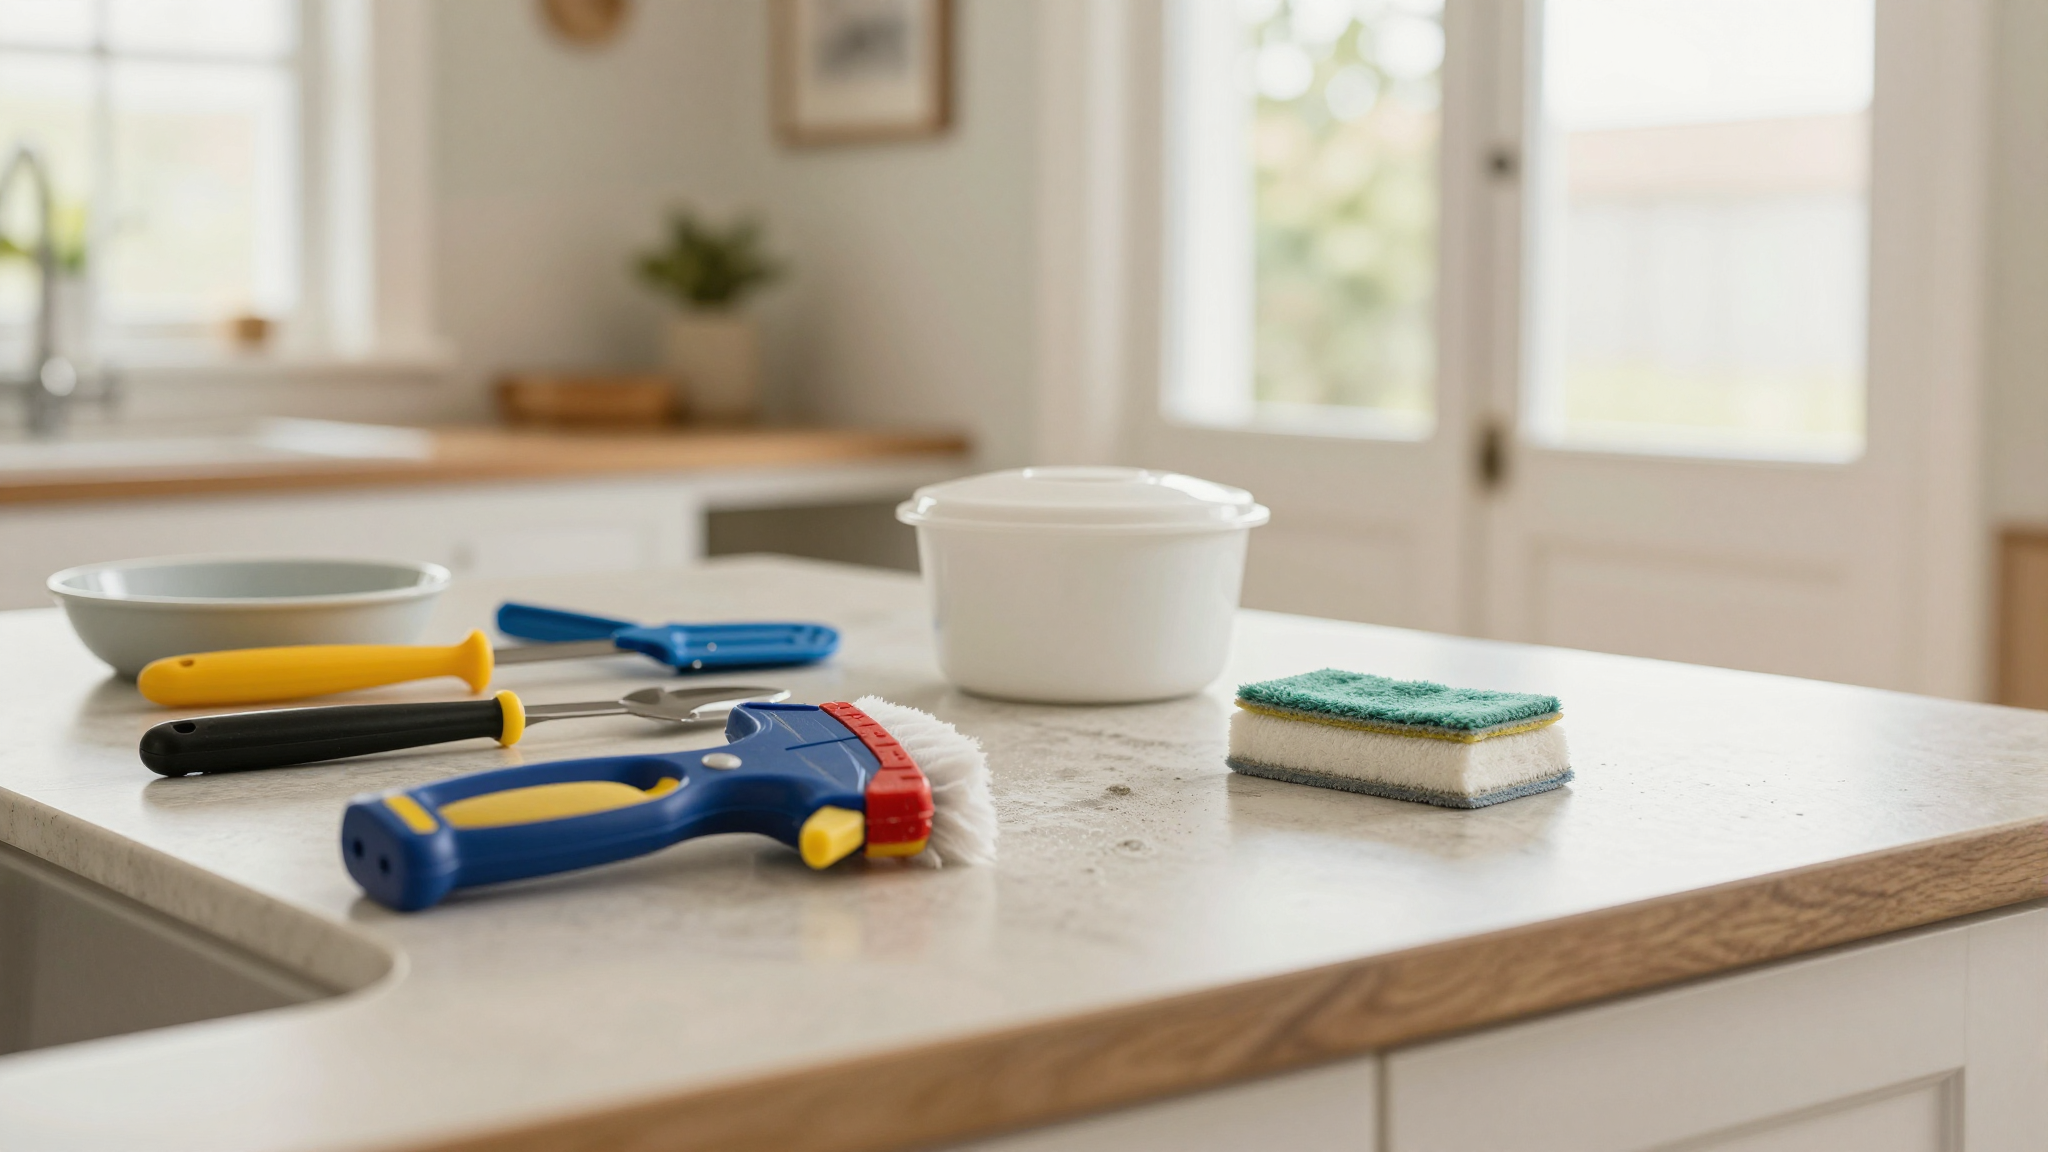
Tools and Supplies You’ll Actually Need
You don’t need a fancy kit, but you do need the right tools. Here’s what I keep on hand:
My Go-To Cleaning Supplies
- Grout brush (I like the OXO Good Grips Grout Brush,it’s sturdy and doesn’t fall apart after one use).
- Old toothbrush (for tight spaces).
- Microfiber cloths (they trap dirt instead of pushing it around).
- Spray bottle (for water or cleaner).
- Gloves (because no one wants chemical burns).
- Baking soda (my #1 pantry cleaner).
- White vinegar (but only on ceramic/porcelain tile).
- Hydrogen peroxide (3% works great for tough stains).
- Store-bought grout cleaner (I keep Clorox Tilex on hand for bad stains).
Pro tip: If you’re dealing with really stubborn stains, a wet/dry vacuum is a game-changer for extracting dirty water.
Step-by-Step: How I Clean Grout (Without Losing My Mind)
Alright, let’s get to the good stuff. Here’s exactly how I clean grout in my kitchen, bathroom, and entryway,with minimal stress and maximum results.
Step 1: Prep the Area
First, I wet the grout lightly with a spray bottle (not soaking,just enough to loosen dirt). Then I sweep or vacuum again to get rid of any loose grime. If I’m working in the shower, I make sure the kids know not to walk in while it’s wet (good luck with that).
Step 2: Choose Your Cleaner
For everyday dirt, I mix baking soda with a little water to make a paste. It’s gentle but effective. For tougher stains, I use a mix of baking soda and hydrogen peroxide (3% works fine). If the grout is really bad, I’ll break out the Tilex.
Here’s the breakdown:
| Cleaner | Best For | How to Use |
|---|---|---|
| Baking soda paste | Everyday dirt, light stains | Mix with water, apply, scrub, rinse. |
| Baking soda + hydrogen peroxide | Tough stains, set-in grime | Mix into a paste, let sit 10–15 minutes, scrub, rinse. |
| White vinegar (diluted) | Ceramic/porcelain tile only | Spray, let sit 5 minutes, rinse thoroughly. |
| Store-bought cleaner (like Tilex) | Heavy traffic, bad stains | Follow label instructions. |
Step 3: Scrub and Let It Dwell
This is where most people mess up. You can’t just spray and scrub,you’ve got to let the cleaner sit for a few minutes to really break down the grime. I usually let baking soda paste sit for 5–10 minutes, and hydrogen peroxide mixes for 10–15 minutes.
Then I scrub with my grout brush (or toothbrush for tight spots) in small sections. I work in 2-foot squares so I don’t let the cleaner dry out before I rinse.
Step 4: Rinse Like Your Life Depends on It
Leaving cleaner residue behind is a one-way ticket to streaky, dull grout. I rinse with clean water and a microfiber cloth, then go over it again with a wet/dry vacuum to pull out any leftover dirt. If I skip this step, the grout ends up looking worse than before.
Step 5: Dry and Inspect
I blot the grout dry with a clean towel (or let it air-dry if I’m in a hurry). Then I take a good look,if some lines still look dingy, I repeat the process. Usually, one deep clean is enough, but stubborn spots might need a second round.
When to Call a Pro (Yes, Sometimes You Should)
I’m all about DIY, but there are times when you’ve just got to call in the big guns. Here’s when I know it’s time to hire a professional:
- If the grout is black or gray no matter what I do.
- If I’ve tried everything and the stains keep coming back.
- If the grout is crumbling or cracking (that’s a whole different problem).
- If I’ve got natural stone and I’m scared of messing it up.
Pros have serious tools,like steam cleaners and hot-water extraction,that get deep into the grout in a way my toothbrush never could. And honestly? Sometimes it’s worth the money to save your sanity.
If you’re curious about what the pros do differently, check out this article (though I’ve never actually seen a pro use a “secret” method,just really good equipment and patience).
How to Seal Grout So It Stays Clean Longer
Sealing grout is like putting sunscreen on your skin,it protects it from getting damaged. Without a sealant, your grout will soak up water, dirt, and spills like a sponge. With one, it stays cleaner longer and is way easier to maintain.
Why Bother Sealing?
I used to skip sealing because it felt like extra work. But after I redid our shower grout and sealed it, I noticed two things:
- Spills wiped up way easier.
- I didn’t have to deep clean as often.
It’s not a magic cure-all, but it does make grout maintenance a lot simpler.
How to Choose a Sealer
There are two main types:
- Penetrating sealer (my favorite,it soaks into the grout and protects without changing the color).
- Color-enhancing sealer (darkens the grout and adds a little shine).
I like Chem-Dry’s penetrating sealer because it’s easy to apply and doesn’t leave a hazy film. But any good sealer will work,just make sure it’s rated for your type of grout.
How to Apply Sealer Like a Pro
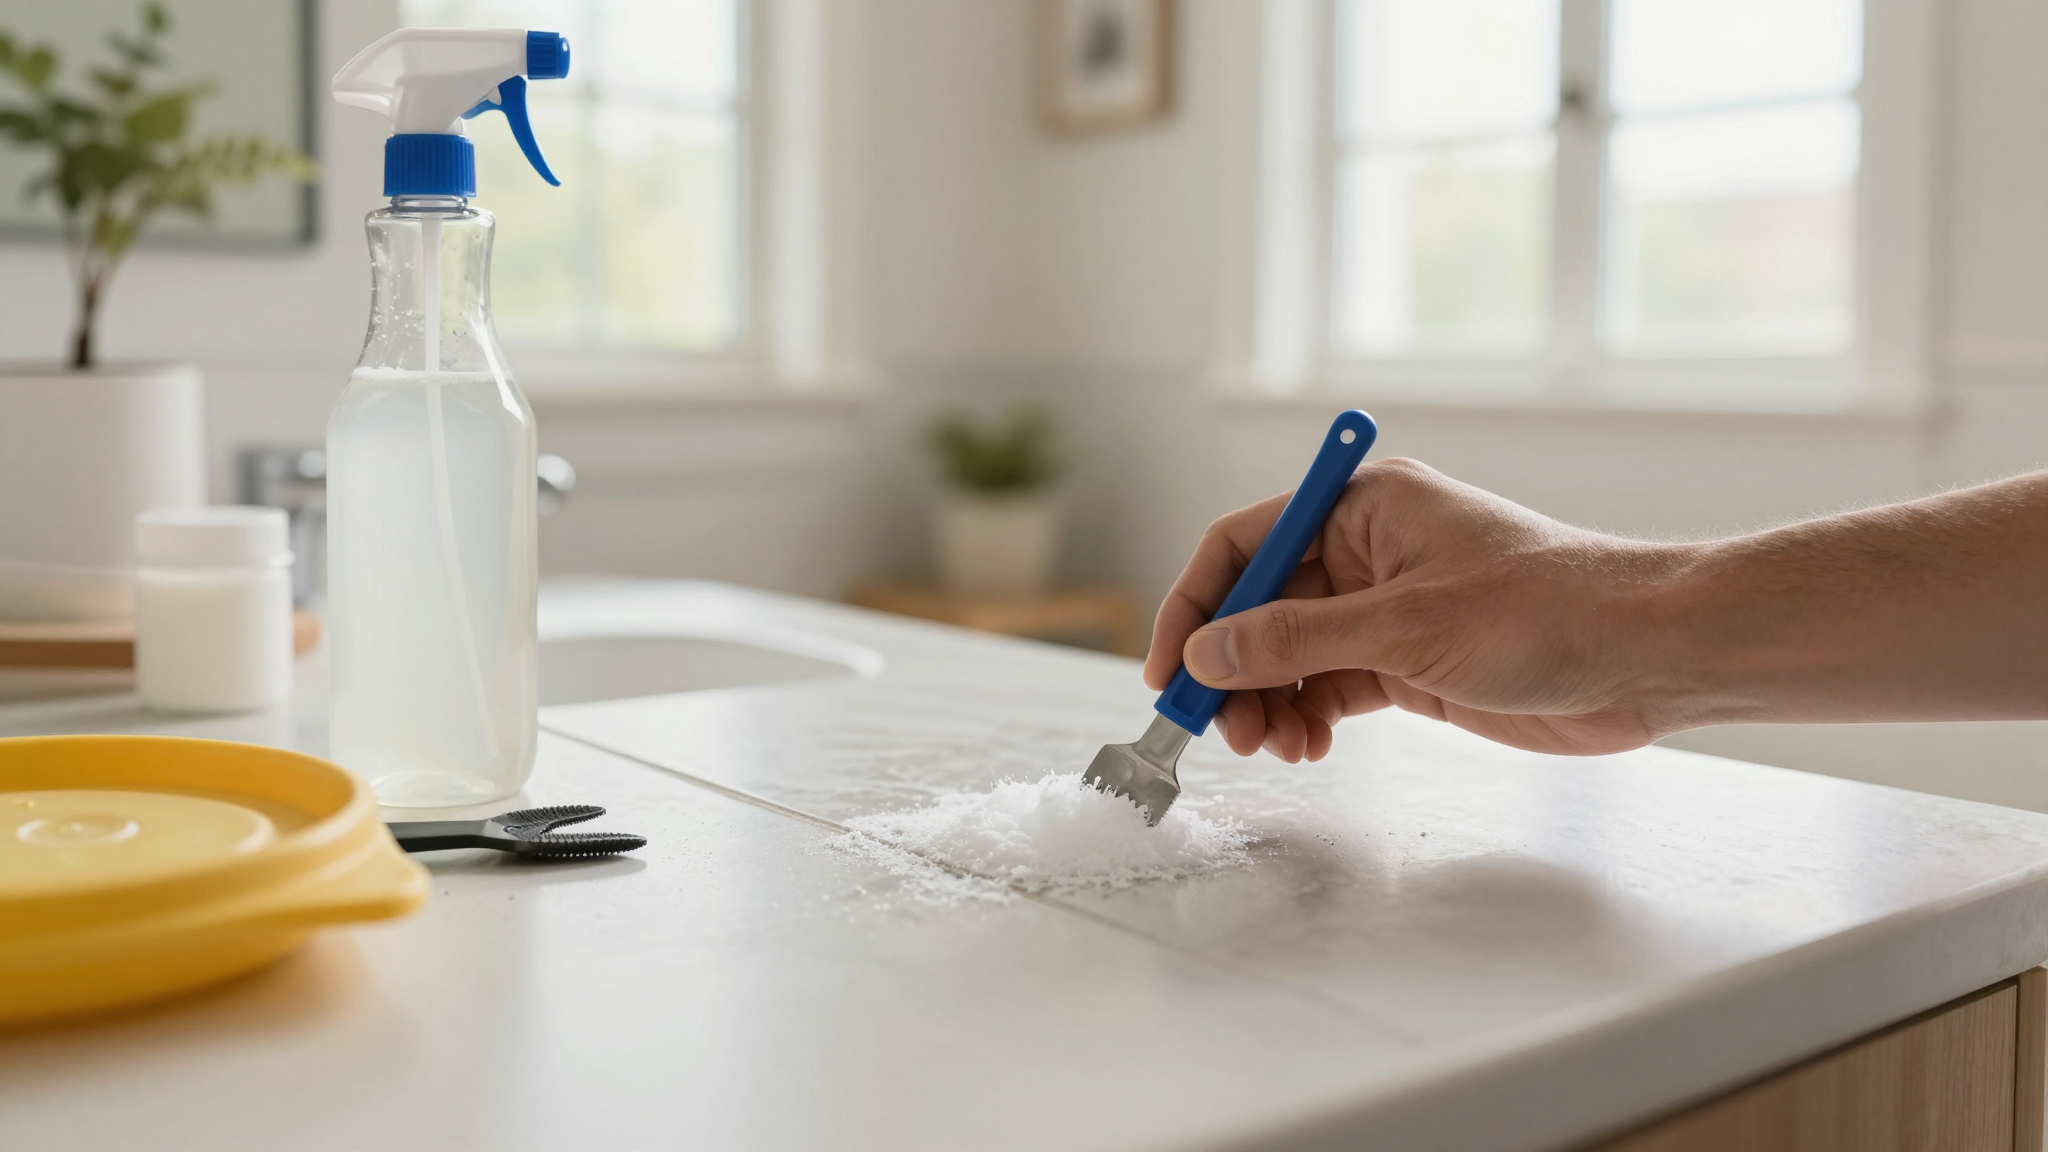
Here’s how I do it:
- Make sure the grout is completely dry (no moisture at all).
- Use a small applicator bottle or a brush designed for grout (like a detail brush).
- Apply a thin, even coat along the grout lines. Don’t soak it,just enough to saturate.
- Wipe off any excess from the tile with a clean cloth immediately (this prevents haze).
- Let it cure for the time listed on the label (usually 24–48 hours).
Pro tip: Work in small sections (like a 2×2-foot area) so the sealer doesn’t dry out before you can wipe the excess.
How Often to Reapply Sealer
This depends on where your grout is:
| Area | Reapply Every | Notes |
|---|---|---|
| Low-traffic floors (like a bedroom) | 1–2 years | Check yearly for water absorption. |
| Kitchen floors | 6–12 months | Food spills and grease wear it down faster. |
| Showers | 6 months | Moisture is the #1 enemy of sealed grout. |
To test if your sealer is still working, drop a little water on the grout. If it beads up, you’re good. If it soaks in, it’s time to reseal.
Final Tips (From Someone Who’s Learned the Hard Way)
Here’s what I wish I’d known before I started cleaning grout:
- Don’t mix vinegar and baking soda,it neutralizes the cleaning power, and you’re left with a fizzy mess.
- Rinse thoroughly,leaving cleaner behind will make grout look worse.
- Seal after cleaning,it’s the only way to keep grout looking fresh long-term.
- Work in small sections,it’s easier to control and you won’t let cleaners dry out.
- Invest in a good grout brush,cheap ones fall apart after one use.
And if all else fails? Sometimes you just have to accept that grout is going to get dirty, and that’s okay. But with this method, at least it’ll be clean dirty.
Now go forth and scrub,your grout will thank you.