
Handmade Holiday Ornaments: Family Keepsake Projects

There’s nothing quite like the magic of creating holiday decorations with your own hands – especially when those decorations become cherished family heirlooms. I still remember the first year I made ornaments with my kids when they were little. My then-5-year-old, Lily, insisted on using every color of glitter we owned (which meant our kitchen table looked like a disco ball exploded by the time we finished). That lopsided star with its excessive glitter application now hangs on our tree every year, right next to the more “professionally” crafted pieces.
What makes these handmade ornaments so special isn’t just their beauty – it’s the stories they carry. Each brushstroke, each smudge of glue, each carefully placed glitter flake becomes part of our family’s holiday narrative. These aren’t just decorations; they’re time capsules of laughter, learning, and love that we’ll pass down for generations.
In this guide, I’ll share the projects that have worked best in our home, along with tips I’ve learned the hard way (like why you should always use a drop cloth when working with glitter). We’ll explore everything from simple projects perfect for little hands to more advanced techniques that create heirloom-quality pieces. The best part? You don’t need to be an artist to create beautiful decorations that will be treasured for years to come.
Let’s get started with some projects that have become staples in our holiday traditions – and I’ll share exactly what worked (and what didn’t) along the way.
Embracing the Spirit of Family Traditions
Every year when we pull out our boxes of ornaments, it’s like opening a scrapbook of our family’s history. There’s the first ornament my husband and I made together when we were dating (a somewhat lopsided ceramic heart that somehow survived our move across the country). There are the handprint ornaments from when each of our kids were babies. And then there are the more recent additions – like the ornament my teenage daughter made last year that’s actually quite impressive (she’s discovered a talent for calligraphy, which she put to good use on our tree).
What I’ve learned over the years is that these ornaments don’t have to be perfect to be precious. In fact, some of our favorite pieces are the ones with obvious “handmade” imperfections. The year my son tried to help me paint ornaments and ended up with more paint on his face than on the actual decorations? That’s now one of our most treasured traditions – we always make sure to include at least one “accidentally” abstract ornament on our tree.
Traditional techniques get a modern twist in our home. We still love the classic hand-carved wooden ornaments my grandmother used to make, but we’ve found ways to adapt them for today’s families. Last year, we used my grandmother’s old cookie cutters as stencils for laser-cut acrylic ornaments – it was a great way to honor her traditions while using more durable materials that will last for generations.
| Traditional Techniques | Modern Adaptations | Sentimental Value |
|---|---|---|
| Hand-carved wooden ornaments (using my grandmother’s old set!) | Laser-cut acrylic ornaments (we used Etsy for these – check out their holiday collection) | High |
| Fabric scraps from family clothing (I still have my wedding dress fabric!) | Eco-friendly recycled material sets (we love the ones from this upcycling project) | Medium-High |
| Heirloom glass baubles (some from my great-grandmother’s collection!) | Personalized photo Christmas ornaments (we made these using Shutterfly – about $12 each) | Customizable |
Our home feels especially warm during the holidays when we display these meaningful pieces. They spark conversations about family history – like when my kids ask about the Norwegian woven hearts my great-grandmother brought over from Norway, or when we talk about the Mexican tin stars my husband’s family has used for generations. These decorations aren’t just pretty; they’re conversation starters that connect us to our past and help us create new traditions.
This spirit of togetherness is what makes our ornament-making sessions so special. It’s not about perfection – it’s about the memories we’re creating together. And trust me, the “oops” moments (like when my daughter accidentally glued her hair to an ornament) become some of our favorite stories to tell year after year.
Creative Holiday Ornaments to Spark Joy
One of my favorite projects to do with the kids is creating galaxy ornaments using clear glass baubles. We fill them with layered acrylic paints and swirl the colors with a toothpick to create that space-like effect. The first time we did this, my son was convinced we’d created actual pieces of the night sky! These ornaments catch the light from our tree beautifully and always get compliments from visitors.
For a more budget-friendly approach, I love upcycling thrift store finds. Last year, I found a box of vintage metal shapes at a local thrift shop for just $5. I spray-painted them in gold and copper, then added our family’s initials with metallic markers. They turned out so well that I actually sold a few at our neighborhood holiday market – which was a nice surprise!
Here’s what I’ve learned about creating beautiful ornaments, no matter your skill level:
- Choose your color palette first – I tend to stick with warm metallics (gold, copper) or icy pastels (mint green, baby blue) because they work with any decor style.
- Add texture – Stenciling, glitter, or even pressed flowers can take a simple ornament to the next level. (Pro tip: Use Mod Podge to seal everything – it’s my go-to for durability.)
- Seal with clear varnish – This step is crucial, especially if you have little ones helping. I’ve learned the hard way that unsealed glitter ornaments can create a mess when they fall off the tree!
I’ve also fallen in love with hand-painted ornaments inspired by Mexican Talavera pottery. The bold floral motifs are so cheerful, and they’re surprisingly easy to recreate. I found a great tutorial on YouTube that walks you through the process step by step. The first time I tried it, my flowers looked more like blobs, but with practice, I’ve gotten much better!
These affordable projects prove that you don’t need to spend a fortune to create beautiful decorations. That single glitter-dipped pinecone my daughter made in kindergarten still brings me joy every time I see it on our tree. And when we display a cohesive set of handmade ornaments together, it creates such a warm, personal feel that store-bought decorations just can’t match.
Handcrafted Heirloom-Quality Decorations
If you want to create decorations that will last for generations, you need to focus on both design and materials. I’ve learned that the key is balancing traditional craftsmanship with modern durability. For example, I love hand-painted Christmas ornaments, but I’ve switched to using non-toxic acrylics that won’t yellow or fade over time.
One of my favorite techniques is using laser engraving on wooden shapes. It’s amazing how precise and beautiful the details can be. I actually took a class at our local Home Depot to learn how to use their laser cutter, and now I can create custom wooden ornaments at home. (If you don’t have access to a laser cutter, many local makerspaces do – it’s a great community resource!)
Here’s what I look for in heirloom-quality ornaments:
- Durability – Kiln-fired ceramics or tempered glass won’t chip or break easily. I learned this the hard way when I bought some cheap glass ornaments that shattered the first time they hit the floor!
- Timelessness – Neutral color palettes (whites, golds, natural wood tones) will always be in style. I regret buying those bright neon ornaments one year – they’ve already started to look dated.
- Personalization – Initials, dates, or special messages make each ornament unique. I have a set of ornaments with each of my kids’ birth years engraved on them that I’ll treasure forever.
Some of our most meaningful ornaments are the ones that tell stories. Like the embroidered felt stars made from fabric scraps of my kids’ baby clothes, or the resin-cast Christmas tree needles from our family vacation to the Smoky Mountains. These pieces aren’t just decorations – they’re little time capsules of our family’s journey.
While artisan sets can be pricey (I’ve seen some beautiful ones for $25-$100), you can create similar pieces at home for a fraction of the cost. Check out my guide to DIY home projects for more budget-friendly ideas that still look amazing.
True heirlooms aren’t just beautiful – they’re meaningful. That handcrafted ornament might spark a story about your great-grandparents’ traditions or inspire new ones. That’s the magic of decorations made with care and love.
The Timeless Elegance of Old-World Ornaments
There’s something so special about old-world ornament designs. They bring a touch of history and craftsmanship to your holiday decor. I fell in love with these styles after visiting a friend’s home that was decorated with beautiful antique ornaments. The way they caught the light and added such warmth to the room inspired me to incorporate more of these classic pieces into our own traditions.
One thing I’ve noticed is that many shops now offer free shipping promotions, which can really help with your holiday budget. I’ve found some gorgeous hand-painted Christmas ornaments on Etsy that came with free shipping when I ordered a few different items. It’s a great way to build a collection without breaking the bank.
What I love most about artisan-crafted decorations is the attention to detail. The delicate brushstrokes on ceramic pieces, the hand-carved depth in wooden ornaments – these little touches make them so special. Here are some of the details I look for:
- 24k gold leaf accents that catch the tree lights beautifully (I have a set of ornaments with these that sparkle like crazy!)
- Durable finishes that won’t fade or chip (this is especially important if you have pets or kids)
- Customizable elements like family initials or dates (I have an ornament with our family name engraved on it that I’ll pass down to my kids)
Many artisans share behind-the-scenes videos on their websites or social media. I’ve spent hours watching these – it’s fascinating to see how these beautiful pieces are made! While some can be pricey, I’ve found that investing in a few special ornaments each year creates a collection that’s truly unique to our family.
Vibrant Hand-Painted Glass Ornaments from Iconic Shops
Hand-painted glass ornaments are like little works of art for your Christmas tree. I was amazed the first time I saw how intricate these pieces can be. The way the light catches the painted details is absolutely magical. I’ve collected a few over the years, and they’re always the first ornaments I put on our tree – they set the tone for the whole season.
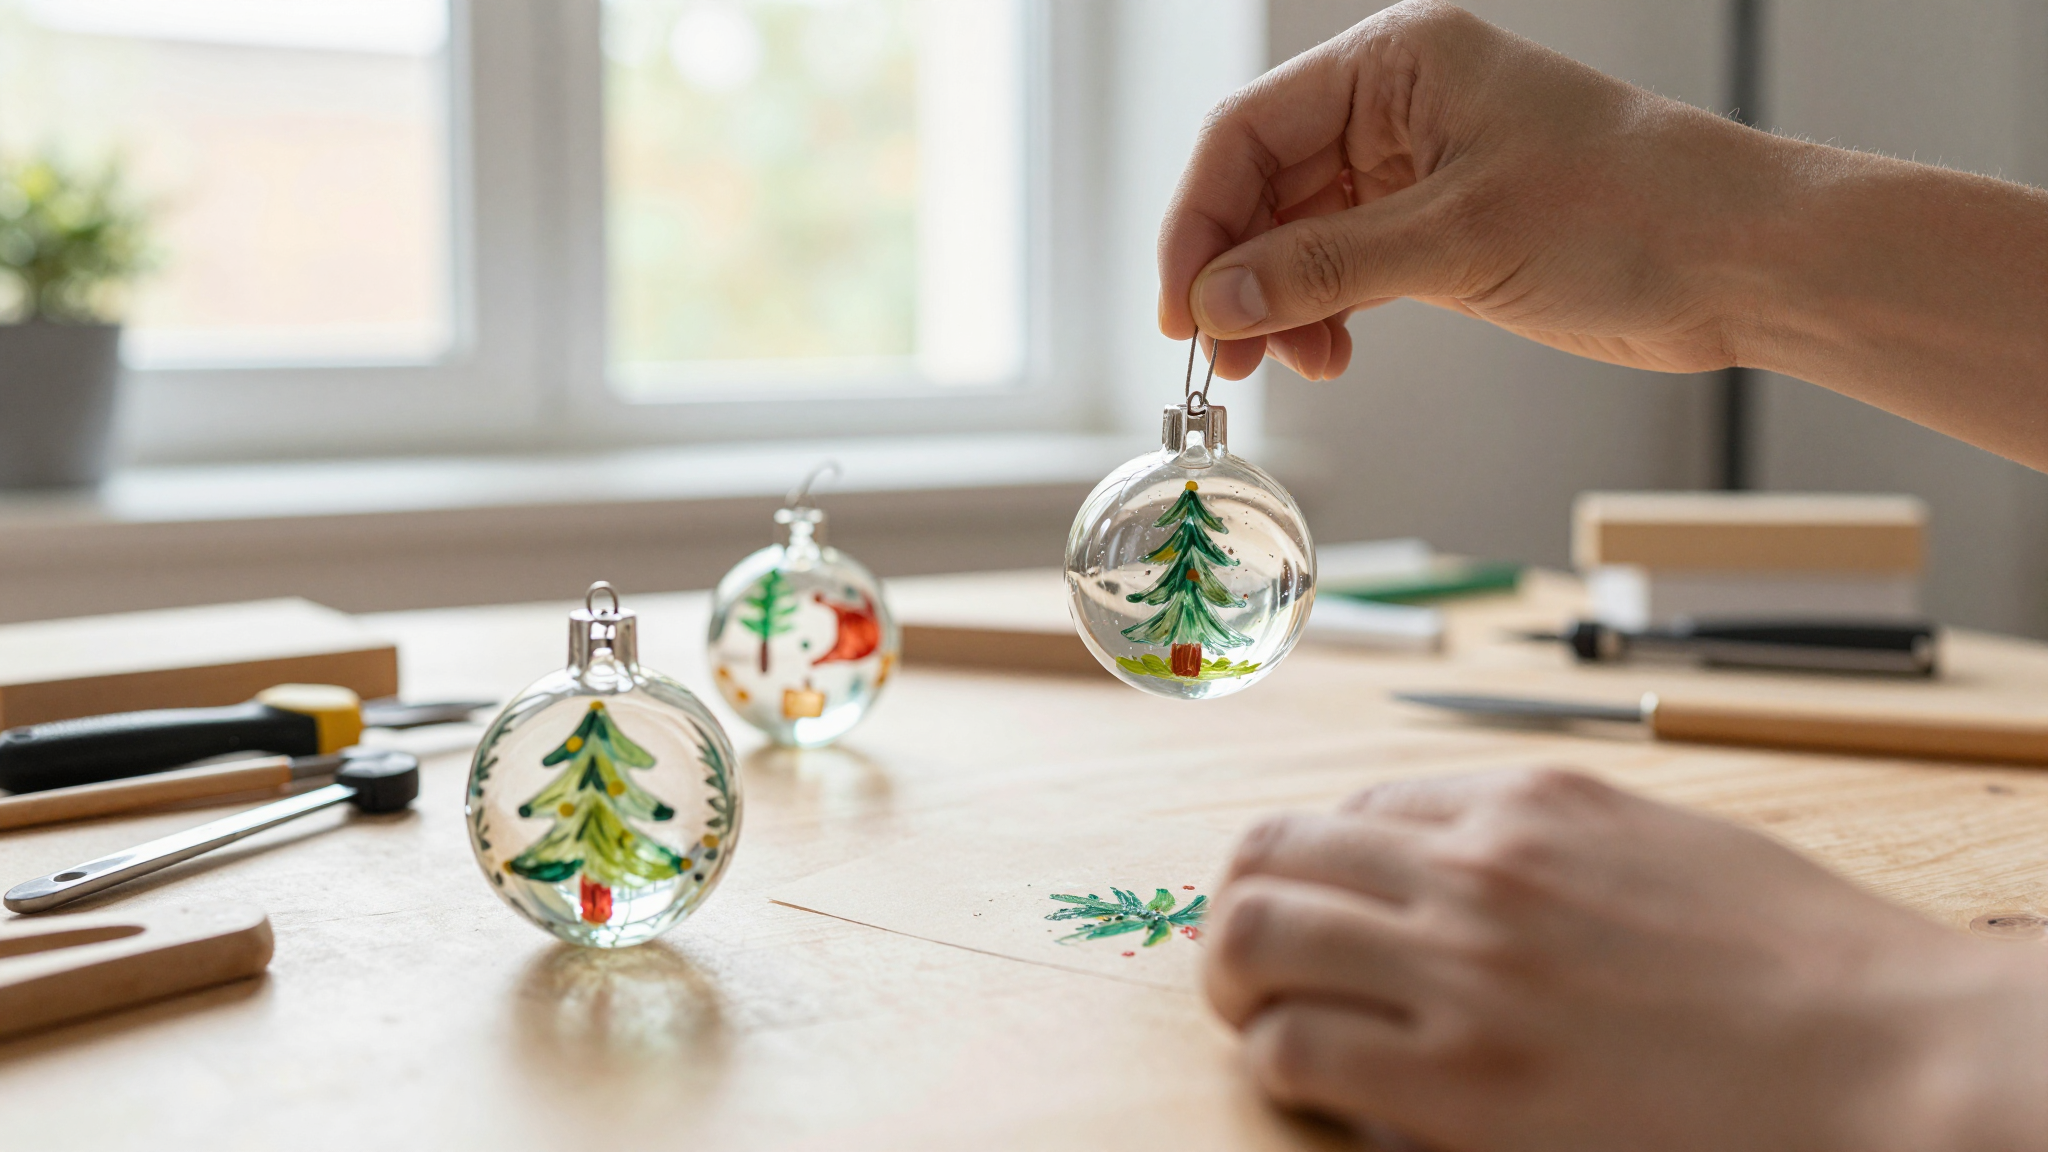
What I love about these ornaments is how the techniques create such beautiful visual effects. Master painters use ultra-fine brushes to layer pigments on the glass, creating depth and dimension. I tried my hand at this last year and was surprised at how well it turned out! (Though I’ll admit, my first attempt looked more like a modern art piece than a traditional ornament.)
| Technique | Visual Effect | Brand Example |
|---|---|---|
| Freehand Florals | 3D petal depth that looks almost real | Belleek Pottery (I have one of their pieces – it’s stunning!) |
| Gold Leaf Embellishment | Luxurious shimmer that catches every light | Waterford Crystal (these are a splurge, but so worth it!) |
| Ombré Blending | Sunset-like transitions that are so pretty | West Elm (they have some beautiful options) |
I’ve also fallen in love with the designer collaborations that many brands offer. Last year, I found a limited-edition set from Jonathan Adler and Kate Spade that combined pop-art boldness with classic shapes. These collaborations often sell out quickly, so I always check brands’ project pages as soon as they’re announced. The price range is usually $25-$150, which might seem steep, but these pieces are truly collectible.
Color plays such a big role in these ornaments. I love the deep cobalt blues that remind me of winter skies, and the ruby reds that evoke vintage Christmas ornaments. Designers like Rifle Paper Co. have introduced botanical motifs that feel fresh yet timeless. These ornaments don’t just decorate your tree – they become conversation pieces that everyone notices.
Styling Your Home with Festive DIY Decorations
Your home becomes a canvas for seasonal magic when you infuse it with handmade charm. I remember the first year I really focused on creating a cohesive holiday look. I started with our Christmas tree as the focal point and built out from there. The difference was amazing – our home felt so warm and inviting, like a cozy holiday postcard come to life.
Here are some easy DIY tips I’ve learned for adding a personal touch to your decorations:
- Dip-dye wooden shapes in color-blocked patterns using food-safe stains. (I use Anvil Paint – it’s my go-to for safe, durable colors.)
- Layer scrapbook paper cutouts inside clear glass ornaments. My kids love helping with this – we use their old school papers or favorite photos.
- Stencil metallic phrases onto fabric ribbons for custom garlands. I made one last year that says “Joy” in different languages – it’s become a family favorite.
| Project | Materials Needed | Average Price |
|---|---|---|
| Glittered Pinecones | Pinecones (we collect these on hikes!), glue, glitter | $3-$5 per set |
| Clay Imprint Ornament | Air-dry clay, stamps (I use these Amazon ones) | $8-$12 |
| Felt Winter Village | Fabric scraps (I save these from old clothes), hot glue | Free (upcycled!) |
One of the best styling tips I’ve learned is to mix textures. Pair sleek metallic ornaments with rustic burlap accents, or combine smooth glass with chunky wooden pieces. This creates visual interest that makes your decorations feel more intentional. I also love using pre-cut kits from local craft stores – they make it so easy to achieve professional-looking results without a lot of effort.
This holiday season, let your creativity shine through budget-friendly makes. I’ve found some great quality materials at Michaels and Joann Fabrics that won’t break the bank. And remember: the best decor tells your family’s unique story. That’s what makes our handmade decorations so special.
Exploring the Versatility of Tree Decorations
Your Christmas tree is like a blank canvas, and the decorations you choose can completely transform its personality. I’ve decorated everything from tiny tabletop trees to our 9-foot living room tree, and I’ve learned that the same principles apply regardless of size. The key is to balance your decorations thoughtfully so they complement each other.
For a classic look, I love vintage glass baubles and hand-tied ribbons. These pieces have a nostalgic charm that never goes out of style. I have a set of glass ornaments that belonged to my great-grandmother, and I always make sure to include them on our tree. They’re a beautiful connection to our family’s past.
But I also love incorporating modern elements to keep things fresh. Geometric metal shapes and LED-lit acrylic pieces add a contemporary touch that I find really appealing. I’ve been playing with monochromatic schemes lately – like all white or all gold ornaments – which create a clean, elegant look. Retailers like Crate & Barrel often have matching sets starting at $25, which is a great way to build a cohesive collection.
| Classic Elements | Modern Twists | Price Range |
|---|---|---|
| Hand-blown glass spheres (I have some from my grandmother) | 3D-printed geometric forms (we got these at a local maker’s market) | $12-$40 |
| Velvet ribbon garlands (I made these with fabric from an old dress) | Recycled paper honeycombs (so easy and eco-friendly!) | $8-$18 |
| Wooden nutcracker figures (family heirlooms!) | Anodized aluminum sculptures (these are so modern and sleek) | $15-$60 |
When arranging your ornaments, I’ve found that layering from bottom to top creates the best visual flow. Place larger pieces near the trunk of the tree and more delicate items on the outer branches. This creates a sense of depth that makes your tree look full and lush. I also like to mix matte finishes with glossy accents – the contrast catches the light beautifully and adds dimension to your display.
Local craft fairs and online shops offer endless possibilities for mixing and matching decorations. I’ve found some amazing one-of-a-kind pieces at our neighborhood holiday market. And remember: your tree reflects your journey. Let it showcase both your cherished memories and your new discoveries.
Crafting Keepsake Projects for Family Bonding
Some of my favorite holiday memories are from the years we’ve spent crafting decorations together as a family. There’s something so special about creating these keepsakes with my kids – it’s not about perfection, it’s about the time we spend together and the memories we’re making. I still have the first ornament my daughter made when she was just 3 years old, and it’s one of my most treasured possessions.
These projects become more than just decorations – they’re time capsules of our family’s story. I love pressing natural elements like pine needles into clay before baking, or sealing painted designs with clear resin for weather resistance. These little touches make our ornaments feel even more special.
- Press natural elements like pine needles into clay before baking (we collect these on our annual Christmas tree farm trip!)
- Seal painted designs with clear resin for weather resistance (I use ArtResin – it’s food-safe and super durable)
- Embroider names and dates using archival-quality threads (I found some beautiful threads at Joann that haven’t faded at all)
| Project Idea | Materials | Price Range |
|---|---|---|
| Memory Jar Lid Ornament | Recycled glass jars (we save these from pasta sauce!), photos | $4-$8 |
| Personalized Wood Slice | Birch rounds (I get these at Home Depot), pyrography pen | $10-$15 |
| Fabric Swatch Snowflakes | Vintage linens (I save fabric scraps from all my sewing projects!) | Free (upcycled!) |
These activities strengthen our bonds while teaching our kids traditional skills. I love hearing stories from my grandmother about how she used to make ornaments with her family when she was a child. Now we’re creating our own traditions that we’ll pass down to future generations.
One of the best things about these projects is how budget-friendly they can be. I’ve found that repurposing household items creates the most meaningful decorations. Old jewelry can become dazzling accents, and cookie cutters double as clay molds. Our local library even lends out Cricut machines, which have made some of our more intricate designs possible. With projects starting under $5, the real value is in the memories we’re creating together.
Curated Collections: Shop the Best Holiday Finds
Finding that perfect balance of charm and affordability can transform how you deck your halls each year. I’ve spent years collecting decorations that reflect our family’s style while staying within our budget. The key is to look for standout pieces that make your heart sing – whether you’re hunting for a single statement ornament or building a matching set.
I’ve found some amazing deals at various retailers. Neiman Marcus sometimes has hand-beaded designs under $30, and Target’s Project 62 line offers modern acrylic shapes for just $5 each. For vintage lovers, Etsy shops sell restored glass baubles from the 1950s starting at $12. These pieces add such character to your tree!
| Brand | Style | Price Range |
|---|---|---|
| West Elm | Minimalist ceramic ornaments with geometric patterns | $18-$45 |
| Michaels | DIY kits for all skill levels | $7-$20 |
| Pottery Barn | Personalized metal ornaments | $22-$60 |
Budget-friendly picks can shine just as brightly as expensive ones when you layer them thoughtfully. I love mixing matte-finish gifts from Amazon’s holiday page with glossy accents from local artisans. That $10 felt reindeer I found at a craft fair looks just as beautiful next to my $30 hand-painted glass ornament as it does on its own.
Quality assurance is so important when shopping for decorations. I always check verified buyer reviews and material details to avoid flimsy pieces. And I’ve learned to check return policies before purchasing delicate items – some brands offer free replacements for damaged Christmas tree decorations, which is a huge relief!
Navigating Prices and Quality for Lasting Impressions
Smart shoppers know that balancing cost and craftsmanship creates décor worth treasuring. I’ve made the mistake of buying cheap ornaments that shattered after one season, so now I focus on quality materials that will last. A $5 resin ornament might dazzle for a year, but hand-painted glass pieces often become family heirlooms that we’ll cherish for decades.
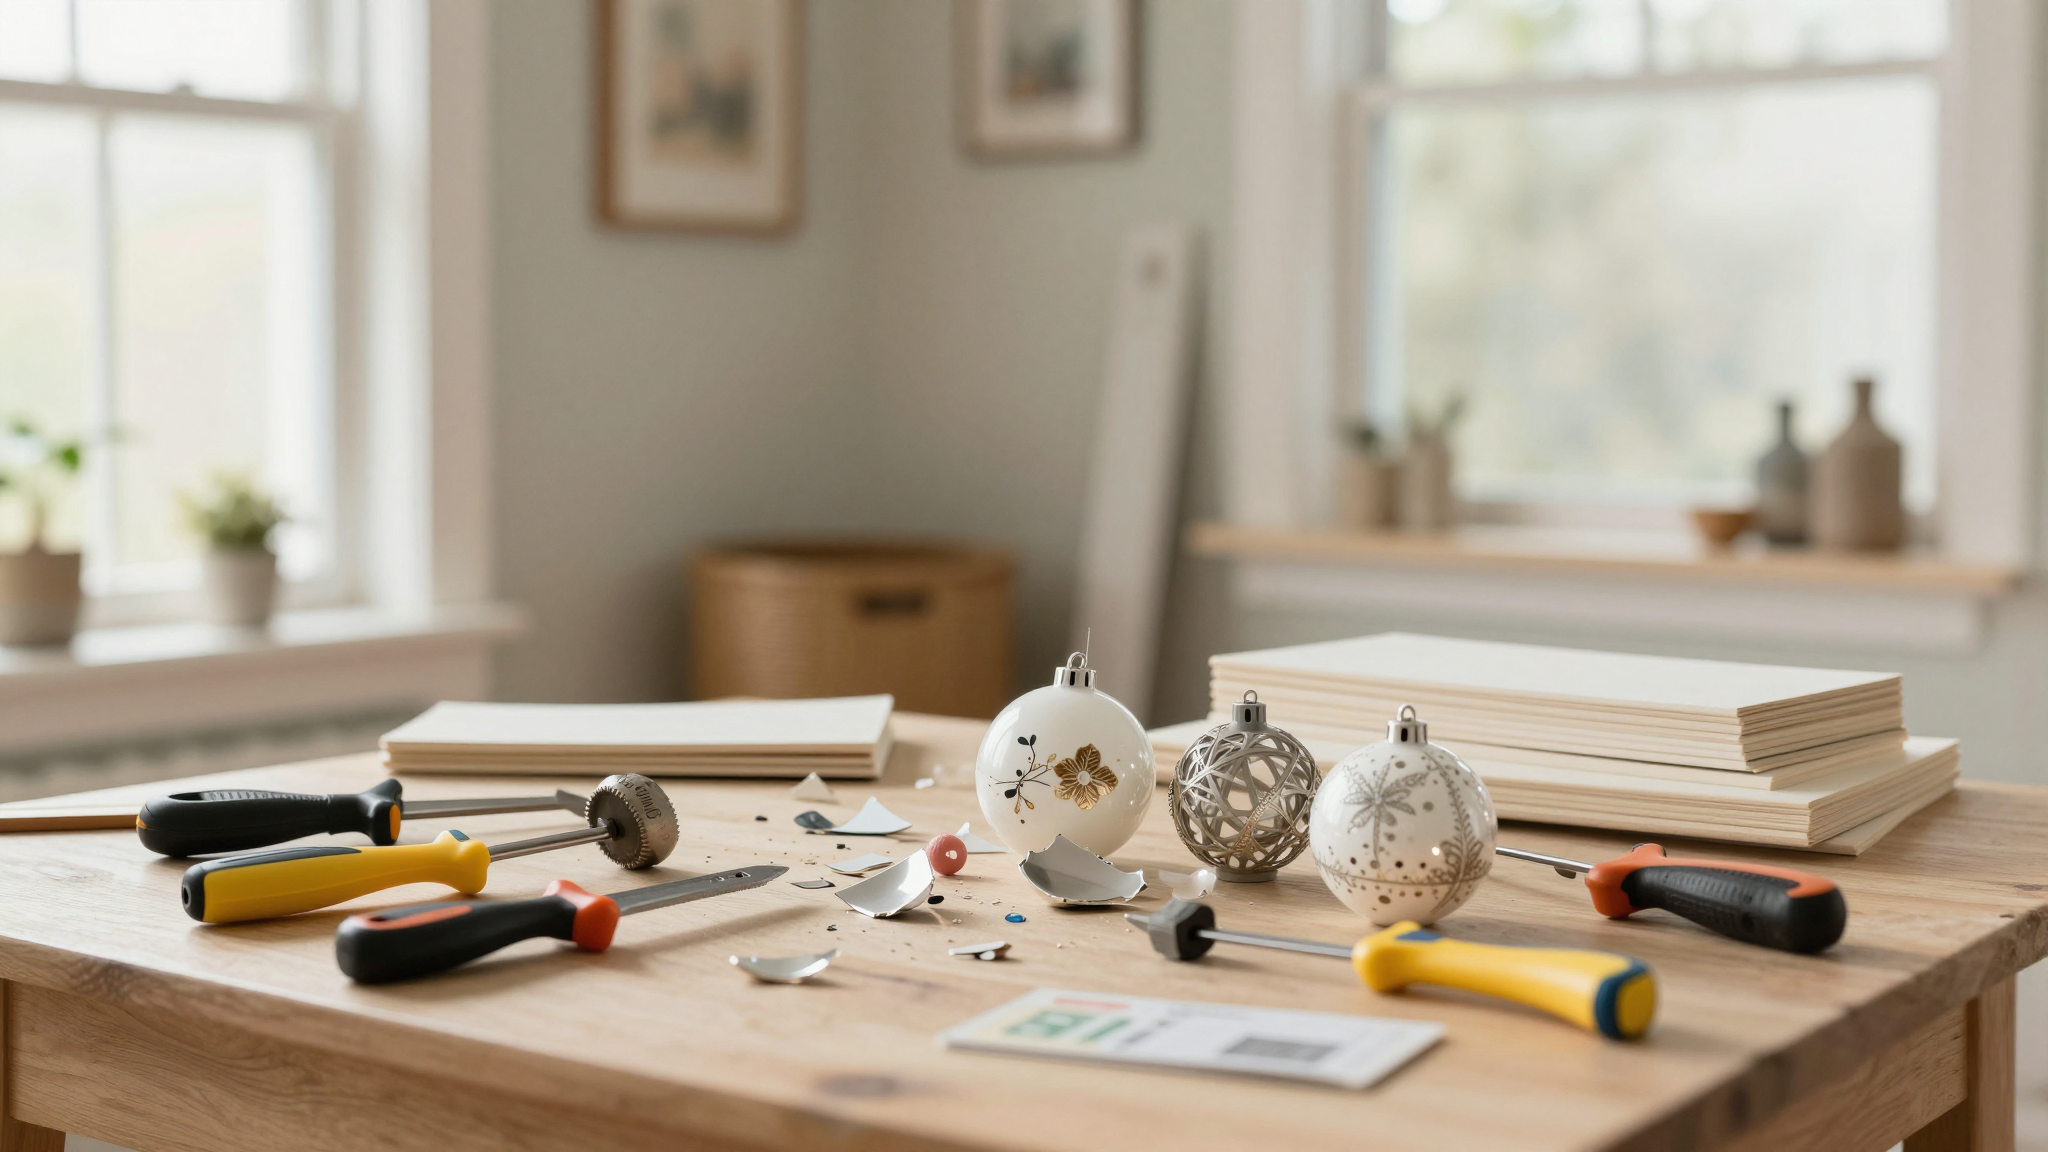
- Material longevity – Tempered glass vs. thin plastic (I learned this the hard way when I bought some cheap plastic ornaments that melted near our fireplace!)
- Production methods – Hand-detailed vs. machine-stamped (I can always tell which ornaments were made with care)
- Design complexity – Multi-layer finishes vs. single-color dips (the more detail, the more heirloom-quality it feels)
| Brand | Material | Average Cost |
|---|---|---|
| West Elm | Hand-blown glass (so beautiful and durable!) | $28-$45 |
| Etsy Artisans | Ceramic with gold leaf (these are my absolute favorites!) | $18-$35 |
| Target | Acrylic laser cuts (great for kids’ rooms!) | $5-$12 |
I’ve found that mid-range pieces often offer the best balance of durability and charm. Many shops offer free shipping on orders over $50, which is perfect for building a cohesive tree theme. And I’ve discovered that off-season sales (January-March) often slash prices by 30-60% on quality items – it’s the perfect time to stock up!
Instead of buying dozens of discount baubles, I’ve learned to invest in 2-3 showstopper ornaments each year. That single artisan-made star atop our tree outshines dozens of cheap decorations. As I’ve gotten more experienced, I’ve realized that the best investments are the ones that make my heart pause when I unwrap them each December.
Design Inspirations from Leading Ornament Brands
Design trends in seasonal décor shift like winter winds, bringing fresh ideas from top artisans. I’ve been inspired by the beautiful collections I’ve seen from brands like West Elm, Balsam Hill, and Christopher Radko. These companies blend tradition with innovation in ways that make their pieces truly special.
West Elm’s minimalist ceramic ornaments feature geometric patterns in matte finishes that work beautifully in modern spaces. Balsam Hill’s hand-blown glass spheres have organic textures that add a touch of nature to your tree. And Christopher Radko’s vintage-inspired designs often include 24k gold accents that catch the light beautifully.
| Brand | Signature Style | Material | Price Range |
|---|---|---|---|
| Magnolia Home | Rustic farmhouse charm (I love their wooden signs and ornaments!) | Reclaimed wood | $14-$28 |
| Kate Spade | Whimsical motifs (their ornaments are so fun and colorful!) | Lacquered acrylic | $22-$40 |
| Simon Pearce | Frosted glass etchings (these are absolutely stunning!) | Handblown glass | $45-$85 |
This year’s color palette leans into muted metallics like brushed brass and pewter, which I’ve incorporated into our tree decor. I’ve also fallen in love with nature-inspired elements like pressed botanicals and woodgrain textures. These details make artisanal collections feel so special. I’ve found that texture is the new color – matte ceramic surfaces paired with glossy accents create depth without overwhelming the eye.
These trends influence curated sets that many brands offer. I’ve found that designer collaborations often feature on brands’ project pages months before release. While the price points can be higher ($25-$150), these pieces are truly collectible. That single hand-painted ornament from Anthropologie’s collection can inspire an entire theme for your tree.
Creating Memorable Family Moments Through DIY
Some of my most cherished holiday memories come from the years we’ve spent crafting decorations together as a family. There’s something magical about creating these keepsakes with my kids – it’s not about perfection, it’s about the time we spend together and the memories we’re making. I still have the first ornament my daughter made when she was just 3 years old, and it’s one of my most treasured possessions.
These projects become more than just decorations – they’re time capsules of our family’s story. I love pressing natural elements like pine needles into clay before baking, or sealing painted designs with clear resin for weather resistance. These little touches make our ornaments feel even more special.
- Press natural elements like pine needles into clay before baking (we collect these on our annual Christmas tree farm trip!)
- Seal painted designs with clear resin for weather resistance (I use ArtResin – it’s food-safe and super durable)
- Embroider names and dates using archival-quality threads (I found some beautiful threads at Joann that haven’t faded at all)
| Project Idea | Materials | Price Range |
|---|---|---|
| Memory Jar Lid Ornament | Recycled glass jars (we save these from pasta sauce!), photos | $4-$8 |
| Personalized Wood Slice | Birch rounds (I get these at Home Depot), pyrography pen | $10-$15 |
| Fabric Swatch Snowflakes | Vintage linens (I save fabric scraps from all my sewing projects!) | Free (upcycled!) |
These activities strengthen our bonds while teaching our kids traditional skills. I love hearing stories from my grandmother about how she used to make ornaments with her family when she was a child. Now we’re creating our own traditions that we’ll pass down to future generations.
One of the best things about these projects is how budget-friendly they can be. I’ve found that repurposing household items creates the most meaningful decorations. Old jewelry can become dazzling accents, and cookie cutters double as clay molds. Our local library even lends out Cricut machines, which have made some of our more intricate designs possible. With projects starting under $5, the real value is in the memories we’re creating together.
Three tips for stress-free crafting with kids:
- Set up stations for messy steps (painting, gluing) – I use old newspapers and plastic tablecloths to make cleanup easy
- Play festive music to keep energy high – our family loves singing along to Christmas carols while we craft
- Display finished pieces immediately on your tree – there’s nothing more rewarding than seeing your kids’ faces light up when they see their creations on the tree
These activities aren’t about perfection – they’re about the joy of creating together. That lumpy clay star with excessive glitter? It’s now one of our most treasured ornaments because it reminds us of that special time we spent together. As one parent shared with me, “Our handmade stars remind us how much the kids’ hands have grown each year.” That’s the real magic of these projects.
Ready to Start Your DIY Tradition?
This year, I challenge you to create at least one handmade ornament with your family. It doesn’t have to be perfect – it just needs to be meaningful. Start with something simple like the clay handprint keepsakes or photo memory baubles I mentioned earlier. These projects are easy enough for little hands but special enough to treasure for years.
Remember, the best decorations tell your family’s unique story. That’s what makes our handmade ornaments so special. So gather your supplies, put on some festive music, and start creating memories that will last a lifetime.
Happy crafting! And if you need more inspiration, check out my other posts like 5 DIY Projects to Instantly Add Charm to Your Home or Easy DIY Projects to Give Your Bedroom a Makeover for more creative ideas.