
Holiday Table Settings That Actually Feel Like You
I’ll never forget the year I hosted Thanksgiving with a table setting so complicated I spent more time rearranging forks than actually enjoying the meal. My kids kept asking, “Mom, why does Aunt Karen have three spoons?” and I had to admit,I’d overcomplicated things. Since then, I’ve learned that the best holiday tables balance beauty with practicality, and most importantly, reflect your personality, not some Pinterest-perfect ideal.
This year, I’m sharing exactly how I create table settings that feel intentional but not intimidating, beautiful but not break-the-bank, and most importantly, make my guests feel welcome. Whether you’re setting up for a cozy family dinner or a more formal gathering, these are the real-life tricks I’ve learned through years of hosting (and occasionally face-planting) that will help you create a table that tells your story.
We’ll cover everything from casual family dinners to five-course feasts, with plenty of personal anecdotes and hard-earned lessons along the way. And don’t worry,I’ll be honest about what actually works in my chaotic household and what ended up in the “well, that was a mistake” pile.
If you’re new here, you might also like my posts on adding charm to your home or updating your bedroom,both of which have helped me create spaces that feel cozy and intentional, just like these table settings.
Why Your Table Setting Matters More Than You Think
Let me tell you about the time I served my famous lasagna on my grandmother’s good china. I’d spent hours polishing the silver and arranging the table just so, only to have my husband accidentally knock over a wine glass that shattered across the entire setting. In that moment, I learned something important: the table setting isn’t about perfection,it’s about creating a space where people feel comfortable enough to relax and enjoy each other’s company.
That said, there’s something magical about walking into a room where the table has been thoughtfully set. It’s like the host has already wrapped you in a warm hug before you’ve even sat down. The key is finding that sweet spot between “I put effort into this” and “I spent all day stressing over napkin folds.”
Here’s what I’ve learned through years of hosting (and occasionally Googling “how to set a table” at the last minute):
- Personal touches,like handwritten place cards or a family heirloom in the center,make guests feel special without requiring perfection
- Your table should reflect your personality. If you love rustic charm, don’t feel pressured to go all-out formal
- Kids (and sometimes adults) will move things around. Plan for that!
- Lighting makes everything better. I always keep a stash of battery-operated candles for safe, cozy ambiance
One year, I tried to create a “perfect” table using every tip I’d ever read. I ended up with a setting so crowded with decor that my guests couldn’t even see each other across the table. Lesson learned: sometimes less is more.
The Foundation: Plates, Napkins, and Flatware
Before we dive into centerpieces and place cards, let’s talk about the basics,the elements that form the foundation of any good table setting. This is where I make my biggest “Christina shortcuts” to save time without sacrificing style.
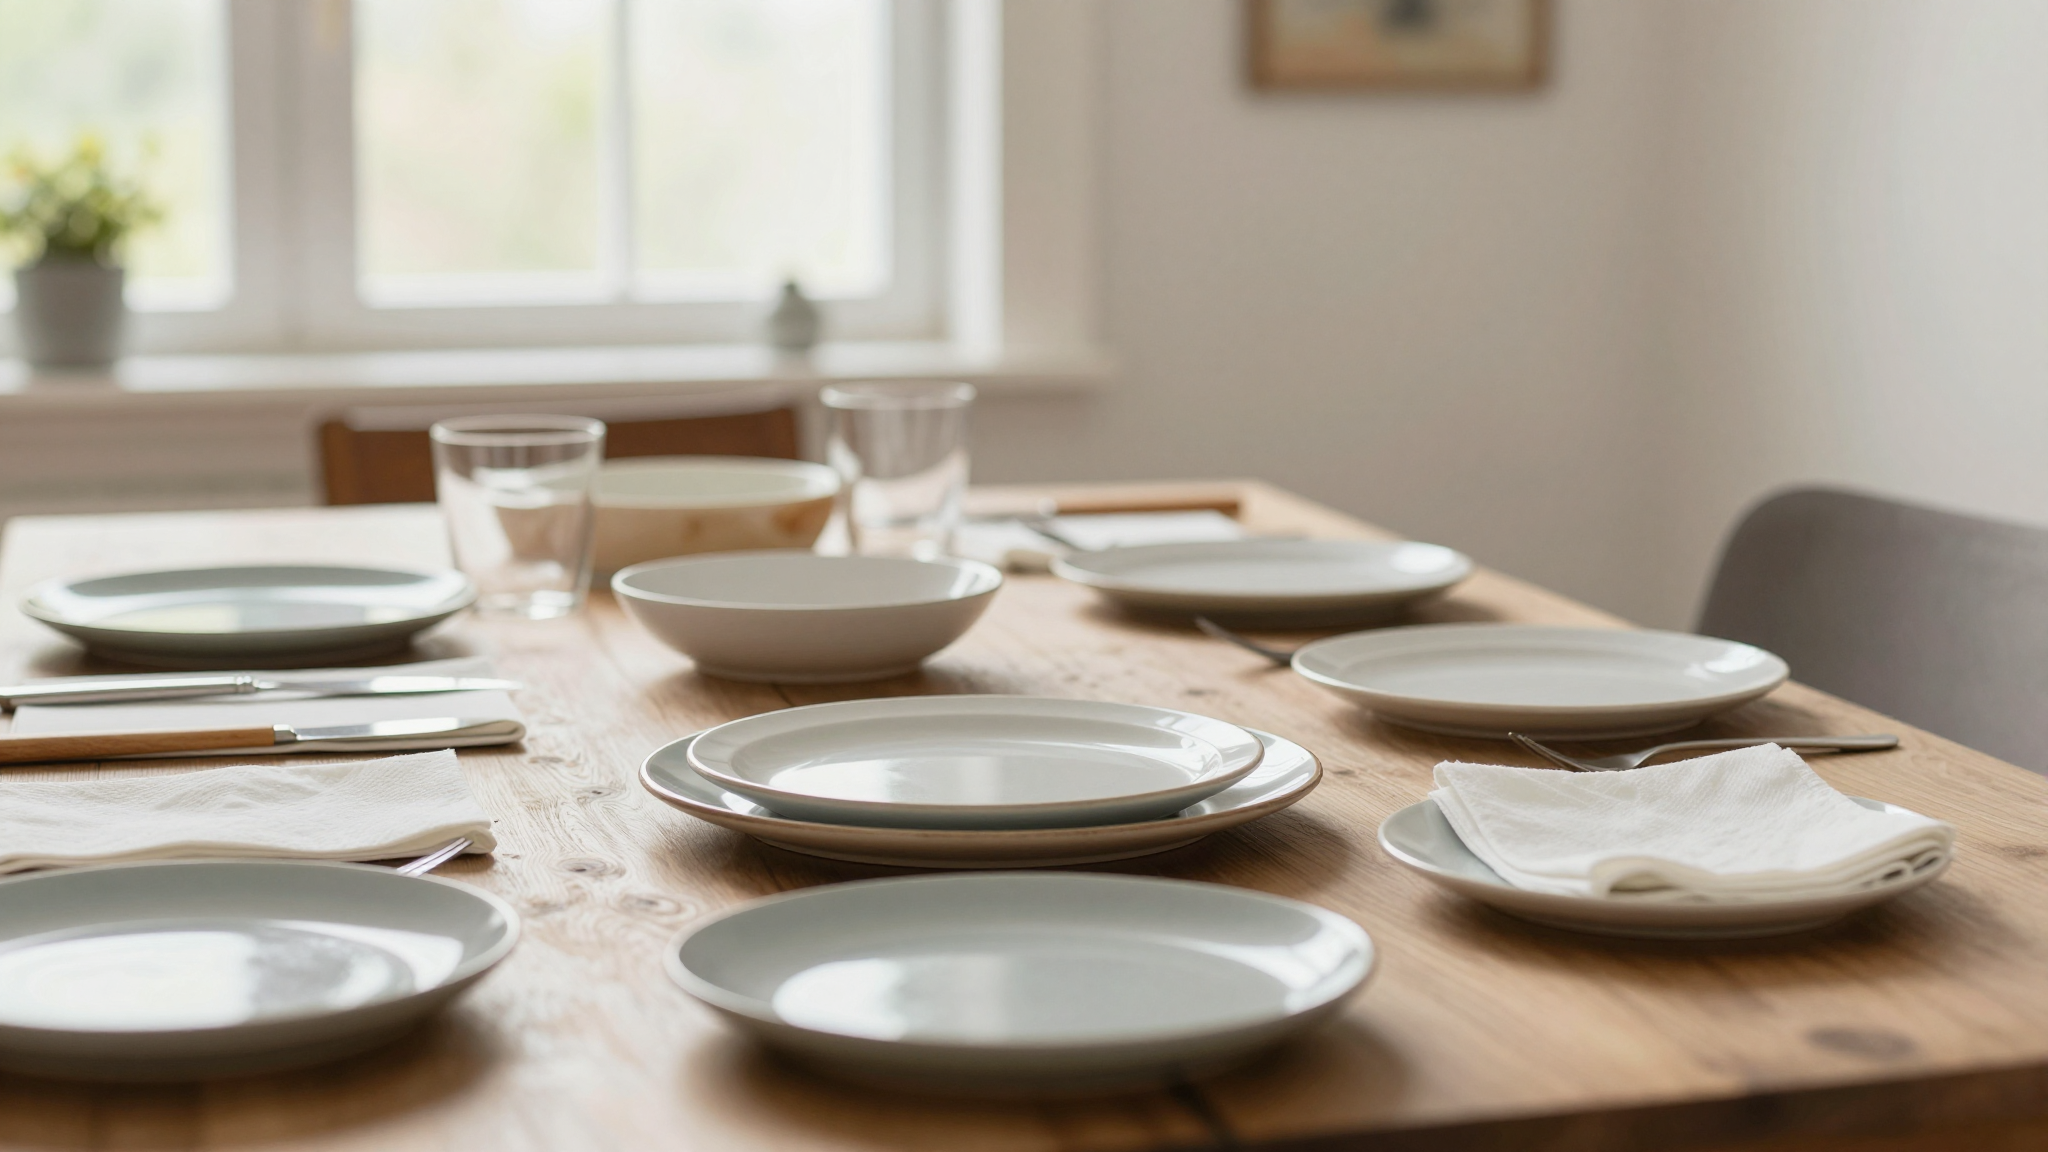
Plates: Layering for Impact
I’ll admit it,I used to think charger plates were just fancy paper plates. Then I tried using them for a holiday dinner and was amazed at how they elevated even my simplest dishes. Now I keep a set of gold chargers (I got mine at World Market for under $20) that I pull out for any special occasion.
Here’s how I layer plates for different occasions:
- Casual dinners: Just my everyday stoneware plates. No fuss, no muss.
- Semi-formal: Charger plate + dinner plate. The charger adds instant elegance.
- Formal occasions: Charger + dinner plate + salad plate. I keep it simple with all white or neutral tones so the food is the star.
Pro tip: If you’re using charger plates, make sure they’re slightly larger than your dinner plates. I learned this the hard way when I bought chargers that were too small,they made my plates look like they were floating!
Napkins: More Than Just for Wiping
I’ll never forget the year I used cloth napkins for the first time and my then-5-year-old asked, “Mom, why are these fancy paper towels?” Since then, I’ve made napkin folding part of the fun,my kids now have their own “napkin folding station” where they practice different techniques.
My go-to napkin styles:
- Simple fold: Just a rectangle with a crease down the middle. Perfect for everyday meals.
- Envelope fold: Fold the napkin in half, then fold the corners in to make an envelope. Tuck a name card inside for place cards.
- Ruffled fold: Gather the napkin in your hand and secure with a ring. Great for adding texture.
I keep a set of wooden napkin rings that I personalize with initials or simple designs. They’re great for keeping napkins in place and adding a little extra charm.
Flatware: The Right Tools for the Job
I’ll be honest,I used to think all forks were created equal. Then I tried serving a fancy dinner with my everyday flatware and realized how much difference quality makes. Now I have two sets: my everyday stainless steel (from Target) and a set of vintage silver that I inherited from my grandmother.
Here’s how I arrange flatware for different meals:
- Casual meals: Fork to the left, knife and spoon to the right (blades facing the plate). Simple and functional.
- Multi-course meals: Work from the outside in. Salad fork goes farthest left, dinner fork next to it, then soup spoon to the right of the knife.
- Dessert: Place the dessert spoon horizontally above the plate, handles pointing right.
One year, I tried to be fancy and used the wrong fork for the salad course. My husband didn’t say anything, but I could tell he was confused when he picked up the dinner fork for his salad. Now I keep a cheat sheet taped inside my china cabinet!
Casual Table Settings: Comfortable and Stylish
Most of our family dinners are casual,think paper towels as napkins and mismatched plates. But that doesn’t mean they can’t be stylish! Here’s how I create cozy, inviting tables that still feel special.
Placemats and Runners: The Easy Upgrade
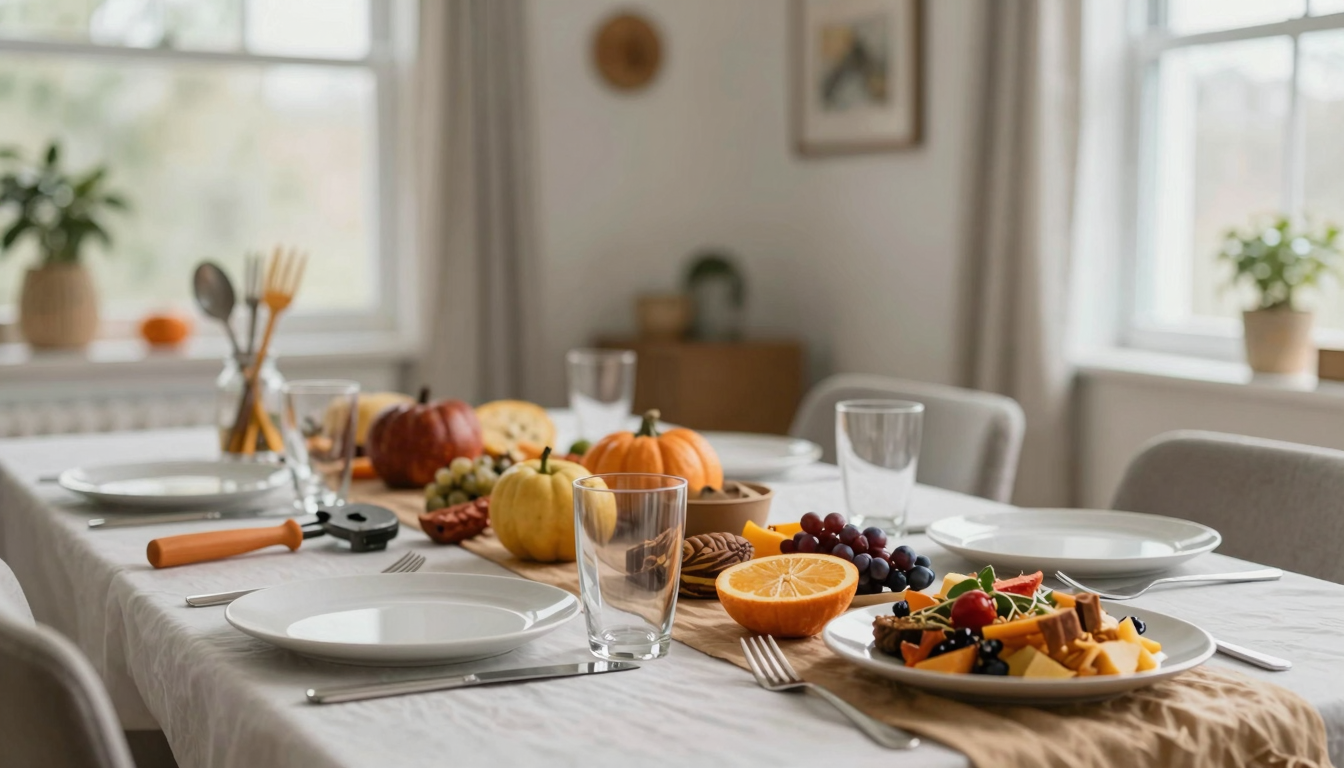
I found the perfect placemats at a local thrift store,woven seagrass that adds texture without being too formal. They’re easy to clean (just wipe them down) and instantly elevate any table. I pair them with simple cloth napkins (even if they’re just folded rectangles) and my everyday dishes.
For a festive touch, I sometimes add a sprig of fresh rosemary or a cinnamon stick down the center of the table. It smells amazing and adds a pop of color.
Glassware: Mix and Match with Confidence
I have a confession: I don’t own a full set of matching glassware. What I do have is a collection of different pieces that I mix and match. My kids’ plastic cups sit next to my vintage wine glasses, and somehow it all works together.
Here’s how I make it look intentional:
- Group similar styles together. Don’t mix a crystal wine glass with a mason jar unless you’re going for a specific eclectic look.
- Use trays or boards to corral different glass types. It makes the table look more organized.
- Add a pop of color with napkins or placemats to tie everything together.
One year, I tried to use all matching glassware for a dinner party and it felt so stiff. Now I embrace the mismatched look,it’s more “us” anyway.
Centerpieces: Simple and Meaningful
I love creating centerpieces that tell a story. One year, I used my kids’ handprint art as place cards and arranged them down the center of the table with some greenery. It was simple, personal, and made the table feel like home.
Other easy centerpiece ideas:
- A wooden board with cheese, crackers, and fresh fruit
- A collection of small potted succulents (I got mine at Home Depot for under $5 each)
- A vintage tray filled with candles and pinecones
Pro tip: Keep your centerpiece low so guests can see each other across the table. I made this mistake at a dinner party once and spent the whole evening talking to people’s chests!
Formal Table Settings: When to Go All Out
I’ll admit,I don’t do formal table settings often. But when I do, I go all out. Here’s what I’ve learned about creating elegant, memorable tables that don’t require a degree in etiquette.
Charger Plates: The Secret to Instant Elegance
I fell in love with charger plates after seeing them used at a fancy restaurant. They make even the simplest dinnerware look luxurious. I keep a set of gold chargers that I pull out for special occasions.
Here’s how I use them:
- For a classic look: Gold chargers with white plates
- For a modern look: Black chargers with white or neutral plates
- For a rustic look: Wooden chargers with earthy-toned plates
One year, I tried using charger plates with a patterned tablecloth and it was a disaster,the patterns clashed. Now I stick to solid colors for chargers and tablecloths.
Glassware: The Right Order Matters
I used to think all wine glasses were the same. Then I hosted a dinner party and served red wine in white wine glasses,disaster! The tannins stained the glasses and it looked terrible.
Here’s how I arrange glassware for a formal dinner:
- Water glass: Directly above the knife, about 1 inch from the plate
- White wine glass: To the right of the water glass
- Red wine glass: To the right of the white wine glass
Pro tip: If you’re serving champagne, place the flute to the top right of the other glasses. And always use stemmed glasses,they keep your hands off the bowl and prevent the wine from getting warm.
Place Cards: Personal Touches That Matter
I love creating handmade place cards. One year, I used my kids’ favorite book characters as inspiration and drew little illustrations on cardstock. It was a hit!
Easy place card ideas:
- Handwritten names on cardstock with a sprig of greenery
- Miniature place cards tucked into folded napkins
- Chalkboard place cards (I use chalkboard paint on small wooden slices)
Pro tip: Place cards should be easy to read from the guest’s seat. I once made the mistake of writing in cursive that was too fancy,half my guests couldn’t read their names!
DIY Centerpieces: My Favorite Projects
I love creating centerpieces that are personal and meaningful. Here are some of my favorite DIY projects that I’ve used over the years.
Pinecone and Candle Centerpiece
This is my go-to centerpiece for holiday gatherings. It’s simple, rustic, and smells amazing.
- Collect pinecones from your yard or buy them at a craft store
- Arrange them in a wooden tray or on a charger plate
- Add some battery-operated candles (I love the fairy lights from Home Depot)
- Optional: Add some cinnamon sticks or fresh greenery
I made this centerpiece for my first Thanksgiving as a homeowner and it’s become a tradition. My kids now help me collect pinecones every year!
Mason Jar Centerpiece
I love using mason jars for centerpieces,they’re affordable, versatile, and easy to find. Here’s how I create a simple but stylish centerpiece:
- Fill mason jars with water and add fresh flowers or greenery
- Arrange the jars in a wooden tray or on a charger plate
- Add some battery-operated tea lights around the jars
- Optional: Tie a ribbon or twine around the jars for a rustic touch
One year, I used mason jars to create a “farmers market” centerpiece with fresh herbs and small potted plants. It was a hit and I’ve been doing it ever since!
Book Page Centerpiece
This is a great centerpiece for book lovers or when you want to add a literary touch to your table.
- Tear pages from old books (I use pages from my kids’ old storybooks)
- Roll the pages into cones and secure with twine
- Arrange the cones in a wooden tray or on a charger plate
- Add some fresh flowers or greenery inside the cones
I made this centerpiece for a dinner party and my guests loved it. It’s a great way to upcycle old books and add a personal touch to your table.
Place Cards: Personal Touches That Make a Difference
I’ll never forget the year I made place cards for my first adult dinner party. I spent hours calligraphing names and arranging them just so, only to have a guest accidentally knock over a glass and ruin one. But you know what? No one cared. They were touched by the personal touch and that’s what mattered.
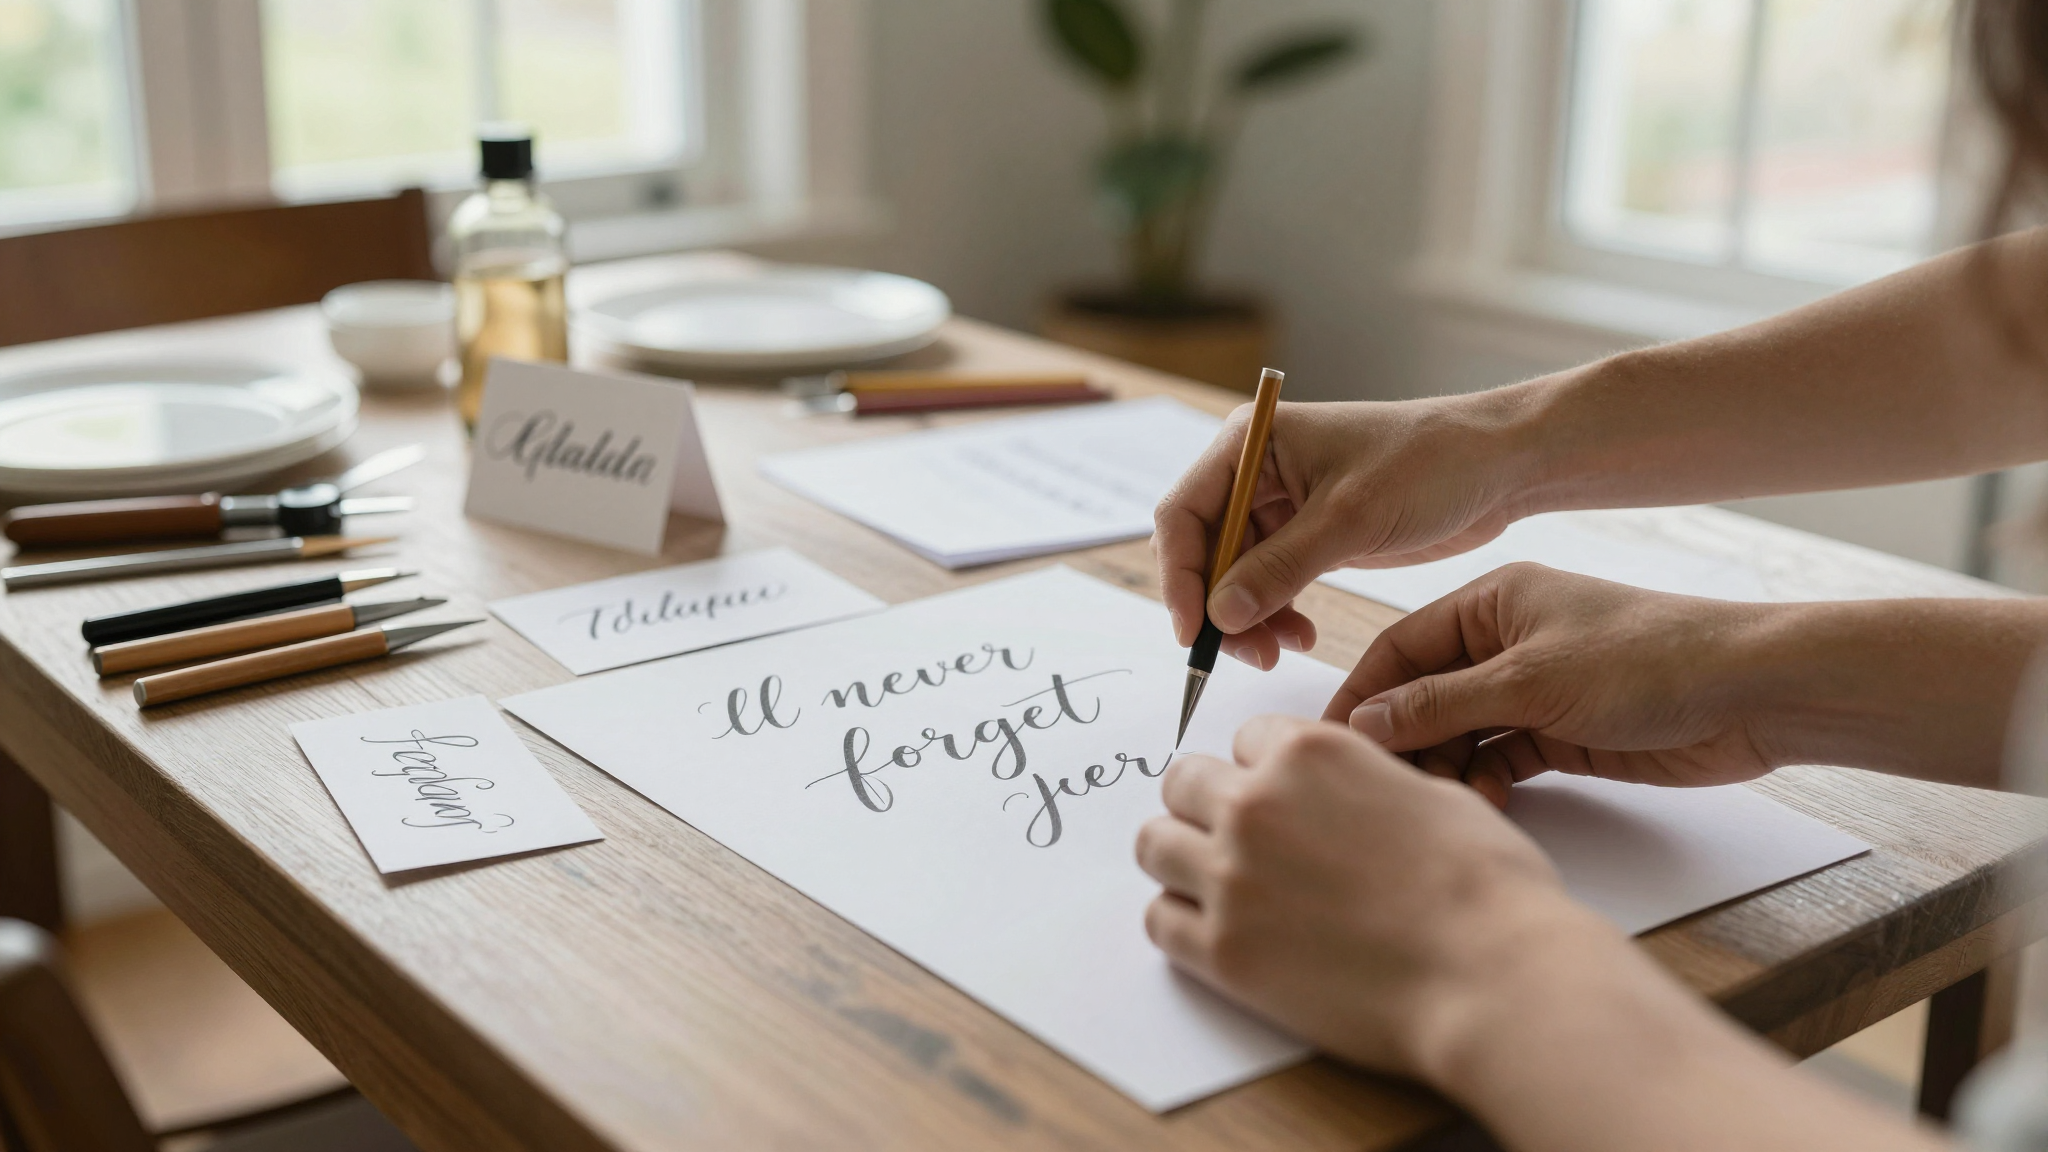
Handwritten Place Cards
My favorite place cards are simple handwritten ones. I use cardstock and a nice pen, and sometimes add a little doodle or design.
Here’s how I make them:
- Cut cardstock into small rectangles (about 2×3 inches)
- Write each guest’s name in the center
- Optional: Add a little design or doodle around the name
- Place the cards on top of the napkins or on the plates
One year, I made place cards with little quotes from my kids. It was a huge hit and now it’s a tradition!
Nature-Inspired Place Cards
I love using natural elements for place cards. Here are some of my favorite ideas:
- Write names on smooth river rocks with a paint pen
- Use mini pinecones and tie a ribbon with the name written on it
- Write names on dried citrus slices (like oranges or lemons)
I made rock place cards for a backyard dinner party and my guests loved them. They were simple, personal, and fit perfectly with our rustic outdoor setting.
Upcycled Place Cards
I love giving new life to old items. Here are some of my favorite upcycled place card ideas:
- Use old book pages and write names with a metallic pen
- Cut up old maps or sheet music and write names on the pieces
- Use vintage postcards and write names on the back
One year, I used old sheet music from my grandmother to make place cards. It was a huge hit and now I look for vintage music whenever I’m thrifting!
Final Tips and Tricks
After years of hosting, I’ve learned a few key tips that make table setting easier and more enjoyable.
Lighting is Everything
I can’t stress this enough,good lighting makes any table setting look amazing. I always keep a stash of battery-operated candles for safe, cozy ambiance. I also love using string lights or lanterns for a warm glow.
Pro tip: Place candles at different heights for visual interest. I use a mix of tall tapers, short votives, and tea lights for a dynamic look.
Keep It Simple
I used to think I needed to go all out for every dinner party. But I’ve learned that simple is often better. A clean table with a few well-chosen elements looks more elegant than a cluttered one.
Here’s my rule of thumb: if I’m second-guessing whether to add something, I probably shouldn’t. Less is almost always more.
Personal Touches Matter
What makes a table setting special are the personal touches,the things that show you put thought into your guests. It could be a family heirloom, a handwritten note, or even just using your kids’ favorite colors.
One year, I used my kids’ handprint art as place cards and it was a huge hit. It was simple, personal, and made the table feel like home.
Don’t Stress the Small Stuff
I’ll be honest,I’ve had dinner parties where the table setting wasn’t perfect. A glass got knocked over, a napkin fell on the floor, or the centerpiece was slightly crooked. And you know what? No one cared. What mattered was the food, the company, and the love that went into the meal.
So don’t stress about making everything perfect. Focus on creating a space where people feel comfortable and welcome. That’s what a table setting is really all about.
Ready to Set Your Table?
Now that you’ve seen how I create table settings that feel personal and intentional, it’s time to try it yourself. Start with one or two elements that inspire you,a handwritten place card, a simple centerpiece, or a thoughtful glassware arrangement.
Remember, the goal isn’t perfection,it’s creating a space where your guests feel welcome and loved. And if you make a mistake? Don’t worry, I’ve been there too. The most important thing is that you’re sharing a meal with the people you care about.
If you’re new to table setting, I recommend starting with my 5 DIY projects to add charm to your home post for more inspiration. And if you’re looking for more ways to personalize your space, check out my guide on updating your bedroom.
Now, go set that table and make some memories!