
How I Test and Replace Smoke Detector Batteries (Without the Guesswork)
I’ll admit it,I used to ignore the chirping smoke detectors in my house. That is, until the one in the hallway started beeping at 3 a.m. one night, and I realized I had no idea which battery it took. After fumbling in the dark with a flashlight and a half-empty pack of 9Vs, I finally got it quiet. But that’s when I decided: never again.

Now, I test my smoke detectors like clockwork,mostly because I’ve learned the hard way that a dead battery isn’t just annoying. It’s a silent risk. This guide is how I do it: no fluff, no fake “expert” quotes, just the steps I actually use to keep my family safe. (And yes, I’ll tell you which batteries I buy and why.)
By the end, you’ll know how to:
- Quickly identify your smoke detector’s battery type (spoiler: it’s not always 9V).
- Test your alarms the right way,so you’re not just pressing a button and hoping for the best.
- Replace batteries (or whole units) without shorting anything or waking up the kids.
- Spot the warning signs of a failing alarm before it fails you.
Most of the time, you won’t need anything fancier than a ladder, a fresh battery, and five minutes. But I’ll also tell you what to do when things go wrong,because they will. (Ask me how I once accidentally set off every alarm in the house by misaligning a battery. Not my finest moment.)
Why I Don’t Skip Smoke Detector Maintenance (And Neither Should You)
I used to think smoke detectors were just another one of those “set it and forget it” home things,like the HVAC filter or the carbon monoxide detector in the basement. Then I read the NFPA stats (yes, I nerd out on home safety now), and it hit me: nearly 60% of home fire deaths happen in places where the alarms either don’t work or weren’t working at all. And guess what the #1 reason is? Dead or disconnected batteries.
Here’s what “working” really means in my book:
- Power: The battery (or hardwired connection) is strong and seated correctly. No weak chirps, no flickering LEDs.
- Placement: The detector is where it can actually detect smoke,not buried in a closet or blocked by a ceiling fan.
- Sound: When I press the test button, it blares like a fire truck, not a sleepy beep. (If it sounds like a dying robot, it’s time for a new unit.)
I learned this the hard way when my kids were little. One night, the battery in the hallway detector died, and the unit started chirping every 30 seconds. I kept meaning to replace it, but life got busy. Then, one afternoon, I smelled something burning. Turns out, the toaster oven had overheated, and the smoke was already filling the kitchen before the alarm even thought about going off. We got it under control fast, but it was a wake-up call: a chirping alarm isn’t just annoying. It’s a warning.
Now, I test mine every month. And I’m not just talking about pressing the button and walking away. I listen for that strong, steady horn,and if it’s weak or cuts out, I replace the battery that day.
For more on when to replace your whole detector (not just the battery), check out my post on how to winterize your home safely,because some alarms just get too old to trust.
Smoke Detector Batteries: What You Need to Know
First, let’s talk batteries. Not all smoke detectors use the same type, and mixing them up can lead to headaches (or, in my case, a 3 a.m. battery hunt). Here’s what I’ve learned from trial and error:
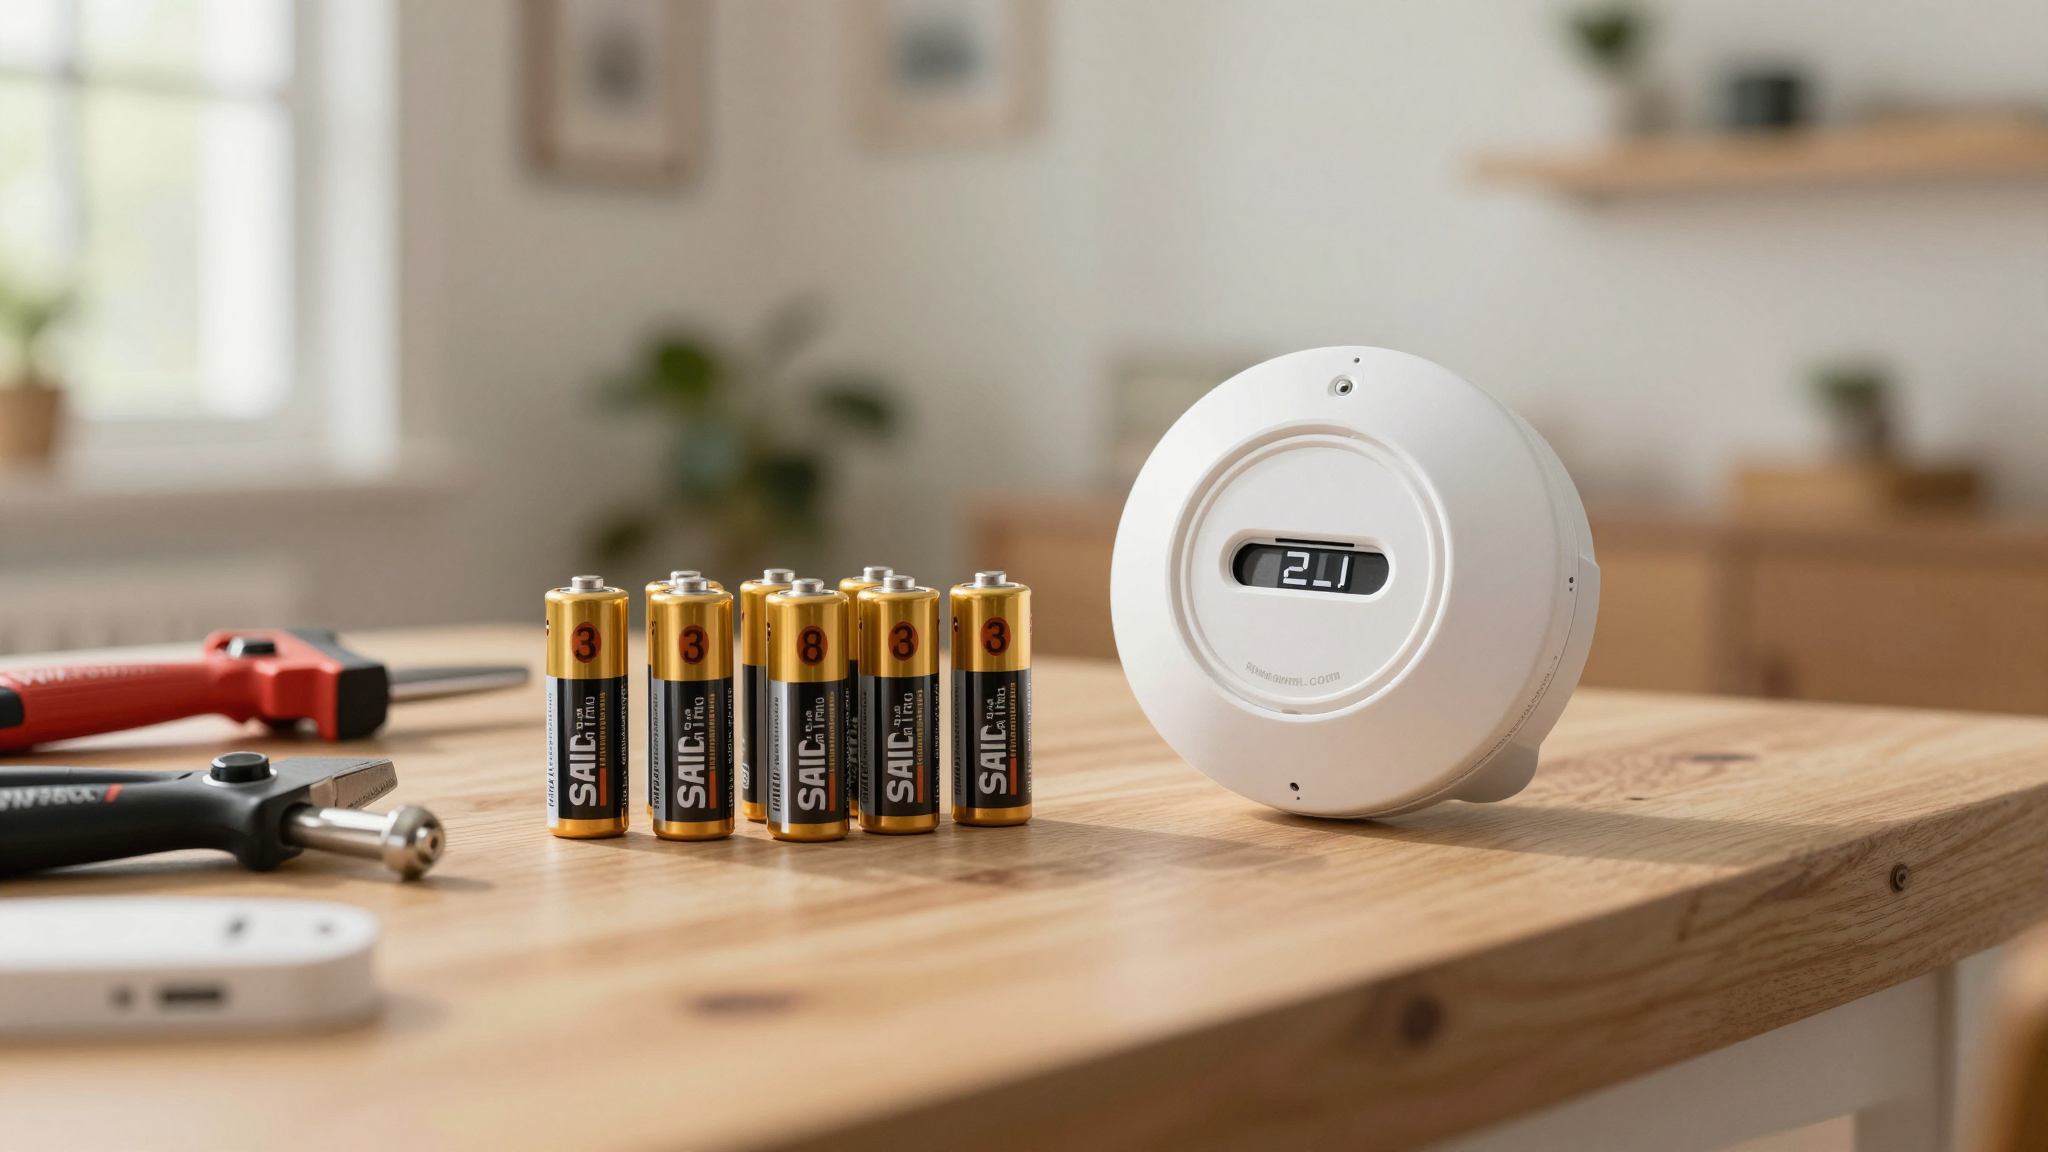
9V Batteries: The OG (But Not Always the Best)
These are the classic square batteries, and they’re still common in a lot of older detectors. In my experience, they last about 6–12 months, depending on how often the alarm tests itself and the temperature in your home. (Pro tip: If your detector is near a window or in an unheated room, the battery might drain faster.)
I used to buy the cheapest 9Vs at the dollar store,until I realized they’d die in three months. Now, I stick with Duracell or Energizer for my 9V detectors. Yes, they cost a little more, but they last twice as long, and I don’t have to climb on a ladder every other month.
AA Batteries: The Double-Trouble
Some detectors use two or three AA batteries. The key here? Replace them all at the same time. If you swap out just one, the remaining old batteries can drain the new ones faster, and you’ll end up with a weak alarm. (I learned this when I replaced one AA in my bedroom detector and the thing started chirping within a week.)
AA batteries usually last 6–12 months, but again, it depends on the detector and how often it tests itself. I keep a pack of Energizer Maximum in my junk drawer for quick replacements.
Lithium Batteries: The Set-It-and-Forget-It Option
If you’re tired of replacing batteries every few months, lithium is the way to go. These can last 5–10 years, depending on the model. I put lithium batteries in all my detectors now, and I only have to think about them once a decade.
There’s a catch, though: not all detectors take lithium. Check the label on the back of your unit or look it up online. Some newer models have sealed lithium batteries that you can’t replace,you just swap out the whole detector when it dies. (I have one of these in my garage, and it’s been chirp-free for eight years.)
CR123A Batteries: The High-Performance Pick
These are the fancy ones,usually found in high-end or interconnected smoke detectors. They last 3–5 years and hold their charge better under load, which is great if you have a detector that tests itself a lot or is part of a smart home system.
I have one of these in my master bedroom (it’s part of a smart home setup that alerts my phone if it goes off), and I’ve never had to replace the battery. That said, they’re more expensive, so I only use them where it matters.
Pro Tip: Never mix old and new batteries, and always check the polarity (+/-) when you install them. I once put a 9V in backward, and the detector wouldn’t stop beeping until I flipped it. (Thanks, learning moment.)
How to Test Your Smoke Detector (The Right Way)
Testing your smoke detector isn’t just about pressing the button and walking away. Here’s how I do it,so I actually know it’s working:
Step 1: Press the Test Button (And Listen Carefully)
Most detectors have a test button on the front. Press and hold it for a few seconds. You should hear a loud, steady horn,not a weak beep or a sound that cuts in and out. If it’s quiet or intermittent, the battery is dead, or the detector itself might be failing.
I test mine while standing right underneath the detector. If I have to strain to hear it, I know something’s wrong. (I learned this when I tested one from across the room and thought it was fine,until the battery died a week later.)
Step 2: Know the Warning Signs
Smoke detectors don’t just fail all at once. They give you warnings,if you know what to listen for:
- A single chirp every 30–60 seconds: This is the classic “low battery” warning. Replace the battery immediately. (I keep a pack of spares in every bathroom so I don’t have to hunt for them.)
- Rapid beeping (3+ times in a row): This usually means smoke or fire. Get out and call 911. (No, don’t stop to investigate,just go.)
- Weak or inconsistent horn during a test: The battery might be dying, or the detector could be on its last legs. Replace the battery first, but if it still doesn’t sound right, it’s time for a new unit.
- Flashing LED lights: Some detectors use lights to show low battery or other issues. Check your manual to know what each pattern means. (I taped a note to mine with the codes so I don’t have to dig out the manual every time.)
If your detector is chirping after a fresh battery, don’t ignore it. I once had one that kept beeping, and I assumed it was a false alarm,until I realized the battery door wasn’t fully closed. A quick nudge fixed it. But if it’s still chirping? Time for a new detector.
How to Replace a Smoke Detector Battery (Without the Panic)
Replacing a battery is simple,if you’re prepared. Here’s how I do it without waking up the whole house or shorting anything:

Step 1: Gather Your Supplies
You’ll need:
- A sturdy ladder (I use my extension ladder for ceiling detectors).
- The correct battery for your model (check the label on the back of the detector).
- A flashlight (trust me, you’ll need it).
- A soft cloth (for cleaning corrosion off the contacts).
- A partner (optional, but helpful for holding the ladder).
I keep a small caddy with batteries, a flashlight, and my phone (for the flashlight app) in my laundry room. That way, I’m never scrambling when a detector starts chirping.
Step 2: Remove the Detector (Gently!)
Most detectors twist off their mounting bracket. Turn it counterclockwise (the “off” direction) until it pops free. Some have a tamper-resistant pin,you’ll need a small screwdriver to press it in before twisting.
I once dropped a detector while taking it down, and the plastic cracked. (Thanks, gravity.) Now, I always have a hand ready to catch it.
Step 3: Replace the Battery
Open the battery compartment and pull out the old battery. Wipe the contacts inside with a dry cloth,corrosion can cause weak connections. Then:
- Match the + and – symbols on the battery to the contacts in the detector. (Yes, polarity matters. I learned this the hard way.)
- Snap the compartment closed. If it doesn’t latch, the battery might be misaligned.
- Reattach the detector to the bracket and twist it clockwise until it clicks.
For hardwired detectors (the ones with wires), you’ll need to:
- Turn off the power at the breaker (if you’re comfortable doing so).
- Disconnect the wire harness by squeezing the prongs and pulling straight out.
- Replace the battery (or the whole unit, if it’s sealed).
- Reconnect the harness until it clicks.
- Restore power and test the alarm.
I had a hardwired detector in my basement that kept tripping the breaker when I replaced the battery. Turns out, I hadn’t fully reconnected the harness. Now, I always give it a firm tug to make sure it’s seated.
Step 4: Test It (And Double-Check)
Press the test button. If the alarm sounds loud and clear, you’re good. If it’s still chirping:
- Check that the battery is inserted correctly (yes, I’ve put them in backward before).
- Make sure the compartment door is fully closed.
- Clean the contacts again.
- If it’s still not working, the detector might be dead,time for a new one.
I test mine twice after replacing the battery: once before reattaching it to the bracket, and once after. Better safe than sorry.
Final Thought: Make It a Habit
I used to think smoke detector maintenance was a chore. Now, I see it as part of my routine,like taking out the trash or checking the fire extinguisher. Here’s how I stay on top of it:
- Test every month. Set a reminder on my phone for the first of the month. It takes 30 seconds, and it’s worth it.
- Replace batteries twice a year. I do it when the clocks change for daylight saving time. (Yes, I’m one of those people who actually changes their batteries then.)
- Keep a log. I jot down the date and battery type on a sticky note inside the detector’s battery door. That way, I know when to replace it next.
- Check placement. If a detector is dusty or covered in cobwebs, it might not work well. I clean mine every few months with a dry cloth.
And if you’re like me and need a little extra motivation, think about this: a working smoke detector gives you time to get out safely. A dead one doesn’t.
Now, go test yours. And if you’re not sure which battery to buy, check out my guide to the tools every homeowner needs,including the right batteries for the job.