
How to Make a Stylish (and Useful) Growth Chart for Your Kids)
I still remember the first time I measured my oldest son against the doorframe with a pencil mark. He was three, and I thought I was so clever,until I realized the mark was crooked, and the pencil smudged when he leaned against it later. (Lesson learned: never use a regular pencil for this.)
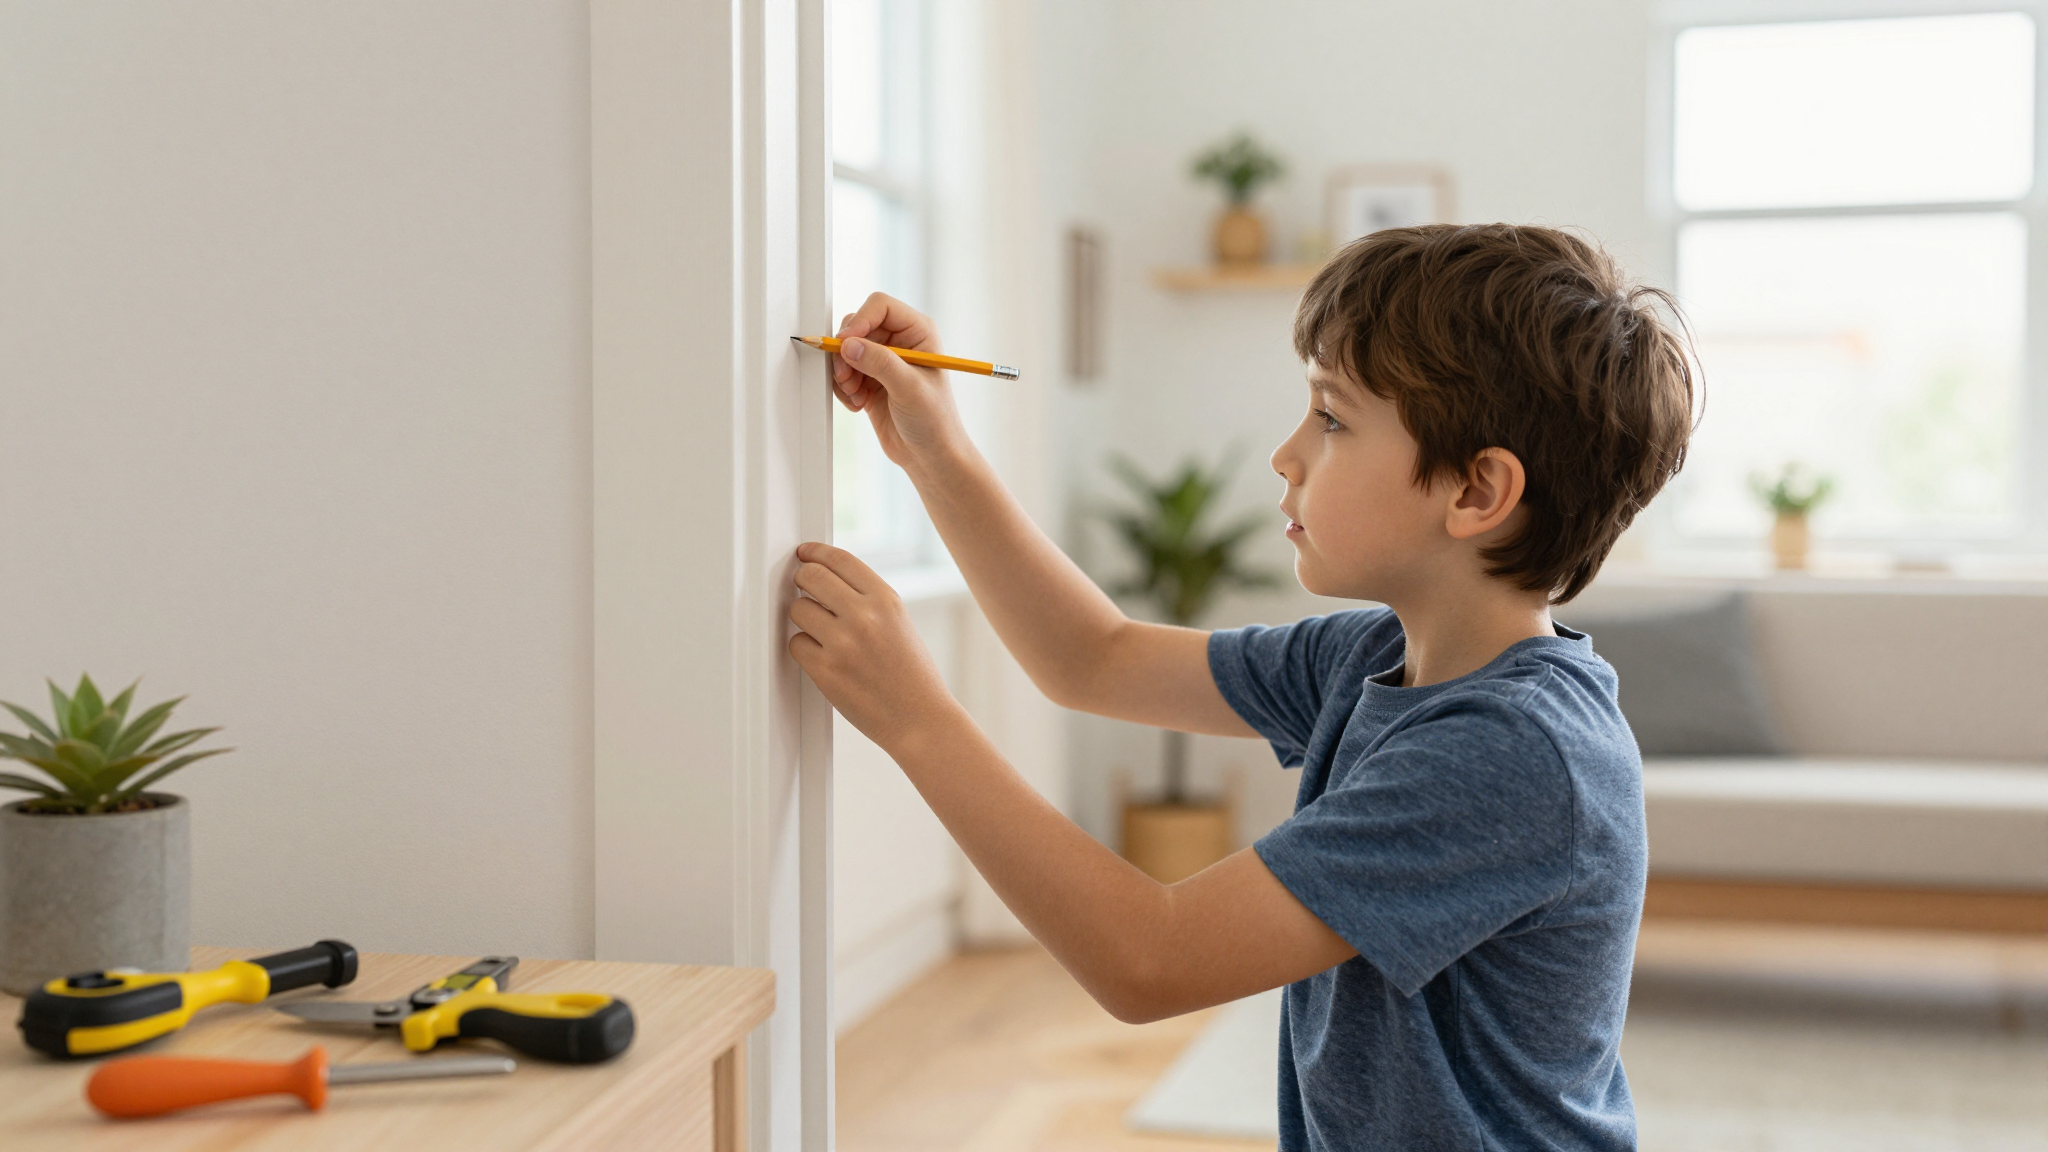
Fast forward a few years, and that doorframe is covered in uneven marks, some faded, some overlapping, all telling a story of growth spurts, summer jumps, and the occasional “Wait, did you *shrink*?” moment. It’s sentimental, sure, but it’s also a mess. That’s why I decided to make a proper growth chart,one that’s actually functional, stylish, and won’t leave my walls looking like a kindergartener’s art project.
This isn’t just about tracking numbers. It’s about capturing those little moments,the way your child stands just a little taller after a growth spurt, the way they giggle when you mark their height, the way you’ll look back in 10 years and remember exactly how small they once were. And yes, it’s also a great way to keep an eye on their development in a way that feels more like a fun tradition than a medical checkup.
Here’s how I did it,including the mistakes I made along the way so you don’t have to repeat them.
Why a DIY Growth Chart Beats Doorframe Marks
Before we dive in, let’s talk about why this project is worth your time. I’ll be honest: I almost talked myself out of it. “Do I really need a fancy chart?” I thought. “Can’t I just keep using the doorframe?” But then I considered the alternatives:
- The doorframe method is unreliable. Marks get smudged, walls get repainted, and suddenly you’re guessing whether your kid grew 2 inches or if the mark just faded. (I’ve done this. It’s not fun.)
- It’s not decorative. A wall covered in pencil marks? Cute for a while, but it starts to look like a crime scene after a few years. And if you ever move or repaint, those marks are gone forever.
- You miss out on the data. Jotting down heights in a notebook is better, but it’s easy to forget or lose track. A visual chart lets you see the patterns,like that sudden growth spurt right before puberty or the plateau when they seemed to stop growing entirely.
- It’s a keepsake. One day, your kids will look at this chart and remember the exact moment they outgrew their little sibling. Or you’ll point to a mark and say, “Remember when you were this tall and thought you could reach the cookie jar?” Nostalgia is priceless.
And here’s the kicker: It doesn’t have to be complicated. I used materials I already had at home, and the whole thing took me less than a weekend. (Okay, fine, I took a few breaks to chase the dog out of the paint, but still.)
DIY Growth Chart: What You’ll Need
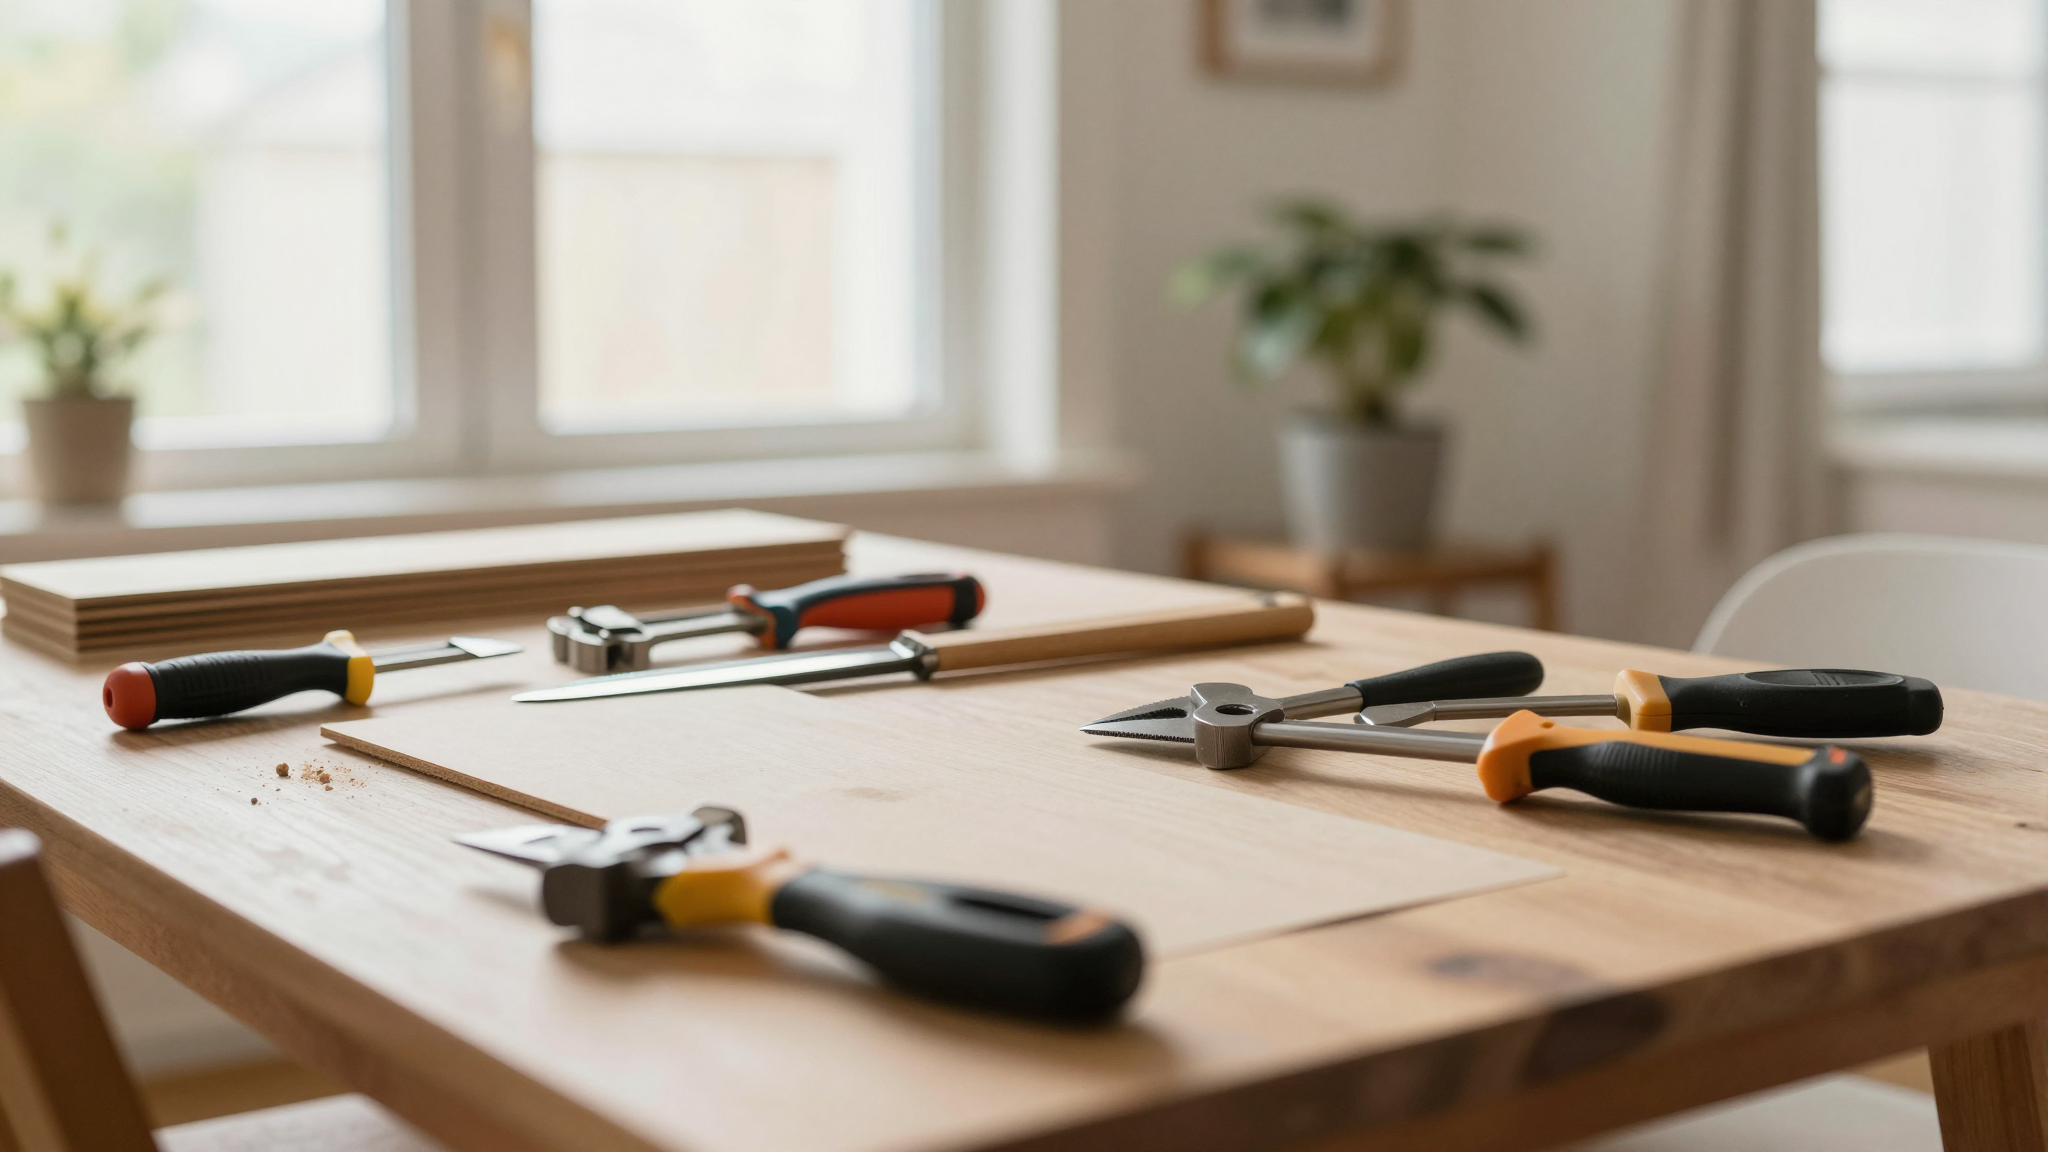
Before you start, let’s talk tools. I’ll be honest,I went a little overboard at first, buying fancy things I didn’t actually need. Here’s what actually matters:
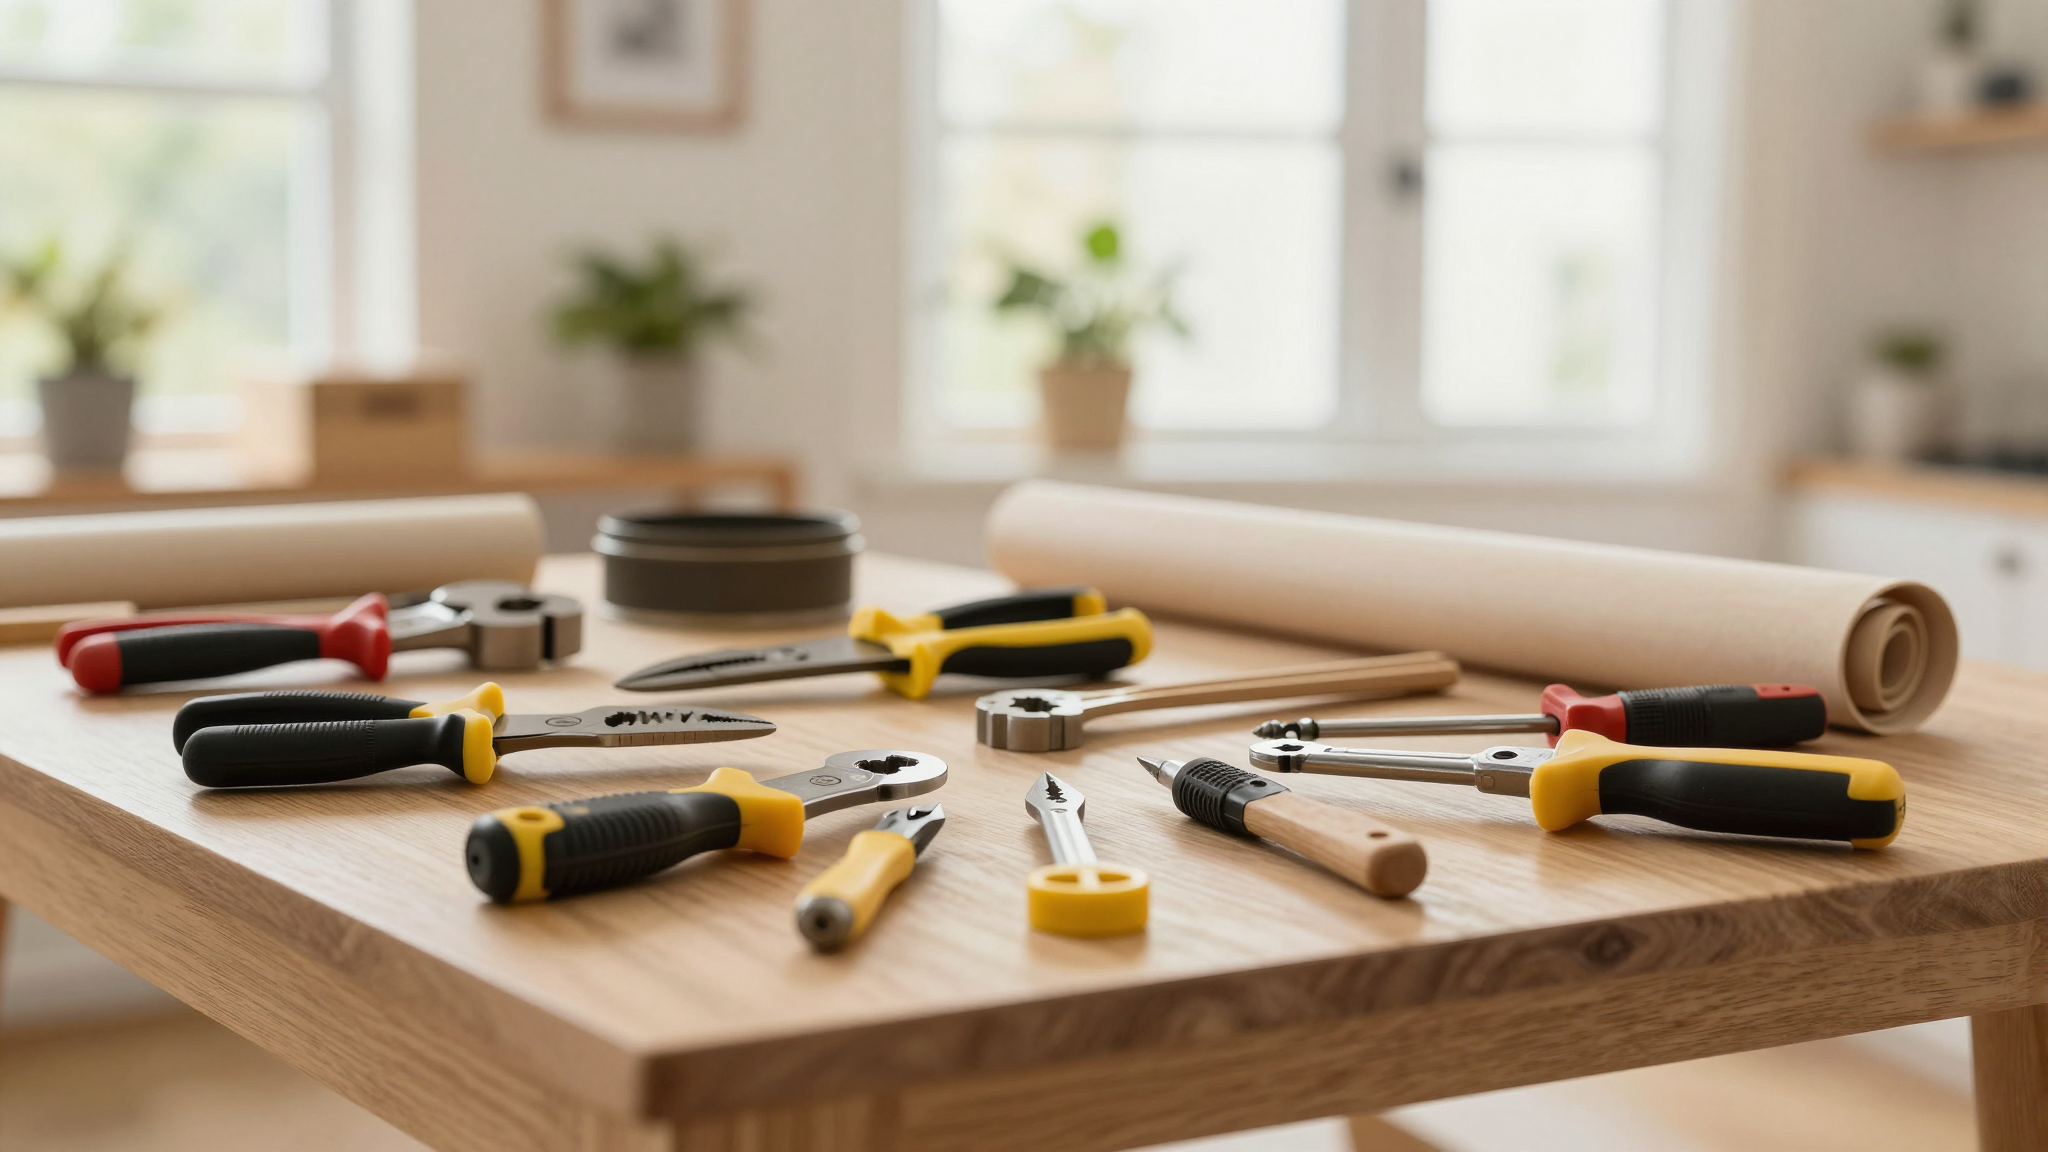
Tools and Materials
- A measuring tape. I use my Fiskars 25-foot tape measure,it’s sturdy, accurate, and doesn’t snap back like some of those cheap ones. (Trust me, nothing kills the mood like a tape measure that refuses to retract.)
- A level. This is non-negotiable. My first attempt at a growth chart was not level, and it looked like it was sliding off the wall. I learned my lesson and grabbed a basic 24-inch level from Home Depot. It cost $10 and saved me from a lopsided disaster.
- A pencil and a permanent marker. For the initial marks, a regular pencil is fine (just don’t press too hard). Once you’ve got the measurements right, switch to a permanent marker,I like the Sharpie Fine Point because it’s precise and doesn’t bleed through most paints.
- A ruler or straightedge. A metal ruler is best because it won’t warp. I have a Harbor Freight stainless steel ruler that I use for all my DIY projects,it’s cheap, durable, and fits in my toolbox.
- A durable surface. This is where you can get creative. I used a pre-primed canvas panel (the kind you’d use for painting) because it’s easy to hang, paint, and customize. But you could also use:
- Wooden planks (like pine or plywood). Sand and paint them for a rustic look.
- Adhesive wallpaper or peel-and-stick panels. If you’re renting or don’t want to commit to paint, this is a great option. Check out my guide on installing peel-and-stick wallpaper for tips.
- A chalkboard or whiteboard panel. If you want to erase and update easily, this is a fun (but messier) option.
- Paint and decorative supplies. If you’re going the wood or canvas route, you’ll want paint, stencils, or decals to make it look intentional. I used Behr Premium Plus paint in a soft gray because it hides imperfections and pairs well with almost any décor. For a pop of color, I added hand-painted stripes along the sides.
- Mounting hardware. Depending on your surface, you’ll need nails, screws, or adhesive strips. For my canvas panel, I used 3M Command Strips so I could reposition it if needed. If you’re hanging wood, a stud finder is your best friend.
Where to Put It
This is one of those “hindsight is 20/20” moments for me. My first growth chart was in the hallway, which seemed like a great idea,until I realized my kids would have to stand in a weird spot to measure themselves, and the lighting was terrible for reading the marks.
Here’s what I wish I’d known:
- Pick a wall with good lighting. Natural light is best, but if you’re in a dim hallway, make sure there’s a lamp or overhead light nearby. You don’t want to be squinting to read the measurements.
- Choose a flat, unobstructed surface. Avoid walls with outlets, light switches, or baseboard heaters. Trust me, nothing is more frustrating than trying to measure a kid who keeps stepping on a vent.
- Make it accessible. If your kids are little, place it somewhere they can reach easily (or at least stand against without climbing). If they’re older, a higher spot might encourage them to measure themselves independently.
- Consider the décor. This chart is going to be in your home for years, so make sure it fits the vibe. I went for a farmhouse-inspired look with a wooden frame and chalkboard paint, but you could also do modern, minimalist, or even whimsical (think stars, moons, or their favorite characters).
How to Measure Your Kid’s Height (Without a Tantrum)
Okay, let’s talk about the real challenge: getting your kid to stand still long enough to measure them. I’ve had kids who treated it like a game (“Can I jump now? Can I spin?”) and others who acted like I was asking them to solve quantum physics. Here’s how I’ve learned to make it (mostly) painless.
Step 1: Pick the Right Time
Timing is everything. I used to try to measure my kids in the evening, when they were tired and cranky. Big mistake. Now, I do it:
- First thing in the morning. Spinal compression happens throughout the day, so morning measurements are the most accurate. Plus, they’re still half-asleep and less likely to put up a fight.
- Right after a bath. If they’re already naked (or in pajamas), it’s one less thing to take off. Pro tip: Tell them it’s “bath time measurements” and suddenly it’s part of the routine.
- Before school or after a snack. A slightly distracted kid is an easier-to-measure kid. Offer a sticker or a high-five as a reward.
Step 2: The Proper Technique
This is where I used to mess up. I’d just eyeball it or have them stand however they wanted, and the results were all over the place. Here’s the correct way to do it:
- Have them remove their shoes. Shoes add height, and we want accurate measurements. If they’re wearing thick socks, have them take those off too.
- Stand them against a flat wall. Their heels, butt, and shoulders should all touch the wall. No slouching! I tell my kids to “stand like a soldier” to get them to straighten up.
- Have them look straight ahead. Not up, not down,straight ahead. This keeps their head in the right position. I use a small sticker on the wall at eye level to help them line up.
- Place a flat object on their head. A book, a ruler, or even a wooden block works. Gently lower it onto their head until it touches the wall. Do not press down. You’re not trying to flatten their hair (though, let’s be honest, it might happen anyway).
- Mark the spot. Use your pencil to make a light dot where the object touches the wall. If you’re using a ruler, line it up with the bottom of the object and mark the measurement.
- Record the date and height. Write it down immediately,trust me, you will forget otherwise. I keep a small notebook hanging next to the chart for this exact purpose.
I also like to take a quick photo of the measurement with my phone. It’s a fun way to document the moment, and it’s a backup in case the mark smudges (which, let’s face it, it probably will).
Step 3: Making It Fun (Because Let’s Be Real, Kids Hate Standing Still)
Here’s the secret to getting cooperation: make it a game. Some ideas that have worked for me:
- The “Growth Spurt Challenge.” Tell them you’re tracking to see if they’ll grow taller than their sibling or a favorite aunt/uncle. Kids love competition.
- The “Magic Wand” Trick. Use a ruler or a wooden dowel as a “magic wand” that measures their height. “Abracadabra! Let’s see how tall you’ve grown!”
- Sticker Rewards. Keep a sheet of stickers nearby and let them pick one after each measurement. (I buy the dollar-store ones in bulk.)
- Turn It Into a Tradition. Pair measurements with something they love,like a special snack, a favorite song, or a quick dance party afterward.
And if all else fails? Bribery. I’m not proud, but I’ve been known to offer an extra 10 minutes of screen time for good behavior. Desperate times, right?
Designing Your Growth Chart: Function Meets Style
Now for the fun part: making it look good. I’ll admit, my first attempt was… let’s just say “utilitarian.” It worked, but it looked like something from a doctor’s office. This time, I wanted it to match our home’s aesthetic while still being functional. Here’s how I did it:
Step 1: Choose Your Design
You have a few options here, depending on your skill level and patience:
- The Minimalist Approach. If you’re not into decorating, keep it simple: a straight line with marks for each inch or centimeter. I used a laser level to draw a perfectly straight line down the center of my canvas panel. Then, I marked every inch with a tiny dot and labeled every 6 inches. It’s clean, effective, and easy to update.
- The Decorative Approach. If you want it to double as wall art, get creative! I painted my canvas panel a soft gray and added hand-painted stripes in a complementary color. I also stenciled little stars and moons along the sides. For a rustic look, you could use wood and burn designs into it with a wood-burning tool.
- The Thematic Approach. Make it personal! If your kid loves dinosaurs, space, or unicorns, incorporate that into the design. I have a friend who made a growth chart shaped like a tree, with “branches” for each year. (I may or may not be jealous of her crafting skills.)
If you’re not confident in your painting skills, no worries! You can:
- Use peel-and-stick wallpaper with a ruler design.
- Buy a pre-made growth chart and customize it with paint or decals.
- Use a chalkboard or whiteboard panel and draw the lines yourself.
Step 2: Add Functional Elements
A growth chart isn’t just about the height marks. Here’s what I included to make mine more useful:
- A date and age tracker. Next to each height mark, I added a small space to write the date and their age (e.g., “5/15/2026, 8 years, 3 months”). This helps me track patterns over time.
- A percentile guide. I printed out a CDC growth chart and taped it to the side. It’s a quick reference to see how my kids compare to national averages. (Spoiler: My oldest is in the 90th percentile for height. He’s going to be tall.)
- A weight tracker (optional). If you want to monitor weight too, add a small column or a separate section. I used a Withings body composition scale to track weight and BMI, but a regular scale works fine.
- Milestone markers. I left space at the bottom to write down fun milestones, like “First day of kindergarten,” “Lost first tooth,” or “Beat Dad at basketball.” It’s a great way to add personality to the chart.
Step 3: Make It Durable
This thing is going to be on your wall for years, so you want it to last. Here’s how I ensured mine would hold up:
- Seal it properly. If you’re using wood, sand it smooth and apply a clear sealant or polyurethane to protect it from scratches and moisture. For canvas, a coat of Mod Podge or acrylic sealer will help the paint last longer.
- Use the right hardware. If you’re hanging it on drywall, use drywall anchors for heavier materials like wood. For lighter pieces, Command Strips work great and won’t damage the wall when you remove them.
- Protect it from little hands. If you have a toddler (or a kid who can’t resist touching things), consider adding a clear acrylic sheet over the chart to protect it from fingerprints and smudges.
Pro tip: If you’re worried about the marks fading over time, use a Sharpie Ultra Fine Point. It’s permanent (as in, “you’ll-never-get-it-off” permanent) and won’t smudge like a regular marker.
Interpreting the Data: What the Numbers Really Mean
Now that you’ve got a beautiful, functional growth chart, what do you do with all that data? Here’s how I make sense of it,and when to pay attention.
Understanding Percentiles
Every time I take my kids for a checkup, the pediatrician talks about percentiles. At first, I thought it was just a fancy way of saying “average.” Turns out, it’s a little more nuanced than that.
Percentiles show how your child’s height and weight compare to other kids their age. For example:
- If your child is at the 50th percentile, they’re right in the middle,half the kids their age are taller/heavier, and half are shorter/lighter.
- If they’re at the 75th percentile, they’re taller/heavier than 75% of kids their age.
- If they’re at the 25th percentile, they’re shorter/lighter than 75% of kids their age.
Here’s what I’ve learned from tracking my kids:
- Percentiles can (and do) change. My oldest was at the 70th percentile for height at age 5 but dropped to the 50th by age 7. Then, he shot up to the 90th by age 10. It’s normal for kids to shift percentiles as they grow.
- Consistent percentiles are what matter. If your child stays around the same percentile over time, they’re likely growing at a healthy rate. Big jumps or drops? That’s when you might want to chat with your pediatrician.
- Genetics play a huge role. If you and your partner are both tall, chances are your kid will be too. Same goes for weight. I’m 5’4”, and my husband is 6’2”, so it’s no surprise our kids are stretching toward the top of the growth chart.
I keep a copy of the CDC growth charts handy, and I compare my kids’ measurements to the percentiles every few months. It’s not about stressing over the numbers,it’s about seeing the trends.
When to Talk to Your Pediatrician
Here’s the thing: I’m not a doctor, and I’m not trying to replace professional advice. But I am a mom who’s learned a few red flags over the years. If you notice any of these, it’s worth mentioning at your next checkup:
- Sudden drops in percentile. If your child was consistently at the 50th percentile and suddenly drops to the 10th without an obvious reason (like illness), it’s worth looking into.
- No growth over 6+ months. Kids grow in spurts, but if there’s no change at all for a long time, it could indicate an issue.
- Extreme percentiles with no family history. If your child is at the 99th percentile for height but neither you nor your partner are particularly tall, it might be worth discussing.
- Uneven growth (height vs. weight). If your child’s height and weight percentiles are very far apart (e.g., 90th for height, 10th for weight), it could signal an underlying issue.
That said, most kids grow at their own pace. My youngest went through a phase where she barely grew for six months, and I panicked,only to have her shoot up 3 inches in the next three months. Kids are weird like that.
Tracking More Than Just Height
If you want to get really detailed, you can track other measurements too. Here’s what I’ve added to my kids’ charts over the years:
- Weight. I use a digital scale and record it every few months. It’s good to have a baseline, but I don’t stress over small fluctuations.
- Head circumference (for little ones). When my kids were babies, I tracked head size too. It’s a good indicator of brain growth in the early years.
- Shoe size. I jot this down every time we buy new shoes. It’s fun to look back and see how quickly their feet grew!
- Fun milestones. Things like “First lost tooth,” “Rode a bike without training wheels,” or “Beat Mom at chess.” These aren’t medical, but they’re memories.
I keep all this in a small notebook next to the growth chart. It’s become a little time capsule of their childhoods.
Final Tips (and What I’d Do Differently Next Time)
If I could go back and do this project over, here’s what I’d change:
- I’d use a laser level for the initial line. My first attempt was slightly off because I freehanded it. A laser level would’ve saved me a lot of frustration.
- I’d add a pocket or a small shelf for the notebook. Right now, my notebook is just taped to the side, and it’s a little messy. A small wooden shelf or a fabric pocket would look cleaner.
- I’d include a space for photos. I love the idea of adding a Polaroid-style photo of my kids at each measurement. It would make the chart even more sentimental.
- I’d make it easier to update. If I were doing this again, I’d use a whiteboard panel or chalkboard paint so I could erase and update the measurements without smudging.
But here’s the thing: Even with those mistakes, I love our growth chart. It’s become a staple in our home,a place where we mark time, celebrate growth (literally and figuratively), and look back on how far our kids have come.
So if you’re on the fence about making one, just do it. It doesn’t have to be perfect. It doesn’t even have to be pretty. What matters is that it’s yours,a handmade, heartfelt way to document your child’s journey.
Now, if you’ll excuse me, I need to go chase down my kid and measure him before he grows another inch without me noticing.
FAQs
How often should I measure my child’s height?
For little ones (ages 0-3), I measure every 3-6 months because they grow so fast. For school-age kids (4-12), every 6-12 months is plenty. Teenagers? Once a year unless they’re in a major growth spurt. Pro tip: I set a reminder on my phone for every 6 months so I don’t forget!
What’s the best way to get an accurate measurement?
Here’s my foolproof method:
- Have them stand barefoot against a flat wall.
- Use a book or a wooden block on their head to mark the top.
- Make sure their heels, butt, and shoulders are touching the wall.
- Have them look straight ahead (not up or down).
- Mark the spot with a pencil, then measure the distance from the floor.
I also take a quick photo with my phone as a backup. Trust me, you’ll thank me later when the pencil mark smudges.
Why are percentiles important on a growth chart?
Percentiles help you see how your child’s height and weight compare to other kids their age. It’s not about being “average”,it’s about trends. If your child is consistently at the 75th percentile, that’s totally normal. But if they drop from the 50th to the 10th percentile with no explanation, it’s worth chatting with your pediatrician. Think of it like a roadmap for their growth.
Can I include other data besides height on my DIY chart?
Absolutely! I track weight, shoe size, and even fun milestones like “First day of school” or “Learned to ride a bike.” You can also add:
- Head circumference (for babies).
- Hand or foot prints (for a keepsake).
- Photos (if you add a Polaroid pocket).
- Drawings or notes from your child.
This is your chart,make it work for you!
At what age do children typically stop growing taller?
Most kids finish growing between 16 and 18, but it varies. Girls usually stop growing around 14-16, while boys can keep growing until 18-20. My oldest is 16, and he’s still inching up,though I think he’s finally slowing down. (Fingers crossed he doesn’t outgrow our doorframes before he moves out!)
Ready to start your own growth chart? Grab your measuring tape, pick a wall, and get creative! And if you’re looking for more DIY projects to add charm to your home, check out my guides on instant home upgrades or creative accent walls. Happy measuring!