
DIY Chore Charts That Actually Get Used (No Eye-Rolling Guaranteed)
Let me tell you,getting my kids to do chores used to feel like pulling teeth. I’d make these elaborate charts with stickers and rewards, only to find them crumpled in the back of a drawer by Wednesday. Then I realized: the problem wasn’t the kids. It was the system. Or, more accurately, the fact that I was treating chores like a chore (pun intended) instead of a game they’d actually want to play.
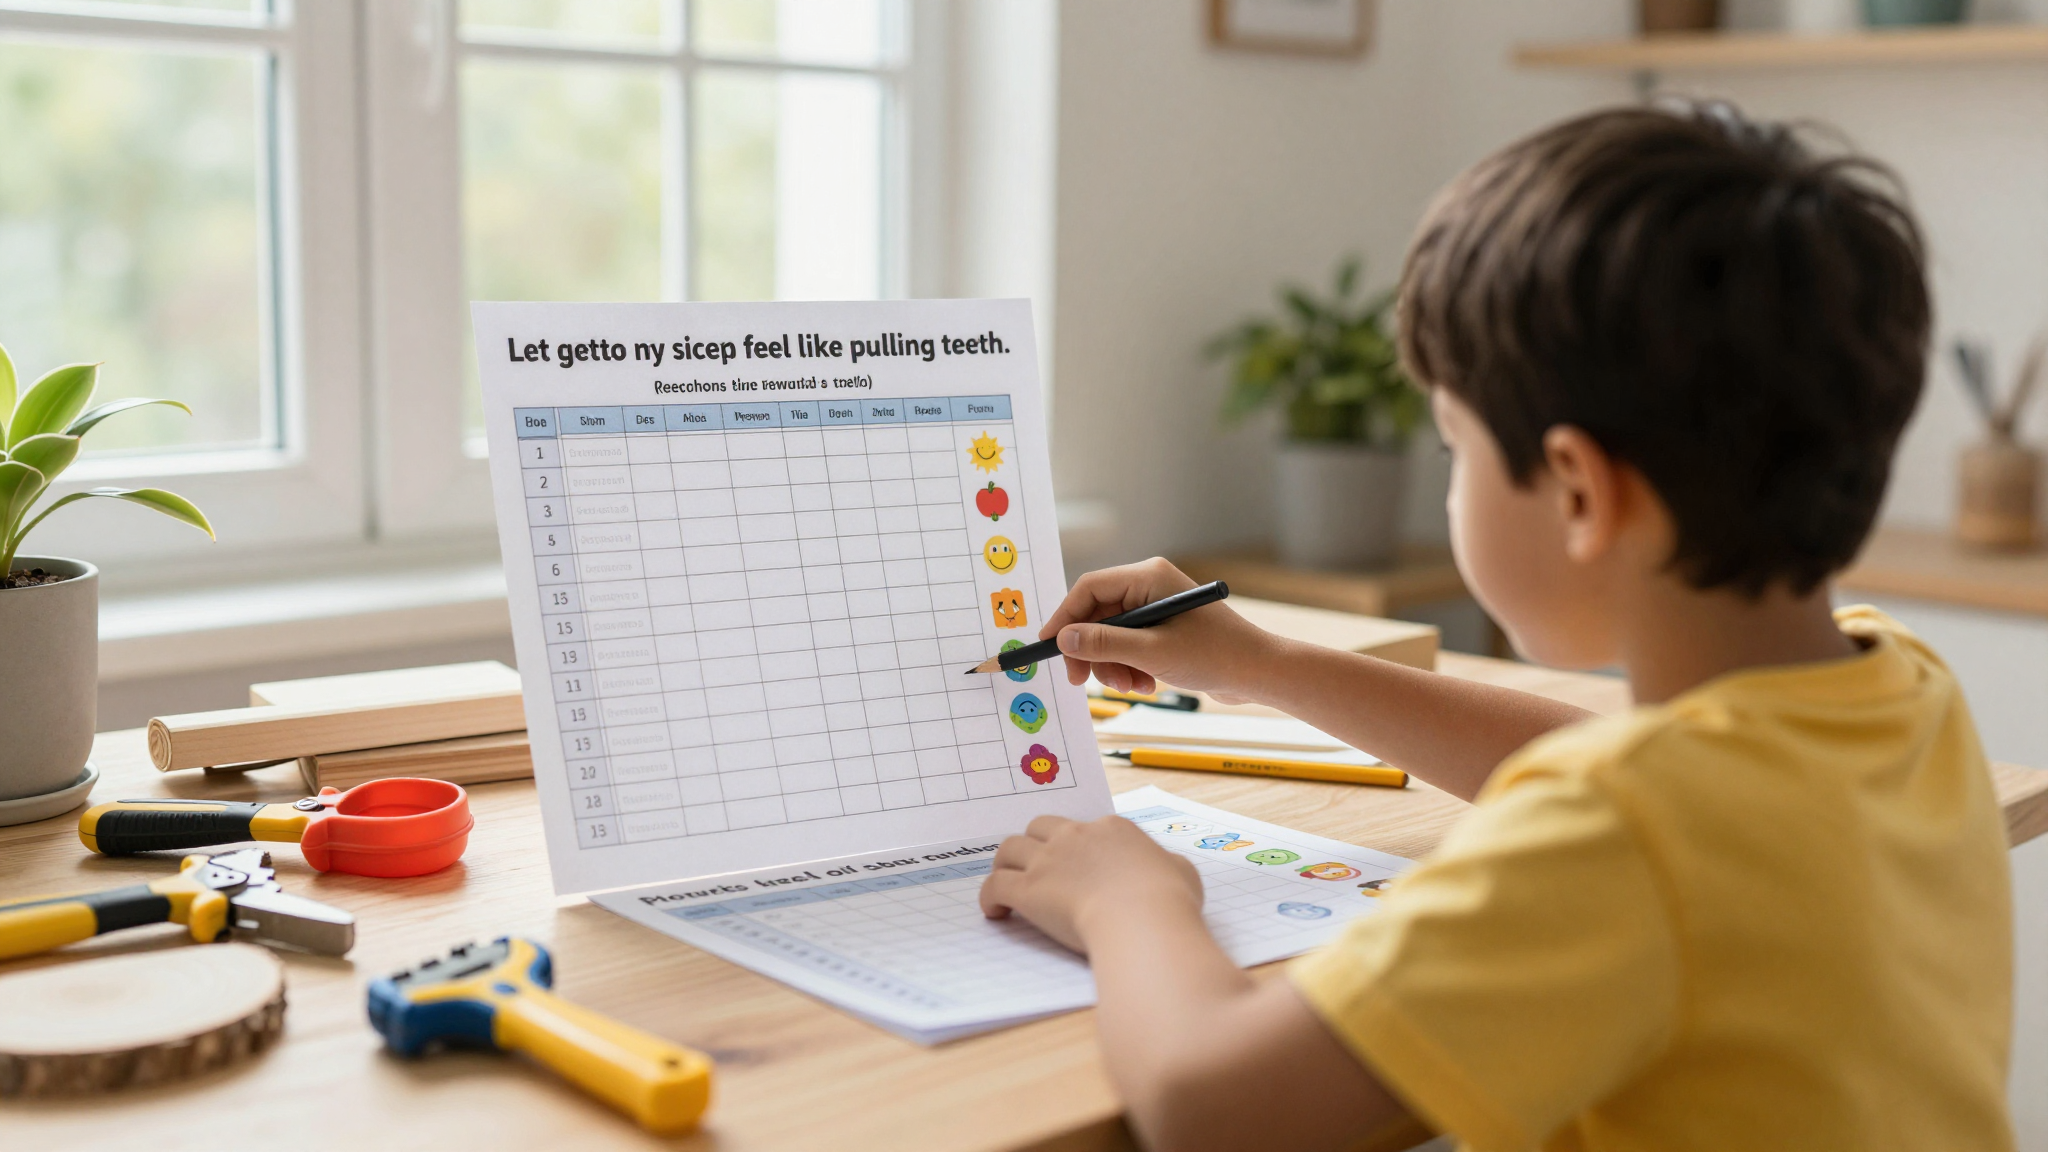
After way too many battles over making beds and taking out the trash, I finally cracked the code. The key? Making the chore chart fun, visual, and rewarding,not just another mom-created to-do list. Below, I’m sharing exactly how I did it, including the mistakes I made (like the time I used a whiteboard that smudged so badly it looked like a toddler had attacked it with a highlighter).
Whether you’ve got a preschooler who can’t read yet or a teenager who acts like chores are a violation of their human rights, these DIY chore charts work. No gimmicks, no overcomplicating it,just real, tested ideas that actually stick.
Why Most Chore Charts Fail (And How to Avoid the Same Fate)
I’ve tried everything,sticker charts, point systems, even a fancy app that my kids ignored after two days. The problem? Most systems either:
- Are too complicated (who has time to explain a 10-step reward ladder to a 6-year-old?).
- Don’t actually motivate anyone (because let’s be real, most kids don’t care about “earning screen time” if it feels like a chore).
- Get abandoned after the novelty wears off (because, again, kids).
The charts that work? They’re simple, visual, and tied to something the kids genuinely want. No pressure, no guilt-tripping,just a clear, easy way to track progress and get a reward. And yes, I’ve tested this with my own kids (who are now begging to do chores because they know what’s in it for them).
If you’re starting from scratch, skip the overthinking. The best chore charts are the ones you can throw together in an afternoon,no Cricut required (though if you’ve got one, I’ve got plenty of other projects where it’ll come in handy).
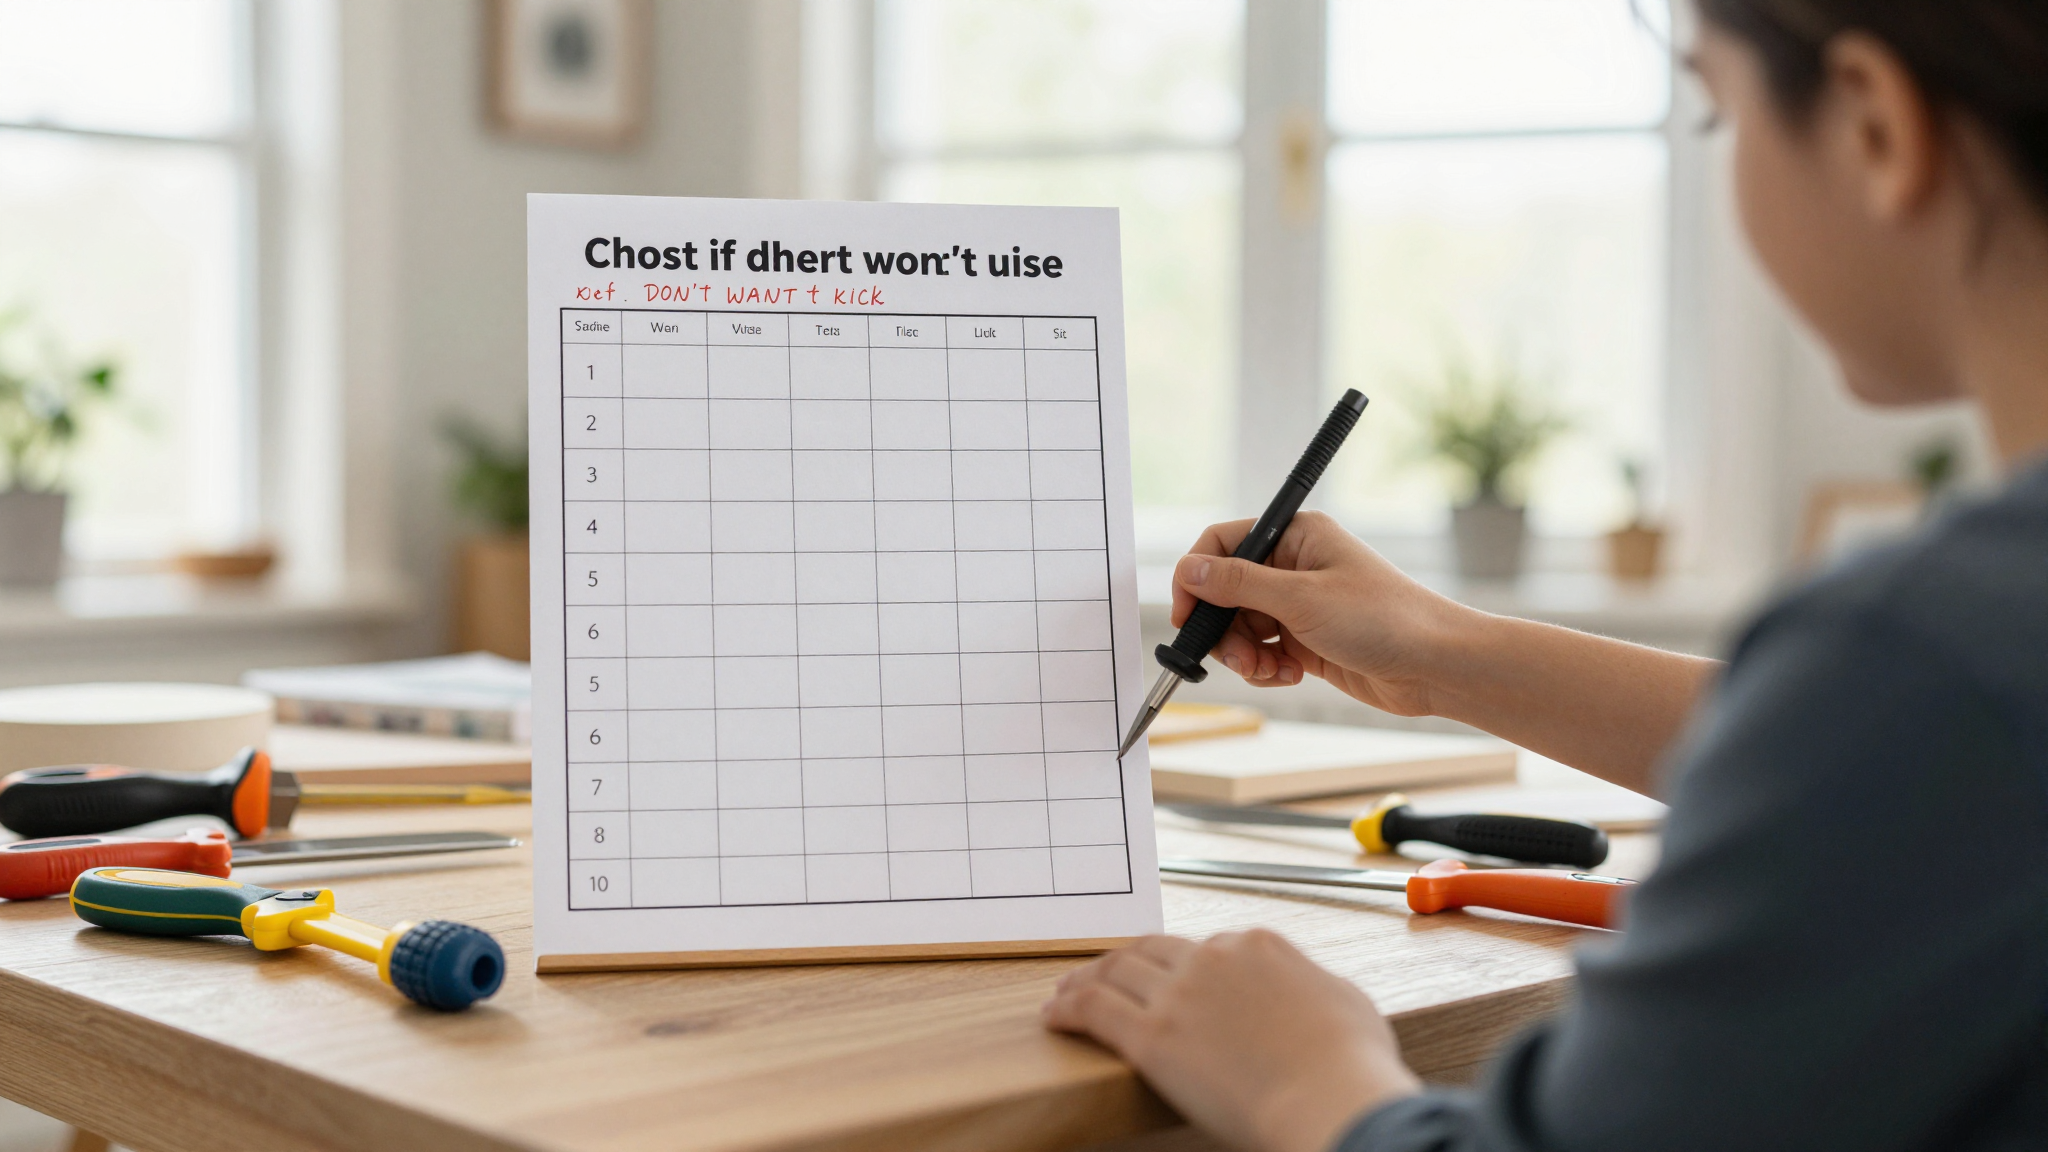
Supplies You’ll Actually Need (No Fancy Stuff)
Before you run to the craft store, let me save you some money: you don’t need a Pinterest-worthy setup to make this work. I’ve used everything from a magnetic cookie sheet (yes, the kind you bake on) to a laminated poster board propped up on the fridge. The goal is to make it visible, durable, and easy to update,not Instagram-worthy.

Option 1: Dry Erase Board (Best for Quick Updates)
This is what I started with, and it’s great if you like flexibility. Here’s what you’ll need:
- A magnetic whiteboard (I used an 11×14-inch one from Dollar Tree,yes, it lasted years).
- Magnetic clips or pushpins (to hold task cards in place).
- Dry erase markers (the Expo Low-Odor ones are my favorite,they don’t smudge like the cheap ones).
- Laminator or clear contact paper (to protect task cards from sticky fingers and spills).
Pro tip: If you don’t want to buy a whiteboard, mount a clipboard on the wall with command hooks. It’s what I did in our laundry room, and it’s held up for years.
Option 2: Pocket Chart System (Best for Durability)
This is what I use now because it’s way harder to mess up. It’s also great if you’ve got multiple kids or want to assign chores for the whole week at once. Here’s what you’ll need:
- A fabric pocket chart (I got mine from Amazon for under $20,look for one with clear pockets so you can see the task cards).
- Index cards or cardstock (for writing/chores).
- Laminator or clear sleeve protectors (to keep the cards from getting bent or torn).
- Vinyl letters or a label maker (optional, but it makes the chart look so much nicer,see my stair makeover for how I used vinyl letters there).
Mistake I made: I tried using a cheap pocket chart from a dollar store, and the pockets kept falling off. Lesson learned,spend the $20 and save yourself the headache.
Option 3: Fridge Magnets (Best for Little Kids)
If you’ve got toddlers or preschoolers, this is the easiest system. Just write chores on magnetic strips (or use magnetic letters) and let them move them around. No reading required,just point to the picture of the chore and the trash can when it’s done.
I used this with my 4-year-old, and it worked shockingly well. The key? Make it tactile. Little kids love moving things around, so lean into that.
Step-by-Step: How to Build a Chore Chart That Won’t Get Ignored
Alright, let’s get into the nitty-gritty. I’ll walk you through how I built my current system, which has survived three kids, two pets, and a move across the country. (Seriously, it’s that durable.)
Step 1: Pick Your Chore Categories
First, decide what actually needs to get done in your house. Don’t overcomplicate it,start with the basics:
- Daily tasks (making beds, feeding pets, setting the table).
- Weekly tasks (taking out the trash, vacuuming, folding laundry).
- One-time tasks (cleaning the gutters, organizing the garage,you know, the stuff that never gets done unless someone’s paid to do it).
I made the mistake of including way too many chores at first. My kids looked at the chart and groaned. Now? I keep it to 5-7 core tasks per kid, and it’s so much more manageable.
Step 2: Assign Age-Appropriate Tasks
This is where a lot of parents mess up. You can’t expect a 6-year-old to fold laundry perfectly (trust me, I’ve tried), but you can expect them to put their clothes in the hamper or sort socks. Here’s a quick breakdown of what works for different ages:
| Age | Example Chores | Why It Works |
|---|---|---|
| 3-5 | Put toys away, feed pets, wipe baseboards with a damp cloth | Simple, physical tasks that make them feel “helping.” |
| 6-9 | Make bed, set/clear table, take out recycling, dust low surfaces | They’re old enough to follow directions but still need visual cues. |
| 10-12 | Vacuum, fold laundry (with supervision), take out trash, load dishwasher | They can handle more responsibility and understand consequences. |
| 13+ | Mow lawn, deep clean bathroom, meal prep, walk the dog | They’re capable of adult-level tasks (and should be paid accordingly). |
Pro tip: If you’ve got kids close in age, group similar tasks so they’re not competing over who gets the “easier” chores. For example, my 8-year-old and 10-year-old both “set the table,” but one sets the forks and the other sets the plates. It keeps things fair.
Step 3: Design Your Chart (Keep It Simple!)
You don’t need to be a graphic designer here. I used Canva for my first chart (they’ve got free templates), but now I just handwrite everything because it’s faster. Here’s what I include:
- Each kid’s name (or a fun picture/emoji if they can’t read yet).
- Chore categories (daily, weekly, one-time).
- Checkboxes or pockets for tracking completed tasks.
- A reward tracker (more on this below).
Mistake I made: I once tried to make a color-coded, themed chart with my kids’ favorite characters. It took me hours, and they didn’t even care. Now? I stick to black marker on white cardstock, and it’s way easier to update.
Step 4: Add a Reward System (This Is the Secret Sauce)
Here’s the thing: kids won’t care about chores unless there’s something in it for them. And no, “being a good citizen” isn’t enough. You need a system that’s immediate, visual, and rewarding. Here’s how I do it:
Option 1: Point System (Best for Flexibility)
Assign points to each chore based on difficulty. For example:
- Easy chores (feeding the dog, putting away toys) = 1 point
- Medium chores (vacuuming, folding laundry) = 3 points
- Hard chores (cleaning the bathroom, mowing the lawn) = 5 points
Then, let them “cash in” points for rewards. Some ideas:
- Screen time (10 points = 30 minutes of extra iPad time).
- Toys/money (50 points = $5, or a small toy from the dollar store).
- Special privileges (20 points = pick the family movie night).
I used to give out rewards immediately, but now I save them up for a weekly “payday” on Sundays. It teaches delayed gratification (and gives me time to actually have the cash on hand).
Option 2: Sticker Chart (Best for Little Kids)
If your kids are under 7, a sticker chart works amazingly well. Here’s how:
- Give them a sticker for every chore completed.
- Set a goal (e.g., 10 stickers = a trip to the park).
- Let them pick the reward when they hit the goal.
I used this with my youngest, and she loved it. The key? Let her choose the stickers (she picked unicorns, obviously). It made her feel like she had control.
Option 3: Cash Pay (Best for Teens)
Once kids hit middle school, they start caring about actual money. I pay my 13-year-old $0.25 for easy chores and up to $1 for bigger ones (like cleaning the gutters,yes, I made him do it).
Pro tip: Use a clear jar to save up their money. They can see it growing, which seriously motivates them. (I got mine from Target for $5,it’s lasted years.)
How to Actually Get Your Kids to Use the Chart (Without Nagging)
Alright, here’s the hard truth: even the best chore chart won’t work if your kids don’t want to use it. So how do you make it stick? Here’s what I’ve learned:
Step 1: Make It a Game (Yes, Really)
Kids respond to games, not lectures. So I turned chores into a competition. Here’s how:
- Give them a timer (I use the one on my phone) and see who can finish their chores the fastest.
- Let them earn bonus points for doing chores without being asked.
- Create a “chore bingo” card where they mark off tasks to win a prize.
My kids love the timer challenge. It turns chores into a race, and suddenly, they’re begging to do their tasks first.
Step 2: Let Them Customize It
Kids are more likely to use something if they feel like it’s theirs. So I let mine:
- Pick the colors for their chore cards.
- Choose the rewards (within reason,no, you can’t trade chores for a puppy).
- Decorate the chart with stickers or drawings.
My 8-year-old insisted on glitter glue for her chore cards. It was a mess, but she loved it,and she’s used the chart every day since.
Step 3: Make It Visual (No Reading Required)
Little kids can’t read, and even older kids won’t want to read a chore list. So I made mine:
- Picture-based (I used clipart from Canva for tasks like “feed the dog” or “take out the trash”).
- Color-coded (each kid has their own color).
- Super simple (no paragraphs,just one-word tasks).
I also added a “chore of the day” section where I highlight one extra task (like “wipe down the kitchen counters”). It gives them something new to focus on.
Step 4: Keep It Fun (Even When It’s Not)
Let’s be real,some chores are boring. So I spice it up:
- Play music while they work (my kids request Taylor Swift or Beyoncé,yes, really).
- Turn it into a dance party (vacuuming while dancing? Suddenly, it’s not a chore).
- Let them earn “boss points” for doing chores without complaining (they can use these to “promote” a sibling to do a task for them).
I know it sounds silly, but it works. My kids actually ask to do chores now because they know it’s going to be fun.
Troubleshooting: What to Do When the System Fails
Even the best-laid plans hit snags. Here’s how I fixed the most common problems:
Problem: My Kid Refuses to Do Chores
Solution: Natural consequences. If they don’t take out the trash, it sits there (and eventually, they’ll complain about the smell). If they don’t feed the dog, the dog whines. Kids learn fast when they see the direct result of not doing their chores.
I also used to over-explain why chores were important. Now? I just say, “If you don’t do it, it doesn’t get done.” Short, simple, no debate.
Problem: The Chart Gets Ignored After a Week
Solution: Switch it up. If they’re bored, change the rewards, the design, or the chores. One week, we did a “chore scavenger hunt” where they had to find hidden task cards around the house. Another week, we turned it into a board game with a spinner.
I also rotated chores so they didn’t get stuck doing the same thing every week. My 10-year-old hated taking out the trash, so now she only does it once a week (and her brother takes over the rest of the time).
Problem: Siblings Fight Over Chores
Solution: Assign “chore zones”. One kid is in charge of the kitchen, another handles the living room, and so on. That way, they’re not stepping on each other’s toes.
I also let them trade chores (within reason). If my 8-year-old doesn’t want to vacuum, she can trade with her brother,but only if he agrees. It teaches negotiation skills (and saves me from mediating fights).
Final Thought: It’s Okay If It’s Not Perfect
Your first chore chart doesn’t have to be flawless. Mine looked like a kindergartener’s art project for the first year, and that was fine. What matters is that it works,that your kids actually use it, that chores get done, and that you don’t lose your mind in the process.
Start small. Pick one or two chores to focus on at first. Let your kids help design the chart. And if it fails? Adjust and try again. I’ve redone our chore system at least five times over the years, and each time, it’s gotten a little better.
Now, go grab that whiteboard (or cookie sheet) and get started. And if you need more DIY ideas to keep your house running smoothly, check out my winterizing tips or my guide to fixing a running toilet (because let’s be real, chores aren’t the only thing that needs fixing around here).
Happy chore-charting! And remember: if all else fails, bribery with ice cream is always an option.