
How I Installed Faux Shiplap for Under $70 (Without a Single Mistake)
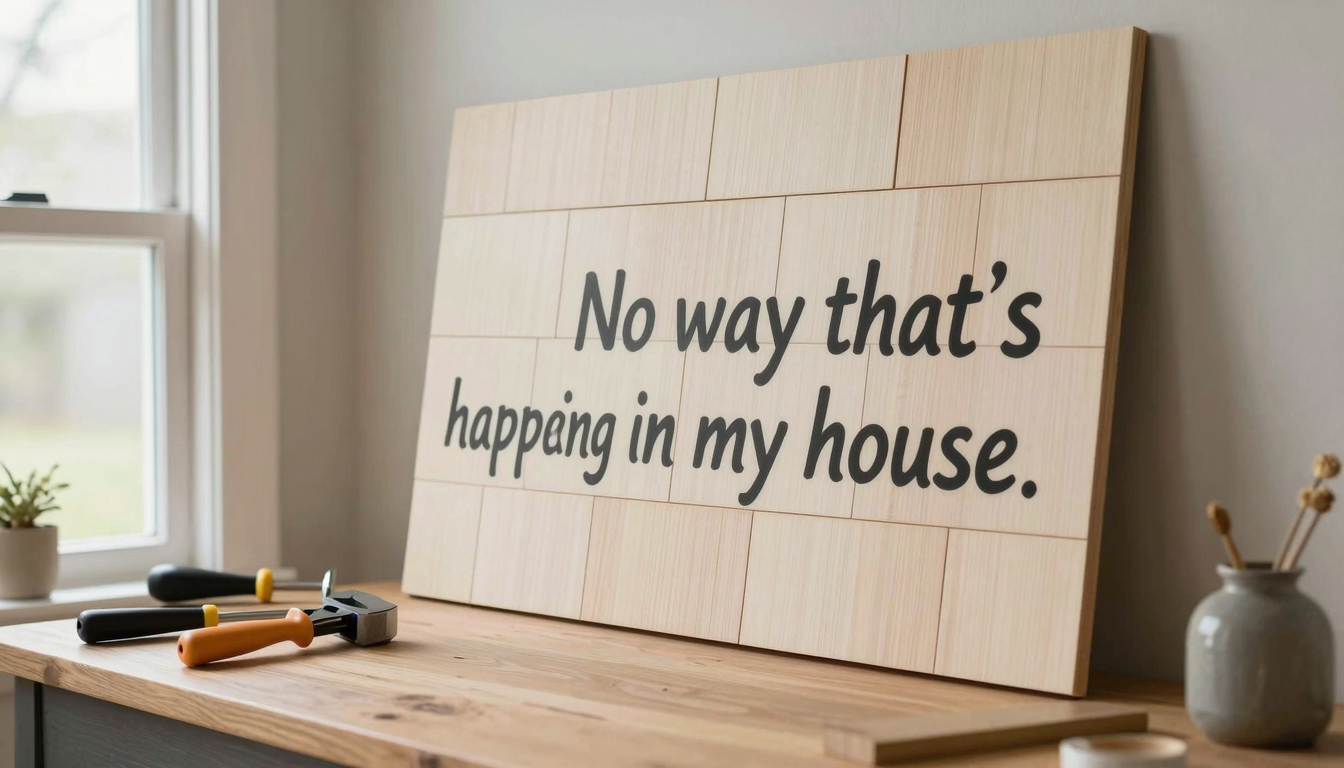
Let me tell you,when I first saw shiplap on a home decor show, I thought, “No way that’s happening in my house.” The price tags on real shiplap boards made my wallet cry. But then I discovered the faux version, and let me say: it changed everything. I’ve now installed it in three rooms, and I’m here to show you exactly how I did it without spending a fortune or calling a contractor.
This isn’t just about saving money (though we’ll get to that). It’s about adding that cozy, textured look that makes a room feel like a hug. The best part? You don’t need to be a carpenter to pull this off. I’ve seen my 12-year-old help with the easier parts,though I’d recommend waiting until they’re at least 14 before letting them near the nail gun.
I’ll walk you through my exact process, including the tools I swear by, the mistakes I made (yes, there were a few), and the little tricks that made all the difference. Oh, and if you’re curious about other budget-friendly ways to add charm to your home, check out my five favorite projects that cost less than a fancy dinner out.
Why I Chose Faux Shiplap Over the Real Deal
I’ll be honest,I was skeptical at first. I mean, “faux” anything sounds like a compromise, right? But after pricing out real shiplap (we’re talking $150+ per wall just for materials), I knew I needed a better solution. The faux version gave me that same warm, textured look for about $65 per wall. And the best part? No need to rip out my existing trim or spend a weekend sanding and staining.
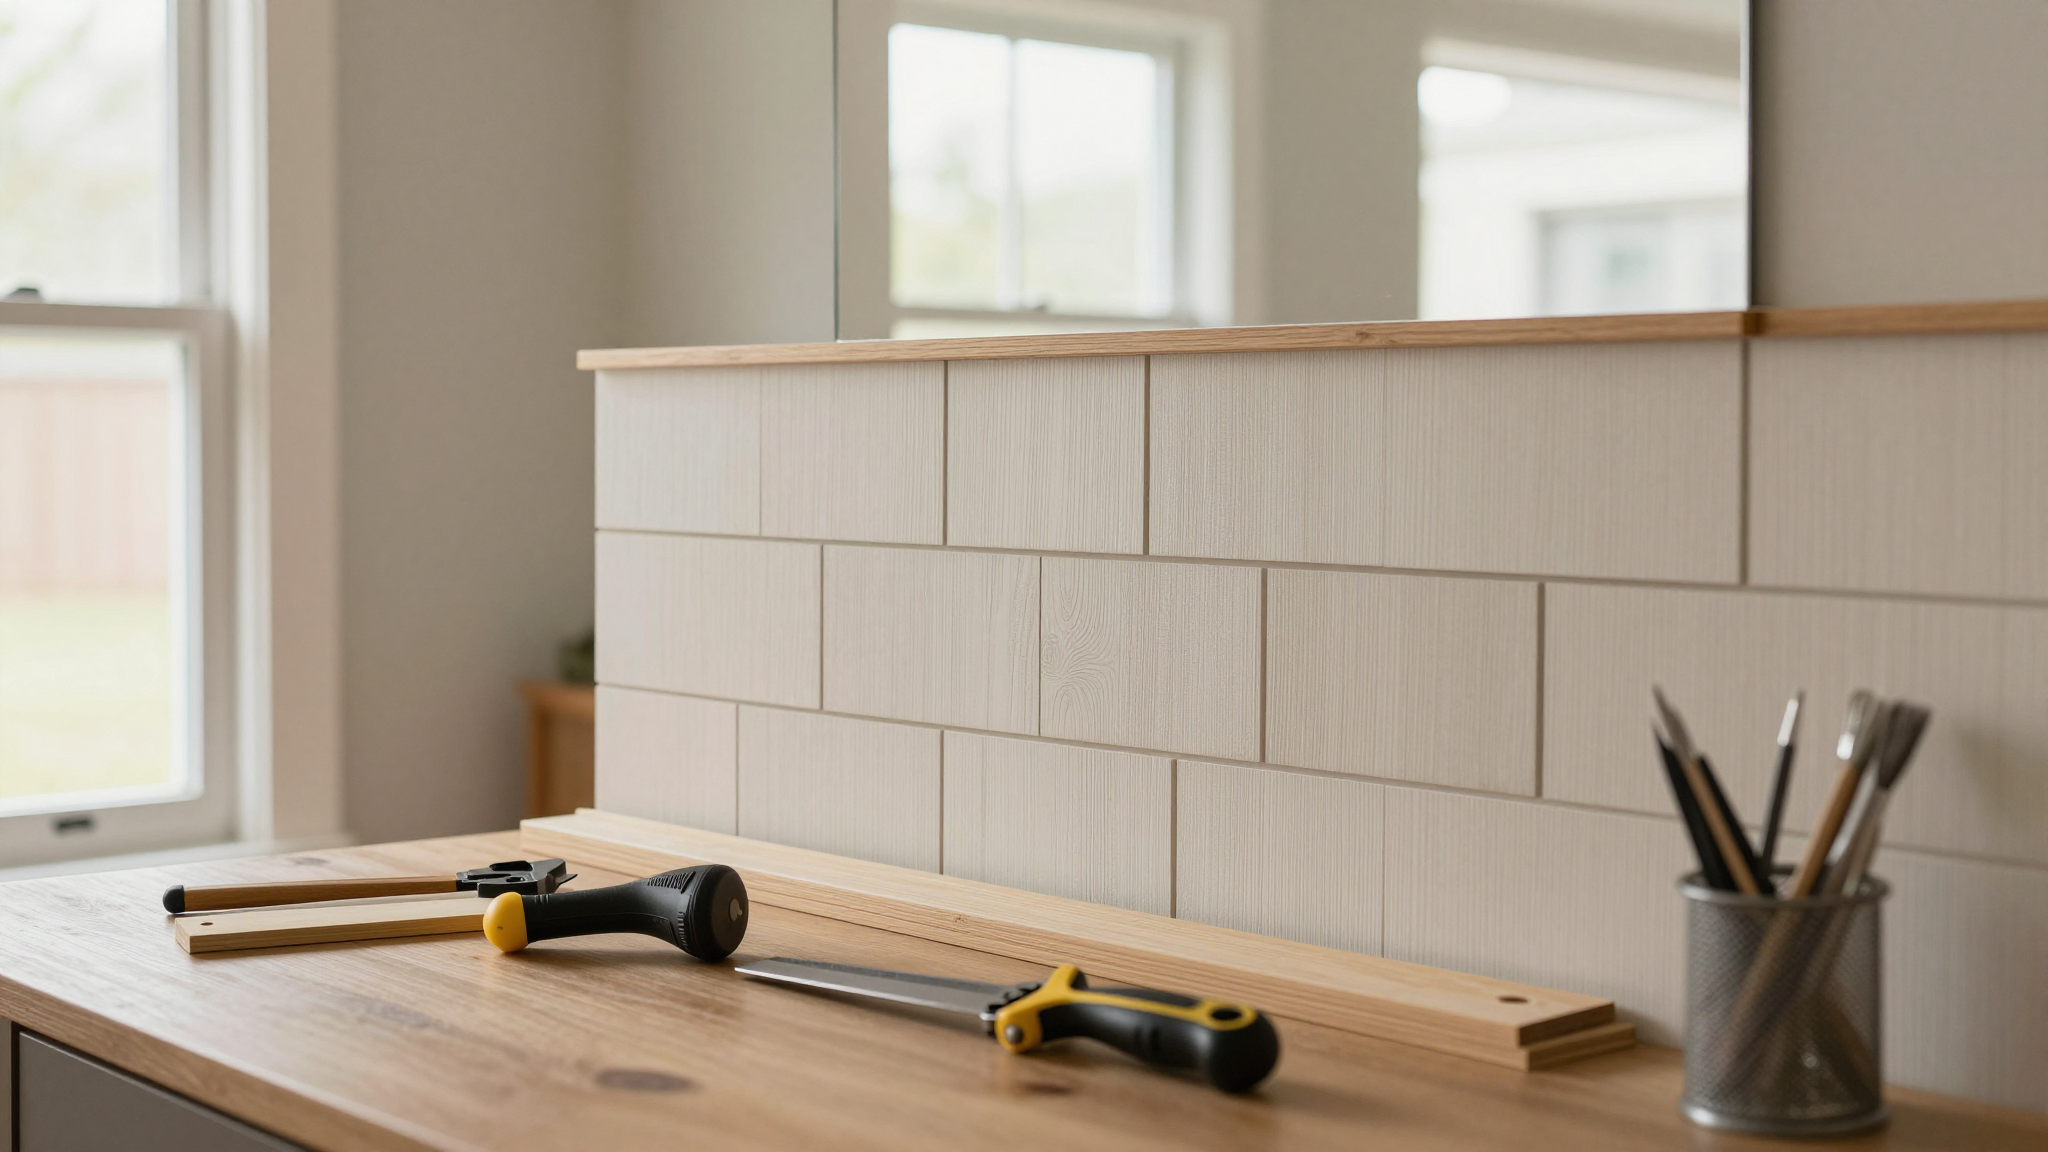
Here’s the thing: real shiplap is beautiful, but it’s also heavy, expensive, and requires a lot of prep work. My faux version uses thin plywood or luan sheets,materials that are lightweight, easy to cut, and take paint like a dream. I used my trusty miter saw to cut the strips, and let me tell you, it made the whole process a breeze. No splinters, no heavy lifting, and no regrets.
I installed my first faux shiplap wall in the guest bedroom, and I’ll never forget my husband’s reaction when he walked in. He just stood there for a full minute, staring at the wall, and said, “Christina, this looks like something out of a magazine.” Coming from a guy who usually just grunts in approval, that was high praise.
If you’re still on the fence, here’s the breakdown of what you’re getting with the faux version:
- Cost: Real shiplap can run $150+ per wall. My faux version cost me $65 for materials and about 6 hours of my time.
- Installation time: Real shiplap takes 8-12 hours because you’ve got to remove trim, account for thicker boards, and deal with all that weight. My faux version? 4-6 hours, start to finish.
- Prep work: With real shiplap, you’ve got to strip off your baseboards and crown molding. Not with faux,it works right over what you’ve got.
- Customization: I wanted my shiplap to be a little narrower than standard, so I adjusted the width of my strips. With real shiplap, you’re stuck with whatever the store has in stock.
And if you’re curious about other ways to add texture to your walls, I’ve got a whole post on 10 creative accent wall ideas that don’t require shiplap at all.
Prepping Your Wall: The Step I Almost Skipped (Don’t Make My Mistake!)
Okay, I need to confess something: I almost skipped the prep work. I was so excited to start nailing up those boards that I figured, “How bad could it be?” Bad. It could be bad. Thankfully, I caught myself before I made a huge mistake.
Here’s what I learned the hard way: if you don’t prep your wall properly, those little gaps between your boards are going to show like a neon sign. And not in a good way. So, here’s exactly what I did to make sure my wall looked flawless:
Painting the Wall First (Yes, Really!)
Before I even thought about cutting my first strip of plywood, I grabbed a roller and painted the entire wall the same color as my shiplap boards. I used the same paint I used on my upcycled dresser,a soft white that made the room feel brighter. Why? Because if there’s even a tiny gap between your boards, you don’t want to see the ugly drywall or old paint peeking through.
Pro tip: I also pre-painted the top and bottom edges of each board before hanging them. It’s a little extra work upfront, but it saved me so much time later. Trust me, painting the edges of those boards after they’re on the wall is a nightmare. You’ll end up with brush strokes everywhere, and no one wants that.
Measuring Like a Pro (Or at Least Like Someone Who Learned from Her Mistakes)
This is where I almost messed up. I measured the height of my wall from the baseboard to the crown molding and thought, “Easy peasy.” But then I realized I hadn’t accounted for the spacing between the boards. If I didn’t leave enough room, the top row would look squished and uneven.
Here’s how I fixed it: I decided on a 6¼-inch height for my boards, which gave me just enough space for consistent gaps between them. I used quarters as spacers,yes, actual quarters from my purse,because they gave me that perfect ¼-inch gap that makes the shiplap look authentic. If you want narrower gaps, use pennies. Wider gaps? Try nickels.
I also took off my baseboards before I started. It made it way easier to install the shiplap right down to the floor, and I reattached them afterward. It’s a little extra work, but the result is so much cleaner.
If you’re not sure where to start, I’ve got a whole post on measuring and cutting wood that might help. It’s not shiplap-specific, but the principles are the same.
Tools and Materials: What I Actually Used (No Fluff)
I’m not going to list every single tool you might need. I’m going to tell you exactly what I used, what worked, and what I’ll never buy again.
The Tools That Saved Me
First up: my 18-gauge nail gun. I borrowed it from my brother-in-law at first, but after using it, I knew I had to get my own. It’s the only way to secure those thin boards without splitting them. I also used:
- A miter saw for straight cuts (I love my DeWalt DW745,it’s a game-changer).
- A jigsaw for cutting around outlets (I used a Bosch JS470E, and it’s still going strong).
- A drill for pre-drilling holes around outlets.
- A level,don’t even think about skipping this. I used a 24-inch level, and I checked it every few boards.
- A stud finder (I swear by the Franklin Sensors,it’s never let me down).
- A foam roller for painting (it gives the smoothest finish, no brush strokes).
If you don’t have all of these, don’t panic. I didn’t either at first. I rented a few tools, borrowed others, and slowly built up my collection. And if you’re not sure what tools are worth investing in, I’ve got a full guide to the must-have tools for any DIYer.
The Materials That Worked (And One That Didn’t)
I tried a few different materials before settling on what I use now. Here’s the breakdown:
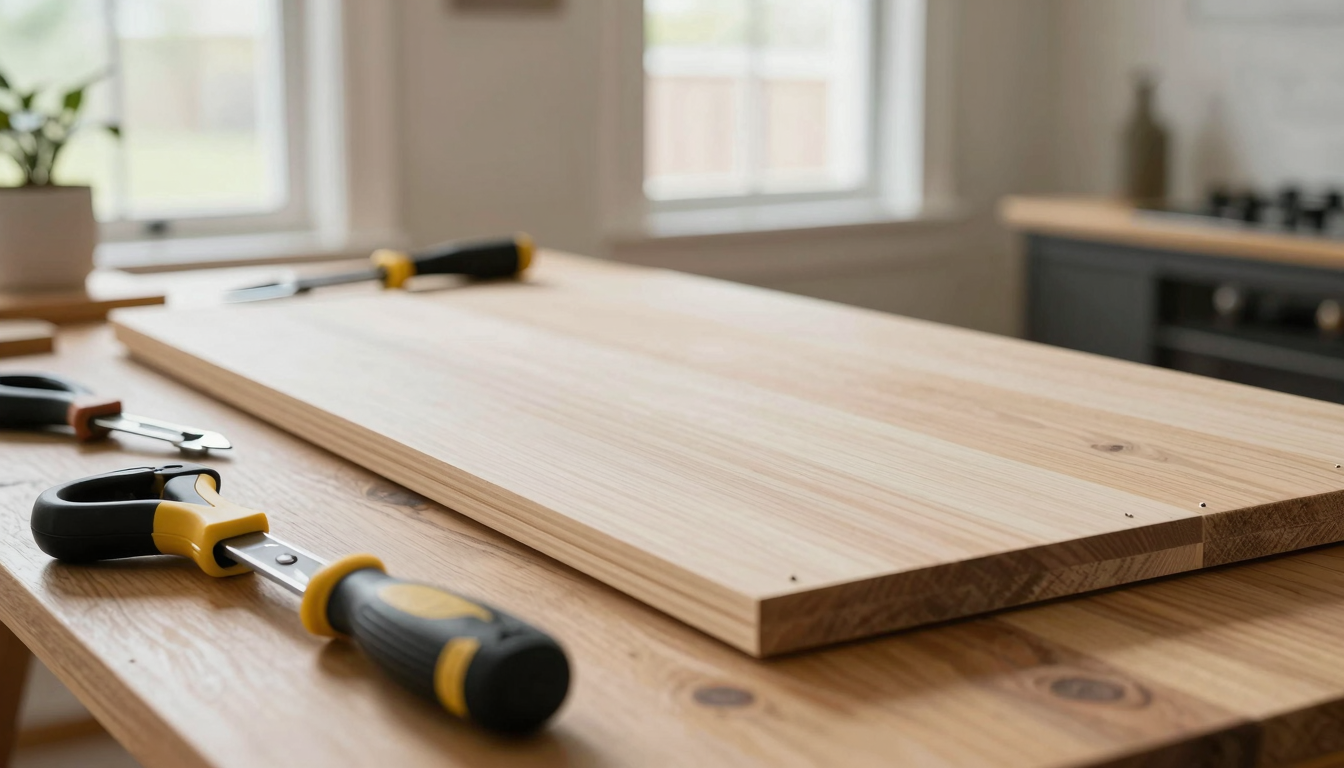
- ¼” Maple Plywood – This is my go-to now. It’s smooth, takes paint beautifully, and costs about $35-$45 per sheet. I cut it into 5¾-inch-wide strips, which gives me eight strips per sheet. The only downside? The edges can be a little rough if you’re not careful. I always sand them down before painting.
- Luan Underlayment – This was my first try, and it worked okay. It’s cheaper ($25-$35 per sheet) and easier to cut, but the finish isn’t quite as smooth as the plywood. If you’re on a tight budget, it’s a good option.
- Pre-cut MDF Boards – I tried these once, and let me tell you, they’re a pain. They’re more expensive ($55-$65 per sheet) and tend to warp if they get wet. Plus, the edges are super fragile. I stuck with plywood after that.
I also used:
- Liquid Nails adhesive – I applied this to the back of each board before nailing it up. It gives an extra secure hold, especially around the edges.
- Quarter round trim – This goes along the ceiling and vertical edges for a polished look. I painted it the same color as my shiplap.
- Wood filler and caulk – For filling nail holes and sealing gaps. I used the same wood filler I used for patching holes in my drywall last year.
- Farrow & Ball White paint – Okay, this was a splurge, but it was worth it. The coverage is amazing, and it dries to a gorgeous, creamy finish. If you want something more budget-friendly, Sherwin-Williams Emerald is a great alternative.
Oh, and one more thing: if you’re cutting your own strips, be careful. The first time I did this, I ended up with a few jagged edges because I wasn’t using the right blade. Now I always use a fine-tooth blade on my jigsaw, and it makes all the difference.
Step-by-Step: How I Installed My Faux Shiplap (Without Calling for Help)
Alright, this is where the magic happens. I’m going to walk you through exactly how I installed my faux shiplap, including the little tricks that made it look like a pro did it.
Step 1: Mark the Studs (And Don’t Skip This!)
Before I did anything, I marked all the studs with painter’s tape. Studs are usually 16 inches apart, but it’s always good to double-check. I used my stud finder to locate them, and I made little marks with a pencil so I’d know exactly where to nail.
Pro tip: Outlet boxes are usually mounted to studs, so they’re a great reference point. I used them to help me find the studs in between.
Step 2: Hang the First Board (This Is Where Most People Mess Up)
Your first board is the most important one. If it’s not level, the whole wall is going to look crooked. I used my long level to make sure it was perfectly straight before I nailed it in.
I started at the top of the wall and used my stud finder to locate the first stud. I nailed the board into the stud, then checked the level again. Once it was perfect, I nailed it into the next stud. I used two nails per stud for extra security.
I also used my quarters as spacers along the bottom edge. This gave me that consistent ¼-inch gap that makes the shiplap look authentic.
Step 3: Cut Around Outlets (And Don’t Forget to Turn Off the Power!)
This is where I almost made a huge mistake. I was so focused on getting the boards up that I forgot to turn off the power before cutting around the outlets. Thankfully, I caught myself before I did any damage.
Here’s how I did it:
- Turn off the power at the circuit breaker. Seriously, don’t skip this step.
- Measure the location of the outlet on your board and mark it with a pencil.
- Use a drill bit to make a starter hole in the center of the mark.
- Cut out the hole with a jigsaw, staying just inside the lines.
- Position the board so the outlet is behind it, not in front. This way, you can still access the screws if you need to.
I also used a little Liquid Nails around the edges of the outlet to make sure the board stayed secure.
Step 4: Keep Everything Level (And Check Frequently!)
This is where I almost messed up again. I got about halfway through the wall and realized that my boards were starting to drift. I had to pull a few off and adjust them to get everything straight again.
Here’s how I kept it level:
- I checked the level after every few boards.
- I used a long, straight board as a guide to make sure the edges were straight.
- I stepped back and looked at the wall from a distance to make sure it looked even.
If you’re not sure how to keep things level, I’ve got a post on installing wainscoting that has some great tips for keeping things straight.
Step 5: Fill the Nail Holes (And Decide: Rustic or Smooth?)
Once all the boards were up, I filled the nail holes with wood filler. I used a putty knife to smooth it out, and I made sure to overfill them a little because the filler shrinks as it dries.
Now, here’s where you get to decide: do you want a rustic look or a smooth finish? I left a few nail holes unfilled in one room because I liked the handmade look. But in the other rooms, I filled them all and sanded everything smooth.
I used 220-grit sandpaper to sand the whole wall, including the seams between the boards. I also used a little Bondo auto body putty on the vertical seams for a super smooth finish. It’s a two-part putty, so you’ve got to mix it up and work fast, but it’s worth it if you want a flawless look.
Step 6: Paint Like a Pro (Even If You’re Not One)
This is where I really nailed it (pun intended). I used my foam roller to apply the paint, and I made sure to roll in the direction of the boards. I also used a brush to get into the grooves and edges.
Here’s my painting process:
- I started with a primer if I was using a dark color. For white, I skipped it and went straight to paint.
- I used a high-quality paint,Farrow & Ball White in this case,and I stirred it well before I started.
- I rolled the paint on in thin layers, letting each one dry before I added another.
- I paid extra attention to the edges and grooves, making sure I didn’t miss any spots.
- I let the paint dry completely before I touched anything.
If you’re not sure how to paint shiplap, I’ve got a post on painting wallpaper that has some great tips for getting a smooth, even finish.
Final Touches: The Little Details That Make It Look Expensive
Alright, we’re in the home stretch. The boards are up, the paint is dry, and now it’s time to add those little details that make your faux shiplap look like it was done by a pro.
Caulking the Gaps (Don’t Skip This!)
I used a caulk gun to fill the gaps between the shiplap and the baseboard, as well as between the shiplap and the ceiling. I also caulked the vertical edges where the shiplap meets the wall.
Pro tip: I used a wet finger to smooth out the caulk as I applied it. It gives a nice, clean finish and makes it easier to wipe away any excess.
Adding Quarter Round Trim (The Finishing Touch)
I used quarter round trim along the ceiling and vertical edges to give the shiplap a polished look. I cut the trim at a 45-degree angle at the corners so it fit together seamlessly.
I nailed the trim into the studs and then filled the nail holes with wood filler. I also caulked the edges where the trim met the shiplap and the ceiling.
Stepping Back and Admiring Your Work
This is my favorite part. After all the measuring, cutting, nailing, and painting, it’s time to step back and admire your handiwork. I remember standing in the middle of the guest bedroom, looking at that shiplap wall, and feeling so proud. It looked amazing, and I knew I had done it all myself.
And the best part? My husband walked in, took one look at the wall, and said, “Christina, this looks even better than the real shiplap in the magazines.” High praise indeed.
FAQ: Your Faux Shiplap Questions, Answered
I get a lot of questions about faux shiplap, so I’m going to answer the most common ones here. If you’ve got a question I haven’t covered, leave it in the comments, and I’ll do my best to help!
What’s the biggest difference between real and faux shiplap?
Real shiplap uses tongue-and-groove boards that fit together like a puzzle. Faux shiplap is just flat boards or plywood strips that you nail directly to the studs. The faux version is way cheaper, easier to install, and just as pretty,if you do it right.
Do I really need to find every stud?
Yes, you do. You need to nail each board into the studs for a secure hold. A stud finder makes this easy, and it’s a tool I highly recommend having in your DIY arsenal.
How do I handle outlets and light switches?
You’ll need to cut holes in your boards to fit around the outlets. Measure carefully, mark the spot, and use a jigsaw to cut it out. Always turn off the power at the circuit breaker before you start cutting!
How do I make sure my first board is perfectly level?
Use a long, reliable level. Place it on the board before you nail it in, and adjust until it’s perfectly straight. This first board sets the stage for the whole wall, so take your time and get it right.
Can I use wood filler on the nail holes?
Absolutely! After installation, fill the small holes with wood filler. Once it dries, a light sanding will create a smooth surface ready for paint. I like to use a putty knife to smooth it out, and I always overfill the holes a little because the filler shrinks as it dries.
Should I paint the boards before or after installing them?
I recommend pre-painting the boards, especially the edges. It saves you a ton of time later because you won’t have to cut in around all those edges. Just make sure to give them a final coat after filling the nail holes.
Now it’s your turn! Grab your tools, pick out your materials, and get ready to transform your space with faux shiplap. And if you’re feeling inspired, check out my easy bedroom makeover projects for more ways to update your home without breaking the bank.
Happy DIYing! And remember, if you mess up, you can always paint over it. That’s what I did with my first attempt,and now you’d never know it wasn’t perfect.