
How I Gave Our Boring Windows a Farmhouse Makeover (For Under $50)
I’ll never forget the day I stood in our living room, staring at those sad, builder-grade window frames. They were the original “after” photo in our 2018 flip, and after years of ignoring them, I finally realized how much they were dragging down the whole room. The paint was chipped, the corners were uneven, and honestly? They looked like they belonged in a rental house, not our forever home.
So I did what any DIY-obsessed mom would do,I grabbed my measuring tape, a miter saw I’d been too scared to use, and a YouTube tutorial. What started as a “quick weekend project” turned into a three-day adventure (thanks, learning curve), but the results? Totally worth it. Our windows now look like they were custom-built for this house, and I’m here to tell you how to do it too,without the tears I shed over my first miter saw disaster.
The best part? This project cost me $38.72 for all four windows. That’s right,less than a fancy dinner out, and it instantly made our living room feel 100x more put-together. Whether you’re going for clean modern lines or rustic farmhouse charm (like we did), upgrading your window trim is one of the fastest ways to add character to any room. And the best news? You don’t need to be a carpenter to pull it off.
I’ve done this in three different houses now, and I’ve learned the hard way what works,and what absolutely doesn’t. So let me walk you through exactly how I transformed our plain-Jane windows into statement pieces, complete with the mistakes I made (so you don’t have to).
Why This Project Changed Our House (And How Much It Really Costs)
Here’s the thing about window trim: most people don’t even notice it… until it’s done right. Then suddenly, your whole room looks more intentional. Our living room had great bones,hardwood floors, a beautiful fireplace, even that tile makeover I did last year,but those ugly windows were like a neon sign screaming “builder special.”
After I finished, my husband actually did a double take when he walked in. “Did you get new windows?” he asked. Nope,just $38 worth of pine boards and some elbow grease. The difference was night and day. The trim now has depth, the lines are crisp, and it actually frames the windows instead of fighting against them.
And here’s the budget breakdown from our most recent project (2026 prices, because yes, everything’s more expensive now):
- Pine boards (1x4s and 1x6s): $22.50 (I got them on sale at Home Depot)
- Brad nails and construction adhesive: $8.99 (I already had a brad nailer from that tool haul I did last year)
- Paint (Benjamin Moore Simply White): $12.23 (I had leftover from our staircase project)
- Caulk and sandpaper: $5.00 (I always keep these on hand)
Total: $38.72 for four windows. And no, I didn’t skimp on quality,those are real numbers from my receipts.
Pro tip: If you’re doing this in a rental or just want to test the waters, peel-and-stick trim is a great temporary solution. But for a permanent upgrade? Nothing beats real wood.
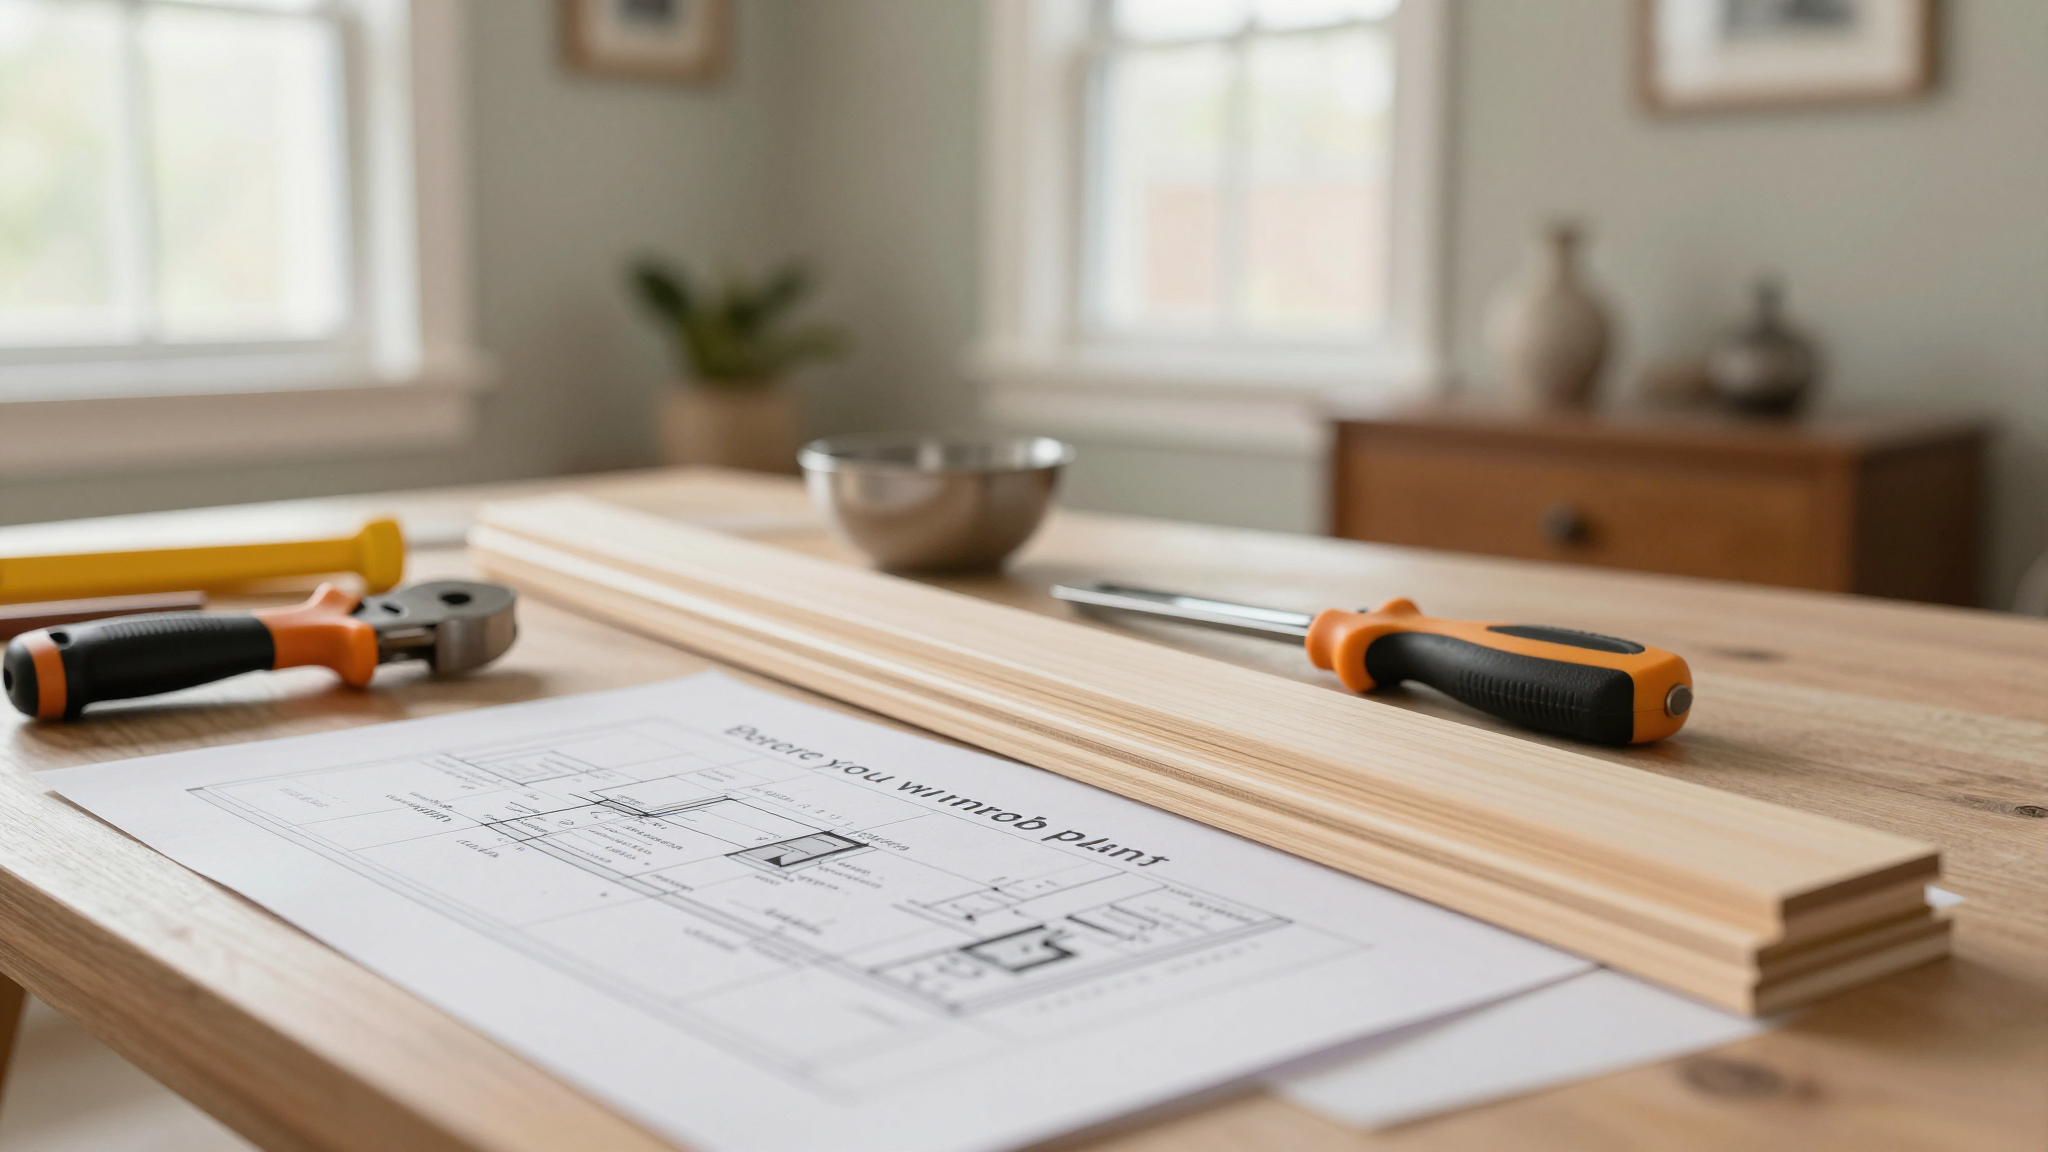
Planning Your Window Trim Upgrade (Or How I Almost Bought the Wrong Wood)
Before you grab any tools, you need a plan. And no, I’m not just saying that because I once cut all my trim pieces 1/2 inch too short. (Yes, I had to redo them. No, I will never live it down.)
Picking Your Style (And Why I Regret My First Choice)
When we first moved in, I went with super simple flat trim,just basic 1x4s painted white. It looked… fine. But after seeing how wainscoting can add so much depth to a room, I knew our windows could do better.
This time around, I went for a farmhouse look with layered trim. Here’s what I did:
- Added a 1×4 as the main frame (like before)
- Staggered a 1×2 above it for depth
- Used a mitered corner on the top for that custom look
The difference? Our windows now look like built-ins. And the best part? It only took me an extra 20 minutes per window.
If you’re not sure what style you want, grab some painter’s tape and mock up different looks on your walls. I taped up three different options in our guest room before deciding,saves you from buyer’s remorse later.
Measuring Like a Pro (Or How I Learned to Stop Guessing)
Here’s where I used to go wrong: I’d measure once, cut once, and hope for the best. Spoiler: That never works. Now I measure three times and cut once,here’s my system:
- Measure the height: From the windowsill to the top of the window frame (where the trim will sit).
- Measure the width: Across the top of the window opening.
- Add 1 inch: For the overhang on the top piece (this creates that built-in look).
- Double-check: Because I guarantee you’ll mismeasure at least once.
I keep a 25-foot tape measure in my toolbox now,it’s worth every penny for projects like this.
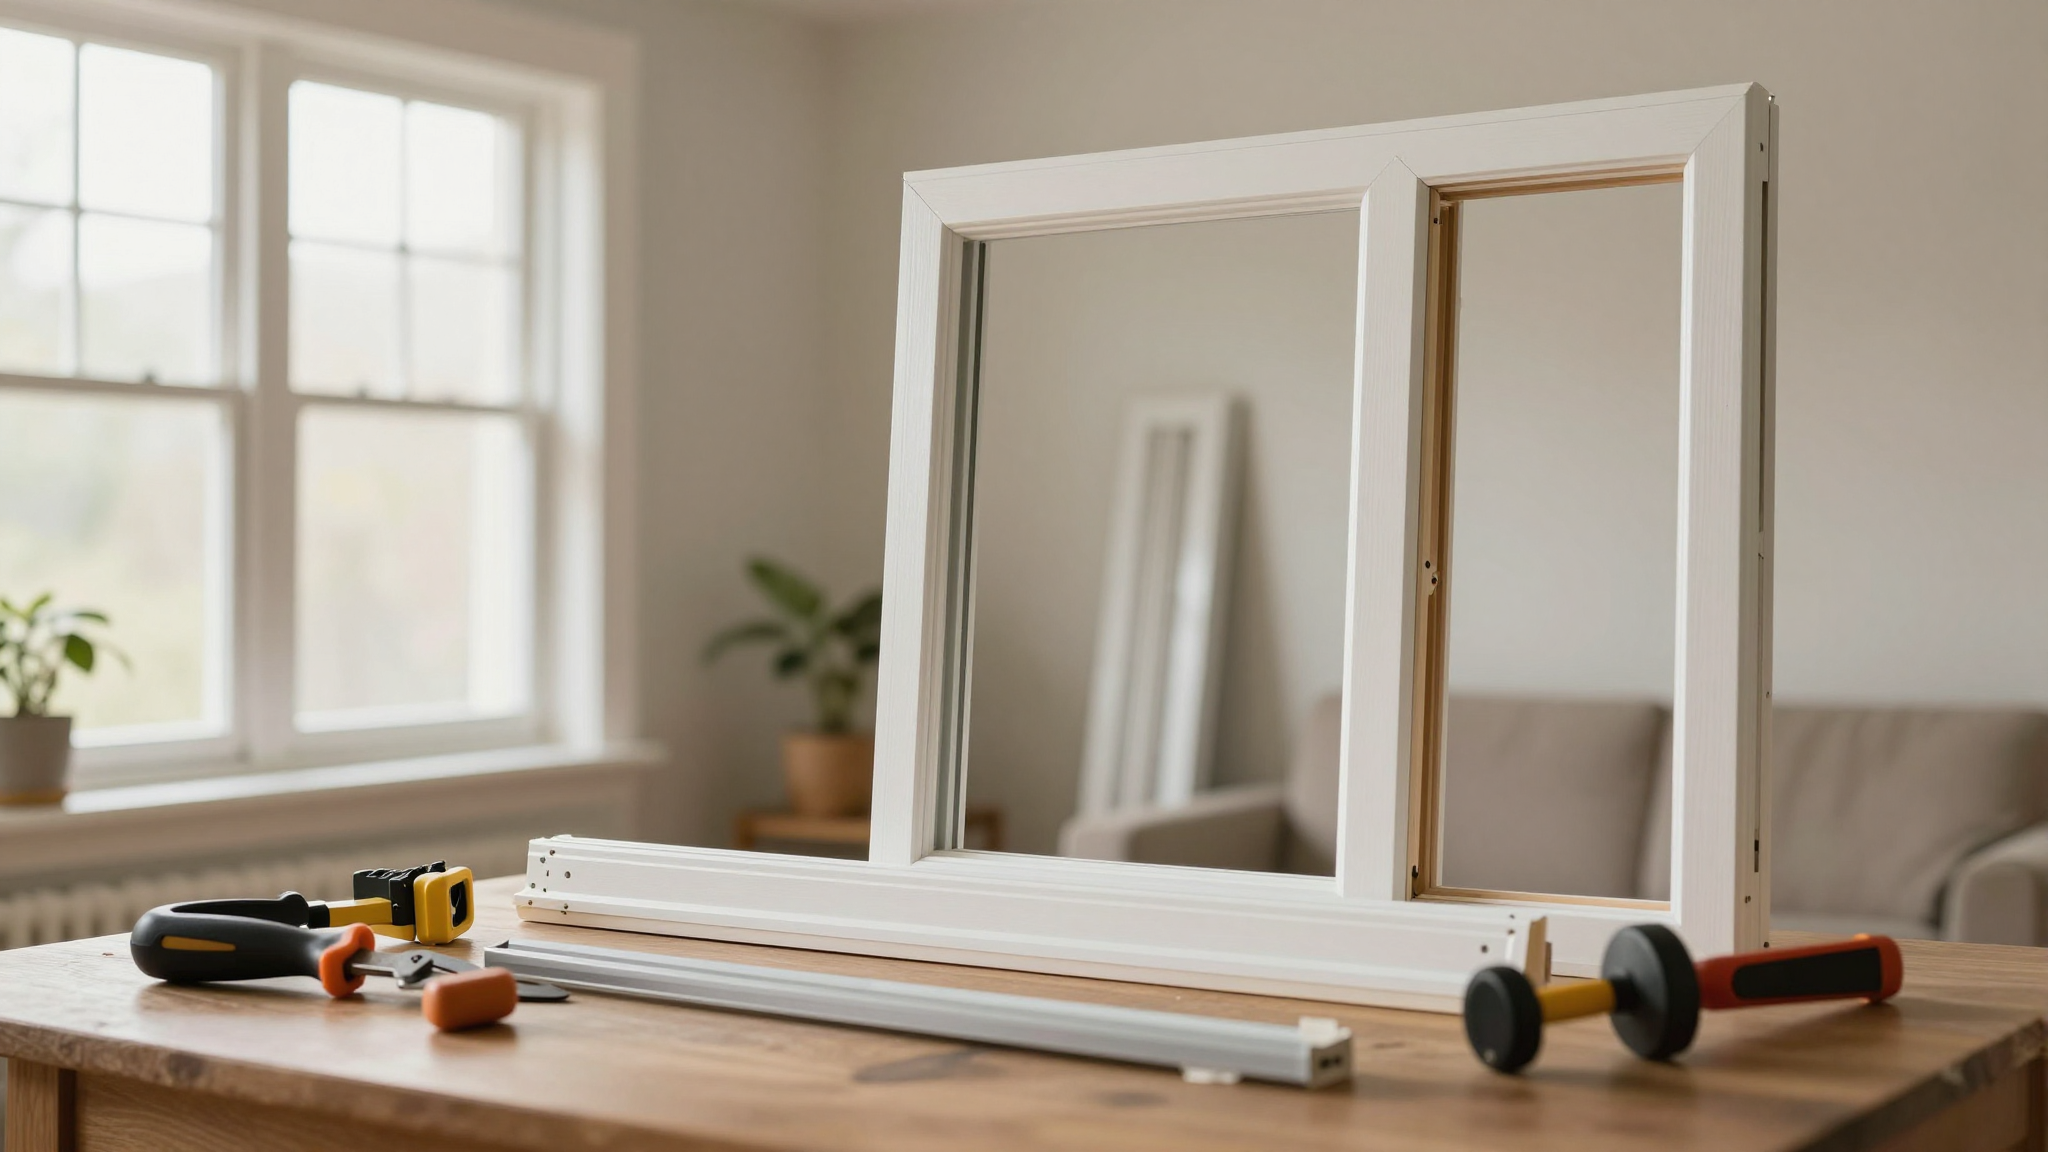
Gathering Your Supplies (And What I Wish I’d Known First)
You don’t need fancy tools, but you do need the right ones. Here’s exactly what I used,and what I skipped (and regretted):
- ✅ Must-haves:
- A miter saw (I borrowed my neighbor’s first time, then bought my own after ruining three pieces with a handsaw)
- A brad nailer (so much easier than a hammer!)
- 1×4 and 1×2 pine boards (I got pre-primed ones to save time)
- Construction adhesive (for those tricky spots)
- 120-grit sandpaper (for smoothing edges)
- ❌ What I didn’t need (and wasted money on):
- Expensive hardwood (pine works fine if you paint it!)
- A fancy level (my phone’s level app works great)
- Pre-cut trim (measurements vary too much)
Pro tip: If you’re like me and hate running to the store, order your wood online and have it cut to size at the store. I called Home Depot, gave them my measurements, and they cut everything for me,saved me from my miter saw fears.
Removing Old Trim (Without Destroying Your Walls)
This is the part where I want to warn you: If your trim is nailed directly into the drywall (like ours was), removing it is 50% of the battle. I spent two hours on our first window because I didn’t know how to do it right. Here’s how I do it now:
Step 1: Score the Caulk (Or How I Learned to Stop Ripping Drywall)
Before you touch a pry bar, you must score along the caulk line where the trim meets the wall. I used an IRWIN Speed Tip utility knife (the one with the yellow handle,it’s a game-changer) to cut through the paint and caulk seal. Go slow and be gentle,you’re not trying to cut the drywall, just separate the trim.
I made the mistake of skipping this step on our first window and ended up with a huge chunk of drywall missing. Lesson learned: Always score first.
Step 2: Pry Gently (Or How I Learned to Control My Hammer)
Once the caulk is scored, slide a pry bar behind the trim. I use a Wonder Bar because it’s thin and fits in tight spaces. Tap it gently with a hammer,gently. I cracked a piece of trim my first time because I was too aggressive.
Work your way around the window, starting with the sides, then the top. If you hit a spot where the trim won’t budge, stop and re-score the caulk. Don’t force it,you’ll just damage the wall.
Step 3: Clean Up (Or How I Spent an Hour Picking Nails Out of Drywall)
After the trim is off, you’ll have nails sticking out everywhere. I used a DEWALT drill with a nail-set bit to tap the nails out. If you don’t have one, a hammer and pliers work (but it’s slower).
Then, I vacuumed up all the debris and wiped down the window frame with a damp cloth. This step is crucial,you don’t want dust or old caulk gunking up your new trim.
Funny story: I found a quarter stuck in the wall behind one of our windows. Turns out the previous owners had used it to shim the trim. Who knows how long it had been there!
Installing New Trim (And How I Finally Mastered the Miter Saw)
This is where the magic happens. After three attempts, I finally got the hang of cutting clean miters, and now I can’t believe I was ever intimidated by this step.

Cutting Your Pieces (Or How I Stopped Wasting Wood)
Here’s my step-by-step for cutting trim:
- Measure twice: I measure the height of the window (from sill to top frame) for the side pieces. Then I measure the width of the top (plus 1 inch for overhang). Write these numbers down,don’t rely on memory.
- Set up your miter saw: I use a 45-degree angle for the top corners (that’s what gives it that custom look). For the sides, I cut them at 90 degrees unless I’m doing a more decorative style.
- Cut slowly: I used to rush this step and end up with splintered wood. Now I take my time and let the saw do the work. If you’re nervous, practice on scrap wood first.
- Test fit: Before nailing anything down, I dry-fit all the pieces to make sure they look right. I had to adjust one of our windows because the top piece was 1/4 inch too long.
I also learned the hard way to cut all your pieces before you start nailing. Nothing’s more frustrating than realizing you need another piece halfway through.
Nailing It Down (Literally)
This is where that brad nailer comes in handy. I start with the side pieces:
- Hold the piece in place and check that it’s plumb with a level (or your phone app).
- Nail it at the top, bottom, and middle. I space my nails about 12 inches apart.
- Repeat for the other side.
- For the top piece, I nail it into the sides first, then add a few nails into the wall for extra support.
I made the mistake of nailing the top piece first on our first window, and it didn’t line up right. Now I always do the sides first.
Adding Depth (The Farmhouse Secret)
This is what takes your trim from “meh” to “wow.” For our farmhouse look, I added a 1×2 piece above the main 1×4. Here’s how:
- Measure the length of your top piece and cut the 1×2 to match.
- Center it over the top piece, leaving about 1/4 inch gap on each side.
- Nail it in place, but don’t hammer too hard,you don’t want to go through the bottom piece.
I used construction adhesive on this piece too, just to make sure it stayed put. The adhesive dries while you’re nailing, so it’s extra secure.
Pro tip: If you’re doing a craftsman style, you’ll want to add decorative molding with mitered corners. I tried this on our bedroom windows and it looks amazing,but it took me four tries to get the angles right.
Finishing Touches (Or How I Finally Got Rid of Gaps)
This is where most DIYers mess up,and where I used to struggle. But after years of trial and error, I’ve perfected my finishing process.
Filling, Sanding, and Caulking (The Holy Trinity of a Smooth Finish)
Here’s my exact routine:
- Fill the nail holes: I use DAP Fast-N-Dry wood filler because it dries in 30 minutes. I press it in with my finger, scrape off the excess with a putty knife, and let it dry.
- Sand everything: I use 120-grit sandpaper to smooth out the filled holes and any rough edges. I sand in the direction of the wood grain and wipe away the dust with a damp cloth.
- Caulk the gaps: This is where I used to get frustrated because my caulk lines would look messy. Now I use the “wet finger” trick: I run my finger along the caulk bead while it’s still wet to smooth it out. It sounds gross, but it works!
I also learned to caulk before painting. I used to paint first, then caulk, and it was a nightmare trying to get the paint to match the caulk. Now I caulk, let it dry, then paint over it,so much easier.
Painting Like a Pro (And Why I Regret Skipping Primer)
I’ll be honest,I skipped primer on my first attempt and regretted it immediately. The paint didn’t adhere well, and I had to do three coats. Now I always use Benjamin Moore Advance (it’s a paint and primer in one, and it covers like a dream).
Here’s my painting process:
- Stir the paint well (I use a paint stirrer from the store,don’t skip this!).
- Use a high-quality angled brush (I love the Purdy 2-1/2 inch brush).
- Cut in along the edges first, then use a mini foam roller for the flat parts.
- Let it dry completely (I set a timer so I don’t rush it).
- Do a second coat if needed (I always do).
I also learned to paint the back of the trim before installing it. It saves so much time and gives you a cleaner look on the edges.
Final Thoughts (And What I’d Do Differently Next Time)
Standing back and looking at our finished windows, I can’t believe how much of a difference this project made. It’s one of those “why didn’t I do this sooner?” upgrades that makes the whole house feel more put-together.
If I were to do it again, I’d:
- Invest in a better miter saw (my current one is finicky with deep cuts).
- Pre-stain the wood if I’m going for a natural look (painting is easier, but staining shows off the wood grain).
- Add some floating shelves above the windows to really make them pop.
But honestly? The best part wasn’t even the finished product,it was the process. I learned so much about measuring, cutting, and finishing that I’ve applied to other projects, like our coffee table and even that staircase makeover I did last year.
So if you’re on the fence about this project, let me give you a little push: Grab your measuring tape, head to the hardware store, and give it a try. The worst that can happen? You learn something (and maybe waste a few dollars on wood). The best that can happen? You create a feature in your home that looks like it was always there.
Now, if you’ll excuse me, I’ve got a bedroom window calling my name…