
How I Used Paint (and a Little Tech) to Give My Home a Fresh, Creative Makeover
Let me tell you,my living room used to be the kind of space that made me sigh every time I walked in. Not because it was ugly, but because it felt stuck. Like a photo from 2018 that somehow got trapped in 2026. I’d been eyeing big renovations,new furniture, maybe even ripping out the carpet,but then I remembered something my mom always says: *”You don’t need a sledgehammer to make a difference. Sometimes, all you need is a brush and a little imagination.”*

So I tested her theory. And guess what? She was right. A fresh coat of paint,plus a few clever tricks I picked up along the way,completely transformed my space. No demo required. The best part? I didn’t just slap on new colors. I played with them. And yes, I’ll admit, I even let my kids “help” (which mostly meant letting them pick out the wildest shade of blue for their bedroom,more on that disaster later).
What I didn’t expect was how much technology would end up helping me along the way. I’m not talking about some fancy designer software,I’m talking about tools like Microsoft Paint (yes, the same one we used to doodle stick figures in elementary school). The new AI features? Game-changing. They let me experiment with colors, patterns, and even custom murals before I ever touched a roller. No more staring at a wall for 20 minutes, wondering if “Sage Mist” will actually make my kitchen feel cozy or just sad.
If you’re sitting there thinking, *”Christina, I don’t have time for a full renovation,”* or *”I can’t even pick a paint color without second-guessing myself,”*,trust me, I’ve been there. But here’s the thing: paint is the ultimate DIY hack. It’s cheap, it’s fast, and when you mess up (and you will mess up), you can usually fix it with another coat. In this post, I’m sharing the exact techniques I used to refresh my home,from my kids’ bedroom (yes, even the blue one) to my entryway, which now actually feels like a welcoming space instead of a storage zone for shoes and mail.
Why I Swore Off Big Renos (and Started Trusting Paint Instead)
I’ll be honest: I used to be one of those people who thought home updates required perfection. If I couldn’t do it “right,” I wouldn’t do it at all. That mindset led to years of living with peeling wallpaper in the hallway (don’t ask) and a bathroom vanity I swore I’d “get to” someday. Then, one day, I snapped. I was standing in my kitchen, staring at the same beige walls I’d had since 2020, and I thought, *”Christina, you’re an adult. Act like one.”*
So I grabbed a sample-size can of paint from Home Depot,Sea Salt Mist, if you’re curious,and tested it on a small section of the wall. It was not perfect. I got paint on the trim. I left roller marks. My husband walked in, took one look, and said, *”Well, that’s… something.”* But you know what? I didn’t care. Because for the first time in years, that wall felt like mine.
Here’s what I’ve learned since then:
- Paint is forgiving. Unlike, say, installing drywall (which I attempted once and will never attempt again), paint mistakes can almost always be fixed. Got a streak? Sand it lightly and repaint. Hate the color? Paint over it. It’s like the undo button of home decor.
- Small changes add up. You don’t need to gut your entire house to see a difference. Swapping out one accent wall, updating your trim, or even just freshening up your baseboards can make a room feel brand new. (Pro tip: I used a small angled brush from my essential tool kit to cut in around the edges,it saved me from looking like a kindergartener with a crayon.)
- Tech can be your secret weapon. I never thought I’d say this, but tools like Microsoft Paint’s generative fill have become part of my process. Before I commit to a color, I sketch out the room in the app, pick a section, and type in a prompt like *”cozy farmhouse kitchen”* or *”modern boho bedroom.”* The AI generates a mockup in seconds,no more staring at a blank wall, wondering if *”Minty Fresh”* will clash with my couch.
And yes, I did let my kids pick their bedroom color. It’s a shade called *”Electric Blue Dream”* (their words, not mine), and while it’s a lot, it somehow works. The walls are now covered in their drawings, and honestly? I love it. Because that’s the thing about paint: it’s not just about making your home look good. It’s about making it feel like you.
How I Use Digital Tools to Skip the Guesswork (Without Losing My Sanity)
Full disclosure: I am not a tech person. I still call the “clicky thing” on my mouse a “mouse clicker.” But even I can admit that Microsoft Paint’s new AI features have been a lifesaver. Here’s how I actually use them,no jargon, just real talk.

Generative Fill: My New Favorite “What If” Tool
Let’s say you’re staring at a blank wall, trying to decide between gray, beige, or that weird green your partner swears is “sophisticated.” Instead of buying three sample sizes and driving yourself crazy, here’s what I do:
- Open the Paint app (yes, the one that comes preloaded on Windows).
- Sketch out a rough floor plan of your room. It doesn’t have to be pretty,stick figures welcome.
- Use the selection tool (it looks like a little rectangle with dotted lines) to highlight the wall you’re debating.
- Click Generative Fill, type a prompt like *”modern farmhouse accent wall in warm gray,”* and let the AI do its thing.
- Boom. Instant mockup. No paint, no mess, no regret.
I used this exact method to pick the color for my bedroom makeover. I was torn between two shades of blue, so I generated both on my sketch. One made the room feel like a cave. The other? Instantly cozy. I bought the paint that afternoon.
Pro tip: If you’re really unsure, generate three versions of the same wall with different colors. Line them up side by side, and suddenly, the “right” choice becomes obvious.
Generative Erase: When You Want to “Undo” a Design Mistake
Here’s where things get fun. Let’s say you’ve got a terrible idea,like, say, a mural of a hot-air balloon in your dining room (yes, I’ve seen this in real life). Or maybe you’ve got a weird stain on your wall that you swore you could paint over. Enter Generative Erase.
Here’s how it works in real life:
- Open your sketch in Paint.
- Use the selection tool to highlight the hot-air balloon (or stain, or whatever design crime you’ve committed).
- Click Generative Erase and watch the AI poof it away.
- Adjust the surrounding area if needed,sometimes it leaves a tiny seam, but it’s way easier to fix digitally than on an actual wall.
I used this when I was brainstorming ideas for my fireplace makeover. I’d sketched out a tile design, but the pattern looked cluttered. Instead of scrapping the whole thing, I used Generative Erase to simplify it. Saved me from buying the wrong tiles and a trip to the hardware store.
The Cocreator: When You’re Stuck and Need a Push
This is the feature I use when I’m completely stuck. Maybe you’ve got a blank canvas and no ideas, or you’re trying to match a weird color in your home. The Cocreator (which, by the way, sounds like something out of a sci-fi movie) is basically your design sidekick.
Here’s how I put it to work:
- Open a new file in Paint and sketch out a rough idea,even if it’s just a square with the words *”help me”* written inside.
- Click the Cocreator icon (it looks like a robot holding a paintbrush, which, honestly, I love).
- Type a prompt like *”minimalist gallery wall for a small bedroom”* or *”vintage-inspired kitchen cabinets.”*
- Let the AI suggest a few options. Then, tweak them manually or ask it to refine specific parts.
I used this when I was planning a gallery wall for my hallway. I had a bunch of frames but no idea how to arrange them. The Cocreator gave me three different layouts,one symmetrical, one asymmetrical, and one “eclectic mix.” I ended up combining elements from all three, and it turned out way better than if I’d winged it.
And yes, I did try using it to design a farmhouse coffee table once. Let’s just say the AI’s vision of “rustic” and mine were very different. Stick to decor, Microsoft.
5 Real-Life Paint Projects That Actually Worked (And One That Didn’t)
Enough talking about tools,let’s get to the good stuff. Here are the paint projects I’ve tackled in the past year, what worked, and what I’d do differently next time.
1. The Entryway Makeover: From “Meh” to “Wow”
My entryway was a hot mess. Dark wood trim, outdated light fixtures, and a color scheme that screamed “1998.” I wanted to lighten it up, but I was scared of making it feel sterile. So I did this:
- Painted the trim white (I used Sherwin-Williams’s Alabaster,it’s the perfect clean white that doesn’t yellow).
- Used a soft gray (Repose Gray) on the walls to keep it cozy.
- Added a painted accent wall behind the console table (more on that in a sec).
- Swapped out the light fixture for a black matte pendant (I found one on Wayfair for under $50).
The result? A space that actually feels like an entry instead of a storage closet. The accent wall was the cherry on top,I used a stencil to add a subtle geometric pattern, and it gave the whole room a custom, high-end look. (If you want to try this, check out my guide to DIY accent walls.)
2. The Kids’ Bedroom: Where “Electric Blue Dream” Became a Reality
I mentioned this earlier, but it deserves its own section because it was a process. My kids,let’s call them the “Tornado Twins”,picked a color called *”Electric Blue Dream.”* I kid you not. It’s the kind of blue that makes you squint. But here’s the thing: they loved it. And after a lot of internal debate, I decided to trust them.
Here’s how I made it work:
- I painted the walls the blue (yes, all four of them). But instead of letting it feel overwhelming, I balanced it with:
- A white ceiling to keep it from feeling like a cave.
- Wooden furniture (their beds, dressers) to add warmth.
- A galaxy-themed rug (they picked it out, and somehow, it works).
- Blackout curtains in a darker blue to tie it all together.
Did it look weird at first? Absolutely. But now? It’s their favorite place in the house. And honestly? I kind of love it too. It’s bold, it’s fun, and it’s theirs.
Lesson learned: Sometimes, the “crazy” idea is the one that makes a space feel alive.
3. The Bathroom Update: Where I Learned to Embrace Imperfection
My guest bathroom had beige subway tile. Not the chic, modern kind,the kind that made the room feel like a doctor’s office. I wanted to update it, but I didn’t want to rip out the tile (because, let’s be real, that’s a project for another day).
So I did this:
- Painted the vanity and cabinets a deep green (Sherwin-Williams’ Evergreen Fog). It’s rich but not too dark, and it made the tile look intentional.
- Added a painted mirror frame (I used the same green as the vanity, but with a glossy finish to make it pop).
- Swapped out the hardware for matte black pulls (I found them on Anthropologie’s sale section).
- Hung a simple woven basket on the wall to add texture.
The result? A bathroom that feels luxurious without a full renovation. And the best part? The paint covered up a lot of sins, including the fact that I still haven’t fixed that one loose tile in the corner.
4. The Staircase Makeover: Where I Almost Quit (But Didn’t)
This was my biggest paint project yet, and it almost broke me. I wanted to update our stairs from carpet to wood-look, but I didn’t have the budget for real hardwood. So I did what any sane person would do: I painted the stairs to look like wood.
Here’s what I learned:
- Prep is everything. I spent two full days sanding, priming, and filling in every little dent and scratch. Skipped this step? Don’t. I did, and I regretted it.
- Use the right paint. I used a semi-gloss acrylic enamel (I like Behr’s Marquee for durability). It dries hard and resists scuffs, which is critical for stairs.
- Practice your technique. I tested the “wood grain” effect on a scrap piece of plywood five times before committing. The first four attempts looked like a kindergartener’s finger-painting.
- Accept that it won’t be perfect. There are still a few spots where the “grain” looks wonky. But you know what? No one notices. Because it looks a million times better than the old carpet.
If you’re curious about the full process, I wrote up a step-by-step guide with all my mistakes (and how to avoid them). Spoiler: It’s doable, but it’s a weekend project, not a “quick fix.”
5. The Accent Wall That Almost Didn’t Happen
I wanted an accent wall in my living room, but I was terrified of messing it up. So I did what any procrastinator would do: I waited. For months. Until one day, I was scrolling through gallery wall ideas and realized I was just making excuses.
Here’s what I did instead of overthinking:
- I picked a bold color (Sherwin-Williams’ Naval) for one wall behind the couch.
- I used painter’s tape to create clean edges (I used FrogTape,it’s the only tape that doesn’t peel paint off when you remove it).
- I added vertical wood planks (I used DIY wainscoting panels from Home Depot) to break up the color and add texture.
- I hung a large mirror above the couch to reflect light and make the room feel bigger.
The result? A living room that finally feels put together. And the best part? It took me one weekend. No excuses, no waiting. Just paint and a little courage.
FAQ: Your Paint Questions, Answered (By Someone Who’s Messed Up a Lot)
What’s the easiest way to pick a paint color I won’t regret?
First, get samples. Not just one,three or four. Paint them on poster boards and move them around your room at different times of day. Lighting changes everything. That “perfect” blue you loved at the store? It might look like a nightmare in your north-facing bedroom.
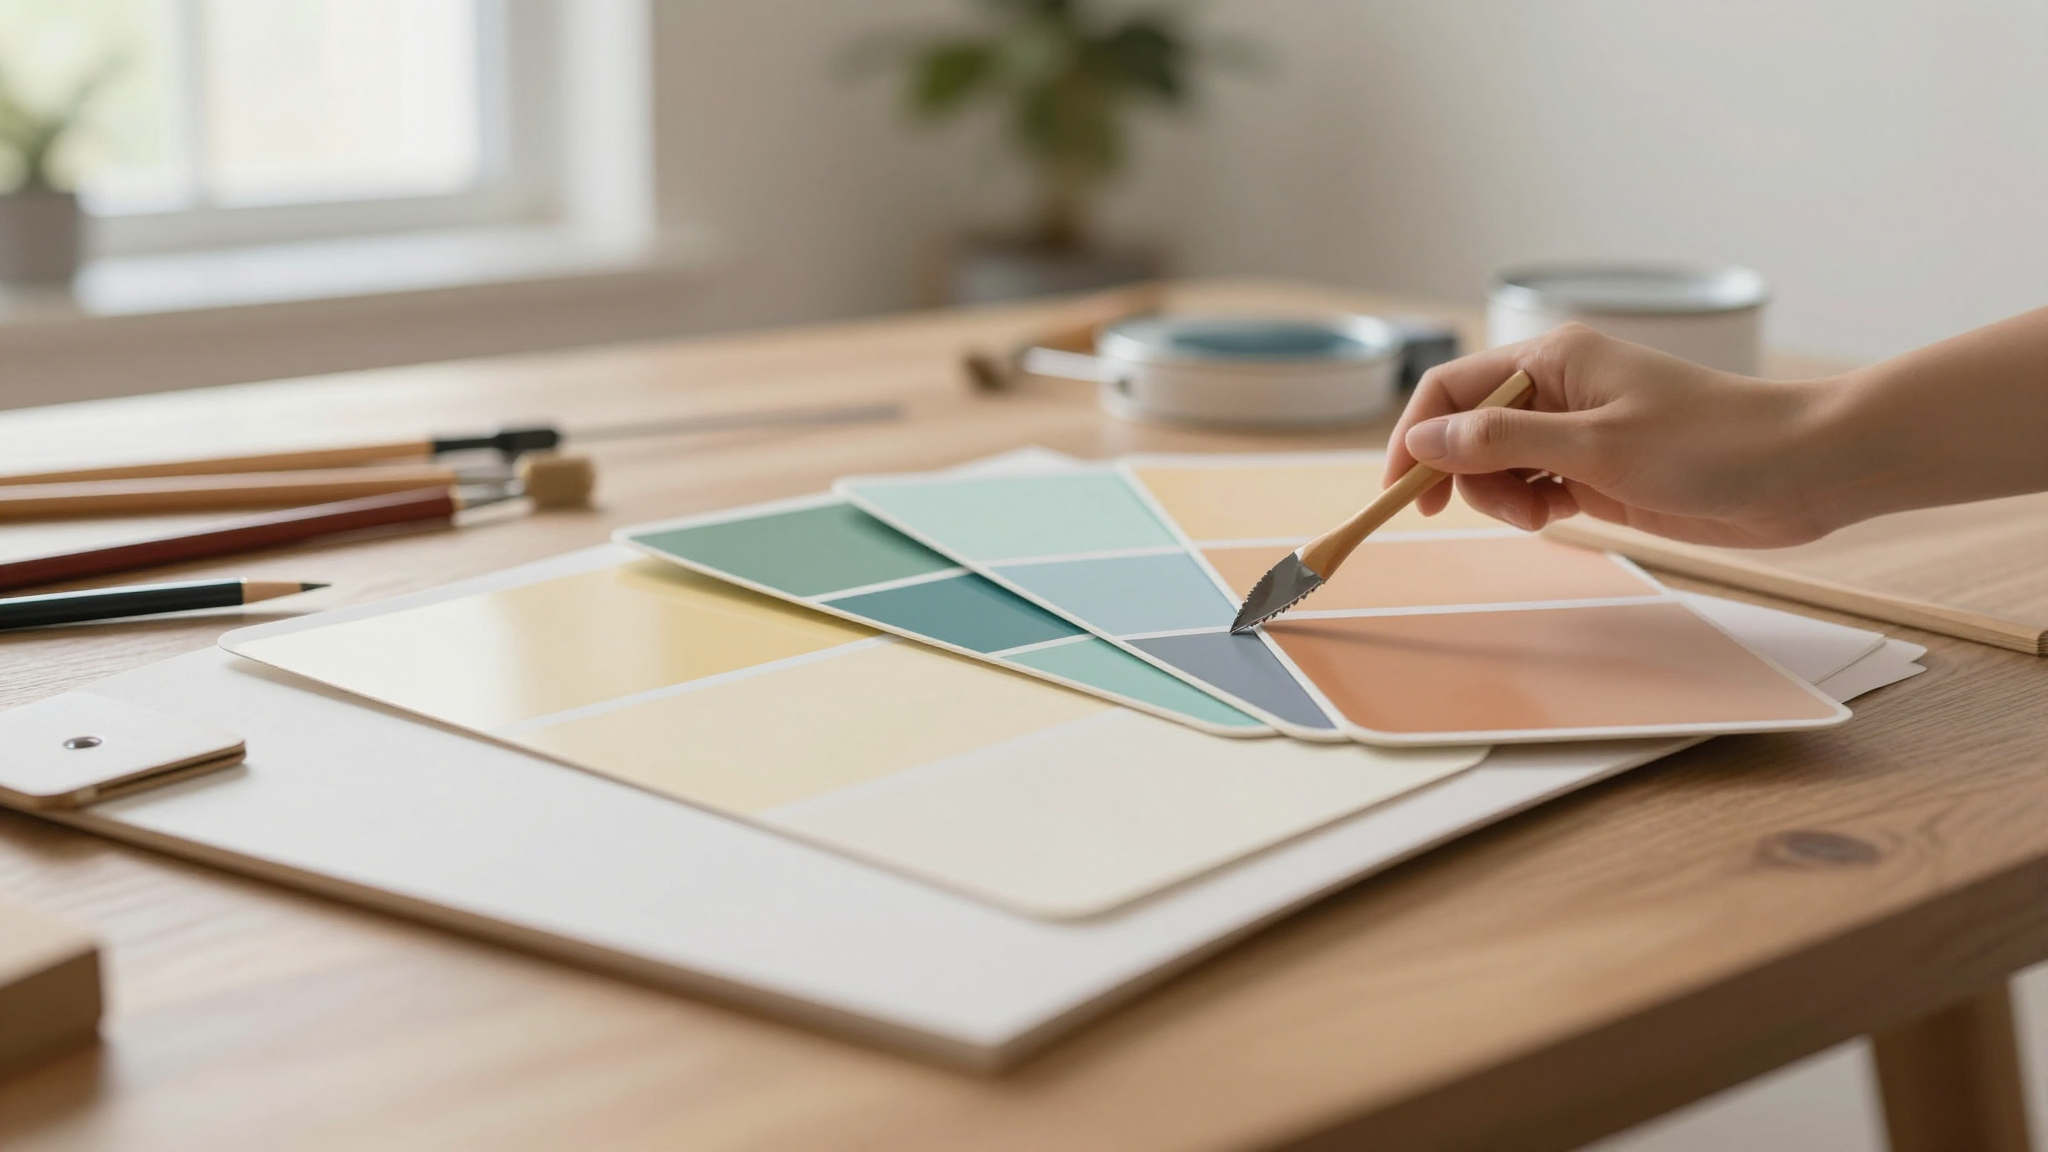
Pro tip: I use the Paint app to test colors digitally before I buy. I’ll sketch out my room, pick a wall, and use Generative Fill to “paint” different shades. It’s not perfect, but it saves me from buying five sample cans.
How do I fix roller marks without repainting the whole wall?
Ugh, I hate roller marks. Here’s how I fix them:
- Let the paint dry completely (this is key,wet paint will just smear).
- Lightly sand the marked areas with 220-grit sandpaper (wrap it around a sanding block for easier control).
- Wipe away the dust with a damp cloth.
- Use a small foam roller or a high-quality angled brush to touch up the spots. I like Purdy’s brushes,they hold a lot of paint and lay it down smoothly.
- Blend the edges by feathering the paint outward with the brush.
If the marks are really bad, you might need to do a full second coat. But 90% of the time, a little sanding and touch-up does the trick.
What’s the best way to paint trim without looking like a beginner?
Painting trim is my least favorite part of any project, but I’ve gotten better at it. Here’s my process:
- Use a small angled brush (I swear by the Purdy X-Treme Angled Sash Brush). It fits into tight corners and gives a clean edge.
- Cut in (paint the edges) first, before you roll the walls. This way, you won’t accidentally get paint on the trim while you’re rolling.
- Use painter’s tape to protect the walls, but don’t rely on it. Tape can lift paint when you remove it, so always cut in as close to the edge as possible.
- Paint in thin layers. Thick paint = drips. Let each coat dry before adding another.
- If you mess up, don’t panic. I keep a damp rag nearby to wipe up mistakes immediately.
And if all else fails? Embrace the imperfections. Trim doesn’t have to be flawless,it just has to look like you meant to do it that way.
Can I paint over dark colors with a lighter shade?
Yes, but you’ll need to prime first. Dark colors (especially reds, blues, and blacks) are notorious for bleeding through lighter paint. Here’s what I do:
- Clean the wall to remove dust and grime.
- Apply a stain-blocking primer like Kilz or Sherwin-Williams’ ProBlock. These are designed to block dark colors from bleeding through.
- Let the primer dry completely (check the can for drying time).
- Paint your lighter color in two thin coats, letting each dry before adding the next.
Pro tip: If you’re painting over a really dark color (like black or navy), consider doing a gray undercoat first. It helps the final color look more even.
How do I keep my kids (or pets) from touching wet paint?
Oh, honey. I’ve been there. Here’s what I do to minimize the chaos:
- Work in small sections and close doors to keep them out of the room.
- Use painter’s tape to create a barrier at the doorway (yes, it’s not foolproof, but it helps).
- Set up a distraction station in another room. I bribe my kids with a movie and popcorn. Desperate times, right?
- If they do touch the paint, have wipes or a damp cloth ready to clean their hands immediately.
- Cover doorknobs and light switches with plastic wrap and tape. It’s not pretty, but it works.
And if all else fails? Accept that there will be handprints. I’ve got a few on my baseboards from when my daughter “helped” me paint. I call them “artistic touches.”
Your Turn: Grab a Brush and Get Started
If there’s one thing I’ve learned from all these projects, it’s this: you don’t need a perfect plan to make a difference. You just need to start.
So pick a wall. Grab a sample. Play around with the Paint app if you’re nervous. And for the love of all things DIY, don’t overthink it. The worst that can happen? You paint over it and try again.
And if you’re feeling stuck, here are a few projects to inspire you:
- 5 DIY Projects to Instantly Add Charm to Your Home (including a super-easy way to update your front door)
- Easy DIY Projects to Give Your Bedroom a Makeover (because your bedroom should feel like a sanctuary, not a storage unit)
- Upcycling Furniture Tips for a Professional-Looking Finish (because paint isn’t just for walls,it’s for that sad dresser in your guest room too)
Now go forth and paint something. And if you mess up? Welcome to the club. I’ve got a whole Pinterest board of “oops” moments to prove it.