
How I Turned a $8 Thrift Store Lamp into a $239-Looking Designer Piece
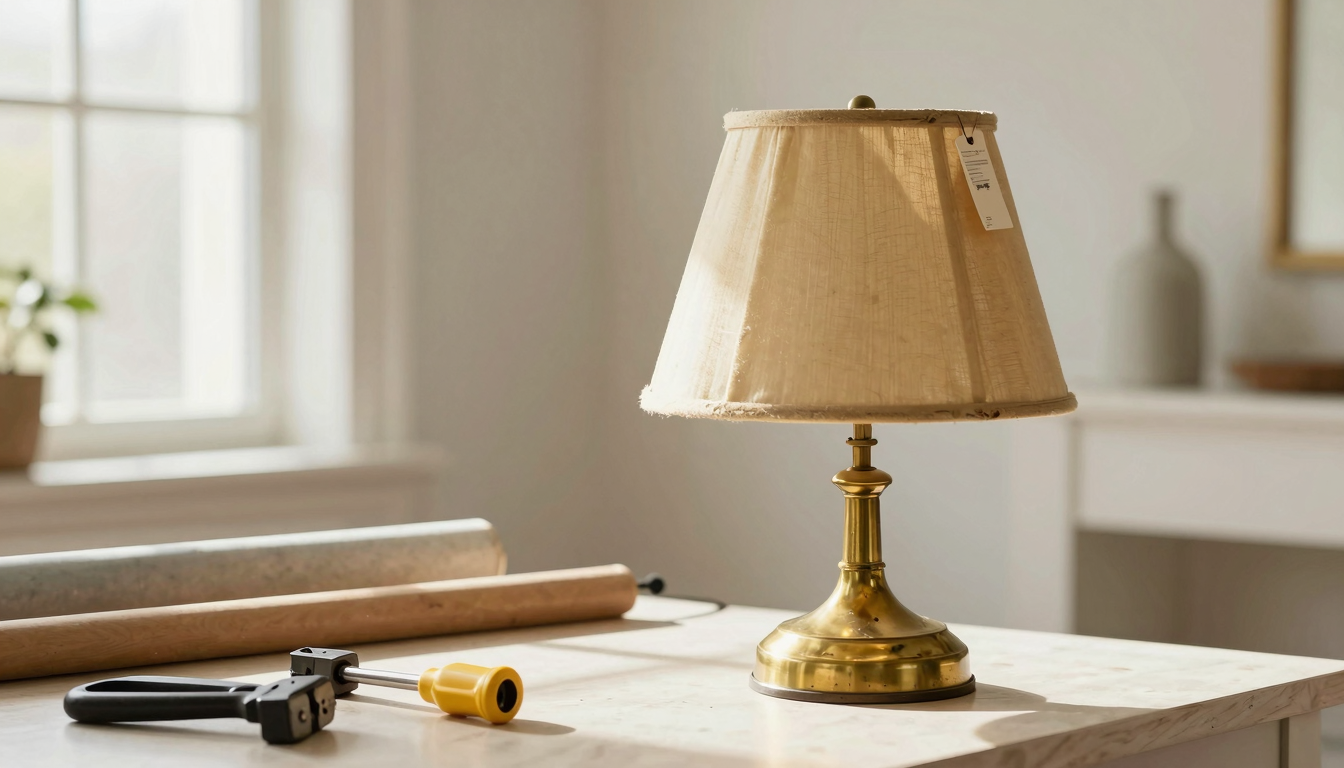
Let me tell you about the time I found a sad, dusty brass lamp at Goodwill for $8,missing its shade, with a wobbly base, and a price tag that had clearly been through the wash. I almost walked away. But something about those sturdy brass details made me pause. Three hours, a can of Rust-Oleum Metallic Spray Paint, and a new linen shade later, that lamp now sits in my living room looking like it belongs in a West Elm showroom. And the best part? I’ve since sold three similar lamps for $120 each.
This isn’t some rare talent,I’m just a mom who loves a good bargain and isn’t afraid to get her hands dirty. If I can do it, so can you. The key? Knowing what to look for, how to assess whether a piece is worth the effort, and which simple techniques will make it shine. I’ve flipped everything from mid-century dressers to chipped ceramic vases, and I’m here to walk you through exactly how I do it,without the fluff or fake “expert” advice.
This isn’t just about saving money (though, let’s be honest, who doesn’t love that?). It’s about giving new life to forgotten things, reducing waste, and creating a home that feels uniquely yours. And if you’re anything like me, you’ll probably end up with a side hustle you didn’t even plan for.
So grab your sandpaper and your favorite playlist,we’re about to turn thrift store treasure hunts into designer-worthy decor.
Why Thrift Stores Are My Secret Weapon
I’ll never forget the first time I walked into a thrift store with a mission. It was 2022, and I was fresh off Pinterest, dreaming of a farmhouse-style coffee table like the one in my DIY coffee table project. I had $50 burning a hole in my pocket and a very specific vision. What I found instead? A wobbly, water-damaged end table with a price tag of $3.50.
Most people would’ve walked right past it. But I’d been reading up on mid-century modern furniture, and I recognized the tapered legs and solid wood construction. That “ugly” table? It was a Brandt,a brand that typically sells for $300+ in vintage shops. I bought it, spent a weekend sanding, staining, and adding new hardware, and listed it on Facebook Marketplace for $250. It sold in two hours.
That’s the magic of thrifting: you’re not just shopping for decor, you’re hunting for hidden potential. And the best part? You don’t need to be an expert to spot it. You just need to know where to look, what to look for, and how to bring it back to life.
Thrift Stores Aren’t Just for Charity Anymore
I still remember the first time I told my mom I was “thrifting for fun.” She looked at me like I’d grown a second head. “Christina, that’s just shopping at the church sale,” she said. And okay, fine, she wasn’t wrong,technically. But what started as a way to furnish our first apartment on a teacher’s salary has turned into a full-blown obsession. And I’m not alone.
The thrift culture I grew up with,where you’d find a slightly used sweater for $2 and call it a win,has exploded into something else entirely. Gen Z and millennials are leading the charge, turning bargain bins into side hustles and upcycling into an art form. According to the latest reports, the secondhand market has tripled in size since 2016, and 63% of millennials actively seek out sustainable shopping options. That’s not just good for the planet,it’s good for your wallet.
I’ll admit, I was skeptical at first. I mean, I’ve seen those TikTok videos of people flipping $5 finds into $500 statement pieces. “Sure, Jan,” I thought. “And I’m about to win the lottery.” But then I tried it myself. And now? I’ve got a Pinterest board full of “thrift flips I want to try” that’s longer than my grocery list.
The Thrift Store Goldmine: What to Look For
Not all thrift store finds are created equal. Trust me, I’ve learned that the hard way. There was the time I bought a “vintage” armchair for $15, only to realize the upholstery was held together by duct tape and hope. (I donated it to the landfill, not even kidding.) But when you know what to look for, those hidden gems start jumping out at you.
Here’s my non-negotiable checklist before I even consider buying something:
- Solid construction: Wiggle the legs, open and close drawers, check for wobble. If it feels flimsy, walk away. I once bought a bookshelf that looked great,until I got it home and realized the shelves were held up by toothpicks. (Yes, actual toothpicks. No, I’m not exaggerating.)
- Brand or maker’s marks: Flip it over, check the underside, inside drawers, or along seams. I found a Henredon dresser under a pile of mismatched silverware,it’s now my most profitable flip to date.
- Material quality: Run your fingers along the edges. Is it particleboard or solid wood? Heavy ceramic or thin plastic? The weight alone can tell you a lot.
- Repairability: Can you sand out scratches? Replace hardware? Reupholster? If the fix is simple and cheap, it’s worth it. If it requires a miracle, keep looking.
Pro tip: Always bring a small flashlight. I keep one in my purse specifically for thrifting trips. You’d be surprised what you can spot under a dresser or behind a headboard that changes everything.
How I Research What’s Actually Worth Flipping
This is where most people get stuck. You find something promising, but how do you know if it’s worth the effort? That’s where a little research comes in,and no, you don’t need a fancy degree in antique appraisal.
Here’s my process:
- Snap a photo and reverse-image search it. I use Google Lens to see if similar items have sold recently. One time, I found a vintage Pyrex bowl that turned out to be a collector’s item,it sold for $85 after I gave it a good scrub.
- Check eBay sold listings. Filter by “sold” items in the last 30 days. This gives you a realistic idea of what people are actually paying, not just asking. I once talked myself out of buying a “vintage” mirror because the sold listings showed they barely fetched more than I’d pay for it.
- Follow resale accounts on Instagram. Accounts like @upcycle.that and @thriftflips give you a pulse on what’s trending. I saw rattan furniture everywhere in 2024, so I started hunting for it,now I’ve got a whole collection.
And here’s a lesson I learned the hard way: Not everything old is valuable. I once spent an entire afternoon refinishing a “vintage” rocking chair, only to realize it was just a cheap replica from the 90s. It sold for $20. Twenty dollars. After the cost of supplies, I lost money. So now? I do my research before I buy.
My Go-To DIY Upcycling Techniques (That Actually Work)
Now for the fun part: turning those thrifted treasures into something amazing. I’ve tried a lot of techniques over the years, and some have been… let’s just say “learning experiences.” (Looking at you, mod podge disaster of 2023.) But these are the methods that consistently give me results I’m proud of.
5 Thrift Flip Projects That Always Sell
These are the projects I come back to again and again because they’re reliable. No matter what’s trending, people always want:
- Painted furniture. A fresh coat of paint can transform almost anything. My go-to? Annie Sloan Chalk Paint. It covers like a dream and doesn’t require sanding (a game-changer when you’re working with a time crunch). I once turned a $10 nightstand into a $120 piece with just paint and new hardware.
- Reupholstered chairs. I’ll admit, this one took me a while to master. My first attempt? A hot mess of crooked staples and uneven fabric. But now? I’ve reupholstered half a dozen chairs, and they’ve all sold within a week. The key? Stretch the fabric tight before stapling, and use a pneumatic stapler,it makes all the difference.
- Distressed or whitewashed wood. This is my signature look. I use a mix of Minwax gel stain and steel wool to create that “aged” effect. It’s perfect for farmhouse-style pieces, and it hides imperfections beautifully. I’ve sold distressed tables for up to $200 each.
- Ceramic makeovers. Chipped vases, dull mugs, or outdated planters? A coat of Peel Stick Paint (yes, the same stuff you use for walls) can give them a whole new life. I turned a set of thrifted teacups into a $90 centerpiece for a wedding shower.
- Hardware swaps. This is the easiest way to update a piece with almost no effort. I keep a stash of Anthropologie-style knobs and Etsy pulls in my craft room. Swapping out old hardware for something modern or vintage can make a piece look custom-designed.
And here’s a pro tip: Document your process. I take tons of photos,before, during, and after. Not only does this help me track my progress, but it’s also gold for listings. A before-and-after reel on Instagram can get you just as many offers as the product itself.
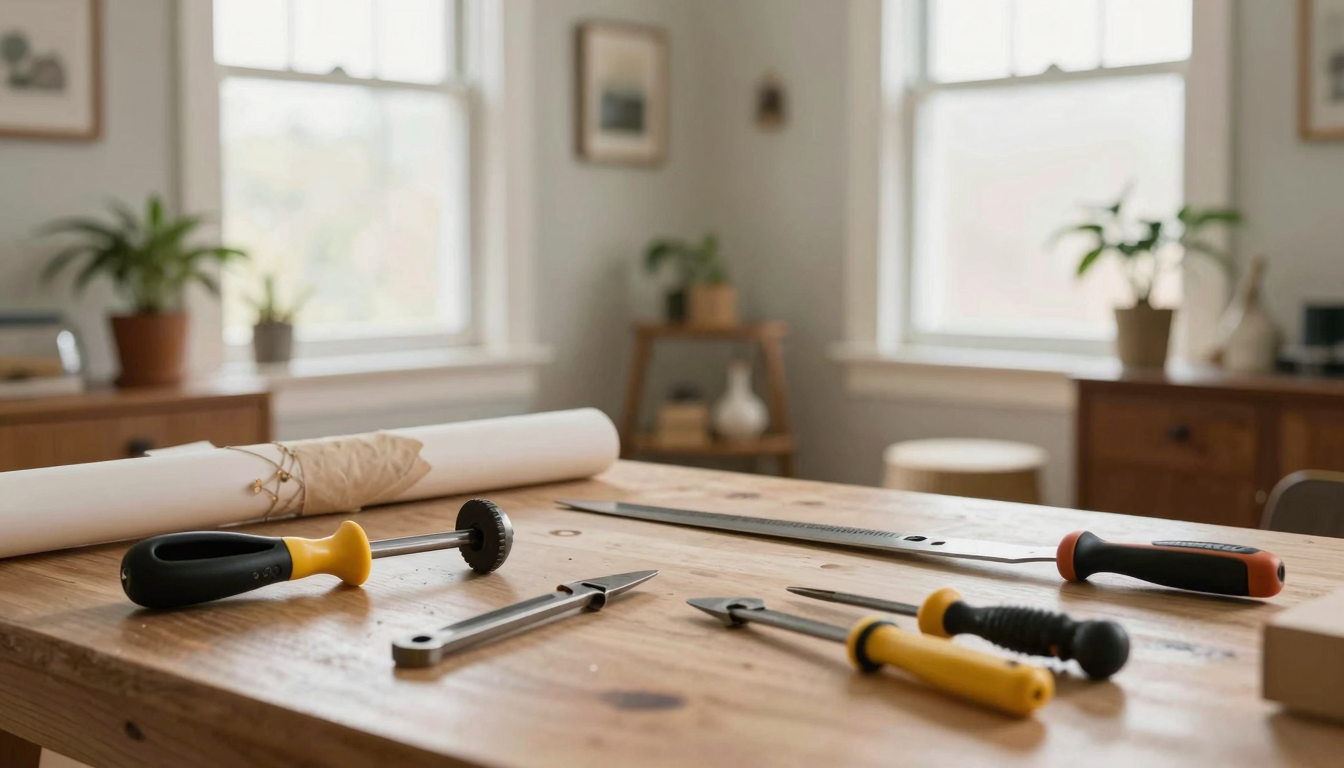
My Must-Have Upcycling Tools (And What I’ll Never Buy Again)
You don’t need a fully stocked workshop to get started. Here’s what I keep in my craft room, and what I’ve learned to avoid:
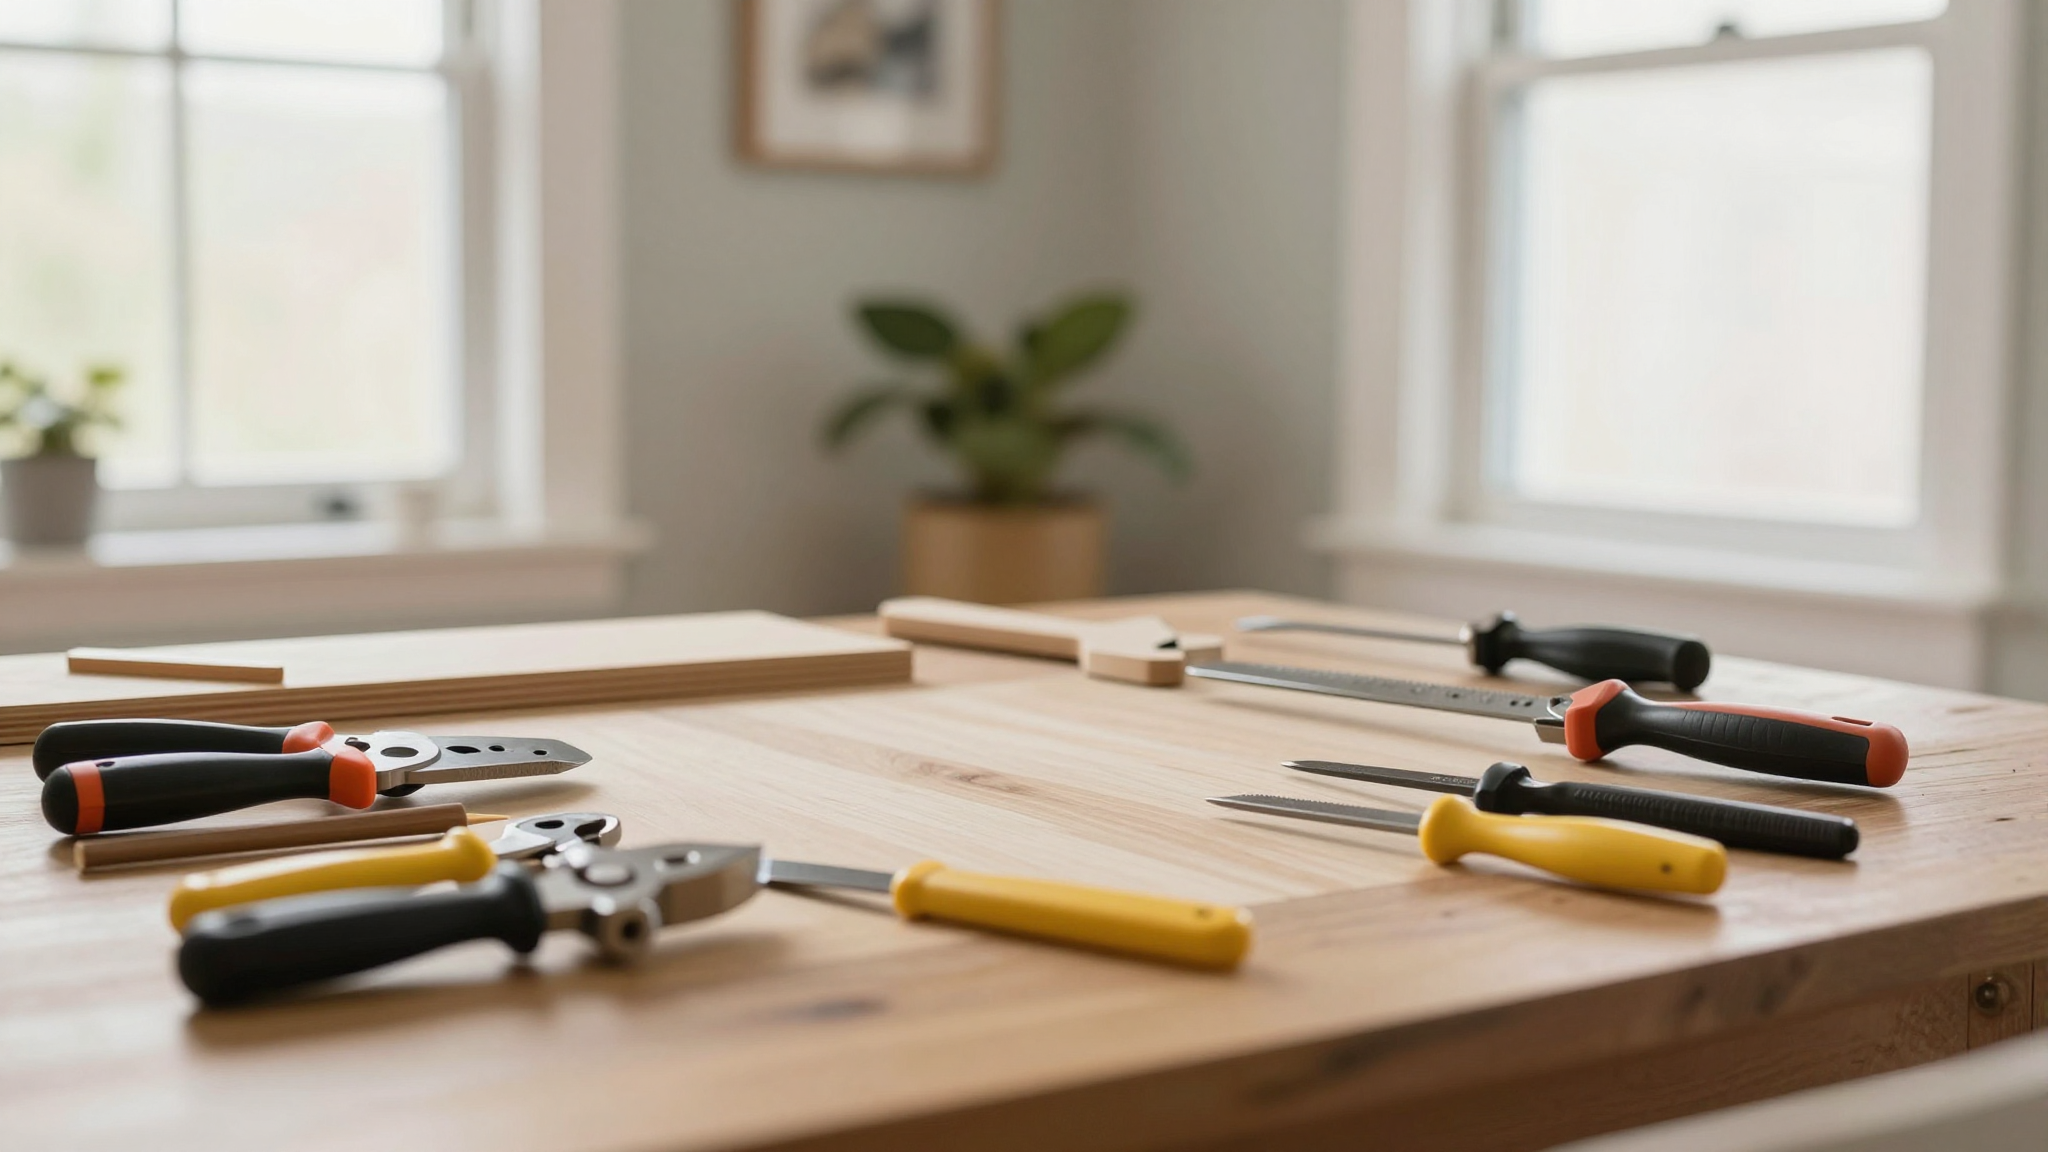
Tools That Save Me Time (and Sanity)
- Orbital sander. I used to hand-sand everything, and it took forever. Now? I can strip a dresser in under an hour. My top recommendation is the DeWalt DWE6423,it’s worth every penny.
- Paint sprayer. I was skeptical at first (I mean, spray paint? Really?), but a Wagner W 550 changed my game. It gives a smooth, professional finish without brush strokes. Just mask everything,trust me on this.
- Heat gun. This is my secret weapon for removing old glue or wax. I once used it to strip a decades-old finish off a side table in minutes. Just be careful,it’s powerful!
- Clamps. I have at least 10 in my workshop. They keep pieces steady while paint dries or glue sets. Don’t skimp on these,cheap clamps slip.
Tools I Regret Buying (Learn from My Mistakes!)
- Cheap paintbrushes. I bought a set of $5 brushes once. They shed bristles everywhere. Now I only use Purdy brushes,they’re worth the investment.
- Spray adhesive. I tried using it to adhere fabric to a chair once. It never dried properly, and the fabric bubbled. Now I only use a 3M spray adhesive designed for upholstery.
- Overly complicated power tools. I once bought a “multi-tool” that was supposed to do everything. I used it twice and it’s now collecting dust. Stick to the basics until you know what you’re doing.
And here’s a lesson I had to learn the hard way: Don’t skip the prep work. I once rushed through sanding a dresser and ended up with a lumpy, uneven finish. Now? I spend extra time on sanding and priming. It makes all the difference.
How I Sell My Flips (and Actually Make Money)
This is where a lot of people get stuck. You put in the work, but then what? You can’t just leave that gorgeous flip sitting in your garage forever. Here’s how I turn my projects into profit,without feeling like a used-car salesman.
Where to Sell Your Thrift Flips (and What to Expect)
I sell on a mix of platforms, depending on the item. Here’s where I’ve had the most success:
eBay: The OG Flipping Platform
eBay is still my top choice for furniture and larger items. Here’s why:
- You can reach buyers nationwide. I’ve sold pieces to people in California, New York, and even Canada.
- The “Best Offer” feature lets buyers negotiate, which can actually increase your final price.
- I use eBay’s promoted listings for high-ticket items. It costs a few dollars, but it dramatically increases visibility.
Pro tip: Take photos in natural light. I set up a little “photo studio” in my garage with a white sheet as a backdrop. It makes everything look crisp and professional. And always include measurements,buyers love that.
Facebook Marketplace: The Local Favorite
This is where I sell everything else,small decor, home accessories, anything that’s easy to pick up locally. The best part? No fees. I’ve sold everything from thrifted art to upcycled vases on Marketplace, and it’s so easy.
Here’s my secret: I bundle similar items. For example, I’ll list a set of three thrifted mugs I’ve painted for $40 instead of selling them individually. It moves inventory faster and makes buyers feel like they’re getting a deal.
Etsy: For the Creative Flips
If your project has a story or a unique twist, Etsy is a great place to sell it. I list hand-painted ceramics, upcycled jewelry, and one-of-aind home decor here. The key? Tell the story. Buyers on Etsy don’t just want a product,they want the experience behind it.
For example, I sold a set of thrifted teacups I’d painted with floral designs for $85. In the listing, I included photos of the process, a little note about how I found them at a garage sale for $1, and even a handwritten tag with each cup. The buyer loved it,and left a five-star review raving about the “personal touch.”
How I Take Photos That Sell (Without a Fancy Camera)
I’ll be honest: my first attempts at product photography were embarrassing. Blurry, poorly lit, and about as appealing as a sock on the floor. But I’ve learned a few tricks that make a huge difference,even with just my iPhone.
- Use natural light. I set up near a window in my living room. If it’s too bright, I diffuse the light with a white sheet.
- Style your pieces. Don’t just take a photo of the item by itself. Show it in context. For example, I’ll style a thrifted tray with a candle, a book, and a coffee mug to show how it could be used in a home.
- Shoot from multiple angles. Include a top-down shot, a side view, and a close-up of any details (like hardware or paintwork).
- Edit your photos. I use the free VSCO app to brighten, contrast, and sharpen my images. It makes a huge difference.
And here’s a tip I wish I’d known sooner: Show the flaws. If there’s a tiny chip or scratch, mention it in the listing. Buyers appreciate honesty, and it builds trust. I once sold a “perfectly imperfect” vase with a small chip in the rim. The buyer loved that I was upfront about it.
Budget-Friendly Decor: How I Style My Home with Thrifted Finds
Here’s the thing about upcycling: it’s not just about selling your flips. It’s also about using them to create a home you love,without breaking the bank. My living room is a perfect example. I’ve got a mix of thrifted, upcycled, and a few splurge pieces, and it all works together.
How I Mix Thrifted Pieces with My Existing Decor
I’ll admit, I used to think thrifted decor had to look obviously vintage to work. But now? I love mixing eras and styles. Here’s how I do it:
- Stick to a neutral base. Most of my furniture is painted in white, black, or gray. This gives me a blank canvas to play with colors and textures.
- Add one bold thrifted statement piece. Like my upcycled fireplace surround, which I painted a deep blue. It’s the focal point of the room.
- Layer in textures. I mix rattan, wood, metal, and fabric to add depth. A thrifted wool blanket over a modern sofa? Chef’s kiss.
- Don’t be afraid of color. I’ve got a thrifted armchair in mustard yellow that shouldn’t work with my gray couch,but it does. It’s all about balance.
And here’s a lesson I learned the hard way: Not every thrifted piece needs to be “fixed.” I once spent hours trying to “modernize” a vintage lamp, only to realize it was perfect the way it was. Now? I let the character of the piece shine.
My Top 3 Thrifted Decor Wins (and What I’d Do Differently)
I’ve had some amazing successes,and a few “what was I thinking?” moments. Here are three of my favorite thrifted decor pieces, and what I’d change if I did them over.
1. My Mid-Century Dresser
I found this dresser at a garage sale for $20. It was missing two knobs, had a water ring on the top, and the finish was peeling. But I recognized the Drexel brand stamp on the bottom,these pieces often sell for $500+ in vintage shops.
What I did:
- Sand it down to bare wood.
- Stained it with Minwax Special Walnut.
- Added new brass knobs.
- Sealed it with polycrylic.
What I’d do differently:
- I’d not have spent so much time on the water ring. A little wood filler and sanding would’ve been enough.
- I’d have taken more before photos to document the process better for listings.
It sold for $350, and I still get compliments on it every time someone visits.
2. My Gallery Wall
I put together a gallery wall using a mix of thrifted frames, vintage postcards, and my own photography. The frames alone cost me less than $10 total, and I’ve had people ask where I bought them!
What I did:
- Found mismatched frames at thrift stores for $1-$3 each.
- Spray-painted them all the same color (matte black).
- Added leads and hooks to hang them.
- Mixed in some vintage postcards and my own prints for variety.
What I’d do differently:
- I’d have not rushed the painting. I had to touch up a few frames because I didn’t let the first coat dry completely.
- I’d have planned the layout before hanging. I ended up rearranging it three times before I was happy.
It’s one of my favorite projects, and it cost me less than $50 total.
3. My Upcycled Coffee Table
This was my first big upcycling project, and I’ll admit, it was a disaster at first. I bought a solid wood table for $30, but I didn’t sand it enough before staining. The result? Streaky, uneven finish. I almost gave up.
What I did:
- Sand it down again,this time with an orbital sander.
- Used a gel stain for a smoother application.
- Sealed it with polyurethane.
- Added hairpin legs for a modern look.
What I’d do differently:
- I’d have tested the stain on a scrap piece of wood first. I learned that the hard way.
- I’d have used a deglosser before sanding to remove the old finish. It would’ve saved me so much time.
It’s now my favorite piece in the living room, and it was a great learning experience.
Final Thoughts (and What I’m Working On Next)
Thrifting and upcycling have become more than just a hobby for me,they’re a way to create a home that’s uniquely mine, while also saving money and reducing waste. And the best part? It’s a skill I’ve passed on to my kids. My 12-year-old now helps me sand and paint projects, and my 9-year-old has a “thrift budget” of her own (she’s got an eye for vintage toys, I’ll give her that).
Right now, I’m working on a stair makeover,we’re removing the carpet and refinishing the wood underneath. I’ve also got a pile of thrifted mugs I’m painting with peel-and-stick wallpaper designs. And if I’m feeling really ambitious, I might tackle that accent wall in the dining room I’ve been eyeing.
So if you’re feeling inspired, start small. Grab a piece from your local thrift store, give it a little love, and see what happens. You might just discover a hidden talent,and a new way to fill your home with things you truly love.
And if you’re ready to dive in, here are a few of my favorite resources to get you started:
- 5 DIY Projects to Instantly Add Charm to Your Home
- Upcycling Furniture Tips for a Professional-Looking Finish
- Essential Tools Every Homeowner Should Have
Happy thrifting,and happy flipping!