
No-Sew Fabric Projects for Home Decor That Actually Work
Let me tell you about the first time I tried making home decor without sewing. I had this pile of old bandanas from a camping trip and a half-empty bottle of fabric glue sitting in my craft closet. My kids were begging for “fancy” room decor, and I was determined to make it happen without breaking the bank,or my sewing machine (which, let’s be honest, I only use to hem curtains and then immediately regret it).
What started as a simple wall hanging turned into a weekend project that had my whole family involved. My 10-year-old “helped” by cutting fabric into what she called “abstract shapes” (read: triangles that looked like they’d been attacked by scissors), and my husband,bless his heart,held things in place while I glued like a woman possessed. The end result? A colorful, textured wall piece that still hangs in our living room three years later, despite my daughter’s insistence that “it’s not cool anymore.” (Spoiler: It’s still cool.)
That project taught me something important: you don’t need sewing skills to create beautiful, functional home decor. You just need fabric, some adhesive, and a willingness to embrace the “handmade” look,imperfections and all. In this post, I’ll walk you through my favorite no-sew fabric projects that have transformed our home, saved me money, and given me a creative outlet that doesn’t involve thread or needles.
We’ll cover everything from quick wall art to functional accessories, using materials you probably already have. And don’t worry,I’ll share the mistakes I made along the way so you can avoid them. (Like the time I used the wrong glue and ended up with a sticky mess that took three wash cycles to clean off my hands. Lesson learned: always test your adhesive first!)
Why No-Sew Fabric Projects Are a Game-Changer
I used to think that making home decor required either sewing skills or a big budget. Then I discovered the magic of fabric glue, fusible webbing, and double-sided tape. These simple tools have let me refresh our home in ways I never thought possible,without ever threading a needle.
Here’s what I love about no-sew fabric projects:
- They’re fast: Most of these projects take less than an hour, from start to finish. Perfect for when you’ve got 20 minutes before the kids get home from school and you want to feel productive.
- They’re budget-friendly: I’ve used everything from old T-shirts to thrifted fabric scraps. That denim jacket my husband outgrew? Now it’s a stylish throw pillow in our family room.
- They’re forgiving: Unlike sewing, where a single crooked stitch can ruin everything, fabric glue gives you room to experiment. That wonky cut? Call it “modern abstract.” That uneven edge? Add some fringe and suddenly it’s a design feature.
- They’re customizable: Want to match your throw pillows to your new rug? No problem. Need to update your nursery decor without spending a fortune? Easy. With fabric, you can create exactly what you want, exactly how you want it.
And here’s a little secret: these projects have become my go-to when I need a quick mood booster. There’s something incredibly satisfying about taking something old or forgotten and turning it into something beautiful and useful. It’s like adult coloring books, but with more glue and less judgment.
If you’re new to no-sew fabric projects, start with something simple like these five easy projects that will give you instant results. Once you get the hang of it, you’ll be amazed at what you can create!
Getting Started: Tools and Materials You’ll Actually Use
Before we dive into projects, let’s talk about the tools that have become my no-sew fabric staples. I’ve tried a lot of different adhesives over the years, and some have been outright disasters (looking at you, that cheap fabric glue that took a week to dry and left sticky residue everywhere). But I’ve also found some game-changers that I now keep stocked in my craft closet.
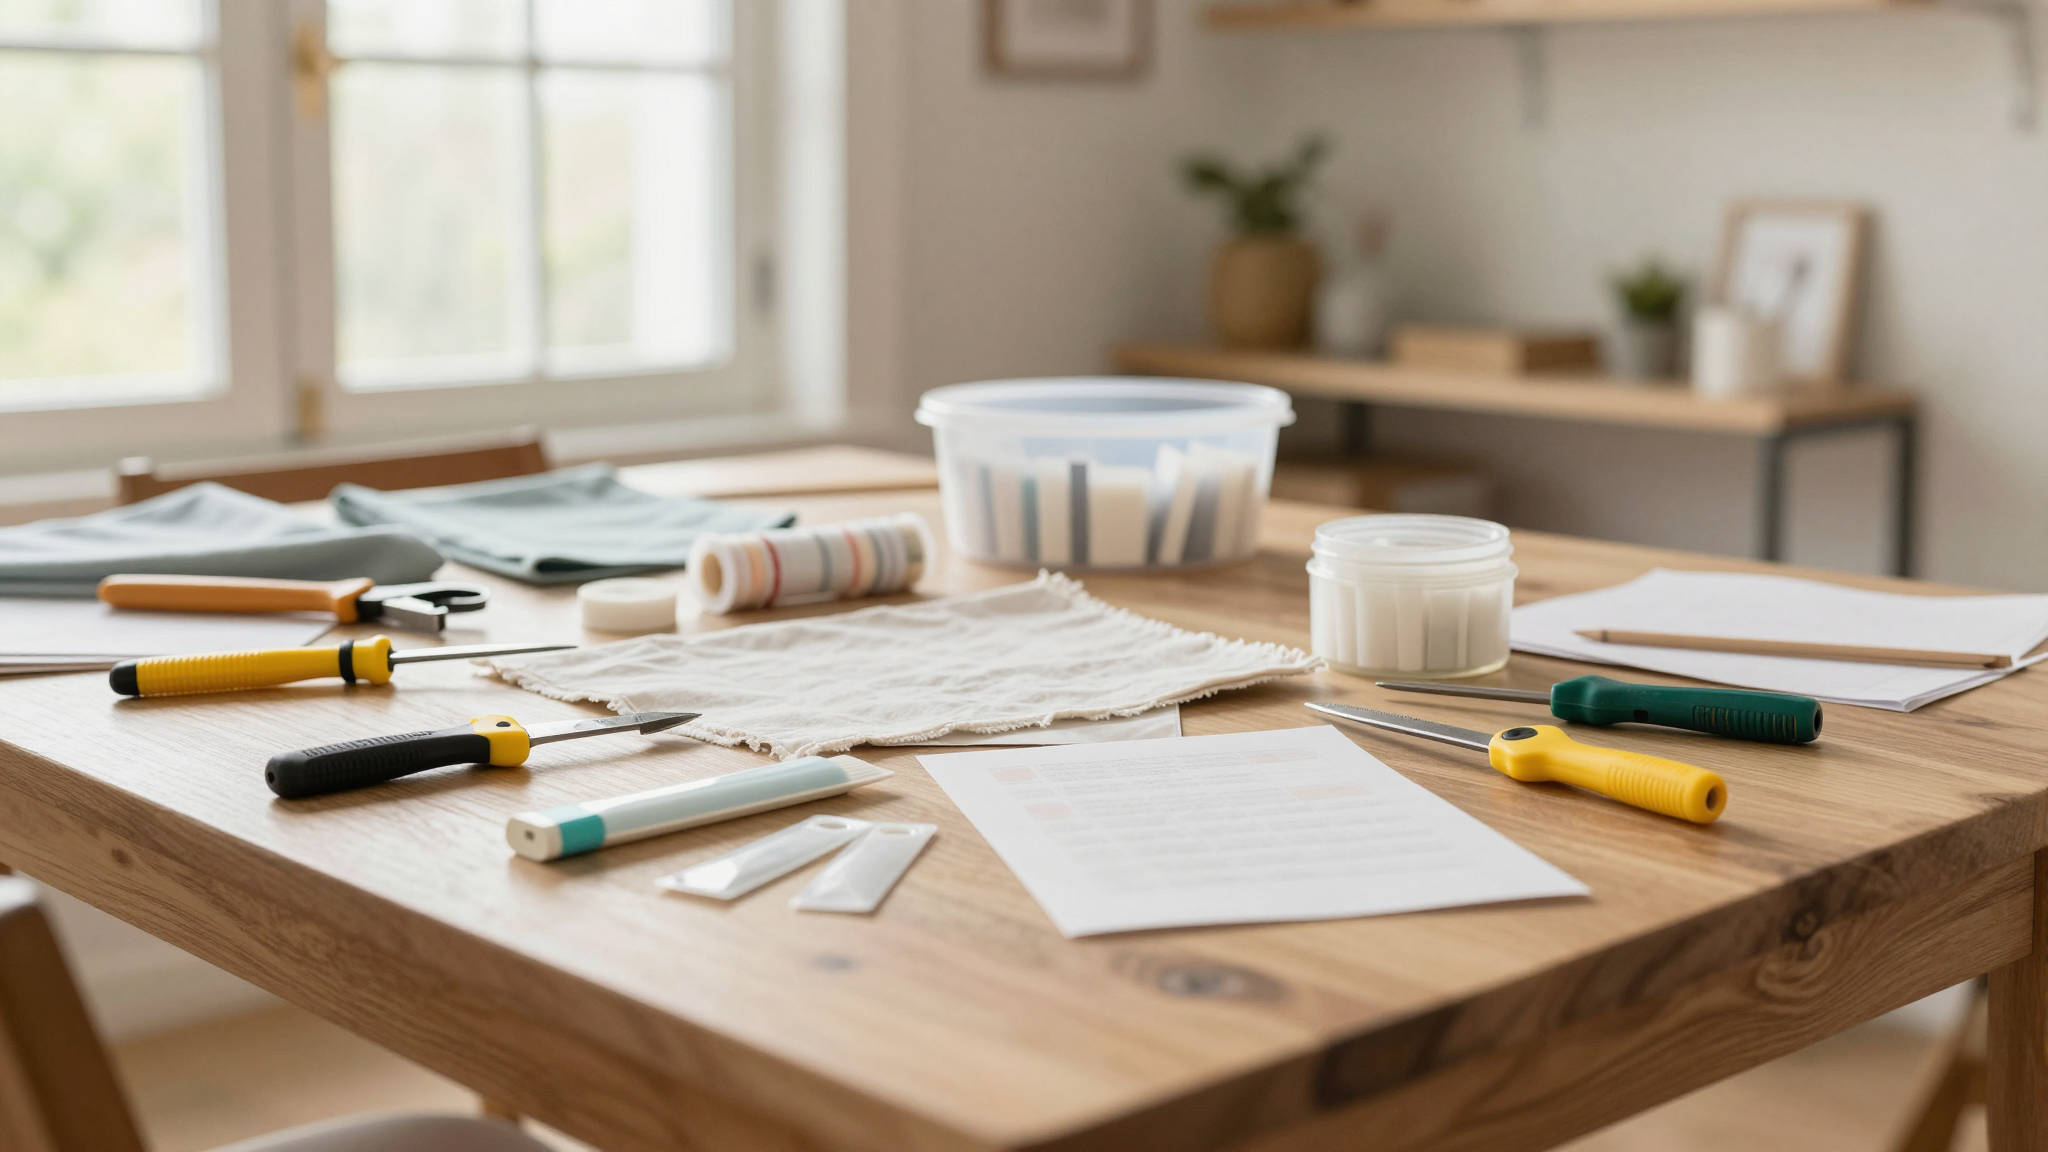
My Essential No-Sew Toolkit
Here’s what I always have on hand:
- Fabric glue: I swear by Aleene’s Tacky Glue. It’s strong enough to hold fabric in place but dries clear, and it doesn’t yellow over time. I keep a small bottle in my purse for emergencies (yes, I’ve glued a hem in a public restroom before).
- Mod Podge Fabric: This is my go-to for projects that need a little extra durability, like fabric-covered coasters or lampshades. It dries flexible, so it won’t crack if the fabric moves a little.
- Double-sided adhesive tape: The 3M Scotch Double Sided Tape is my secret weapon for quick projects. It’s strong, easy to use, and doesn’t leave residue when you remove it.
- Fusible webbing: This iron-on adhesive is perfect for flat surfaces like pillow covers or table runners. I used it to make these no-sew pillow covers that look like they came from a boutique.
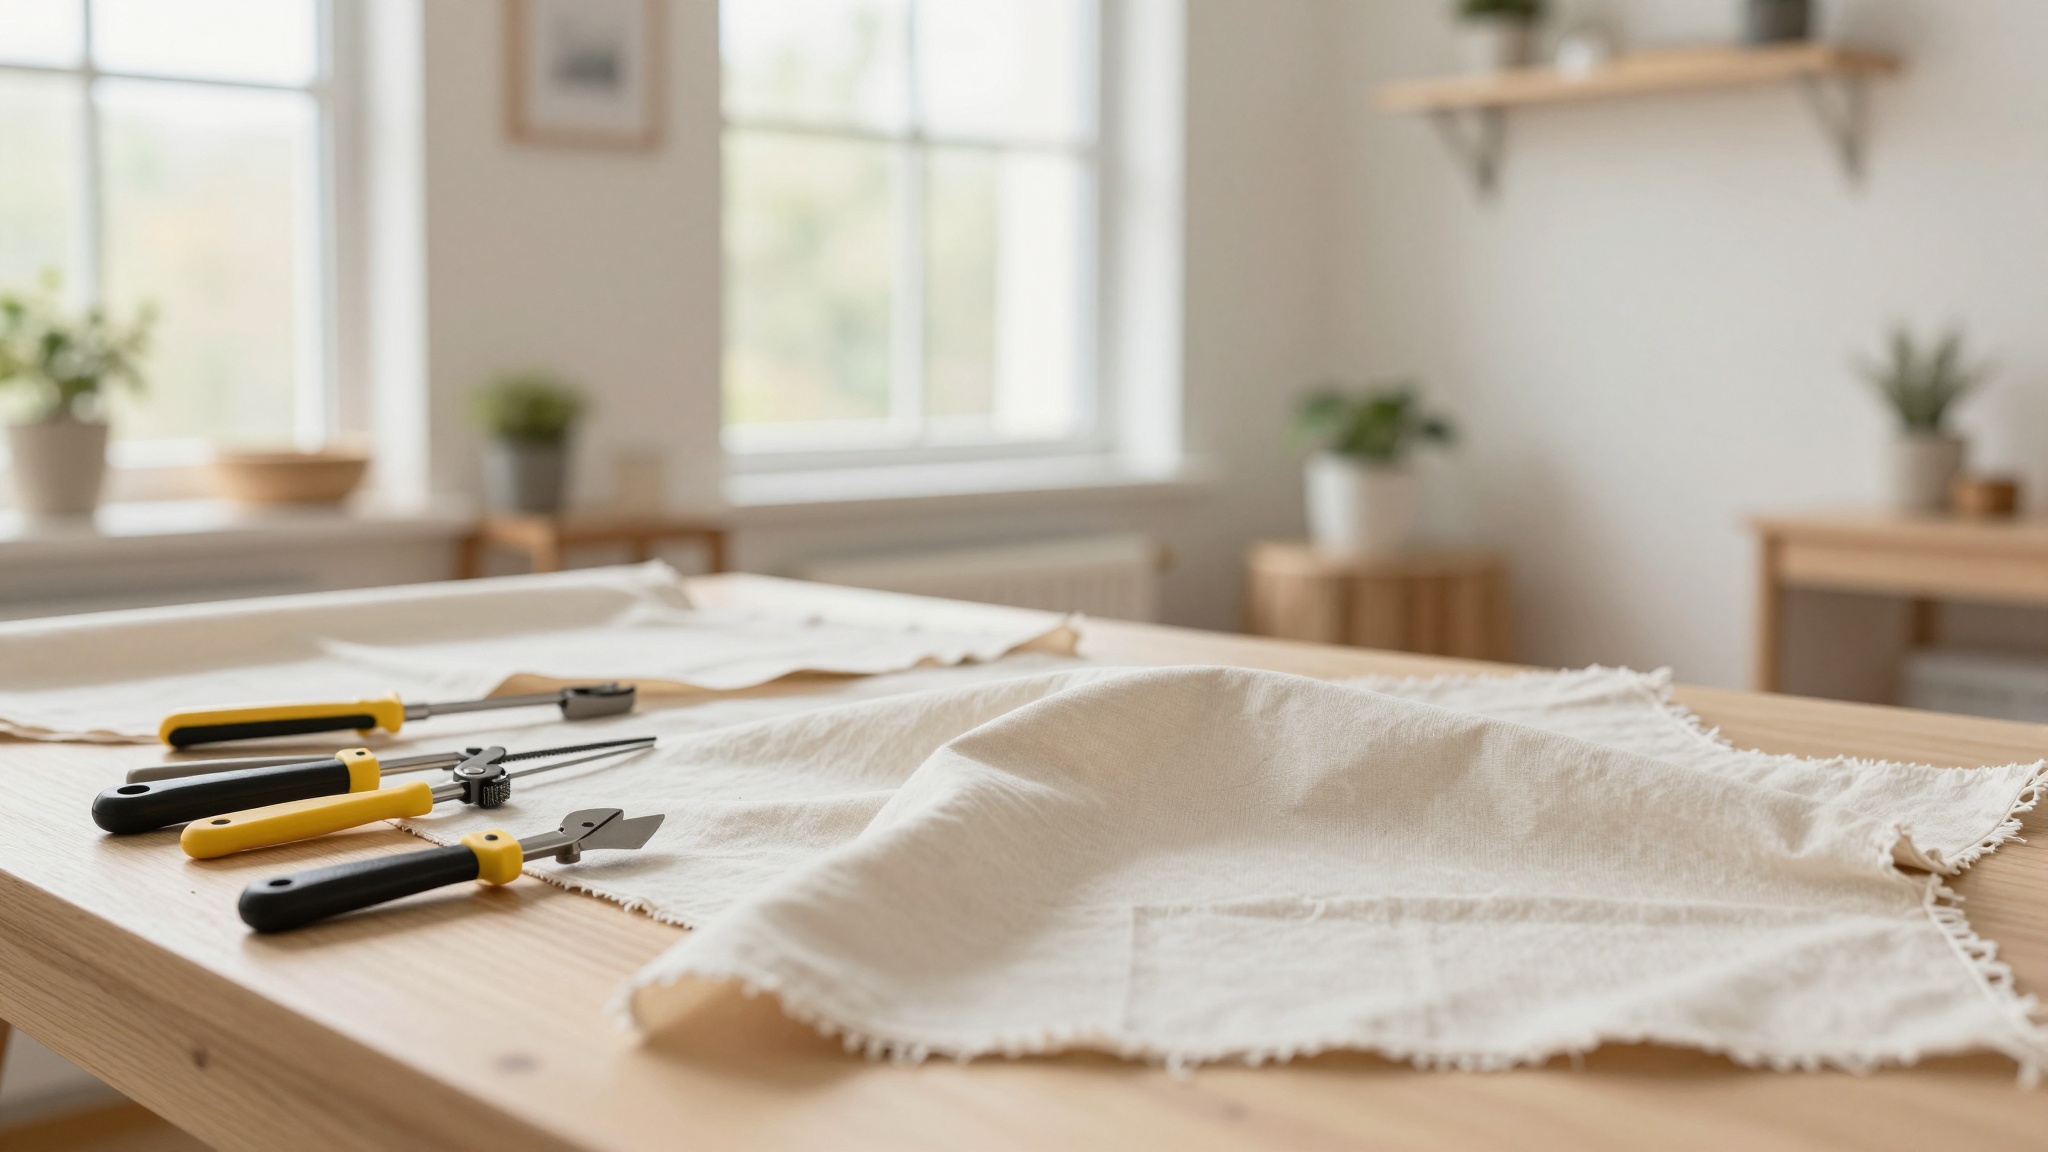
- Sharp scissors or a rotary cutter: Don’t skimp on your cutting tools! A good pair of scissors makes all the difference. I love my Fiskars scissors,they’ve lasted me years and can cut through multiple layers of fabric like butter.
- Cardboard, wood, or trays as bases: You’d be surprised what you can find around the house to use as a base for your projects. That old shoebox? Perfect for a jewelry organizer. That wooden crate from the grocery store? Instant wall storage.
Pro tip: If you’re just starting out, don’t feel like you need to buy everything at once. I started with just a bottle of fabric glue and some old fabric, and gradually added to my collection as I took on bigger projects. And if you’re not sure about a project, check out my list of essential tools to see what might be worth investing in.
Fabric Choices: What Works and What Doesn’t
Not all fabrics play nice with adhesives, and I’ve learned that the hard way. That time I tried to use a stretchy knit fabric for a lampshade? Disaster. The glue didn’t hold, and I ended up with a saggy, lumpy mess that looked like it belonged in a haunted house, not my living room.
Here’s what I’ve found works best:
- Cotton: My absolute favorite. It’s easy to work with, holds glue well, and comes in so many fun patterns. I used cotton fabric to make these custom fireplace tools that match our living room decor.
- Linen: Great for a more casual, textured look. It’s a little trickier to work with because it frays easily, but if you use pinking shears or finish the edges with fabric glue, it’s worth it.
- Felt: Perfect for coasters, wall hangings, or anything that needs a little structure. It doesn’t fray, so you don’t have to worry about finishing the edges.
- Denim: Surprisingly versatile! I’ve used it for everything from throw pillows to drawer fronts. It’s durable and gives a nice casual vibe.
Fabrics to avoid (or at least be cautious with):
- Stretchy knits: They don’t hold glue well and can lose their shape over time.
- Silk or satin: These fabrics can be slippery and may not adhere well to adhesives.
- Very thin or sheer fabrics: They can tear easily and may not provide enough structure for your project.
Pro tip: Always pre-wash your fabric before using it in a project. I learned this the hard way when I made a set of pillow covers and the fabric shrank after the first wash. Now I wash, dry, and iron my fabric before I even start cutting.
No-Sew Fabric Projects to Try Today
Now that you know the basics, let’s dive into some specific projects you can try at home. I’ve included my favorite ideas, along with the mistakes I made (so you don’t have to!) and tips to make them even easier.
Quick Wall Art That Doesn’t Require Hanging Hardware
One of the easiest ways to refresh a room is with wall art. And you don’t need to be an artist,or even know how to hang a picture straight,to create something beautiful. Here are a couple of my favorite no-sew wall art projects:
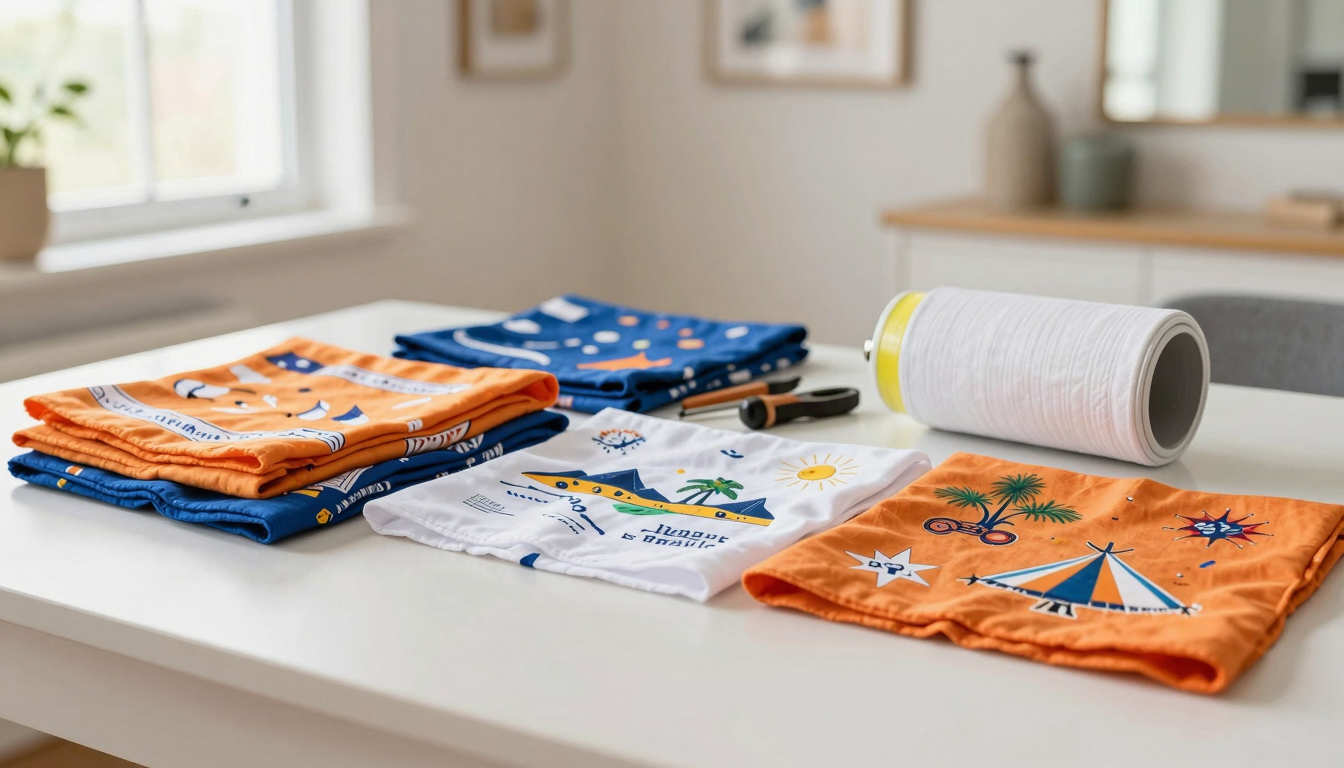
Fabric Wall Hangings
This was my very first no-sew fabric project, and it’s still one of my favorites. It’s so easy, even my kids can help (though I recommend supervising the glue application unless you want sticky fingers everywhere).
What you’ll need:
- Fabric scraps (I used old bandanas and some linen I found at a thrift store)
- Wooden dowels or a sturdy stick
- Fabric glue or Mod Podge
- Scissors
- String or ribbon for hanging
How to make it:
- Cut your fabric: I like to use a mix of shapes,some squares, some triangles, some organic shapes. Don’t worry about making them perfect. The more “handmade” they look, the better!
- Arrange your fabric: Lay out your pieces on a table or the floor to see how you want them to look. I like to mix patterns and textures for a more interesting look.
- Glue your fabric to the dowel: Start with the largest pieces and work your way down. Use fabric glue to attach the fabric to the dowel, leaving a little overhang on the sides. Press firmly to make sure it sticks.
- Add fringe or tassels: This is where you can get creative! Cut some of your fabric into strips and glue them to the bottom of your wall hanging for a fringe effect. Or, if you have some old yarn or ribbon, you can add tassels.
- Add hanging hardware: Tie a piece of string or ribbon to each end of the dowel and hang it up!
Mistake I made: I didn’t let the glue dry completely before hanging it up. Big mistake. The whole thing came crashing down when my cat decided to bat at it. Now I always let my projects dry overnight before putting them up.
Pro tip: If you want a more structured look, you can stretch your fabric over a canvas or foam board before attaching it to the dowel. Just use spray adhesive to attach the fabric to the board, then glue the board to the dowel.
Fabric-Covered Letters for a Personal Touch
These are perfect for adding a personal touch to your home, whether it’s a nursery, a child’s room, or even your entryway. I made a set of letters spelling out my daughter’s name for her bedroom, and she loves them.
What you’ll need:
- Cardboard or foam board (I used the back of an old cereal box for mine)
- Fabric scraps
- Fabric glue or Mod Podge
- Scissors
- Paint or markers (optional, for outlining the letters)
How to make them:
- Cut out your letters: Draw your letters on the cardboard or foam board and cut them out. You can make them as big or as small as you want.
- Cut your fabric: Cut your fabric about 1-2 inches larger than your letters on all sides. This will give you enough fabric to wrap around the edges.
- Glue your fabric: Apply fabric glue to the back of the letter and press the fabric onto it. Smooth out any wrinkles and let it dry.
- Wrap the edges: Once the fabric is dry, fold the excess fabric over the edges of the letter and glue it down. This will give your letters a nice, clean finish.
- Add details (optional): If you want to add some extra flair, you can outline your letters with paint or markers. I used a gold paint pen to outline the letters in my daughter’s room, and it gave them a nice, polished look.
Mistake I made: I didn’t let the fabric dry completely before folding the edges. The glue was still wet, and it made a huge mess. Now I always let the fabric dry completely before doing any folding or wrapping.
Pro tip: If you want your letters to stand out from the wall, you can attach them to a piece of wood or foam board before hanging them up. This will give them a little more structure and make them easier to hang.
Functional Fabric Projects for Everyday Use
Fabric isn’t just for decor,it can also make your everyday life a little easier and more organized. Here are a couple of my favorite functional no-sew fabric projects:
Custom Luggage Tags
I lost count of how many times I’ve mixed up my luggage at the airport. That’s why I love making custom luggage tags,they’re not only practical, but they also add a little personality to your travel gear.
What you’ll need:
- Fabric scraps (I used some old denim and a fun floral print)
- Clear adhesive sheets (like those you’d use for laminating)
- Scissors
- Key ring or luggage tag hardware
How to make them:
- Cut your fabric: Cut your fabric into 3×5 inch rectangles. You can make them as big or as small as you want, but this size works well for most luggage tags.
- Add your details: If you want to add your name, contact information, or a fun design, you can use fabric markers or paint. I like to use a gold paint pen for a nice, polished look.
- Laminate your tag: Apply the clear adhesive sheet to the back of your fabric. This will protect it from the elements and make it durable enough to withstand travel.
- Attach the hardware: Once the adhesive is dry, punch a hole in the top of your tag and attach it to your luggage with a key ring or luggage tag hardware.
Mistake I made: I didn’t let the adhesive dry completely before punching the hole. The tag ended up with a big tear, and I had to start over. Now I always let the adhesive dry for at least 24 hours before handling it.
Pro tip: If you want to make your luggage tags even more durable, you can add a layer of clear nail polish to the edges. This will help prevent fraying and make them last even longer.
Phone Holders for Your Car
This is one of those projects that I wish I’d thought of sooner. I’m always losing my phone in my car, and this simple holder keeps it in place and within easy reach.
What you’ll need:
- Fabric scraps (I used some old jeans and a fun print)
- Fusible webbing or fabric glue
- Scissors
- Hair elastic or a rubber band
How to make it:
- Cut your fabric: Cut two pieces of fabric about 6×8 inches. You can make them as big or as small as you want, but this size works well for most phones.
- Create a pocket: Place the two pieces of fabric together, right sides facing out. Fold one piece in half lengthwise and glue or fuse the edges together to create a pocket.
- Add the elastic: Once the glue is dry, attach a piece of hair elastic or a rubber band to the top of the pocket. This will allow you to hang it on your car’s vent.
- Decorate (optional): If you want to add some extra flair, you can use fabric markers or paint to add a design to the front of the pocket.
Mistake I made: I didn’t press the fabric firmly enough when I was gluing it, and it ended up with some wrinkles. Now I always use a heavy book or some weights to press the fabric flat while it dries.
Pro tip: If you want your phone holder to be a little more secure, you can add a piece of non-slip fabric to the back. This will help keep it in place, even on bumpy roads.
Tips and Tricks from My No-Sew Journey
Over the years, I’ve learned a few things that have made my no-sew fabric projects easier and more successful. Here are some of my best tips:
Choosing the Right Adhesive for the Job
Not all adhesives are created equal, and I’ve had my fair share of disasters trying to figure out which one to use. Here’s what I’ve learned:
- Fabric glue: This is my go-to for most projects. It’s easy to use, dries clear, and holds fabric well. I like to use Aleene’s Tacky Glue for most of my projects.
- Mod Podge Fabric: This is great for projects that need a little extra durability, like fabric-covered coasters or lampshades. It dries flexible, so it won’t crack if the fabric moves a little.
- Spray adhesive: This is perfect for large projects, like wall hangings or fabric-covered furniture. It dries quickly and gives you a nice, even coat. Just be sure to use it in a well-ventilated area.
- Fusible webbing: This is my secret weapon for flat surfaces, like pillow covers or table runners. It’s iron-on, so it’s quick and easy to use. Just be sure to follow the instructions on the package for the best results.
Mistake I made: I once used regular white glue for a fabric project. It took forever to dry, and it left the fabric stiff and crunchy. Now I only use adhesives that are specifically designed for fabric.
Pro tip: Always test your adhesive on a small piece of fabric before you start your project. This will give you a chance to see how it dries and make sure it’s the right one for the job.
Preparing Your Fabric for Success
Prepping your fabric before you start a project can make all the difference. Here’s what I do:
- Wash and dry your fabric: This will help prevent shrinking and make your fabric easier to work with. I always wash my fabric before I use it in a project.
- Iron your fabric: Ironing your fabric will help remove wrinkles and make it easier to cut and glue. I like to iron my fabric before I start cutting it out.
- Cut your fabric carefully: Take your time when you’re cutting your fabric. I like to use a rotary cutter and a cutting mat for precise cuts. If you don’t have a rotary cutter, a good pair of scissors will work just fine.
- Finish your edges: If you’re using a fabric that frays easily, like cotton or linen, you can finish the edges with pinking shears or fabric glue. This will help prevent fraying and make your project look more polished.
Mistake I made: I once cut my fabric without ironing it first, and I ended up with a lot of wrinkles. Now I always iron my fabric before I start cutting.
Pro tip: If you’re using a fabric that’s prone to fraying, you can dip the edges in fabric glue and let them dry. This will help prevent fraying and make your project look more polished.
Inspiration and Resources for No-Sew Crafters
If you’re looking for more inspiration, there are plenty of great resources out there. Here are a few of my favorites:
Blogs and Websites
- SewCanShe: This blog is a goldmine for no-sew fabric projects. I love their fabric pumpkin tutorial, which is perfect for fall decor.
- CraftGossip: This site has some amazing no-sew projects, like their fabric-covered trays that are perfect for serving snacks or organizing your desk.
- Mod Podge Rocks: If you love Mod Podge, this blog is a must-follow. They have some great tutorials for fabric-covered lampshades and other home decor projects.
Mistake I made: I once tried to follow a no-sew tutorial without reading the comments first. Big mistake. The comments are where you’ll find all the tips and tricks that the blogger didn’t mention. Always read the comments before you start a project!
YouTube Channels
- DIY with Duct Tape: This channel has some great no-sew fabric projects, like their fabric wall art tutorial.
- The DIY Mommy: I love this channel for their no-sew home decor projects, like their fabric-covered picture frames.
Pro tip: If you’re new to no-sew fabric projects, start with a simple tutorial and work your way up to more complex projects. Don’t be afraid to make mistakes,it’s all part of the learning process!
Final Thoughts and Next Steps
I hope you’re feeling inspired to try some no-sew fabric projects in your own home. Remember, the key is to start small and have fun with it. Don’t worry about making everything perfect,embrace the handmade look and enjoy the process.
If you’re just starting out, I recommend trying one of these easy projects first:
- These five quick projects that will give you instant results
- These bedroom makeover ideas that are perfect for beginners
- These furniture upcycling tips that will help you transform thrifted finds
And if you’re looking for more inspiration, be sure to check out my accent wall ideas or my farmhouse coffee table tutorial. Both of these projects use fabric in creative ways to add personality to your home.
Now, grab some fabric, pick a project, and get started! And if you make something you love, I’d love to see it. Tag me on Instagram @christinaprojects and show me your creations. Happy crafting!
FAQ
What are the best adhesives for no-sew fabric projects?
How can I prevent fabric from fraying in no-sew projects?
What’s the easiest no-sew project for beginners?
Can I use thrifted fabric for these projects?
FAQ
What are the best adhesives for no-sew fabric projects?
My top picks are Aleene’s Tacky Glue for general projects, Mod Podge Fabric for durable pieces, and fusible webbing for flat surfaces. Always test adhesives on scrap fabric first to check for staining or stiffness.
How can I prevent fabric from fraying in no-sew projects?
Use pinking shears for a decorative edge, apply fabric glue to cut edges, or finish with iron-on hem tape. For lightweight fabrics, a thin layer of Mod Podge along edges works wonders. I learned this the hard way when my first fabric wall hanging unraveled after a week!
What’s the easiest no-sew project for beginners?
Start with fabric-covered coasters using felt circles and Mod Podge. They’re quick, functional, and perfect for practicing adhesive techniques. My kids made a set for my birthday using old T-shirt scraps,now they’re my favorite drinking companions.
Can I use thrifted fabric for these projects?
Absolutely! I’ve made everything from pillow covers to wall art using thrifted fabrics. Just pre-wash them to remove any odors or finishes. That $1 denim jacket from the thrift store? Now it’s a chic throw pillow in my reading nook.
How do I make fabric-covered items more durable?
Seal edges with clear nail polish, use Mod Podge as a top coat, or add a fabric stabilizer backing. For high-use items like trays, I recommend using both fabric glue and fusible webbing for extra hold. My fabric-covered cutting board has lasted two years with this treatment!
denim jacket from the thrift store? Now it’s a chic throw pillow in my reading nook.