
Upcycling Old Books into Unique Home Decor (With Real-Life Tips!)
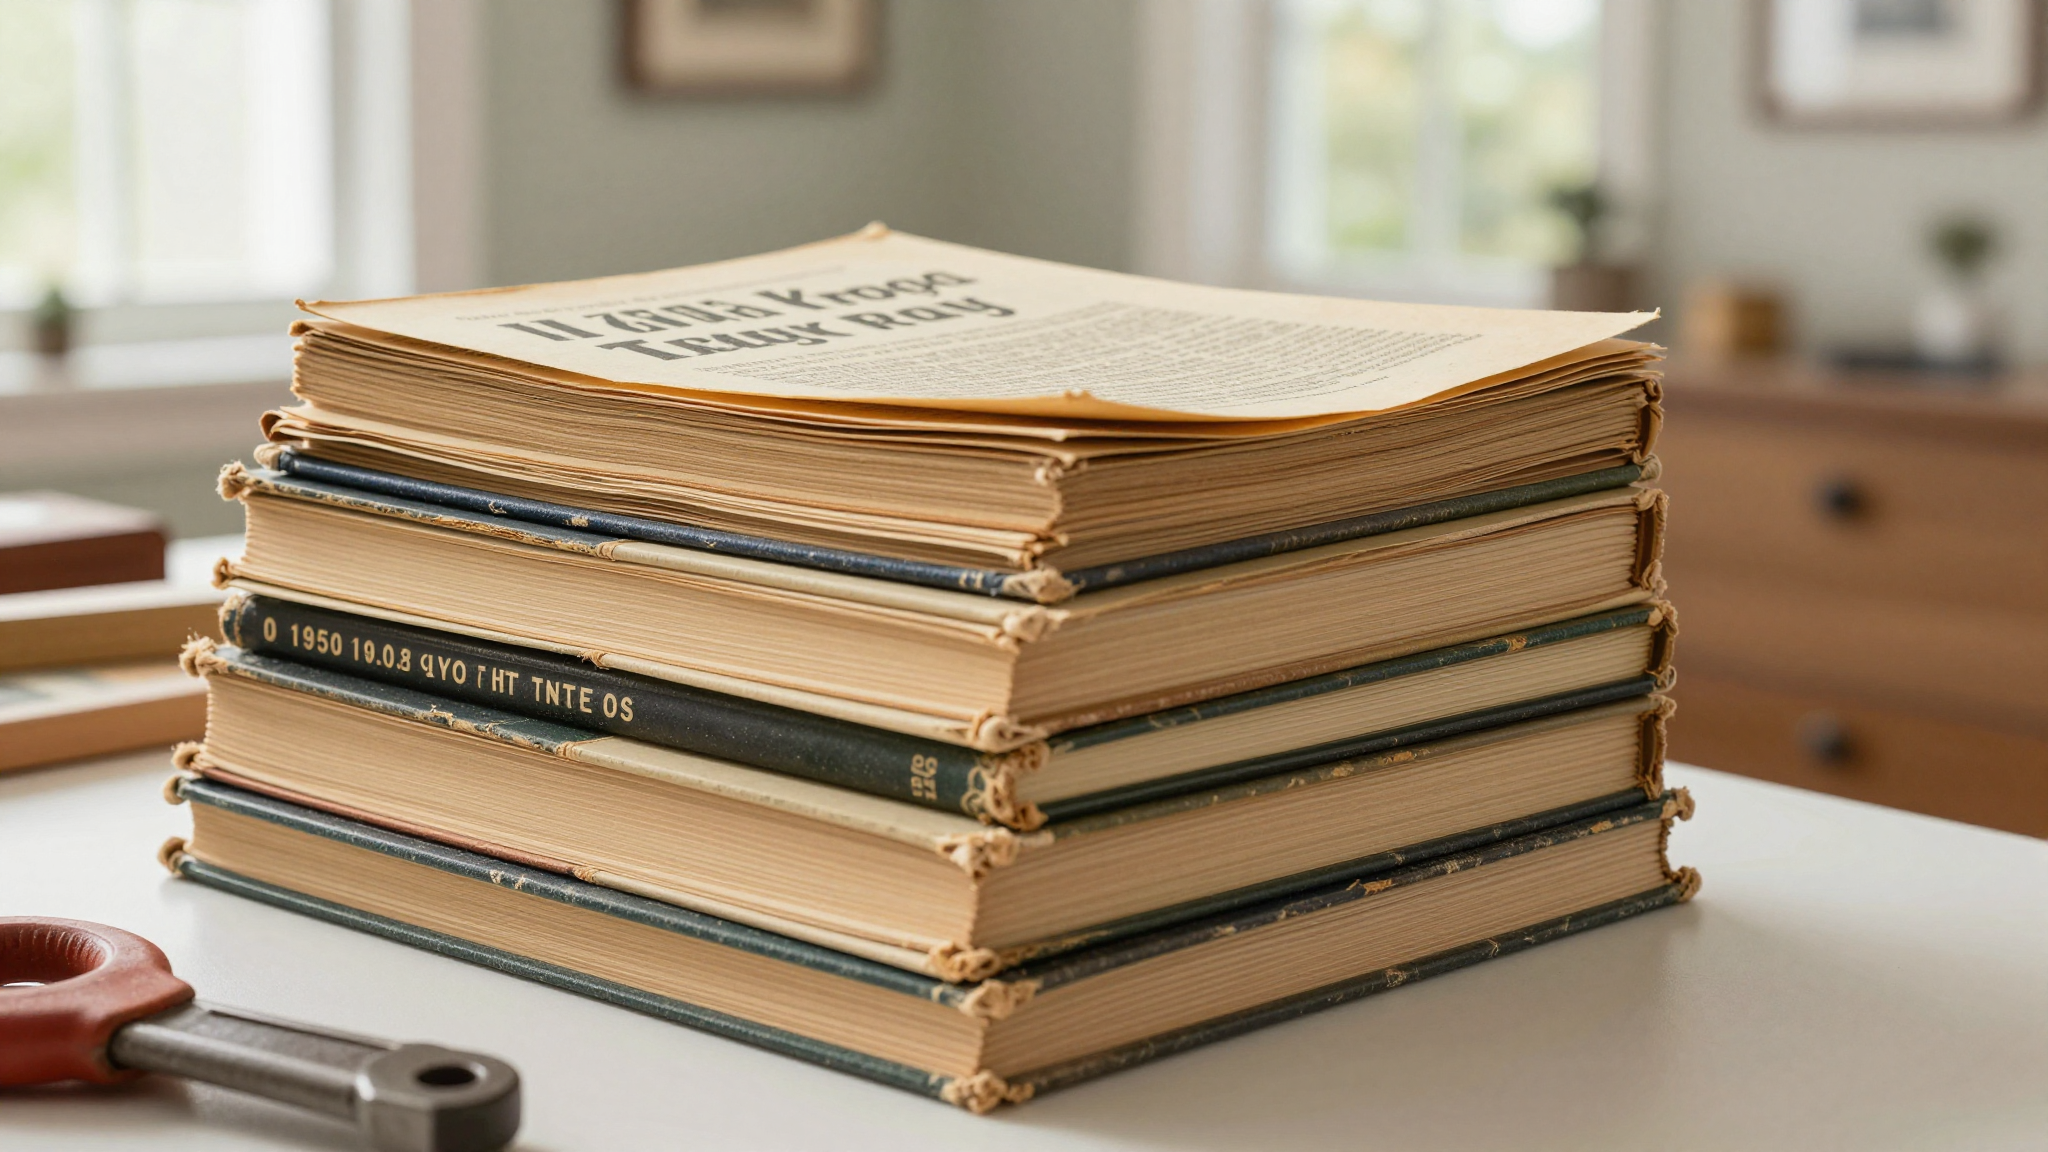
I’ll never forget the day I found a stack of 1950s encyclopedias at a garage sale for $2. The pages were yellowed, the spines cracked, and the whole set smelled like my grandma’s attic. Instead of tossing them, I brought them home and spent a rainy afternoon cutting out the most beautiful pages to frame. That was my first real foray into book page crafts, and I’ve been hooked ever since.
There’s something magical about giving new life to forgotten volumes. Whether you’re dealing with dusty novels from your childhood, thrift store finds, or books you just can’t part with, these projects let you create meaningful decor that tells a story. The best part? You don’t need fancy tools or advanced skills to get started,just some old books, a little creativity, and maybe a cup of coffee to keep you company.
In this post, I’ll share exactly how I’ve transformed everything from vintage dictionaries to my kids’ outgrown chapter books into pieces I actually use and love in my home. I’ll also include the mistakes I’ve made (like that time I ruined a perfectly good hardcover trying to fold it into a heart without a pattern) and the tools that have become my go-tos. Let’s get started!
If you love this kind of upcycling, you might also enjoy my 5 DIY projects to instantly add charm to your home or my easy bedroom makeover ideas.
Why I Love Working with Old Book Pages
I’ll be honest,my house is full of books. We have floor-to-ceiling shelves in the living room, a reading nook in the kids’ room, and at least three stacks of “to-read” books by my bed. So when I realized how beautiful the pages could be when repurposed, it felt like a no-brainer.
The first project I tried was a simple framed piece using pages from an old atlas. I used my favorite craft knife (the X-Acto with the ergonomic handle,worth every penny!) to cut out the most interesting maps, then arranged them in a thrifted frame I spray-painted gold. It now hangs above our couch, and every time someone asks about it, I get to tell the story behind it. That’s the magic of upcycling,your decor isn’t just pretty, it’s personal.
What I love most about working with book pages is how they add instant character to a space. Unlike new paper, which can feel sterile, old book pages have texture, subtle stains, and that wonderful “lived-in” look. They’re not perfect, and that’s what makes them special. Plus, there’s something deeply satisfying about taking something that might have ended up in a landfill and turning it into something beautiful.
If you’re new to this, start small. I recommend grabbing a few old books from your own collection or hitting up your local thrift store (I’ve found some of my best materials at the Goodwill near me for less than a dollar each). You don’t need anything fancy to begin,just a pair of scissors, some glue, and a little imagination.
My Top 3 Reasons to Try Book Page Crafts
- It’s sustainable. Instead of buying new decor, you’re giving old materials a second life. I love knowing that the framed poetry above my desk came from a book that would have otherwise been tossed.
- It’s budget-friendly. Most of my projects cost less than $10 to make, and I already have half the supplies at home. The only thing I had to buy for my first project was the frame.
- It’s endlessly creative. You can make everything from wall art to gift wrap to 3D sculptures. The possibilities are limited only by your imagination (and how much time you want to spend cutting!).
If you’re looking for more ways to add character to your home without breaking the bank, check out my tips for upcycling furniture or my guide to DIY accent walls.
What You’ll Need to Get Started
Before you dive in, let me save you some time by sharing the exact tools and materials I use for my book page projects. I’ve learned the hard way which supplies are worth investing in and which ones you can skip.
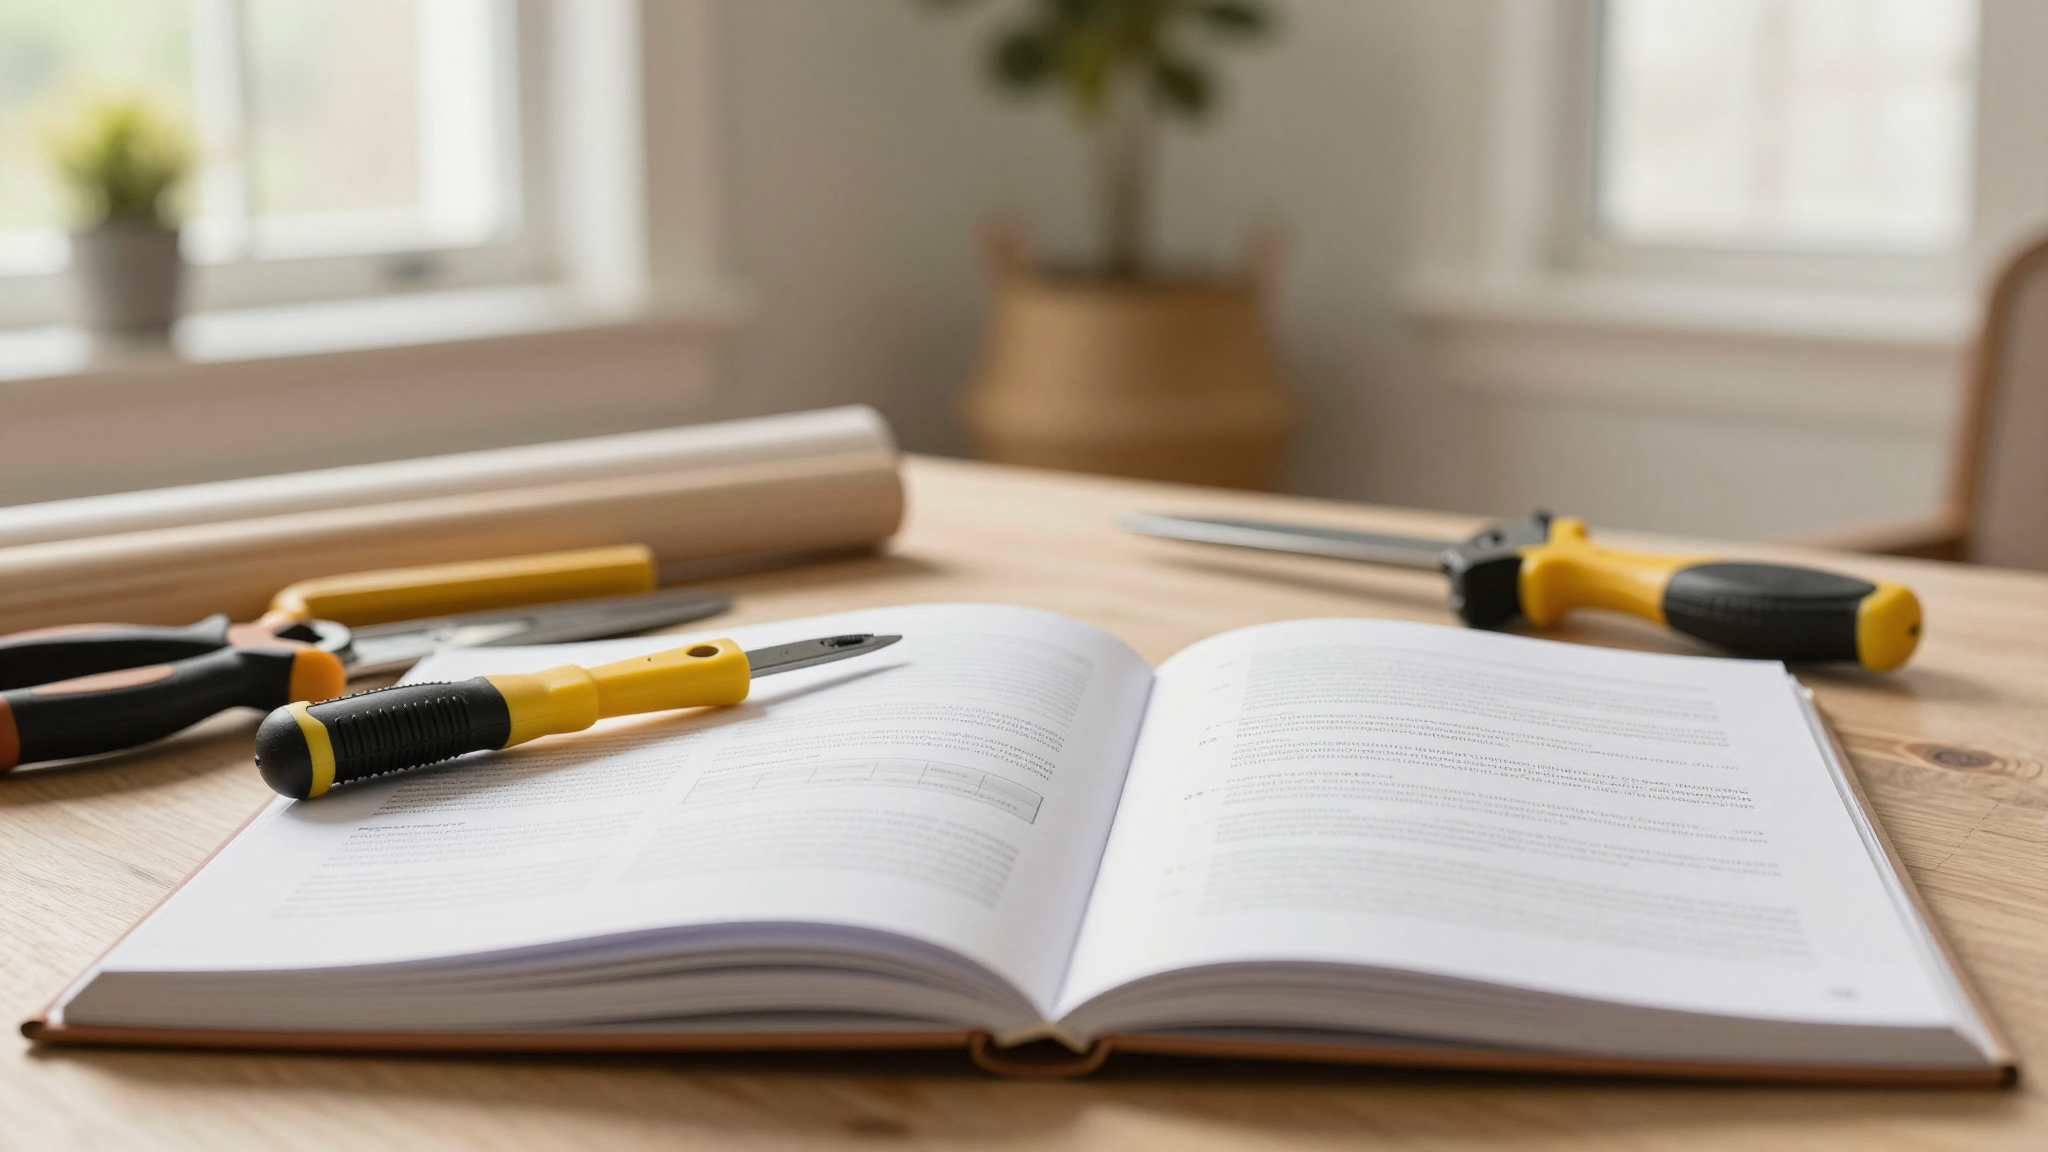
Essential Tools (That Actually Make a Difference)
I keep a small “book crafting” bin in my craft closet with everything I need. Here’s what’s in it:
- Sharp scissors or a craft knife. I swear by my X-Acto knife with replaceable blades. It’s precision-cutting heaven, and I use it for everything from trimming pages to detailing my fireplace makeover projects.
- A cutting mat. I have a self-healing one that’s seen better days, but it’s still going strong after years of use. It protects my table and makes clean cuts easier.
- Mod Podge (the matte finish). This is my go-to for sealing and gluing. I love that it dries clear and protects the paper without yellowing. Pro tip: Use a foam brush for smooth application,regular paintbrushes can leave streaks.
- Double-sided tape or glue sticks. Great for quick projects where you don’t need a sealed finish. I keep a stash of Scotch tape in my bin for emergencies.
- Cardstock or backing boards. I use these to give my projects structure. Thrifted frames, old book covers, or even cereal boxes in a pinch work great.
If you’re serious about book page crafts, I also recommend investing in a bone folder for crisp folds and a spray adhesive (like 3M Super 77) for large projects. But honestly, you can start with just scissors, glue, and an old book!
Optional (But Helpful) Extras
Once you’re hooked, you might want to add a few more tools to your collection. These aren’t essential, but they can take your projects to the next level:
- Decorative edge scissors. I have a pair with a scalloped edge that I use for making “feathered” book page flowers. They add a nice detail without much extra effort.
- Paper punches. Great for creating consistent shapes, like circles for garlands or squares for gift tags.
- Floral wire or stems. If you’re making 3D flowers or sculptures, these help give your pieces structure.
- A lightbox or bright lamp. Helps you see the details when you’re working with fine text or intricate cuts.
One thing I don’t recommend? Tea-staining paper to make it look old. I tried it once, and it ended up looking fake and streaky. The natural patina of aged book pages is so much more beautiful,and free!
If you’re new to DIY and want to build your toolkit, check out my guide to essential tools. It includes everything from basic hand tools to a few splurges that have saved me time and frustration over the years.
Where to Find the Best Materials
One of the most fun parts of book page crafts is the treasure hunt for materials. I’ve found some of my favorite pieces in the most unexpected places. Here’s where I look when I’m on the hunt:
Thrift Stores and Dollar Stores (My Favorite Haunts)
I hit up my local thrift stores at least once a month, and I always keep an eye out for old books. The Salvation Army near me has a great selection, and I’ve found everything from vintage encyclopedias to old cookbooks with the most beautiful illustrations.
Dollar stores are another goldmine. I’ve picked up hardcovers for $1 that had pages in perfect condition. The key is to look for books that are damaged or outdated,they’re usually the cheapest and often have the most character.
Pro tip: Ask the staff if they have any books in the back that didn’t make it to the shelves. I’ve scored some amazing finds this way, including a first-edition book that I turned into a shadow box for my husband’s office.
Estate Sales and Library Sales
Estate sales are where I’ve found some of my best materials. I went to one last summer and found a box of old medical textbooks with the most stunning anatomical illustrations. I used them to make a gallery wall in our hallway, and it’s become one of my favorite pieces in the house.
Library sales are another great option. Many libraries sell old books for a few cents each, and you can often find gems like vintage children’s books with beautiful illustrations. I found a 1960s edition of Charlotte’s Web this way and used the pages to make a quilted wall hanging for my daughter’s room.
Your Own Home (Yes, Really!)
Before you go out buying new books to upcycle, take a look around your own home. I have a box in my closet full of books I’ve been meaning to donate for years. Instead of letting them gather dust, I’ve been slowly turning them into decor.
Last winter, I found a stack of my kids’ old chapter books that they’d outgrown. I used the pages to make a stair runner (yes, really!). I laminated the pages, arranged them in a repeating pattern, and glued them to a piece of fabric. It’s held up surprisingly well, and it’s a conversation starter every time we have guests over.
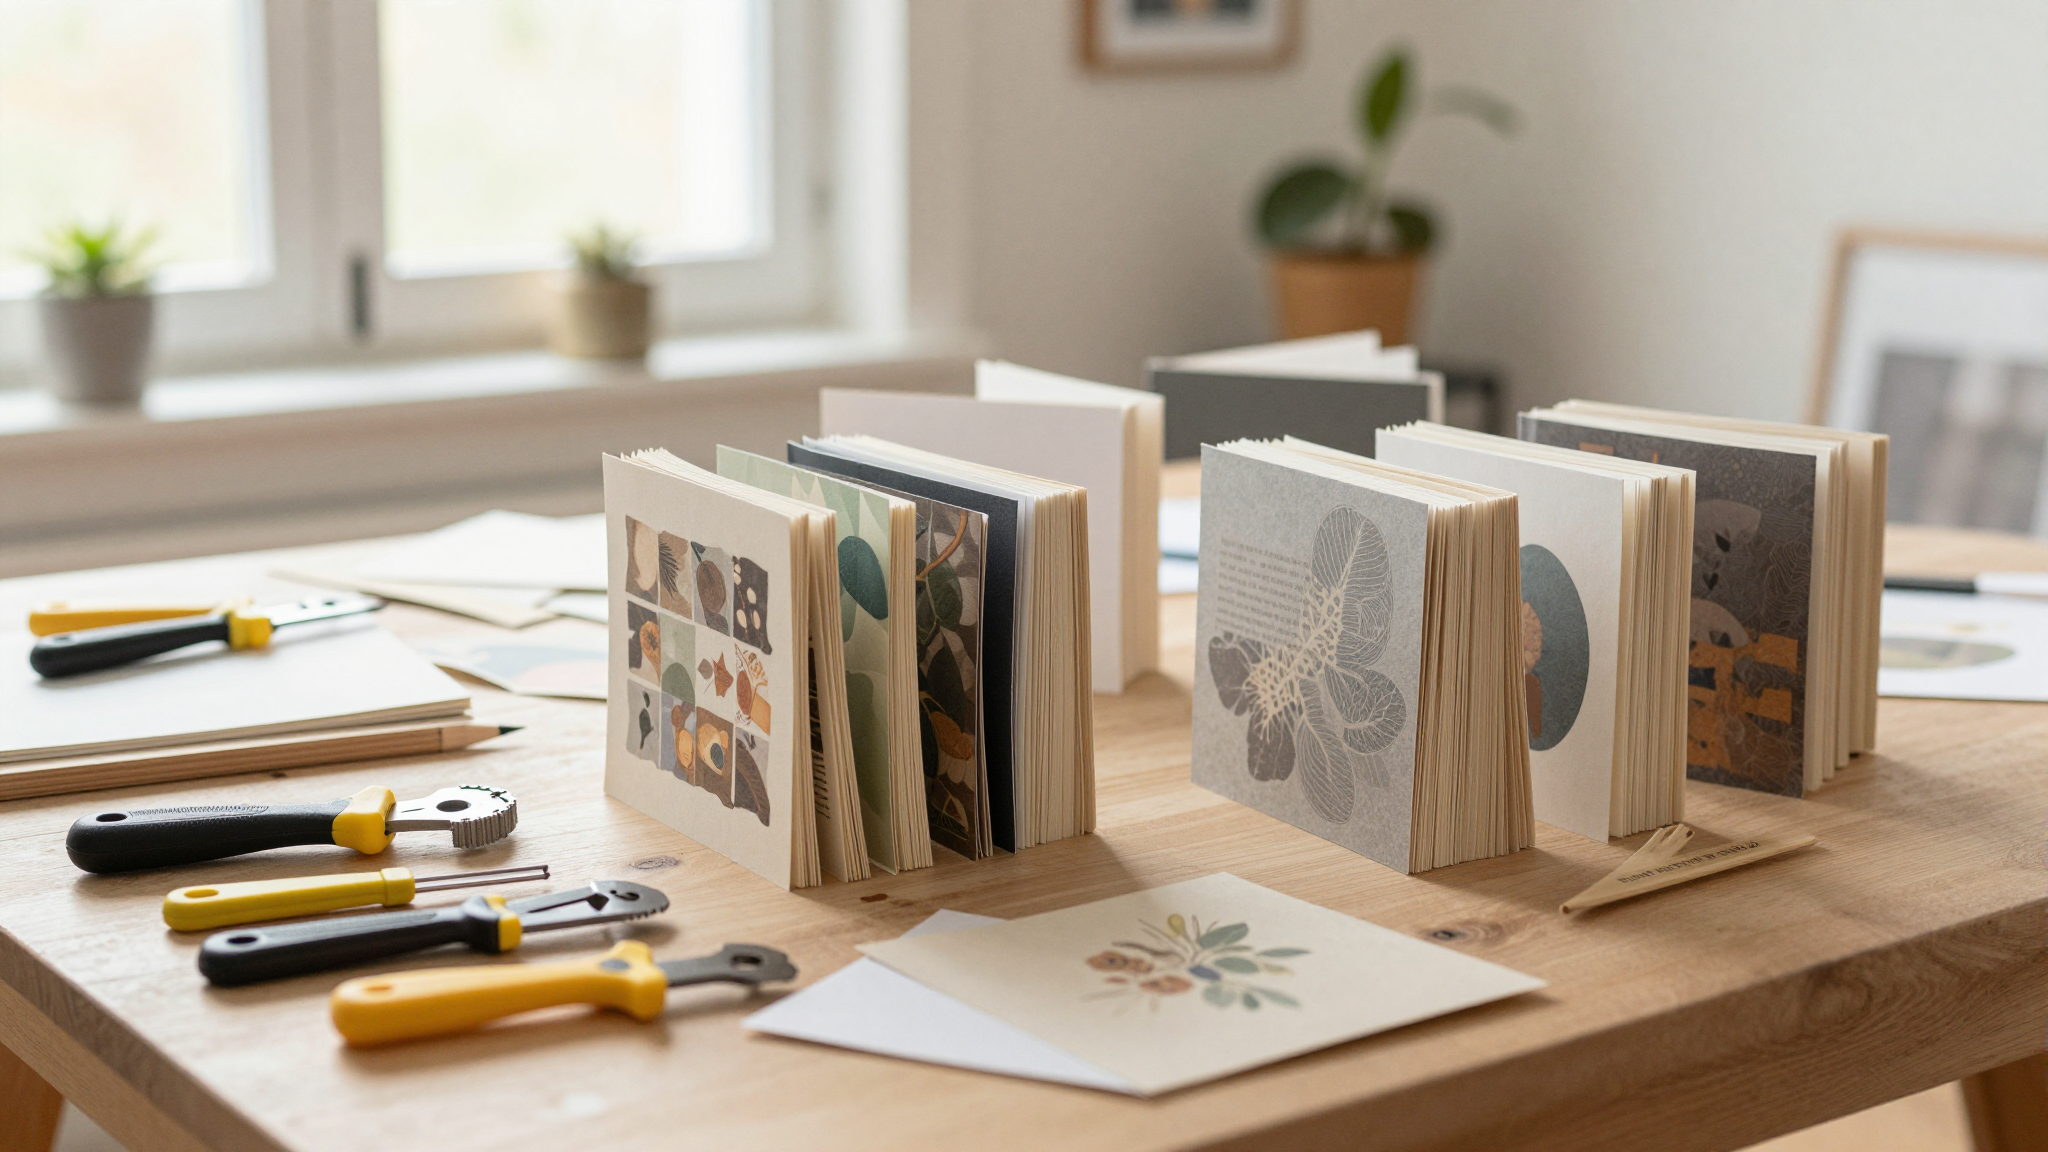
My Favorite Book Page Crafts (With Real-Life Examples)
Now for the fun part,ideas! I’ve tested dozens of book page crafts over the years, and these are the ones that have stood the test of time in my home. I’ll share exactly how I made them, including the mistakes I made along the way.
1. Framed Book Page Art (The Project That Started It All)
This is the project that got me hooked. I made my first framed piece using pages from an old atlas, and it’s still hanging in my living room today.
Here’s how I did it:
- Choose your book. I used an old atlas because I loved the maps and the way the text wrapped around the illustrations. Look for books with interesting layouts, like dictionaries, encyclopedias, or old cookbooks.
- Select your pages. I cut out the most detailed maps and a few pages with interesting text. If you’re not sure what to choose, lay a few pages out on the floor and see how they look together.
- Arrange and glue. I used Mod Podge to attach the pages to a piece of cardstock. I played around with the layout until I was happy with it, then let it dry completely.
- Frame it. I used a thrifted frame that I spray-painted gold. If you don’t want to paint, look for frames with simple, clean lines that won’t distract from the art.
Mistake I made: I didn’t seal the back of the frame, and a few months later, I found dust and pet hair stuck to the back of the glass. Now I always seal the back with a piece of acid-free paper.
If you love this look, you might also enjoy my guide to creating a gallery wall.
2. Book Page Flowers (Great for Gifts or Home Decor)
I made my first book page flowers for my mom’s birthday last year, and she still has them displayed in her sunroom. They’re surprisingly easy to make, and they add a touch of elegance to any space.
Here’s how I do it:
- Cut your petals. I use a flower template (I found one online and printed it out) to trace the shape onto the book pages. You can also freehand it if you’re feeling creative.
- Roll the edges. I use a toothpick to curl the edges of each petal. This gives them a more realistic look. If you don’t have a toothpick, a pencil works in a pinch.
- Layer the petals. Start with the largest petal and glue it to a floral stem. Then add the next largest, and so on, until you have a full flower. I use floral tape to secure everything in place.
- Add leaves (optional). I cut leaves from green pages (like from a botany book) and glue them to the stem. This makes the flowers look even more realistic.
Mistake I made: My first attempt was too flat. I didn’t layer the petals enough, so the flowers looked more like paper cutouts than real blooms. Now I make sure to overlap the petals and add dimension with the stems.
These flowers make beautiful gifts. I’ve given them to friends for birthdays, and I even made a bouquet for my sister’s wedding. They’re lightweight, so they’re great for mailing, and they’ll last forever (unlike real flowers!).
3. Folded Book Art (My Kids’ Favorite Project)
This is the project that got my kids excited about upcycling. We made a folded book heart for our mantel, and it’s become one of their favorite pieces in the house. The best part? It’s super easy to customize, so you can make it fit any space.
Here’s how we did it:
- Choose your book. We used an old hardcover novel because it had a lot of pages. The more pages, the better the final result.
- Find a pattern. I printed out a heart pattern from online (there are tons of free ones available). You can also draw your own if you’re feeling creative.
- Mark the folds. We used a pencil to mark the fold lines on each page. This took the longest, but it’s worth it for a clean final product.
- Fold the pages. We started from the back of the book and worked our way forward. Folding each page takes a few seconds, but it’s oddly satisfying. My kids loved this part!
- Display it. We propped the book open on our mantel. You can also hang it on the wall if you prefer.
Mistake I made: I didn’t test the pattern first, and the heart ended up being too small for our mantel. Now I always make a mock-up with scrap paper before committing to the full project.
If you’re looking for more ways to add character to your home, check out my guide to DIY wainscoting or my fireplace makeover tutorial.
4. Book Page Wreaths (Perfect for Seasonal Decor)
I made my first book page wreath for Thanksgiving last year, and it’s become a family tradition. We hang it on the front door every fall, and it’s always the first thing people notice when they visit.
Here’s how I make them:
- Choose your book. I like to use books with a fall theme, like old cookbooks with recipes for pies and soups. The text adds a nice touch to the wreath.
- Cut your shapes. I use a wreath template (I found one online) to trace the shape onto the book pages. You can also freehand it if you prefer.
- Glue the pieces. I use Mod Podge to attach the pieces to a foam wreath form. I overlap the pieces slightly to give the wreath dimension.
- Add embellishments (optional). I like to add a bow or some faux leaves to give the wreath a little extra pop. You can also add small ornaments or other decorative elements.
Mistake I made: My first wreath was too sparse. I didn’t use enough pieces, so it looked a little bare. Now I make sure to overlap the pieces and add extra layers for a fuller look.
These wreaths are great for gifts too. I made one for my neighbor last Christmas, and she still has it hanging on her door. They’re lightweight, so they’re easy to mail, and they’ll last for years.
Tips for Working with Book Pages (From My Experience)
I’ve learned a lot through trial and error when it comes to book page crafts. Here are some of my best tips to help you avoid the mistakes I made:
1. Handle Old Pages with Care
Old book pages can be brittle, so it’s important to handle them gently. I always work on a clean, flat surface, and I use a soft-bristle brush to remove any dust before I start cutting. If the pages are really fragile, I’ll sometimes place a piece of wax paper underneath to protect them.
Pro tip: If you’re working with a book that has a lot of foxing (those brown spots you see on old pages), you can lightly brush them with a soft toothbrush to remove any loose debris. Just be gentle,you don’t want to tear the paper.
2. Seal Your Projects Properly
One of the biggest mistakes I made early on was not sealing my projects properly. I’d spend hours on a piece, only to have it yellow or warp over time. Now I always seal my projects with Mod Podge or a clear acrylic spray.
If you’re using Mod Podge, apply it in thin, even coats. Let each coat dry completely before adding another. I usually do 2-3 coats for a durable finish. If you’re using spray, work in a well-ventilated area and hold the can about 12 inches away from the project.
3. Mix and Match Textures
Don’t be afraid to mix different types of book pages in your projects. I love combining pages from old novels with pages from dictionaries or cookbooks. The variety adds visual interest and makes your projects more unique.
For example, in my latest gallery wall, I mixed pages from a 19th-century poetry book with pages from an old botany textbook. The contrast between the delicate poetry and the detailed botanical illustrations made the piece really pop.
4. Embrace Imperfections
One of the things I love most about book page crafts is that they don’t have to be perfect. In fact, the imperfections are what give them character. I’ve learned to embrace the tears, the stains, and the uneven edges,they’re all part of the story.
For example, I made a framed piece using pages from an old children’s book that had a few tears in it. Instead of trying to hide them, I incorporated them into the design. Now, when people ask about the piece, I can tell them the story behind the tears and how they add to the charm.
5. Plan Ahead (But Don’t Overthink It!)
Before you start a project, take a few minutes to sketch out a rough plan. This doesn’t have to be anything fancy,just a quick doodle on a piece of paper. It’ll help you visualize the final product and avoid mistakes.
That said, don’t be afraid to let your creativity flow. Some of my best projects have come from happy accidents. For example, I once dropped a stack of book pages, and when I picked them up, I noticed how the different textures looked together. That inspired me to make a layered wall hanging that’s now one of my favorite pieces.
Final Thoughts (And What I’m Working on Next!)
Upcycling old books into home decor has become one of my favorite hobbies. It’s creative, sustainable, and endlessly rewarding. Plus, there’s nothing quite like the feeling of turning something old and forgotten into something beautiful and meaningful.
If you’re just starting out, I recommend beginning with simple projects like framed art or book page flowers. Once you get the hang of it, you can move on to more complex pieces like folded book sculptures or dimensional wreaths.
I’m always looking for new ways to upcycle book pages, and I’ve got a few projects in the works right now. I’m currently working on a book page runner for our stairs (yes, really!) and a set of book page coasters for our coffee table. I’ll be sure to share the results here, so stay tuned!
If you try any of these projects, I’d love to see how they turn out. Snap a photo and tag me on Instagram @christinaprojects,I’d love to feature your work!
Happy crafting!