
How I Turn Leftover Fabric into Stunning Wall Art (With Real Mistakes & Fixes!)
Let me tell you about the time I almost threw out a box of fabric scraps from my last quilting project,until my 10-year-old daughter stopped me. “Mom, can’t we make something cool with these?” she asked. That simple question led to one of my favorite DIY discoveries: turning leftover fabric into beautiful wall art that actually makes our home feel more personal.

I’ve spent years collecting fabric remnants,from old jeans to vintage tablecloths,and I’ve learned that these “scraps” can become the most meaningful decor in your home. The best part? You don’t need to be a sewing expert. I’ll walk you through exactly how I’ve created wall hangings that friends constantly ask about, including the mistakes I made along the way (like that one time I sewed a fringe piece backward,twice!).
This isn’t just about being eco-friendly (though that’s a huge bonus). It’s about creating pieces that tell a story,whether it’s the history of that old floral curtain from your grandma or the bold colors from your last summer dress that’s now too small. These aren’t just decorations; they’re conversations waiting to happen on your walls.
If you’ve ever wondered how to make your space feel more “you” without breaking the bank, stick around. I’ll show you exactly how I’ve transformed ordinary fabric into statement pieces that get compliments every time company comes over.
Why I Fell in Love With Fabric Wall Art (And You Will Too)
Our living room used to feel a little… sterile. The walls were bare except for a few generic prints we’d bought years ago. One weekend, I decided to experiment with some fabric I had lying around from my bedroom makeover project last year. What started as a simple experiment turned into an obsession.
The first piece I made was a bohemian-style fringe hanging using old scarves and some leftover cotton from a pillow project. I hung it above our sofa, and immediately, the whole room felt warmer. My husband actually noticed,he never notices decor changes!,and said it made the space feel more “lived in.” That’s when I knew I was onto something.
Here’s what I love most about fabric wall art:
- It’s personal: Every piece has a story. That blue striped fabric? It’s from the dress I wore to my college graduation. The denim? Cut from my husband’s old jeans he was going to throw out.
- It’s flexible: Need a quick refresh for the holidays? Swap out your wall hangings. Tired of a color scheme? Change it up. Unlike paint or permanent decor, fabric lets you evolve your space.
- It adds texture: Our home has a lot of wood and metal (thanks to my husband’s love of industrial-style furniture). The fabric softens all those hard edges and makes the space feel cozier.
- It’s budget-friendly: I’ve spent as little as $5 on materials for a wall hanging, using things I already had. The most expensive piece I’ve made was $40, and it looks like something from a boutique.
I’ve made wall hangings for every room in our house,even our tiny hallway. The key is finding the right scale for your space. In our living room, I went big with a 48-inch-wide piece, but in the bathroom, a small 12-inch hanging works perfectly above the towel rack.
My Biggest Fabric Wall Art Mistakes (And How to Avoid Them)
Let me save you some headaches. Here are the biggest mistakes I made,and how I fixed them:
- Choosing the wrong fabric weight: My first attempt used sheer curtain fabric that just looked sad on the wall. Now I stick with medium to heavyweight fabrics like cotton canvas, linen, or even upholstery-weight fabrics for a more substantial look.
- Skipping the backing: I thought I could get away with just the pretty fabric, but it frayed and looked messy within a week. Now I always add a backing of muslin or even an old bedsheet to keep everything neat.
- Ignoring the dowel size: I used a flimsy wooden dowel for my first big piece, and it bent when I tried to hang it. Now I use ½-inch dowels for pieces up to 36 inches wide, and ¾-inch dowels for anything larger.
- Not pre-washing fabrics: I learned this the hard way when one of my hangings shrank after I washed the curtains it was made from. Always pre-wash your fabric to prevent shrinking or bleeding.
Pro tip: If you’re new to this, start with a small project. I made a 12-inch square hanging first, and it gave me the confidence to try bigger pieces. You can find all the tools you need in my essential tools guide,including my favorite fabric scissors that actually cut through multiple layers without fraying.
How to Make Fabric Wall Art: My Step-by-Step Process
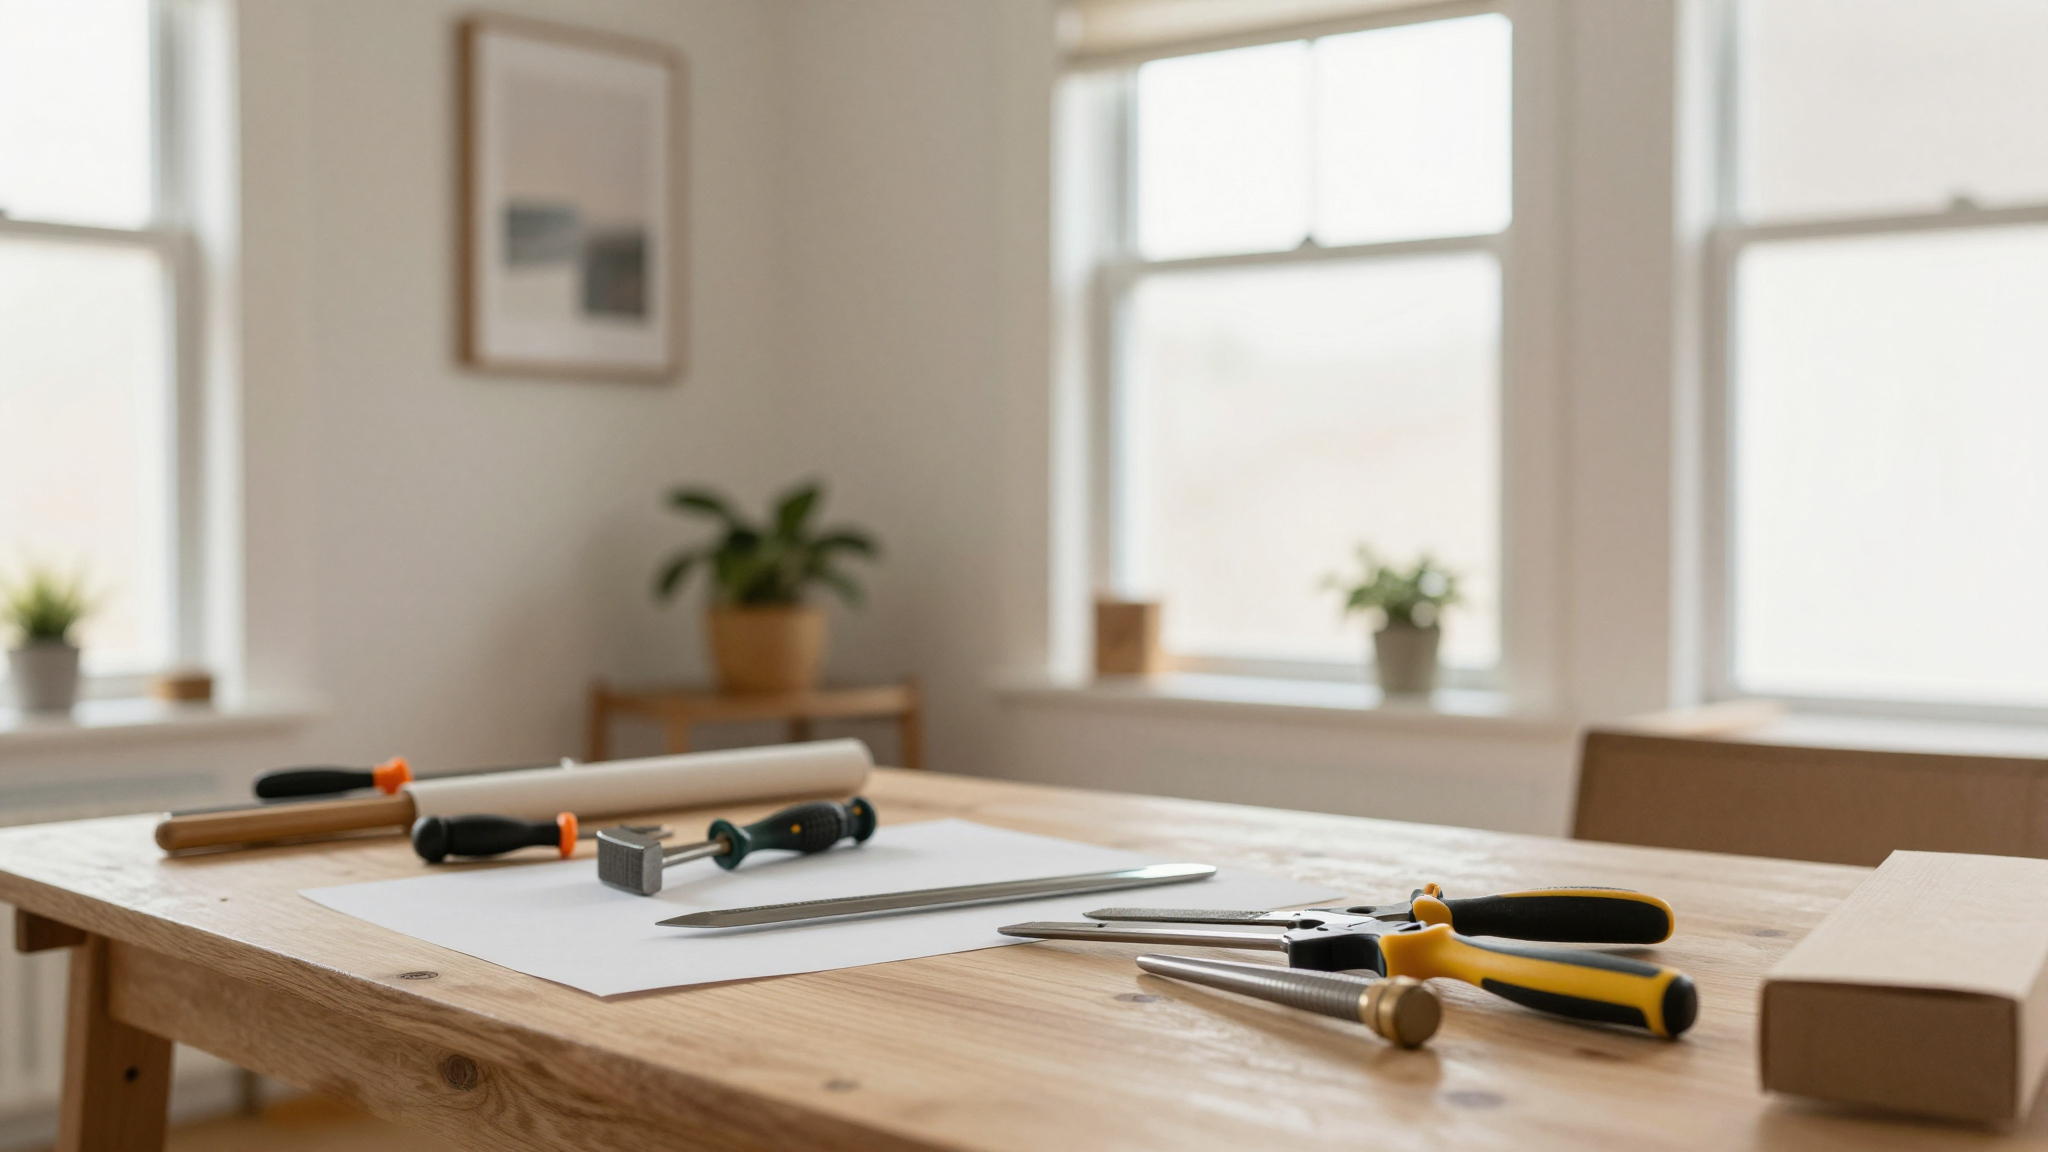
Here’s exactly how I create my wall hangings, from cutting fabric to hanging the finished piece. I’ll even share the exact supplies I use,no vague “you’ll need some tools” here!
What You’ll Need
- Fabric scraps (I use old clothes, tablecloths, bedsheets, or fabric store remnants)
- Muslin or old bedsheet for backing (I save these from thrift store finds)
- Wooden dowel (size depends on your piece,see my tips above)
- Strong thread (I use Gutermann all-purpose polyester thread)
- Sewing machine or needle (I have both, but my hand-sewing is… questionable)
- Fabric glue (like Franklin Tacky Glue, my go-to for quick fixes)
- Scissors (I swear by Fiskars scissors,they’re worth the investment)
- Measuring tape
- Pencil or fabric marker
- Ruler or straight edge
- Iron (for pressing seams,this makes a huge difference!)
Step 1: Choose Your Fabric and Design
This is where the fun begins! I like to lay out all my fabric scraps and play with different combinations. For my first piece, I used:
- 3 different floral fabrics from old curtains
- 1 solid blue fabric from a dress I outgrew
- Some denim from my husband’s jeans
I arranged them on the floor until I found a combination I loved. If you’re not sure where to start, try these ideas:
- Ombré effect: Arrange fabrics from light to dark for a gradient look
- Geometric: Cut fabrics into triangles or squares for a modern vibe
- Fringe: Leave long strips at the bottom for a boho feel (this was my first successful project!)
- Patchwork: Mix different patterns for an eclectic look
I like to sketch my design first on paper. It helps me visualize how everything will come together. For my first piece, I drew a simple rectangle divided into 4 sections,one for each fabric I wanted to use.
Step 2: Cut Your Fabric
This is where precision matters. I use my measuring tape to mark exactly where I need to cut, then I lay the fabric flat and use my ruler as a guide. For my first piece, I cut:
- 2 pieces of floral fabric at 12″ x 24″
- 1 piece of blue fabric at 12″ x 24″
- 1 piece of denim at 12″ x 24″
Pro tip: If you’re using fabric with a pattern, make sure the design flows correctly when you arrange the pieces. I once made a piece where the flowers on one section were upside down compared to the others,it looked like a kindergarten art project!
Step 3: Sew Your Pieces Together
This is where I usually mess up, so let me give you my exact process:
- Lay your first two fabric pieces right sides together (the pretty sides facing in). Pin them together along the long edge.
- Sew with a ½-inch seam allowance. I use a straight stitch on my sewing machine, but you can hand-sew if you prefer.
- Press the seam open with your iron. This makes your piece lay flat and look professional.
- Repeat with the remaining pieces, adding one at a time.
- When you’ve sewn all your pieces together, press the entire piece again to make sure it’s flat.
If you don’t have a sewing machine, you can use fabric glue to attach the pieces. I’ve done this with upcycled furniture projects before, and it works well for wall hangings too. Just make sure to use a strong glue and press the pieces together firmly.
Step 4: Add the Backing
This step is crucial for making your hanging look polished. I use an old bedsheet or muslin for the backing. Cut it to the same size as your front piece.
Lay your front piece and backing piece right sides together (pretty sides in). Pin around all four edges, then sew with a ½-inch seam allowance, leaving a 6-inch gap on one side.
Turn the piece right side out through the gap, then press it flat with your iron. Use a chopstick or pencil to poke out the corners for a crisp look. Finally, hand-sew the gap closed.
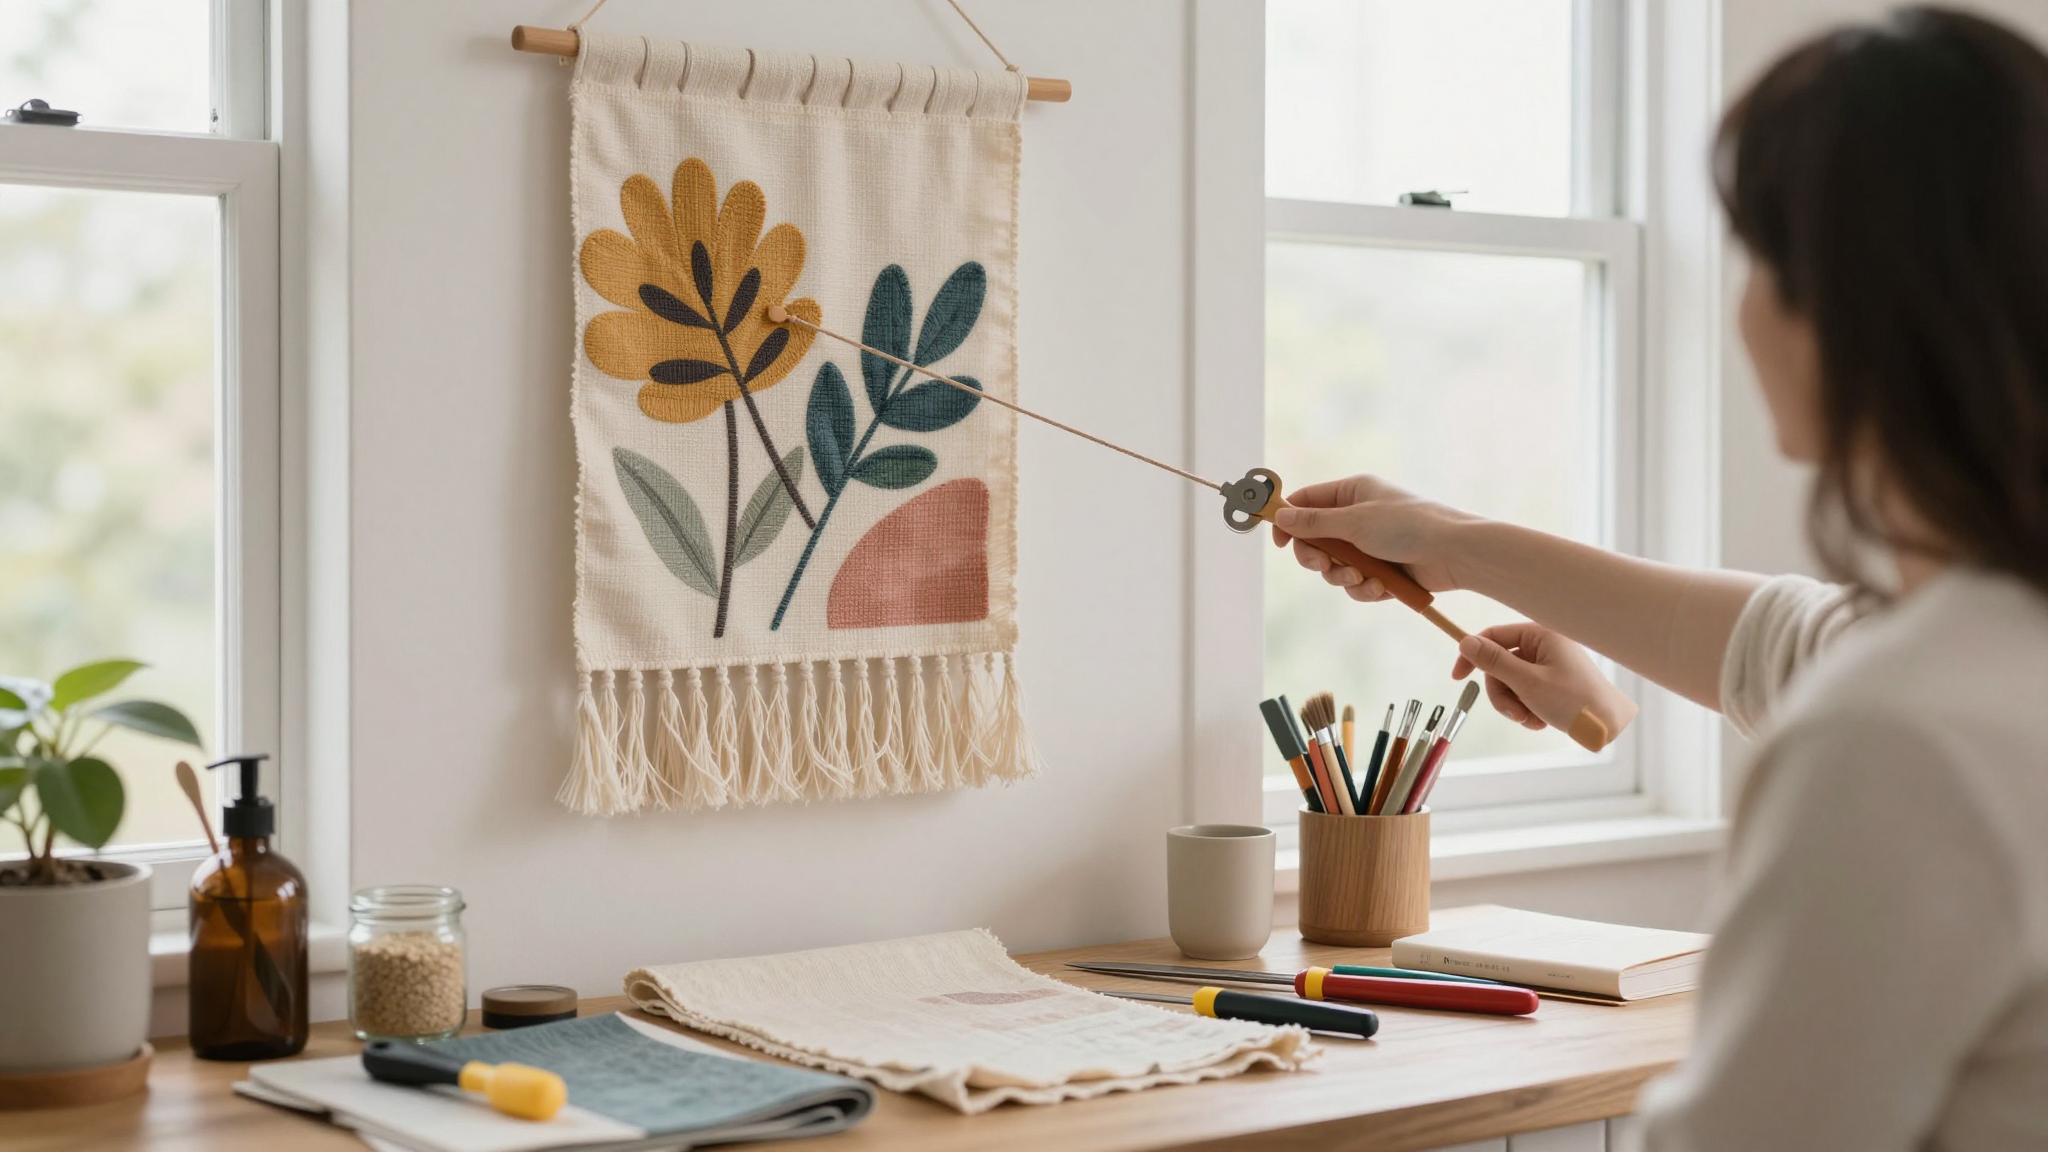
Step 5: Add the Dowel and Hanging Hardware
This is where I used to struggle, but now I have a system:
- Fold the top edge of your hanging over by 1 inch and press with your iron.
- Fold it over again by another inch to create a casing for the dowel.
- Sew along the folded edge to secure the casing.
- Insert your dowel through the casing. If it’s too loose, add a few stitches inside the casing to tighten it up.
- Attach hanging hardware to the dowel. I like to use these decorative metal rings that match my hardware style.
For a no-sew option, you can use fabric glue to create the casing, but I find sewing holds up better over time.
Step 6: Hang and Enjoy!
Now for the fun part,hanging your creation! I like to use these small picture hooks for lightweight pieces, or a drywall anchor for heavier hangings.
My favorite spot to hang a wall piece is above a piece of furniture, like our sofa or bed. The rule of thumb is to hang the center of the piece at eye level (about 57-60 inches from the floor). For a gallery wall, I like to mix fabric hangings with other art for texture.
Here’s my current favorite setup in our living room:
- 1 large fabric hanging (48″ wide) above the sofa
- 2 smaller hangings (24″ wide) on either side, at slightly different heights for visual interest
- A floating shelf below with a few small plants and books
I took before and after photos,our living room went from “basic” to “wow” with just these changes. You can see the transformation in my 5 DIY projects to instantly add charm post.
Where to Find Fabric for Your Projects
You don’t need to buy new fabric to make these,here’s where I source mine:
1. Your Own Clothes and Linens
This is where I get most of my fabric! I keep a bin in my closet for clothes I’ve outgrown or that are worn out but still have good fabric. Some of my favorite sources:
- Old jeans (great for denim accents or whole pieces)
- Dresses that no longer fit (I made a beautiful hanging from my wedding dress fabric)
- Bed sheets and pillowcases (great for solid colors or subtle patterns)
- Tablecloths and napkins (often have beautiful patterns)
- Curtains (I got the floral fabric for my first piece from old bedroom curtains)
Pro tip: If you have clothes with stains, cut out the stained areas before using the rest of the fabric. I’ve made several pieces using “good” sections from otherwise ruined clothes.
2. Thrift Stores and Charity Shops
This is where I find the best deals! I look for:
- Old tablecloths and bedsheets (often $1-$3)
- Vintage dresses and skirts (great for unique patterns)
- Men’s dress shirts (the fabric is usually high quality)
- Curtains (check the home goods section)
I once found a beautiful vintage quilt at a thrift store for $5. I took it apart and used the fabric to make three different wall hangings. The best part? Each piece has a little history,you can almost feel the stories in the fabric.
3. Fabric Stores
If you need specific colors or don’t have enough scraps, fabric stores are great. Here’s how I shop smart:
- Look for “remnant” bins where they sell leftover fabric by the pound
- Check the “clearance” section for discounted fabrics
- Buy fat quarters (18″ x 22″ pieces) if you’re just starting out
- Ask if they have “ugly” fabric (often discounted but perfectly usable)
My local fabric store, Joann Fabrics, has a “by the pound” section where I’ve found beautiful fabrics for as little as $3 per pound. I usually buy 1-2 pounds to have on hand for future projects.
4. Online Marketplaces
If you’re looking for something specific, online marketplaces can be great. Here’s where I shop:
- Etsy: I’ve found beautiful vintage fabric and even pre-made wall hangings
- Amazon: They have fabric by the yard at good prices
- Fabric.com: Great for modern prints and solid colors
I once bought a whole bolt of beautiful floral fabric on Etsy for $25. It was from a vintage tablecloth, and I made two wall hangings and some throw pillows with it. The seller even included a little history about the fabric!
Creative Fabric Wall Art Ideas to Try at Home
Now that you know the basics, here are some specific ideas to try in your own home. I’ve included photos of each in my gallery wall guide,check it out for visual inspiration!
1. Boho Fringe Hanging
This was my first successful project, and it’s still one of my favorites. Here’s how I made it:
- Cut 5-6 strips of fabric, each about 2″ wide and 36″ long
- Sew the strips together along one short end to create a fringe effect
- Attach the top to a dowel as described above
- For extra texture, add some yarn or tassels between the fabric strips
I hung this in our bedroom above the headboard. It adds so much texture and movement to the space. The fringe catches the light beautifully in the morning.
2. Geometric Patchwork
This look is great for modern spaces. Here’s my approach:
- Cut fabric into squares, triangles, or other geometric shapes
- Arrange them in a pattern on a backing fabric
- Sew or glue the pieces in place
- Add a simple frame if you want a more polished look
I made a geometric piece for our home office using leftover fabric from a farmhouse coffee table project. The bright colors keep the space feeling energetic.
3. Textured Weave
For a more rustic look, try a woven effect:
- Cut long strips of fabric (about 1″ wide and 24″ long)
- Weave them together like a basket or macramé piece
- Attach the top to a dowel
- Add beads or other embellishments if you like
I made a woven piece for our entryway using some old wool sweaters. It adds warmth to the space and gives it a cozy, cabin-like feel.
4. Tapestry-Style Hanging
If you want something that looks like it belongs in a museum:
- Stretch fabric over a wooden frame or embroidery hoop
- Use a needle and thread to create stitches that mimic traditional tapestries
- Add embroidery or paint for extra detail
- Hang with a simple dowel at the top
I made a tapestry-style piece for our dining room using some linen fabric I found at a thrift store. It adds a touch of elegance to the space without being too formal.
5. Memory Quilt Wall Hanging
This is my favorite type of project because it’s so personal. Here’s how to make one:
- Collect fabric from meaningful items (old clothes, baby blankets, etc.)
- Cut the fabric into squares or other shapes
- Arrange them in a pattern that tells a story
- Sew or glue the pieces together
- Add labels or dates to tell the story of each fabric piece
I made a memory quilt hanging for our family room using fabric from:
- My daughter’s first baby blanket
- My wedding dress
- My husband’s college sweatshirt
- A quilt my grandma made
Every time we look at it, we’re reminded of these special moments. It’s become one of our favorite pieces in the house.
How to Style Fabric Wall Art in Your Home
Now that you’ve made your beautiful wall hanging, here’s how to style it like a pro. I’ll share exactly how I’ve arranged pieces in different rooms of our house.
In the Living Room
Our living room is where I’ve experimented the most with fabric wall art. Here’s what works:
- Above the sofa: I hung a large 48″ wide piece here. It’s the first thing you see when you walk in, and it makes the space feel warm and inviting.
- On either side: I added two smaller pieces (24″ wide) at slightly different heights. This creates visual interest without being too matchy.
- Gallery wall: I mixed fabric hangings with some framed prints and a small shelf. The texture from the fabric makes the whole wall feel more dynamic.
Pro tip: If you’re hanging above furniture, make sure the bottom of your hanging is at least 4-6 inches below the top of the furniture. This gives the piece room to breathe.
In the Bedroom
Bedrooms are perfect for fabric wall art because they’re so personal. Here’s how I’ve styled ours:
- Above the bed: I hung a soft, flowing piece here. The gentle movement of the fabric makes the space feel calming.
- On the wall opposite the bed: I created a small gallery wall with two fabric hangings and a mirror. The mirror reflects light and makes the room feel bigger.
- In the reading nook: I hung a small woven piece above my favorite chair. It adds texture to the cozy space.
I chose softer colors and patterns for the bedroom. The goal is to create a relaxing atmosphere, so I avoided anything too bold or busy.
In the Hallway
Even narrow hallways can benefit from fabric wall art! Here’s what I did in ours:
- Vertical hanging: I hung a long, narrow piece vertically. It draws the eye up and makes the hallway feel taller.
- Above a console table: I added a small fabric hanging above our entry table. It’s the first thing guests see when they walk in.
For hallways, I like to use lighter colors that reflect light. This helps brighten up the space. I also choose pieces with interesting textures that catch the eye as you walk by.
In the Home Office
Our home office is where I’ve gotten the most creative with fabric wall art. Here’s how I’ve styled it:
- Behind the desk: I hung a large geometric piece here. It adds visual interest and makes the space feel more professional.
- On the side wall: I created a small gallery wall with three fabric hangings. They add color and texture to an otherwise plain wall.
For the office, I chose bold colors and patterns that inspire creativity. The fabric pieces break up the monotony of bookshelves and make the space feel more dynamic.
Fabric Wall Art: Answers to Your Questions
How do I hang these pieces without damaging my walls?
This is one of the first questions I get, and I totally understand the concern! Here’s what I do:
- For lightweight pieces, I use these adhesive hooks. They hold up to 10 pounds and come off without damaging the wall.
- For heavier pieces, I use small nails or picture hooks. I always check with my husband first to make sure we’re not hitting any wires or pipes!
- If I’m renting, I use these damage-free hooks. They grip the wall without leaving holes when you remove them.
Pro tip: Always hang your piece first without the hardware to make sure it’s level. I use a level app on my phone,it’s a game changer!
Can I customize the size or color of a piece?
Absolutely! One of the best things about fabric wall art is how customizable it is. Here’s how I approach customization:
- Size: Measure your wall space first. I like to leave at least 2-3 inches of space on either side of the hanging. For a single piece above a sofa, I usually go with something 2/3 the width of the furniture.
- Color: Think about the colors already in your room. I like to pull out one or two dominant colors and use those as my main fabric colors. Then I add 1-2 accent colors for interest.
- Pattern: If you’re using patterned fabric, make sure the scale works with your space. Large patterns work best in big rooms, while small patterns can make a cozy space feel even more intimate.
I once made a custom piece for our guest room using fabric from the bedding. It tied the whole room together beautifully. The key is to think about how all the elements in your space work together.
Are these textiles easy to clean?
This is another common concern, and I have good news! Fabric wall art is actually easier to clean than you might think. Here’s my approach:
- Dust: I use a soft brush attachment on my vacuum to gently remove dust. This works great for most fabrics.
- Stains: For stains, I spot clean with a damp cloth and a little mild soap. I always test a small area first to make sure the color won’t bleed.
- Deep cleaning: If a piece needs a deeper clean, I take it down and lay it flat in the bathtub. I use a gentle cycle with cold water and a small amount of detergent. Then I hang it to dry.
Pro tip: If you’re using fabric that might bleed (like new cotton), I recommend pre-washing it before you make your hanging. This prevents any unexpected color transfer.
What makes repurposed material art a good choice?
This is my favorite question to answer because I’m so passionate about the benefits! Here’s why I love repurposed fabric art:
- It’s sustainable: By using materials I already have, I’m keeping them out of the landfill. It’s one of the easiest ways to reduce waste in your home.
- It’s personal: Every piece has a story. That blue fabric? It’s from the dress I wore to my college graduation. That denim? It’s from my husband’s favorite jeans that finally wore out.
- It’s budget-friendly: I’ve spent as little as $5 on materials for a wall hanging. The most expensive piece I’ve made was $40, and it looks like something from a boutique.
- It’s unique: You’ll never find another piece exactly like yours because it’s made from your own materials and memories.
I also love that fabric wall art gives new life to items that might otherwise be discarded. It’s a great way to practice upcycling in your home decor.
How do I choose the right piece for my room?
This is where I spend the most time planning. Here’s my process:
- Measure your space: First, I measure the wall area where I want to hang something. This helps me determine the right size for my piece.
- Consider your color palette: I look at the colors already in my room and think about what would complement them. I usually pick 2-3 main colors and 1 accent color.
- Think about the mood: What do I want this space to feel like? Calm and relaxing? Energetic and inspiring? The fabric I choose should support that mood.
- Match the style: I consider the overall style of my room. Is it modern and minimalist? Cozy and rustic? The fabric I choose should fit with that aesthetic.
For example, in our living room, I wanted to create a warm, inviting space. So I chose fabrics in earthy tones with some texture. In our home office, I went for bold colors and patterns to inspire creativity.
Do you offer international shipping?
While I don’t sell my pieces (yet!), I do share all my tips and tutorials so you can make your own. If you’re looking to buy pre-made fabric wall art, many Etsy shops offer international shipping. Just check each seller’s shop policies.
If you’re making your own, shipping isn’t an issue,you’re creating right at home! But if you ever want to sell your creations, platforms like Etsy make it easy to reach customers worldwide.
Final Thoughts (and a Challenge for You!)
I hope this guide has inspired you to see the potential in those fabric scraps you’ve been saving. What started as a way to reduce waste in our home has become one of my favorite ways to express our family’s story through decor.
Here’s my challenge to you: Grab that bin of fabric scraps you’ve been meaning to sort through, and pick just one piece to start with. Don’t overthink it,just begin. You might be surprised at what you can create with a little experimentation.
If you make something, I’d love to see it! Tag me on Instagram at @christinaprojects or share in our DIY community. I’m always inspired by what others create.
And if you’re feeling overwhelmed by all the possibilities, start small. My first piece was just a simple fringe hanging made from old scarves. It didn’t have to be perfect,it just had to be mine.
Now, go create something beautiful with those fabric scraps. Your walls (and your wallet) will thank you!