
Modern Farmhouse Wall Decor You Can Make Yourself
There’s something magical about walking into a room where the walls tell a story. Not the kind of story that comes from expensive gallery art, but the kind that whispers of hand-me-down treasures, weekend projects, and the quiet satisfaction of creating something beautiful from what others might call junk. That’s the magic of modern farmhouse wall decor,the way it blends old-world charm with fresh, hands-on creativity to make your space feel like home.
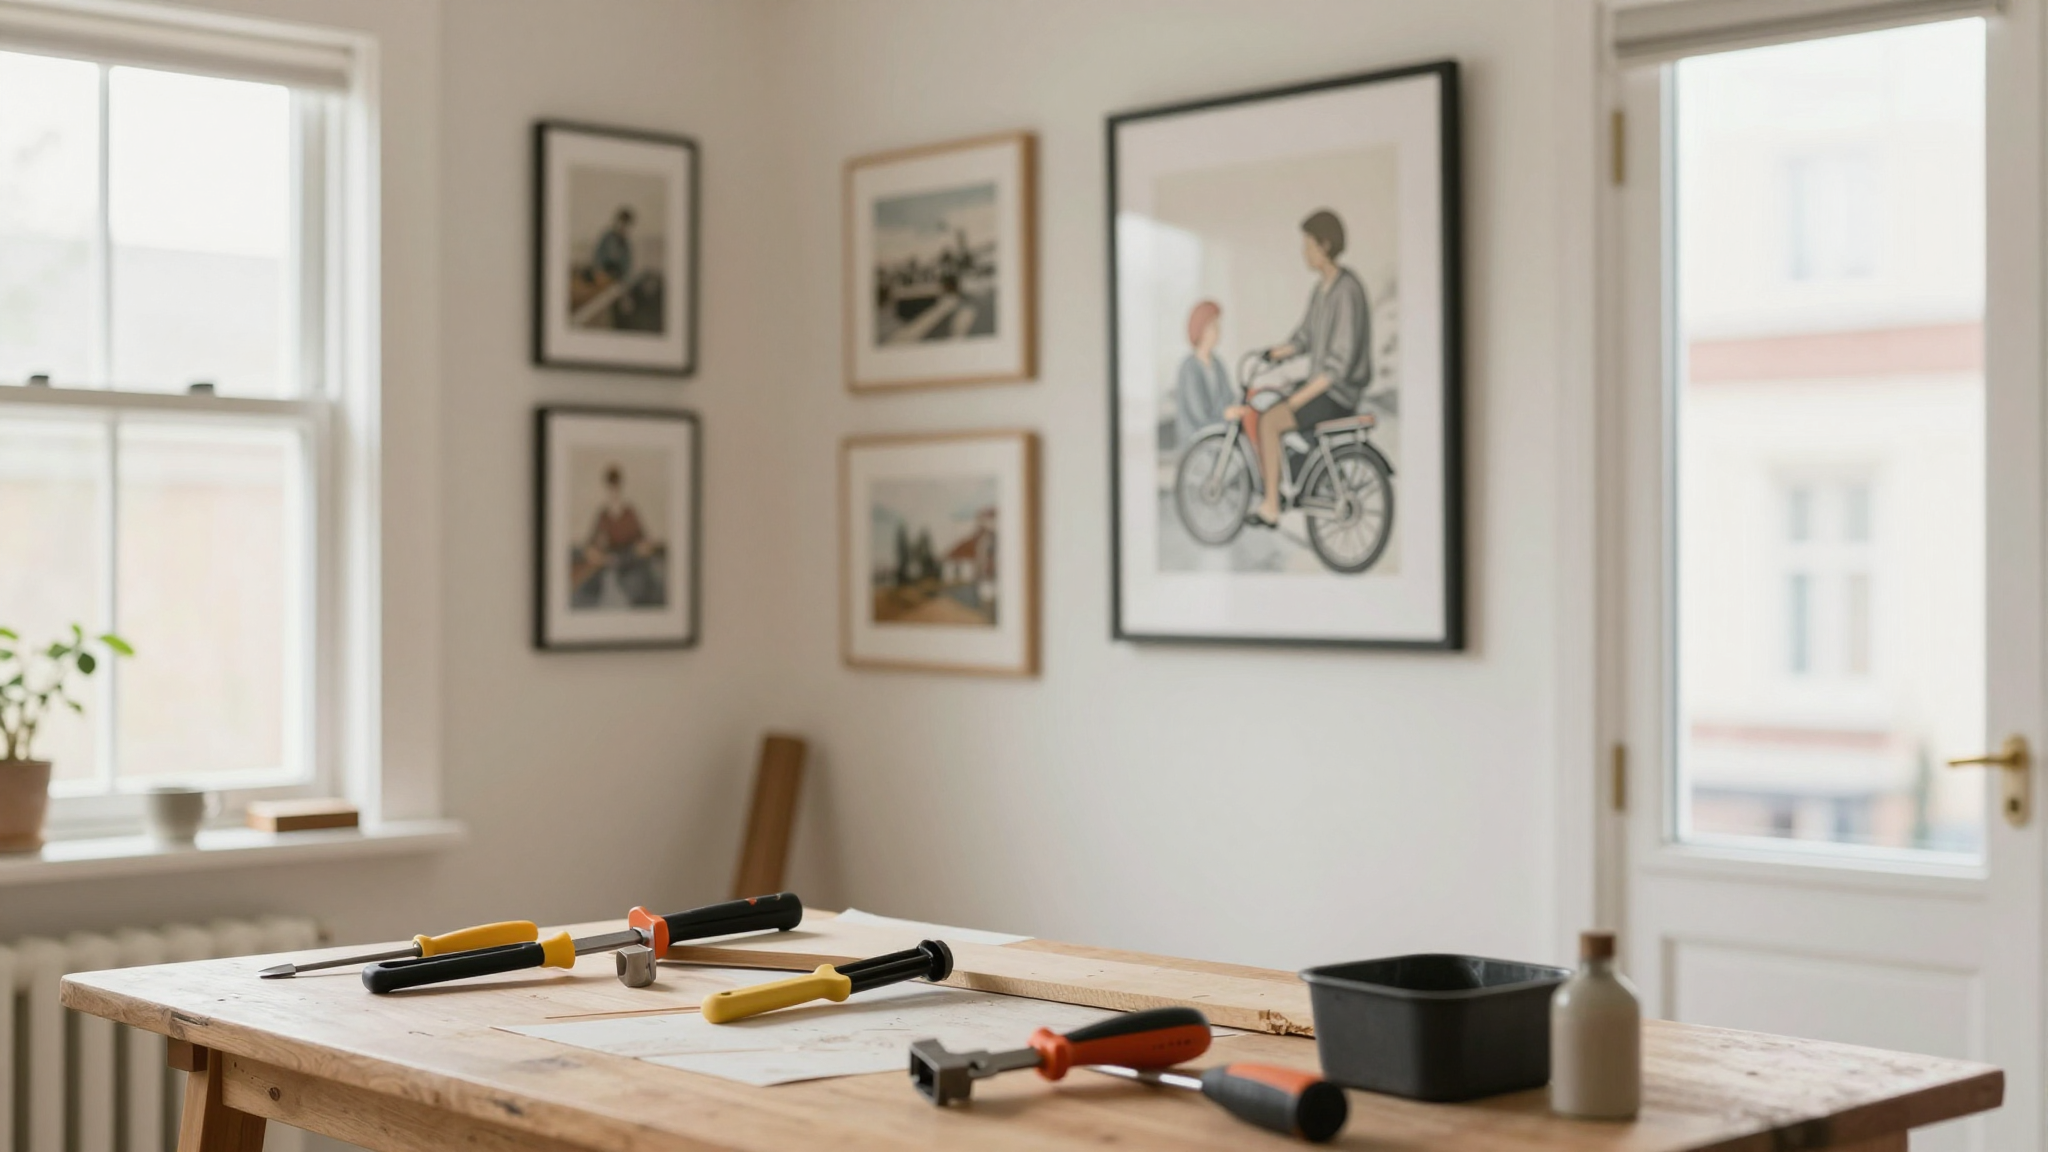
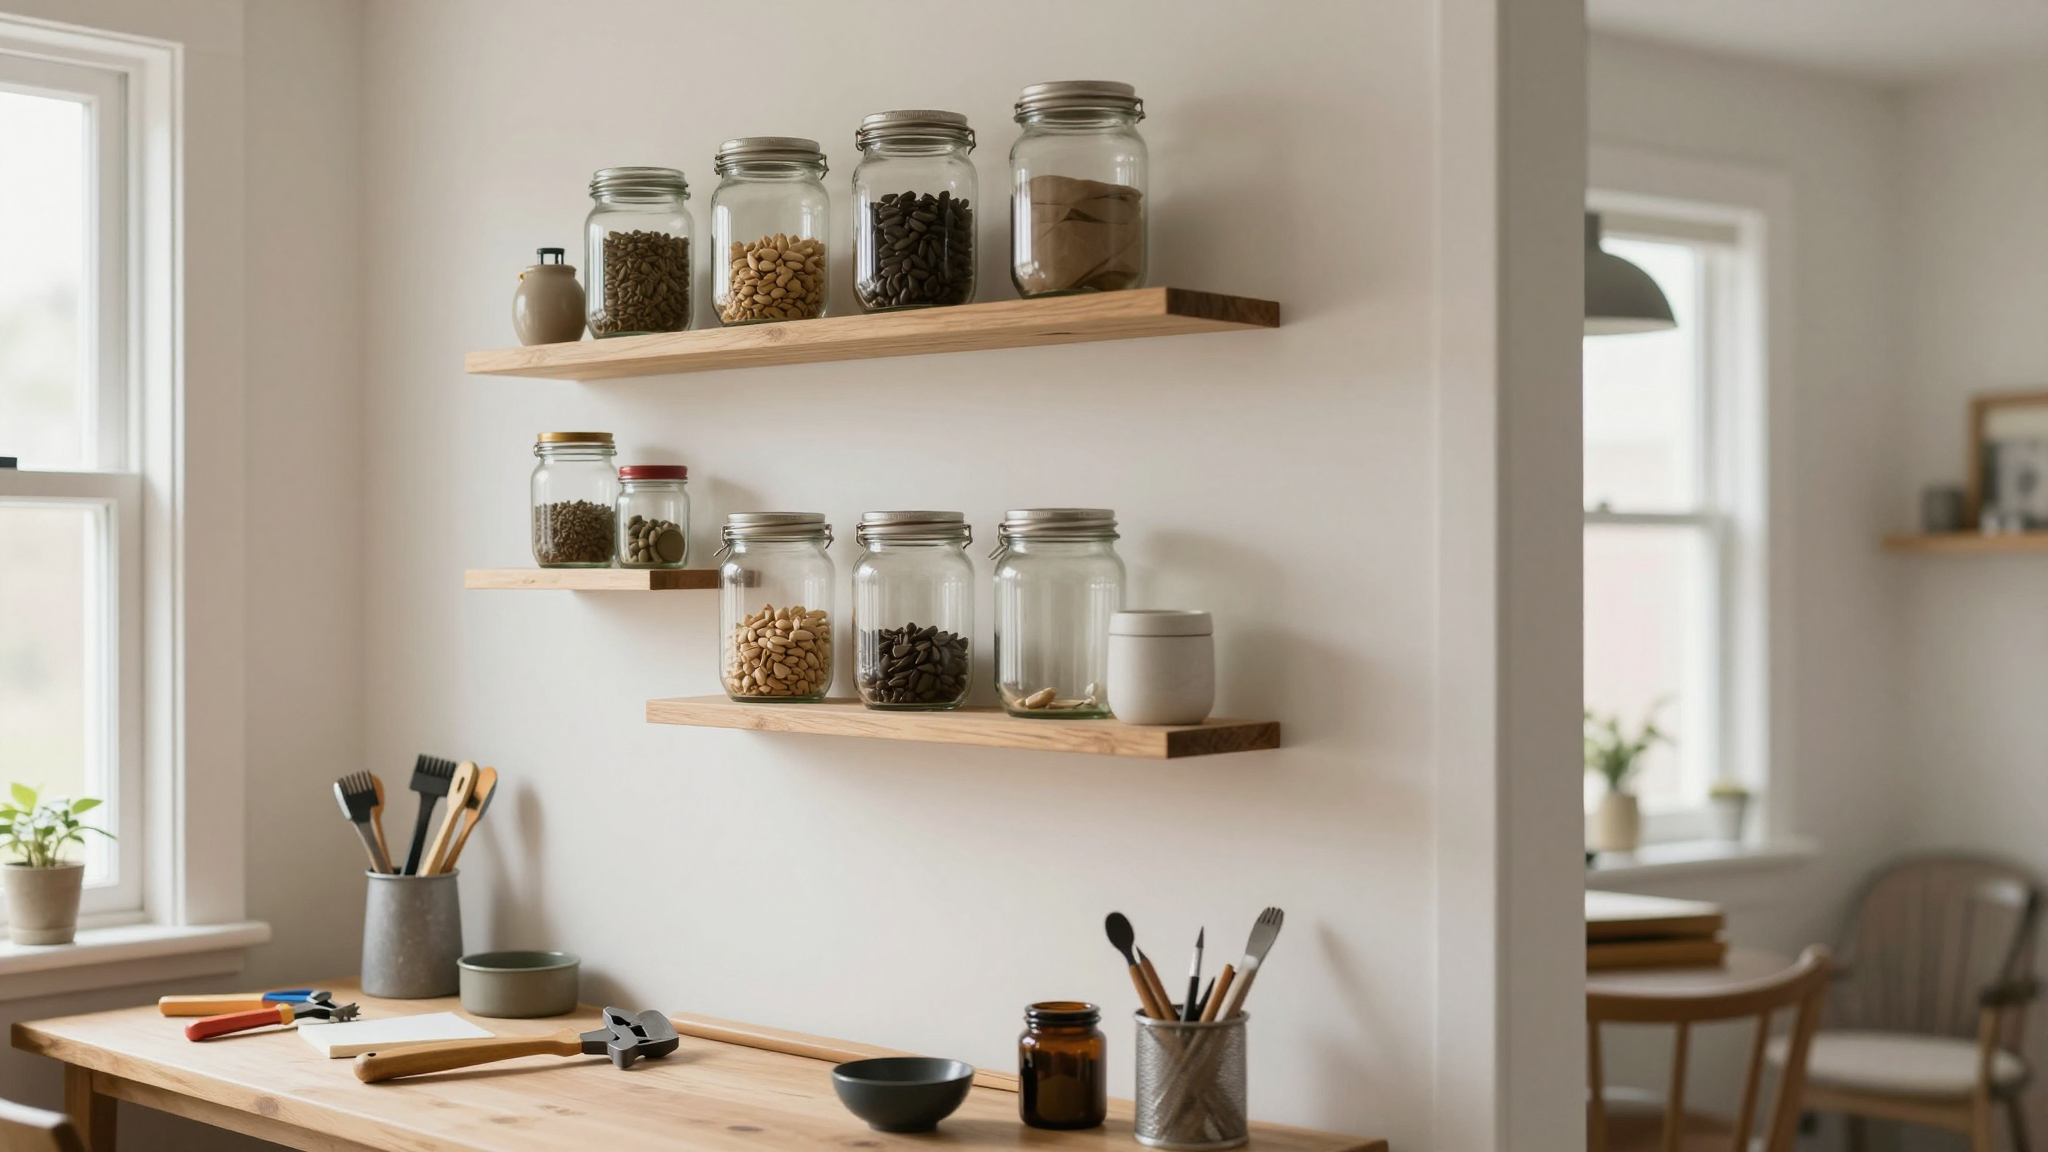
I’ll never forget the first time I transformed a blank wall in our kitchen. My husband thought I was crazy when I brought home a bunch of reclaimed wood planks and a box of mason jars from the salvage yard. “What are you going to do with all this?” he asked, eyeing the pile skeptically. Three hours later, when I hung those jars filled with dried lavender and herbs, and mounted the wood shelves with black metal brackets, even he had to admit it looked like something out of a magazine. The best part? It cost less than $50 and took me less than a weekend.
This style isn’t about perfection,it’s about personality. Think reclaimed wood frames with visible grain, weathered metal accents that show their age, or repurposed items that carry a story. The beauty of DIY projects is that they keep costs low while letting you control the final look. No more staring at blank walls wondering what’s missing. Instead, you create focal points that feel personal, intentional, and uniquely yours.
Many of these ideas draw inspiration from the timeless appeal of creative gallery walls, but with a rustic twist. Whether you’re arranging family photos in thrifted frames or crafting signs from old barn wood, the key is balancing authenticity with your own style. And trust me, you don’t need to be a skilled craftsman to pull this off. With a few basic tools and a little imagination, anyone can create eye-catching wall art that feels effortlessly chic.
Discover the Charm of Modern Farmhouse Wall Decor
The magic of modern rustic style lies in its ability to feel both fresh and timeless,a perfect harmony of clean lines and timeworn textures. It’s the kind of look that makes you want to slow down, pour a cup of coffee, and enjoy the little details. I first fell in love with this aesthetic when I visited my friend Sarah’s farmhouse in upstate New York. Her walls were covered in a mix of reclaimed wood shelves, iron candle holders, and clusters of mason jars filled with dried flowers. It wasn’t perfect, but it was perfectly her.
Curated sets of matching pieces,like iron candle holders or clustered glass jars,turn blank walls into storytelling features. These groupings add rhythm to your space without feeling overly staged. For example, a trio of repurposed mason jars filled with dried lavender brings organic charm to kitchens or entryways. I still remember the first time I tried this in our mudroom. I filled three jars with lavender from my garden, tied them with twine, and hung them on simple hooks. It was such a small change, but it made the whole space feel cozier.
Natural materials play starring roles here. Reclaimed wood shelves with black metal brackets offer rugged elegance, while galvanized trays add industrial flair. The key is mixing these elements so each piece can shine without competing. I made this mistake early on when I tried to match everything too perfectly. The result was stiff and uninviting. Now, I embrace the imperfections,the uneven edges, the varying finishes, the way one piece might be slightly darker than another. It’s these little quirks that give the space character.
| Item | Materials | Average Price | Customization |
|---|---|---|---|
| Wall Sconces | Iron + Wood | $25–$40 | Paint finishes |
| Candle Holders | Recycled Glass | $12–$30 | Arrangement styles |
| Jar Clusters | Mason Jars + Twine | $8–$15 | Fillers (herbs, flowers) |
What makes this approach so accessible? The surprisingly affordable supplies. I’ve found that local craft stores often sell reclaimed boards for under $10, and thrifted metal accents cost less than a latte. With minimal tools,just a drill, some sandpaper, and a bit of paint,you can craft high-impact displays that rival boutique prices. I still remember the first time I turned a $5 thrift store find into a statement piece. It was an old iron gate that I repurposed into a wall-mounted shelf. The best part? My husband thought I’d spent a fortune on it.
Focus on balancing proportions. Pair chunky wood frames with delicate iron hooks, or hang a large woven basket beside petite candle trays. This interplay of scales keeps the eye moving while maintaining cozy cohesion. I learned this the hard way when I tried to hang a massive reclaimed wood sign above our fireplace. It overwhelmed the space, so I swapped it out for a smaller version and added a few smaller pieces around it. The result was so much better.
DIY Techniques for Creating Rustic Farmhouse Accents
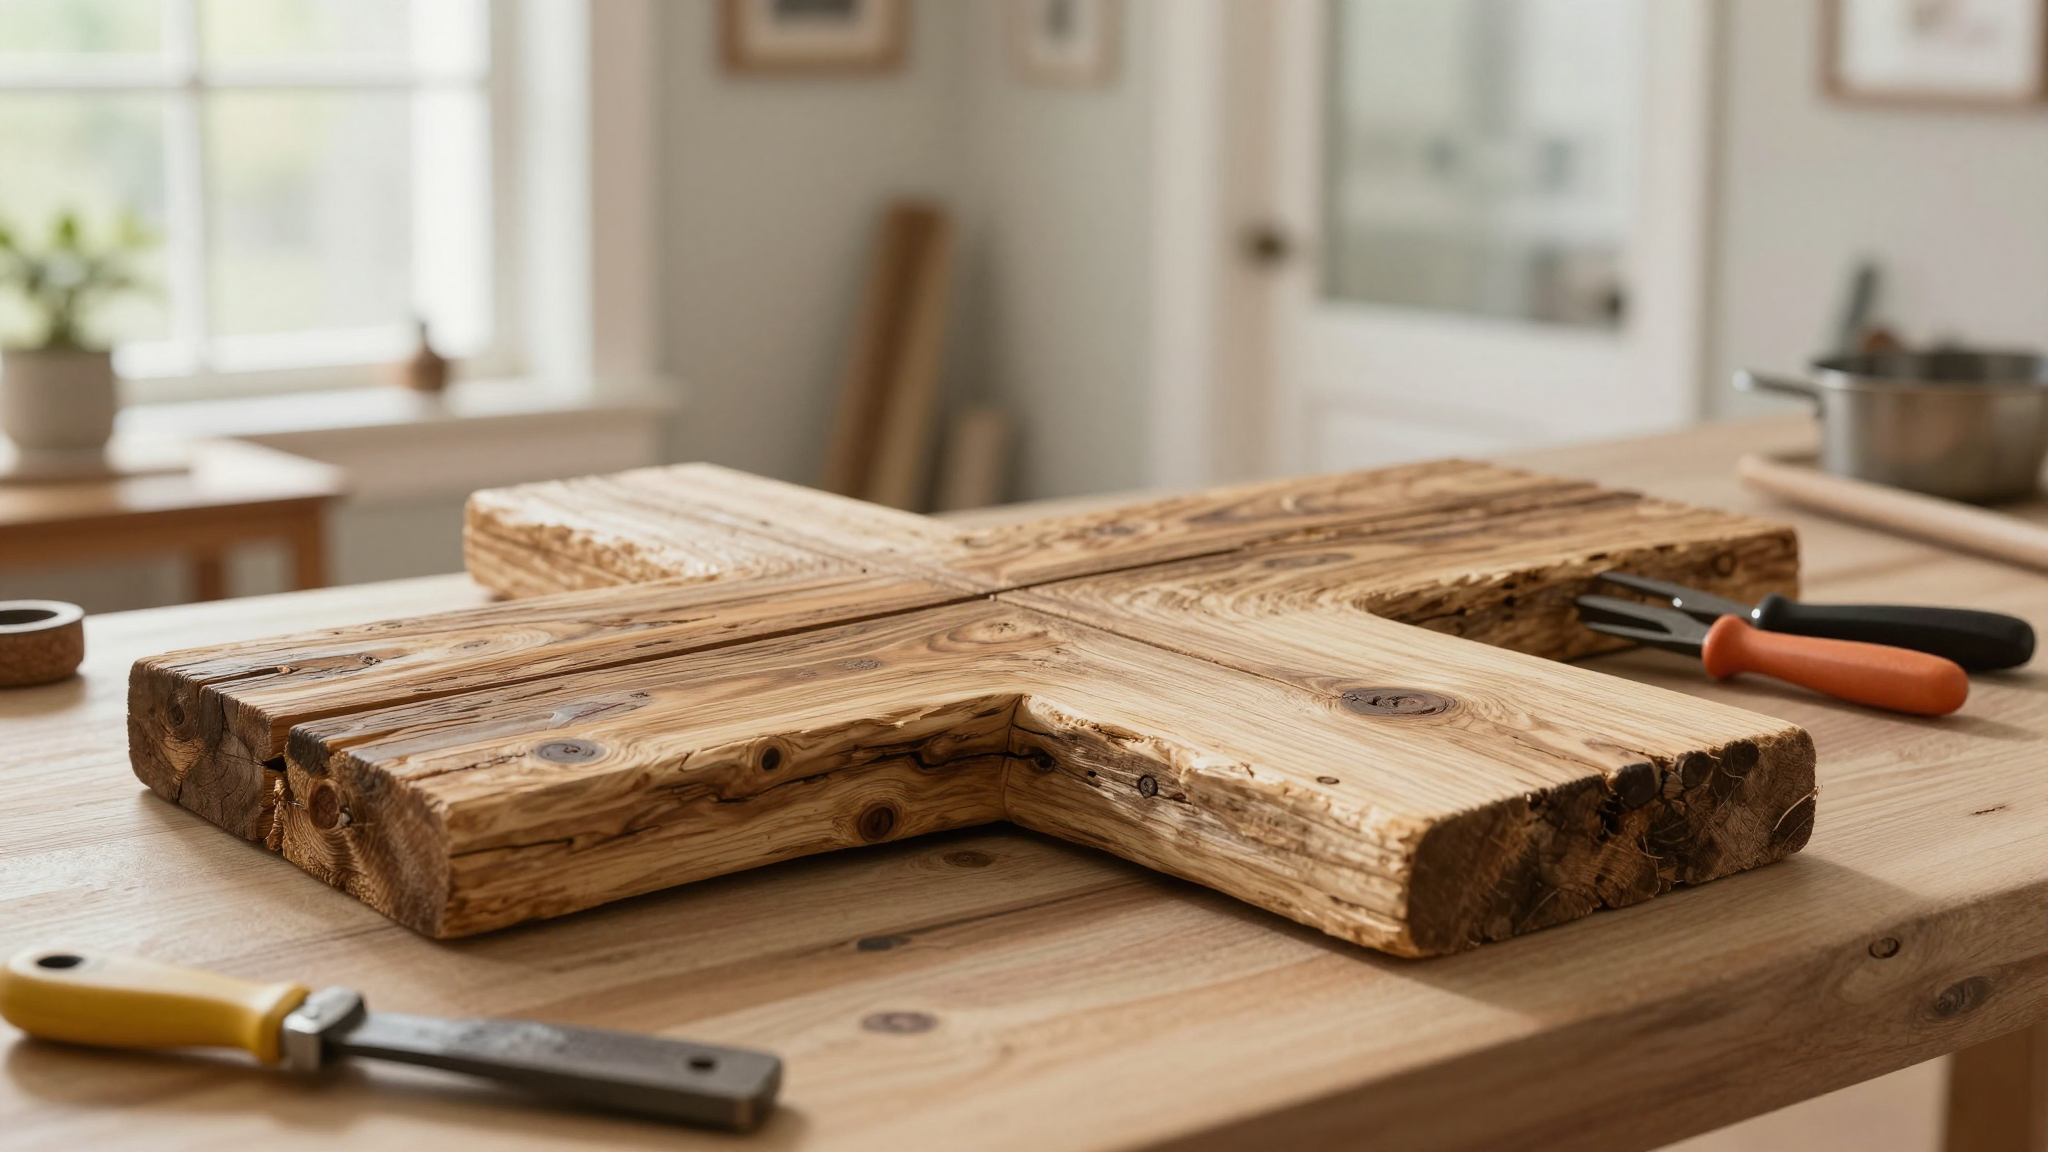
The heart of DIY farmhouse style lies in blending rugged materials with clever craftsmanship. Start by focusing on materials that balance durability and character,reclaimed wood with visible grain or metal accents showing natural patina. I’ve always loved the way wood tells a story through its knots and weathered finishes. That’s why I make it a point to visit local salvage yards whenever I’m working on a project. You can often find wood under $15 per board, and the character you get for that price is unbeatable.
For metal, I’ve found that repurposing old hinges or hooks from thrift stores can save you 50-75% compared to buying new. Just look for pieces that need a little TLC,sanding off rust or giving them a fresh coat of paint can transform them into something beautiful. I still remember the first time I turned a set of old hinges into wall hooks. They were rusty and bent, but after some sanding and a coat of black paint, they looked like they belonged in a high-end boutique.
Step-by-Step DIY Projects to Get Started
One of my favorite beginner projects is creating a simple candle holder. It’s perfect for adding warmth to any room, and it’s so easy that even my kids can help. Here’s how I do it:
- Sand a 12″ wood plank until it’s smooth. I like to use 120-grit sandpaper for this,it gives just enough texture without being too rough.
- Attach three metal brackets evenly spaced. I use a stud finder to make sure they’re secure, and I pre-drill the holes to avoid splitting the wood.
- Secure tea lights or tapered candles. I love using beeswax candles because they add a natural scent to the room.
Always wear gloves when handling rough edges. I learned this the hard way when I got a splinter that took days to work out! Wipe metal surfaces with vinegar to prevent rust. For cohesive style, pair your holder with a matching tray using leftover materials. I like to use the same wood for the tray and the candle holder, then stain them together for a unified look.
| Material | Best For | Average Price |
|---|---|---|
| Reclaimed Pine | Wall shelves | $10–$18 |
| Galvanized Steel | Trays & hooks | $8–$14 |
| Iron Brackets | Candle sets | $3–$7 |
Mix materials freely,try wood slices with iron hooks for keys. The goal is to create pieces that feel collected over time, not perfectly matched. I’ve found that local hardware stores often sell scrap metal pieces ideal for small projects under $5. One of my favorite finds was a bunch of old keys that I turned into hooks for hanging kitchen tools. They add a touch of history to the space and are so much more interesting than plain metal hooks.
Designing Your Personalized Farmhouse Wall Display
A well-curated wall arrangement combines practicality and aesthetic charm. Start by selecting pieces that mirror your lifestyle,think repurposed jars for storing dried flowers or iron hooks for hanging kitchen tools. These elements add character while serving everyday needs. I love using mason jars to store my homemade pasta sauce or dried herbs. It’s functional, but it also looks beautiful.
Arranging Repurposed Jars and Hooks for Visual Interest
Group mason jars in odd numbers for a casual, collected look. I like to hang them near windows to catch the sunlight, which makes the contents look even more inviting. Pair them with hooks for aprons or garden tools. Space items 4-6 inches apart to avoid clutter. I use twine or leather straps to secure jars, creating a relaxed vibe that feels intentional. One of my favorite combinations is a trio of jars filled with dried lavender, rosemary, and thyme, hung next to a hook holding my favorite wooden spoon.
Mixing Candle Holders and Shelves for Unique Accents
Layer tapered candles on floating shelves beside potted herbs. Vary heights,place short holders on shelves and tall ones below. This adds depth without overwhelming the space. I love the way natural wood tones soften metal accents. One of my favorite displays is a floating shelf with a few small potted herbs, a couple of tapered candles, and a small wooden sign that says “Grow.” It’s simple, but it brings so much life to the space.
| Element | Use Case | Price Range | Materials |
|---|---|---|---|
| Mason Jars | Herb storage | $3–$8 | Glass + Twine |
| Iron Hooks | Utensil hanging | $5–$12 | Forged Metal |
| Wood Shelves | Display surface | $15–$30 | Reclaimed Pine |
| Candle Holders | Ambient lighting | $10–$25 | Iron + Ceramic |
Stick to neutral colors like cream, sage, or charcoal for cohesion. Add texture with woven baskets under shelves. I found some beautiful baskets at a local flea market for under $20, and they’ve become a staple in my decor. They’re perfect for holding everything from extra towels to small plants. Pro tip: Use removable adhesive strips to secure fabrics without damaging walls. I’ve used these strips to hang everything from linen towels to small woven tapestries, and they’ve held up beautifully.
Incorporating Seasonal Elements to Enhance Your Décor
Breathing new life into your space doesn’t require a full redesign,just smart seasonal updates. By rotating key accents, you maintain that cozy character while celebrating nature’s rhythms. I love the way my walls can change with the seasons, reflecting what’s happening outside. It’s like giving my home a little refresh without a lot of effort.
Fresh Spring Touches with Flowers and Textiles
Swap heavy winter textures for airy linen towels in your kitchen display. Hang them from wrought-iron hooks alongside pressed flower arrangements in clear jars. Dried lavender bundles or eucalyptus sprigs add fragrance and movement to wall-mounted baskets. I still remember the first spring I did this. I filled a few jars with pressed flowers from my garden and hung them next to some linen towels. It was such a small change, but it made the whole kitchen feel brighter and more inviting.
Look for patterned tea towels at craft stores ($4-$8) to create coordinating sets. Layer them behind open shelving for pops of color. Pro tip: Use removable adhesive strips to secure fabrics without damaging walls. I’ve used these strips to hang everything from linen towels to small woven tapestries, and they’ve held up beautifully. One of my favorite spring displays is a mix of pastel linen towels, a few jars of pressed flowers, and a small wooden sign that says “Spring.” It’s simple, but it makes the whole room feel fresh.
Transitional Ideas for Year-Round Charm
Choose pieces that adapt across seasons. A rustic wooden tray holds pinecones in winter and seashells in summer. Mount it beside neutral woven baskets for flexible styling. I have a tray that I use year-round. In the fall, it holds mini pumpkins and gourds. In the winter, it’s filled with pinecones and cinnamon sticks. In the spring, it’s seashells and fresh flowers. It’s such a simple thing, but it makes the space feel like it’s changing with the seasons.
Neutral burlap runners ($10-$15) work under autumn pumpkins or spring seedlings. I found a beautiful burlap runner at a local market, and it’s become one of my favorite transitional pieces. It’s neutral enough to work year-round, but it adds a touch of rustic charm that I love. Thrift stores often sell vintage frames perfect for rotating botanical prints. Pair them with modern geometric shelves to balance old and new. I’ve done this in our living room, and it’s created such a beautiful mix of old and new.
| Seasonal Item | Use | Average Price | Materials |
|---|---|---|---|
| Linen Towels | Spring accents | $5–$12 | Natural fibers |
| Galvanized Planter | Herb display | $18–$25 | Metal + Wood |
| Woven Tray | Multi-season staging | $15–$30 | Rattan + Iron |
Remember: Seasonal updates thrive on simplicity. A single statement piece,like an oversized wreath or chalkboard calendar,anchors the theme. Let it shine against minimalist backgrounds for maximum impact. I have a chalkboard calendar that I hang in the kitchen every year. It’s simple, but it’s become a family tradition. We use it to mark birthdays, holidays, and special events, and it’s a great conversation starter.
Rustic Details: Jars, Hooks, and Candle Holders
Small accents often make the biggest impact in home styling. Repurposed jars, iron hooks, and candle holders with weathered finishes add layers of character to blank walls. These elements blend practicality with visual charm,think mason jars holding utensils or hooks displaying woven towels. I love the way these small details can transform a space. It’s the little things that make a house feel like a home.
Vintage glass containers shine as herb planters or dried flower vases. Cluster them in odd numbers for casual elegance. Pair with forged metal hooks ($6-$12 each) to hang aprons or garden tools. This approach turns everyday items into intentional design statements. One of my favorite displays is a cluster of three mason jars filled with dried lavender, rosemary, and thyme, hung next to a hook holding my favorite apron. It’s functional, but it also looks beautiful.
Handmade candle holders with aged metal finishes create warm focal points. A handmade mason jar candle holder set offers flickering ambiance while showcasing craftsmanship. Mix heights and textures,try pairing rough iron bases with smooth ceramic tops. I have a set of candle holders that I made from old mason jars and some scrap metal. They’re not perfect, but they have so much character, and I love the way they look when they’re lit.
| Item | Use | Price Range | Materials |
|---|---|---|---|
| Mason Jars | Herb Storage | $3–$8 | Glass + Twine |
| Wall Hooks | Tool Organization | $5–$15 | Iron + Wood |
| Candle Holders | Ambient Lighting | $10–$25 | Aged Metal |
Thrift stores and flea markets are goldmines for affordable finds. Look for:
- Jars with original labels ($2-$5)
- Vintage hooks needing light polishing
- Metal candle bases under $15
Arrange these pieces near entryways or above consoles. A curated set of three jars beside a single wrought-iron hook creates balanced asymmetry. Remember: functional details become statement decor when displayed with intention. I have a set of three jars filled with dried flowers and a single hook holding my keys. It’s simple, but it’s become one of my favorite displays.
Crafting Unique Shelves, Trays, and Home Accessories
Transforming raw materials into functional art adds soul to your space. Reclaimed wood becomes the star here,its knots and weathered grooves tell stories while serving modern needs. Let’s explore how to craft pieces that balance rugged beauty with everyday practicality. I’ve always loved the way wood can tell a story. That’s why I make it a point to use reclaimed wood in as many projects as possible. It’s not just about the look,it’s about the history and character that comes with it.
Custom-Made Shelves and Trays Using Reclaimed Wood
Start with sanded pine planks (under $15 at salvage yards). For floating shelves:
- Cut wood to desired length. I like to use a miter saw for clean cuts, but a handsaw works too if you don’t mind a little extra sanding.
- Attach hidden brackets. I prefer French cleat brackets because they’re invisible from the front and super secure.
- Stain with coffee grounds for instant aging. This is one of my favorite tricks. Just brew a strong pot of coffee, let it cool, and use it as a stain. It gives the wood a beautiful, weathered look.
Pair shelves with matching trays using leftover wood. Pro tip: Rub candle wax on edges before staining for naturally worn spots. This creates a timeworn look without waiting years. I did this with a set of shelves and trays in our living room, and they look like they’ve been there for decades. It’s amazing what a little coffee and candle wax can do!
Creative Ideas for DIY Basket and Box Accents
Turn thrifted wicker baskets into wall-mounted storage. Line them with linen for soft texture, or stack vintage crates as modular shelves. For under $10, you can:
- Weave leather straps through fruit boxes. I found some old apple crates at a flea market and turned them into shelves. They look amazing and hold so much.
- Stencil numbers on galvanized bins. I did this with a set of old metal bins I found at a garage sale. They’re perfect for holding everything from extra blankets to kids’ toys.
- Layer small baskets within a larger set. I have a large basket that I use to hold smaller baskets. It’s a great way to add texture and depth to a space.
| Project | Materials | Price Range |
|---|---|---|
| Floating Shelf | Reclaimed Pine + Brackets | $12–$20 |
| Herb Tray | Scrap Wood + Chalk Paint | $8–$15 |
| Basket Wall | Thrifted Wicker + Leather | $5–$12 |
Keep finishes matte to highlight natural textures. A hand-rubbed beeswax seal protects surfaces while letting the wood’s character shine through. I’ve used beeswax on all my wood projects, and it’s made such a difference. It gives the wood a beautiful sheen while protecting it from scratches and moisture. Mix functional holders with decorative trays. Mount an iron candle holder beside a shelf for evening ambiance. These combinations create depth while keeping your budget under $30 per set. One of my favorite displays is a floating shelf with a few small potted herbs, a small iron candle holder, and a vintage book. It’s simple, but it brings so much life to the space.
Farmhouse Decor: Materials and Finishing Touches
The secret to authentic character lies in layered textures and intentional imperfections. By combining raw elements with strategic distressing, you create pieces that feel lovingly worn yet thoughtfully designed. I’ve always believed that the best decor tells a story. Whether it’s the knots in a piece of wood or the patina on a metal hook, these little details add so much character to a space.
Exploring Wood, Metal, and Woven Textures
Natural materials form the backbone of this aesthetic. Rough-cut pine beams pair beautifully with hammered iron accents, while jute weavings soften industrial edges. Focus on variations:
- Wood: Seek boards with visible knots or saw marks. I love the way these imperfections add character to a piece.
- Metal: Choose pieces with natural oxidation. I’ve found that old hinges and hooks often have the best patina.
- Woven: Opt for uneven textures in baskets or wall hangings. I have a few woven baskets that I’ve used in various projects, and their uneven textures add so much interest.
| Material | Distressing Technique | Average Price |
|---|---|---|
| Reclaimed Pine | Vinegar Stain | $12–$20 |
| Galvanized Steel | Sandpaper Scuffing | $8–$15 |
| Seagrass Basket | Tea Stain Dip | $10–$18 |
Cost-Effective Techniques to Achieve an Aged Look
Create timeworn charm without waiting decades. Rub coffee grounds into wood grain for instant patina. For metal, soak pieces in saltwater overnight to encourage rust. Wipe with clear wax to lock in the aged effect. I’ve used all of these techniques in my projects, and they’ve made such a difference. It’s amazing what a little coffee and saltwater can do to transform a piece.
Try these budget-friendly ideas:
- Drag a chain across painted surfaces for chipped details. I did this with an old dresser I found at a garage sale, and it gave it such a beautiful, weathered look.
- Mix chalk paint with sand for gritty texture. I’ve used this technique on a few projects, and it’s given them a beautiful, distressed look.
- Burn edges with a torch for smoky highlights. I’ve only done this a few times, but it’s a great way to add character to a piece. Just be sure to do it outside and wear protective gear!
Soft lighting enhances distressed finishes. Place LED candles in wire holders ($15–$25) near textured walls. Add depth with stacked crates holding spring-inspired wreaths or dried flowers. A matching set of three weathered boxes creates cohesive storage under $30. I have a set of crates that I use to hold everything from extra blankets to kids’ toys. They look amazing and are so functional.
Balancing Budget and Quality in Your DIY Projects
Creating stunning wall accents doesn’t require deep pockets,just smart resourcefulness. By blending thrifted finds with strategic upgrades, you can achieve high-end style while keeping costs under $50 per project. The key? Focus on pieces that offer maximum visual impact for minimal investment. I’ve always believed that you don’t need to spend a fortune to create a beautiful space. It’s all about being creative and resourceful.
Start by hunting for metal baskets or wooden trays at garage sales ($3-$8). These become instant display shelves with basic wall hooks. Pair them with new-but-affordable items like:
- Copper wire mason jar holders ($12/set). I have a set of these that I use to hold dried flowers and herbs. They look amazing and are so easy to make.
- Salvaged barn wood frames ($10-$15). I’ve found some beautiful frames at flea markets, and they’ve become a staple in my decor.
- Hand-stenciled number plaques ($5 materials). I made a set of these for our kitchen, and they’ve become one of my favorite displays.
Quality often hides in unexpected places. I’ve found $200-look trays made from repurposed ceiling tin at estate sales for $9. Use price comparisons to identify genuine bargains,online marketplaces often inflate costs for “rustic” keywords. I’ve found some amazing deals at local flea markets and garage sales. It’s all about knowing what to look for and being willing to haggle a little.
| Project | Materials | Total Cost |
|---|---|---|
| Herb Drying Rack | Salvaged ladder + twine | $18 |
| Key Organizer | Antique rake + hooks | $22 |
| Art Display | Catalog pages + clipboards | $7 |
Transform old catalog pages into framed art using dollar store clipboards. Seal them with matte mod podge for a weathered look. This approach lets you refresh your wall gallery seasonally for under $10. I’ve done this a few times, and it’s a great way to add a personal touch to your decor. Plus, it’s so easy and affordable!
Remember: mixing textures elevates simple pieces. Layer a woven tray over metal wall art, or stack leather-bound books beside iron candle holders. Share your clever hacks online,your $15 masterpiece might inspire someone’s next home refresh! I’ve learned so much from other DIYers online, and I love sharing my own tips and tricks. It’s amazing how a little creativity can transform a space.
Ready to Get Started?
Now that you’ve seen how easy it is to create beautiful, personalized wall decor, it’s time to roll up your sleeves and get started. Grab a few supplies from your local hardware store or salvage yard, and let your creativity flow. Remember, the best projects are the ones that tell a story,whether it’s the history of a reclaimed wood plank or the memories you’ll make while creating something beautiful.
If you’re looking for more inspiration, check out my five favorite DIY projects to instantly add charm to your home. Or, if you’re focusing on a specific room, like your bedroom, take a look at my easy DIY projects to give your bedroom a makeover. And if you’re feeling ambitious, you can even upcycle some furniture to match your new wall decor.
Don’t forget to check out my essential tools every homeowner should have to make your projects even easier. And if you’re looking for more ways to add character to your home, be sure to explore my DIY accent walls and DIY wainscoting guides.
Now, go ahead and start your next project. And remember, it’s okay if it’s not perfect. The imperfections are what make it yours. Happy crafting!
FAQ
What materials work best for creating rustic wall accents?
Reclaimed wood, galvanized metal, and woven textures like jute or rattan add authentic charm. Pair these with mason jars or aged candle holders for a layered, timeless look. I’ve found that the key is to mix materials in a way that feels collected over time, not perfectly matched. It’s the little imperfections that give the space character.
How can I add spring elements to my wall display without overwhelming the space?
Use fresh flowers in simple glass vases, lightweight linen towels on hooks, or pastel-painted trays. These subtle touches keep the design airy and seasonal. I love using pressed flowers in clear jars,it’s a great way to add a touch of spring without going overboard. Plus, it’s so easy to change out as the seasons go by.
Can I create affordable handmade shelves without compromising quality?
Absolutely! Sanded pallet wood or thrifted baskets can be transformed with stain or chalk paint. Brands like Minwax offer durable finishes for a polished yet budget-friendly result. I’ve made several shelves using reclaimed wood, and they’ve held up beautifully. The key is to sand and seal them properly, and they’ll last for years.
What’s an easy way to blend candle holders and shelves for visual appeal?
Layer tapered candles on floating wooden ledges alongside small potted herbs or vintage books. Vary heights,place short holders on shelves and tall ones below. This adds depth without overwhelming the space. I have a floating shelf in my kitchen with a few small potted herbs, a small iron candle holder, and a vintage book. It’s simple, but it brings so much life to the space.
How do I achieve an aged finish on new metal hooks or trays?
Use vinegar-soaked steel wool for a patina effect on metal, or dry-brush chalk paint over edges. For wood, lightly sand corners after staining to mimic natural wear. I’ve used all of these techniques, and they’ve made such a difference. It’s amazing what a little vinegar and sandpaper can do to transform a piece.
Are there year-round alternatives to seasonal floral arrangements?
Swap fresh blooms for dried lavender, eucalyptus, or faux boxwood in woven baskets. Neutral textiles like burlap or cotton work in any season. I have a few baskets that I use year-round. In the fall, they hold mini pumpkins and gourds. In the winter, it’s pinecones and cinnamon sticks. In the spring, it’s seashells and fresh flowers. It’s such a simple way to keep your decor fresh and inviting.