
How I Turned My Kids’ Art and Travel Souvenirs Into Stunning Shadow Box Displays
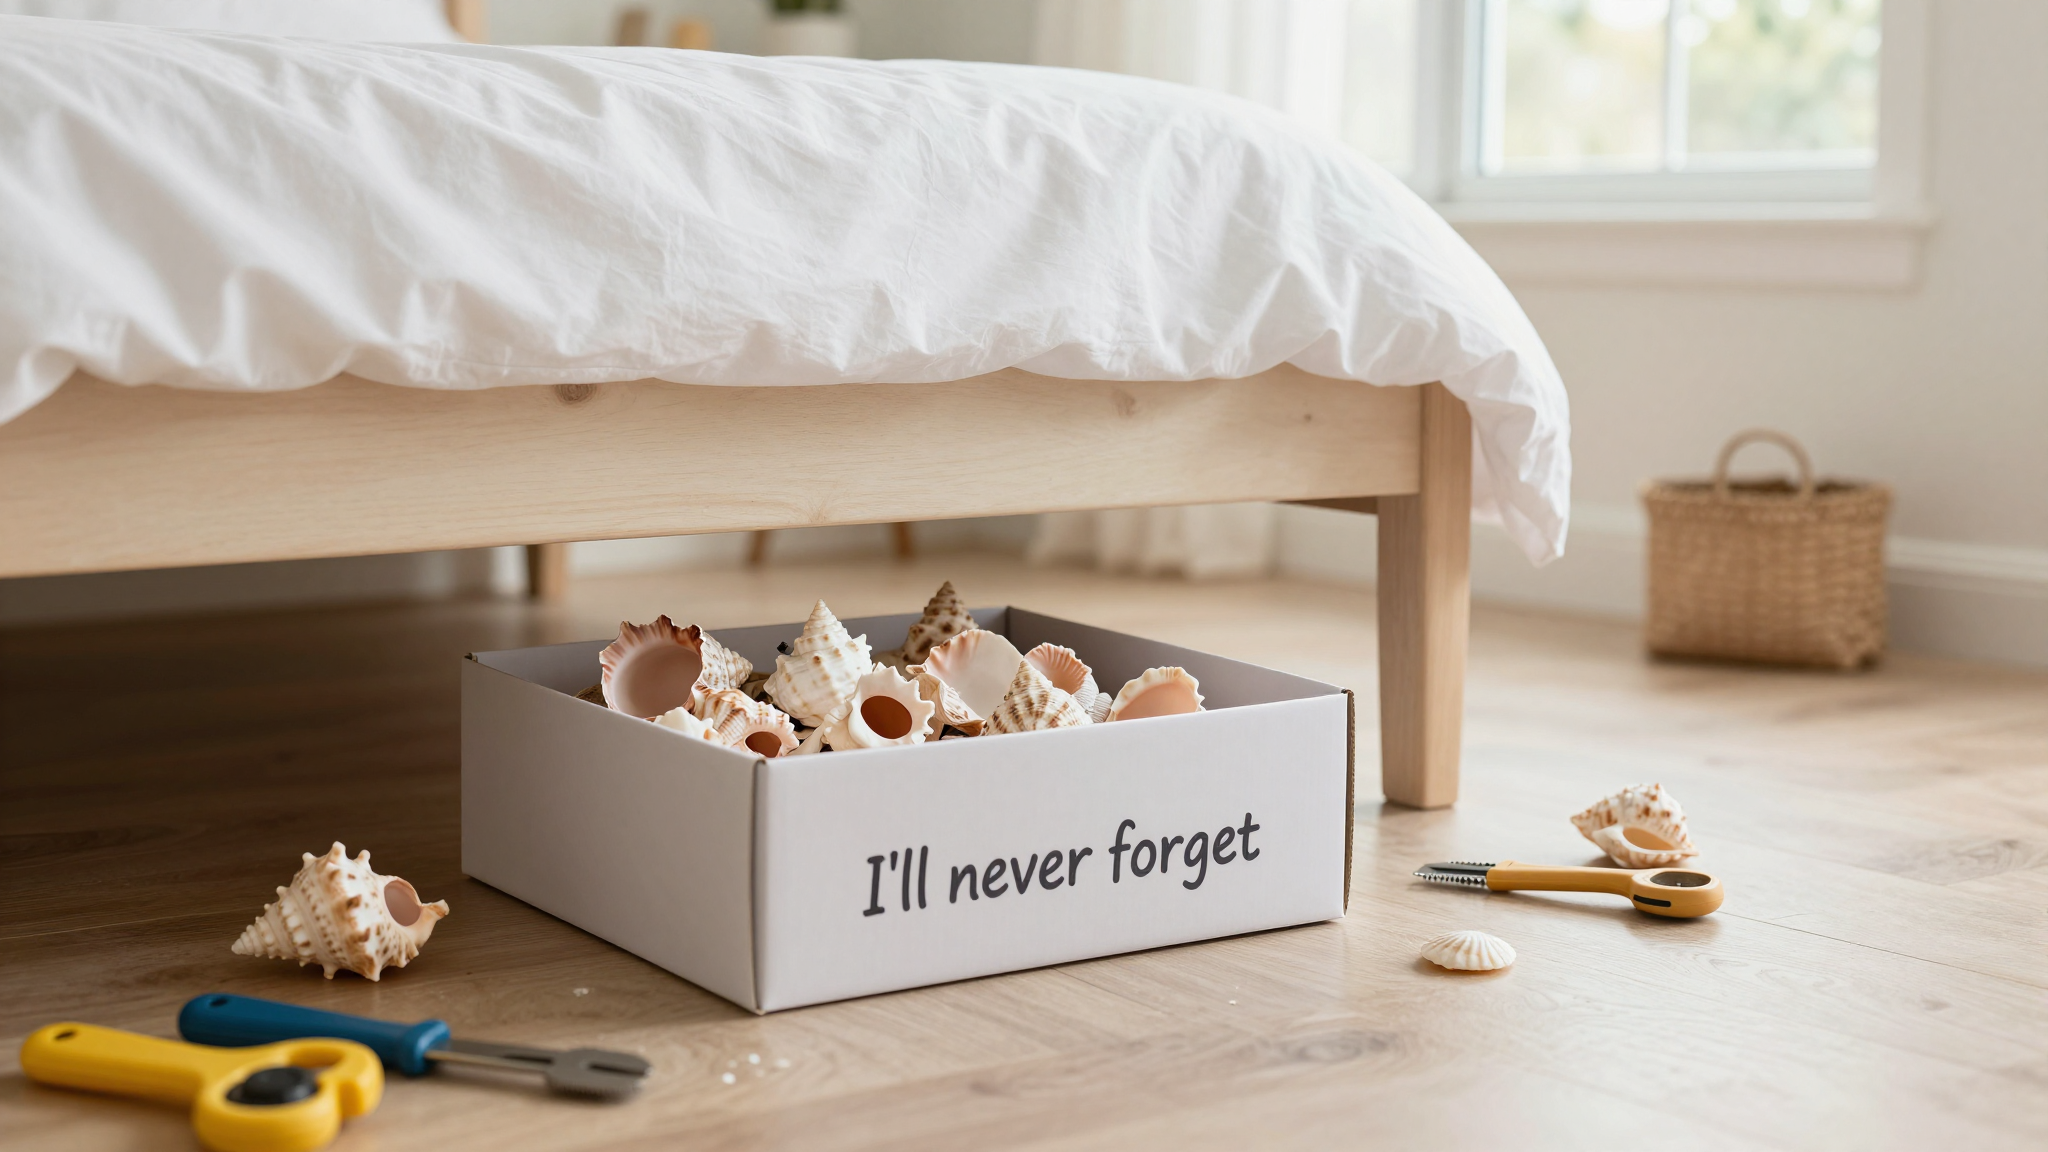
I’ll never forget the day I found my daughter’s first lost tooth in a shoebox under her bed. It was crumpled between a seashell from our Florida trip and a concert ticket stub from when she was 8. That’s when I realized – we were losing these little pieces of her childhood to dust and forgetfulness. So I started building shadow boxes to preserve them properly.
What began as a way to organize our clutter turned into one of my favorite DIY projects. These display cases aren’t just about storage – they’re about creating visual stories that make our home feel personal. I’ve made shadow boxes for everything from my son’s little league trophies to my husband’s military medals, and each one tells a different chapter of our family’s story.
In this guide, I’ll share exactly how I build them (including the mistakes I made along the way), which materials work best for different keepsakes, and how to style them so they look intentional rather than cluttered. I’ll also recommend some of my favorite tools that make the process easier – like the SwingFrame Designer Shadow Box that I use for deeper displays, and my trusty level and measuring tape that I swear by for perfect alignment.
If you’ve been meaning to display those concert tickets, wedding mementos, or vacation souvenirs but don’t know where to start, this is for you. Let’s get building!
What I Learned About Shadow Boxes (The Hard Way)
Before I dive into the how-to, I should confess: my first attempt at a shadow box was a disaster. I bought a cheap frame from a craft store, assumed I could just glue everything in place, and ended up with a lopsided mess where the concert tickets kept falling out. The glass was so thin I could see fingerprints from across the room, and the whole thing looked like a kindergartener had assembled it.
After that fiasco, I did some research (and bought a better frame). Here’s what I wish I’d known from the beginning:
- Depth matters: That first frame was only 1.5 inches deep – perfect for flat items like photos, but useless for anything with dimension like my son’s baseball glove or the seashells we collected in Maine. Now I always measure my keepsakes first and choose a frame that gives them room to breathe.
- Lighting makes all the difference: I thought natural light would be enough, but then I realized our living room window faces west and everything in the shadow box was fading. Now I use small LED strips (like these ones I found on Amazon) that run on batteries and don’t overheat the display.
- You don’t need to fill every inch: My first attempt was so crowded it looked like a junk drawer. Now I leave negative space and let each item stand out. It’s amazing how much more professional it looks when things aren’t fighting for attention.
If you’re just starting out, don’t worry about making it perfect on the first try. My first DIY drywall patching job looked like a topographic map, and now I can’t even tell where the holes were. Shadow boxes are the same – they’re about preserving memories, not creating museum-quality displays (unless that’s your thing!).
Choosing the Right Shadow Box for Your Keepsakes
Not all shadow boxes are created equal. After building several, I’ve learned which types work best for different collections. Here’s what I look for when selecting a frame:
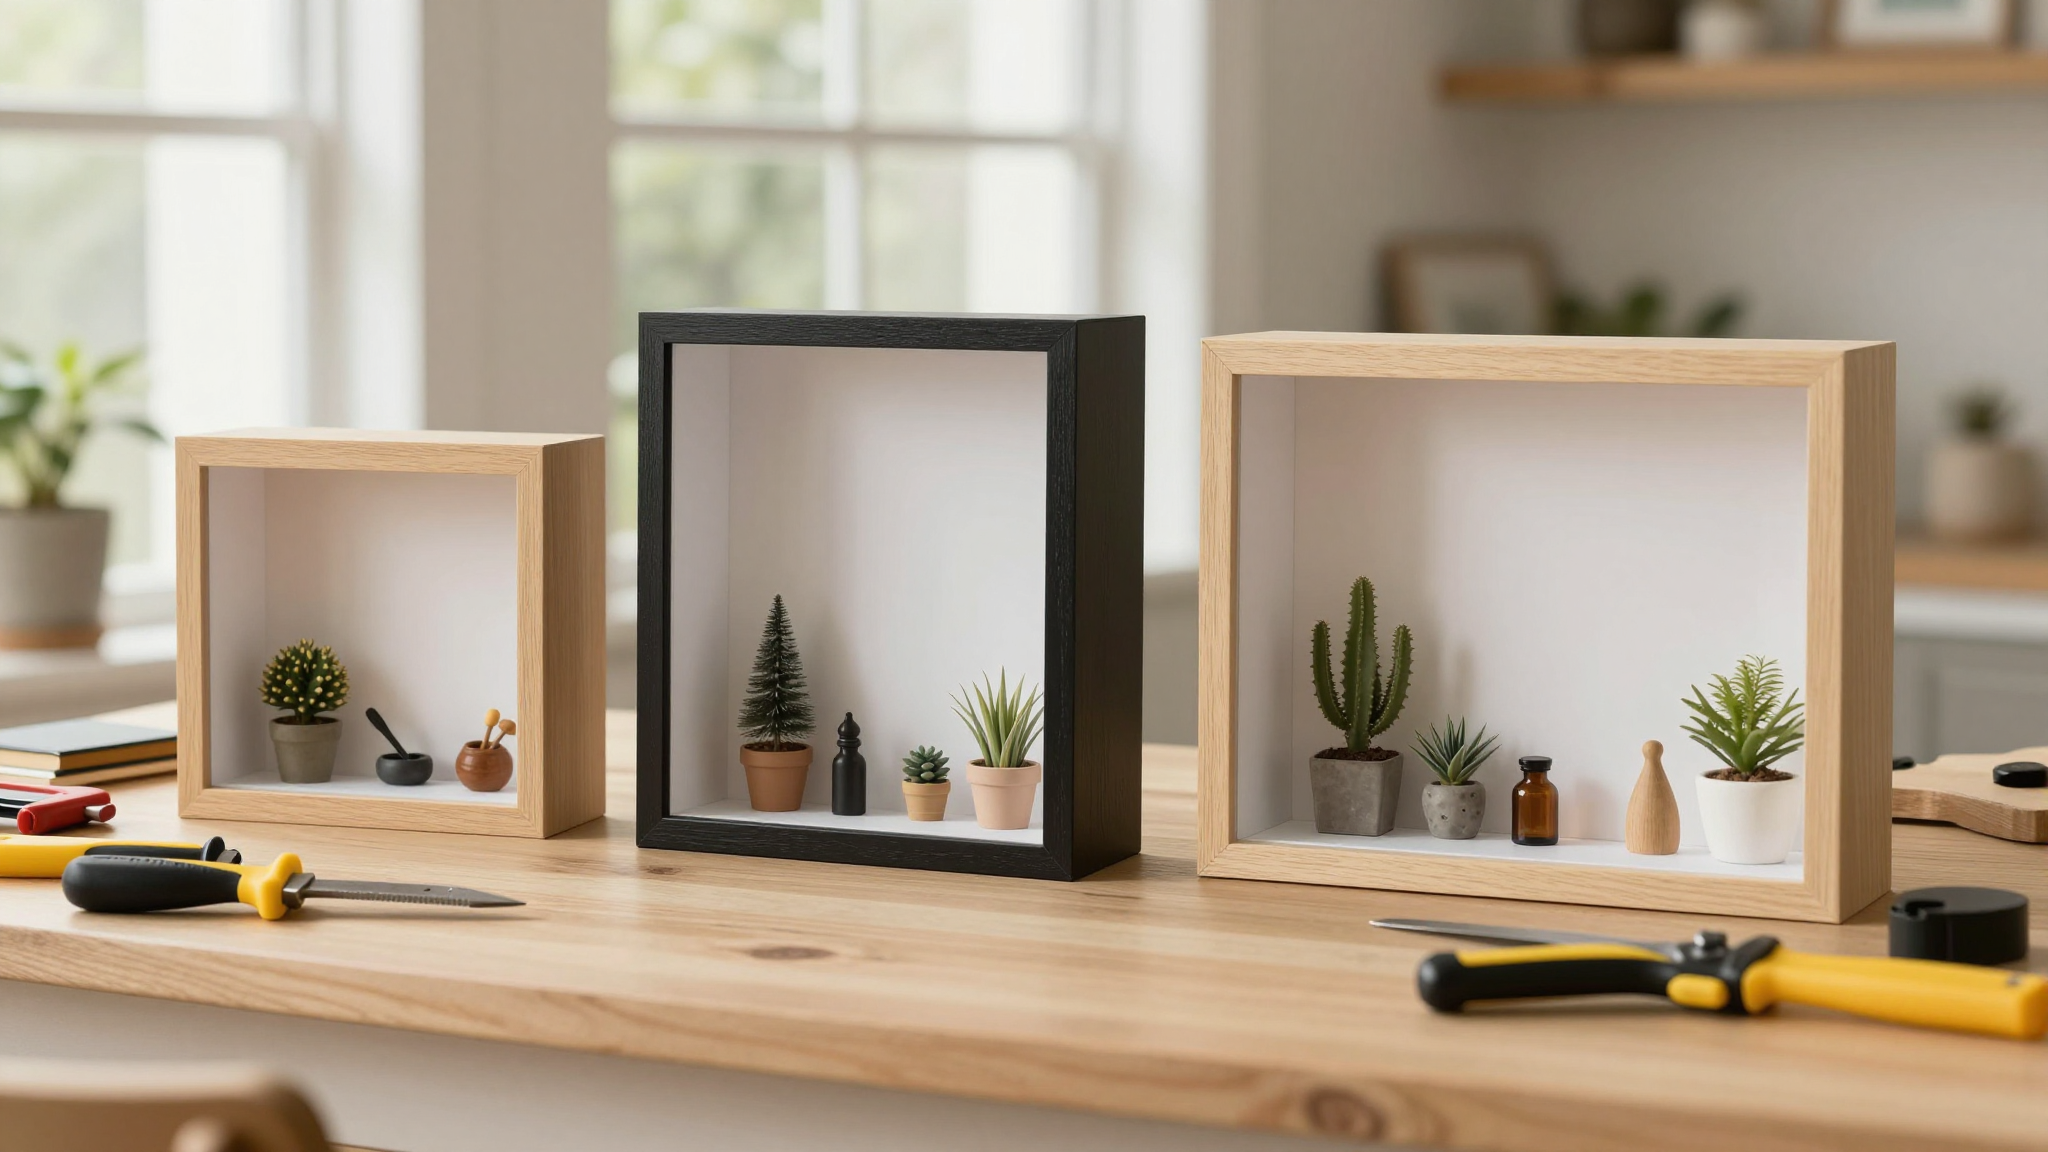
1. For Flat Items (Tickets, Photos, Pressed Flowers)
I use shallow frames (about 1-2 inches deep) for things like my daughter’s concert tickets or the pressed flowers from our wedding. My favorite for this is the Michaels Basic Shadow Box – it’s affordable, comes in lots of colors, and the glass is actually decent quality. I’ve also had good luck with the IKEA RIBSA frame for simpler displays.
Pro tip: If you’re displaying photos, I recommend using photo-safe adhesive strips instead of glue. They’re acid-free and won’t damage your prints over time.
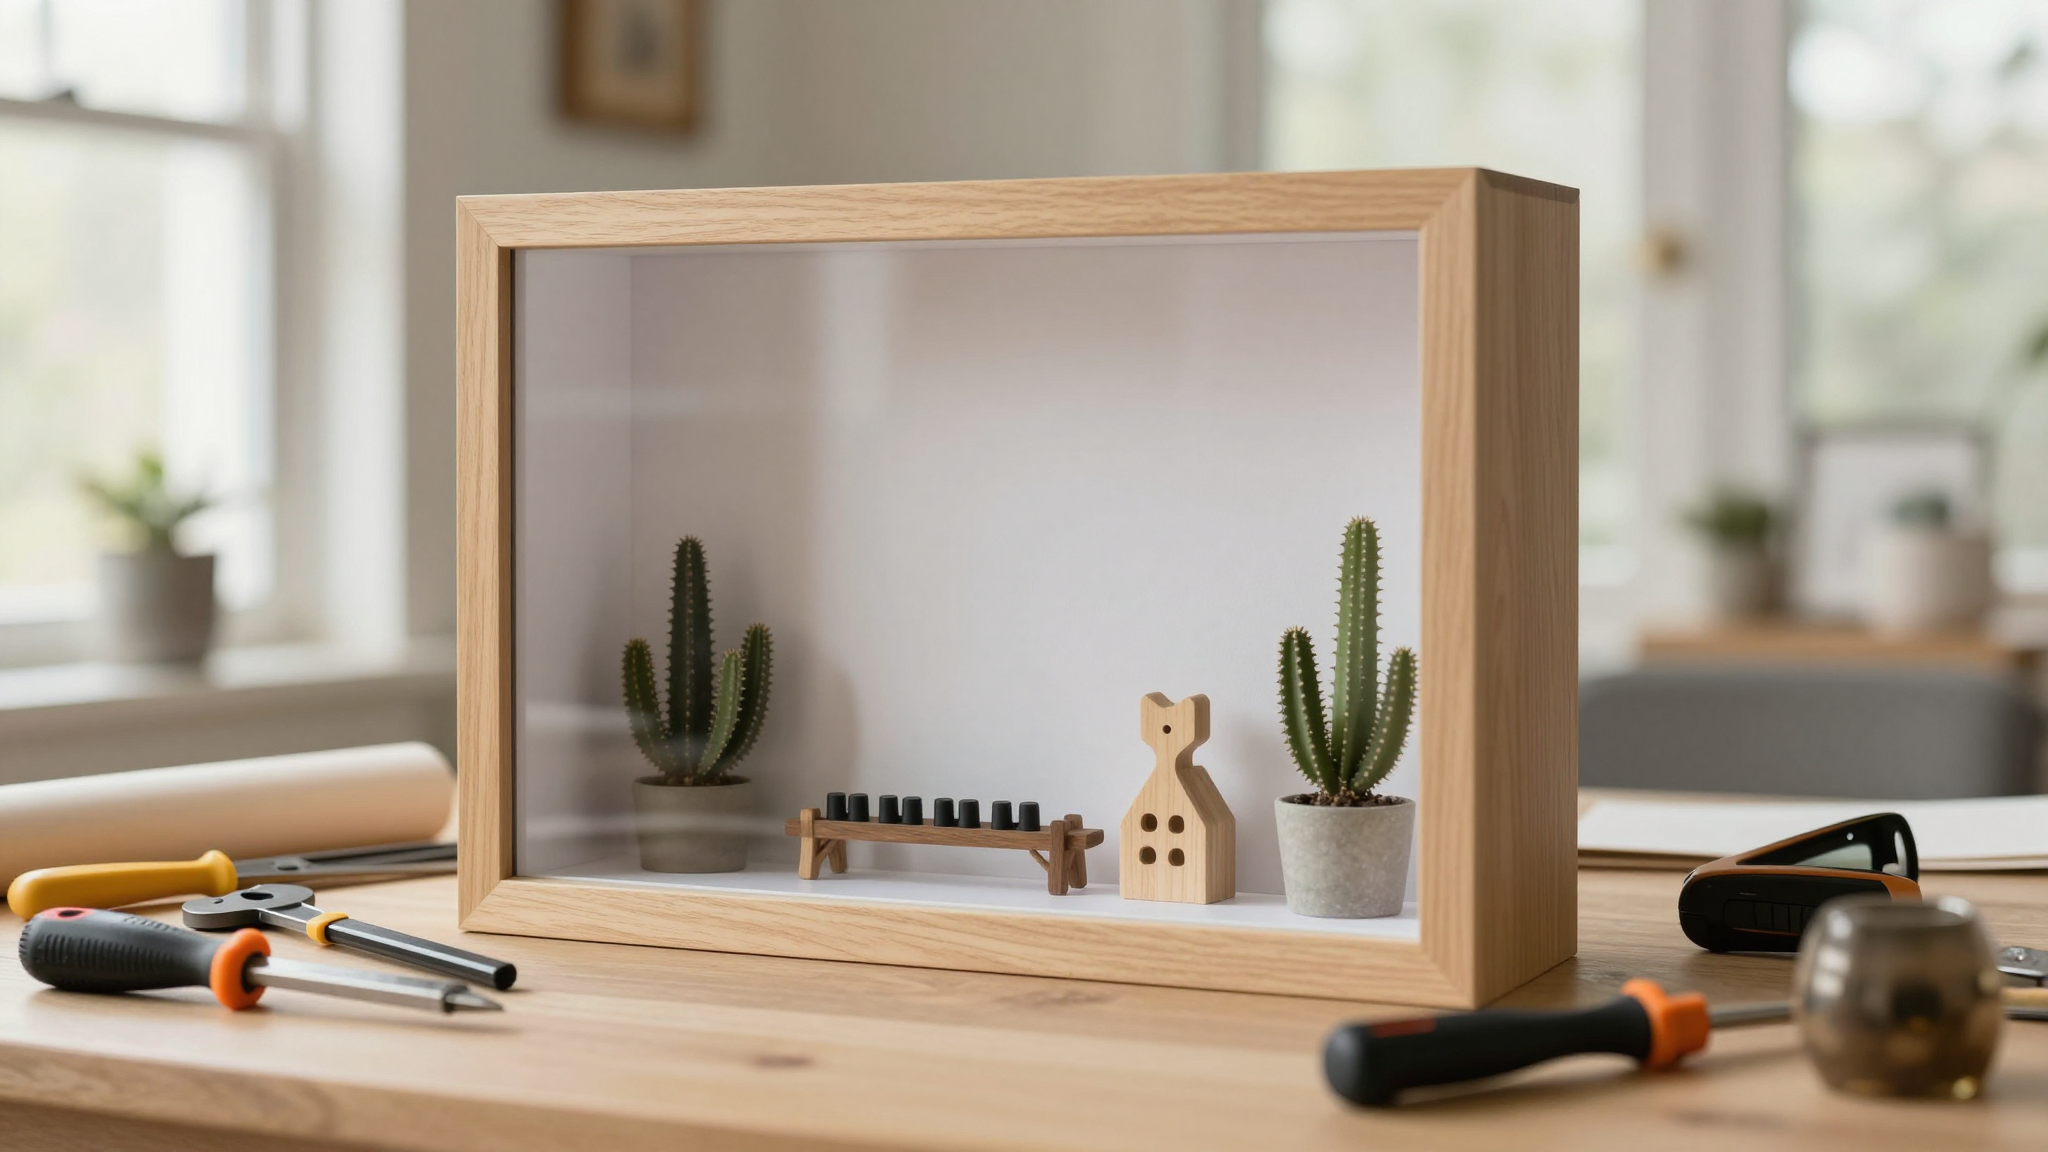
2. For 3D Items (Trophies, Baseballs, Seashells)
This is where I reach for the deeper frames. The SwingFrame Designer Shadow Box (the one I mentioned earlier) has been a game-changer for my son’s sports memorabilia. It comes in depths up to 6 inches, which is perfect for his little league trophies or the baseball he caught at a Red Sox game. The best part? It has a swing-open door, so I can rearrange things without taking the whole display down.
I did make one mistake with this frame – I didn’t measure the depth of the items I wanted to display. The baseball with the glove was actually 5.5 inches deep, and I bought a 4-inch frame. Lesson learned: always measure your largest item first!
3. For Delicate or Valuable Items (Jewelry, Medals, Heirlooms)
For things like my grandmother’s vintage brooch or my husband’s military medals, I use frames with velvet or felt lining. The Display America cases have been great for this – they come with non-slip mats and the glass is UV-protected to prevent fading. I also like that they have a magnetic closure, so there’s no risk of the door popping open accidentally.
If you’re displaying jewelry, I recommend using small acrylic stands (like these ones from Amazon) to keep pieces from touching each other. It prevents scratches and makes everything look more intentional.
My Step-by-Step Process for Building a Shadow Box
Now that you know which frame to choose, let’s talk about how to actually build one. I’ve refined my process over the years, and I’ll walk you through exactly how I do it – including the tools I can’t live without and the shortcuts I’ve learned.
Tools You’ll Need
Before you start, gather these supplies. I’ve linked to the exact brands I use because they make a difference:
- Stud finder (I use the Zircon stud finder – it’s never let me down)
- Level (my Stanley 22-890 is my holy grail)
- Measuring tape (I keep a FastCap retractable tape in my craft drawer)
- Drill with bit set (for hanging)
- Screwdriver (I love my DeWalt impact driver for stubborn screws)
- Acrylic adhesive dots (like these 3M Command Strips)
- Soft paintbrush (for dusting)
- Microfiber cloth (I use these Bona microfiber cloths for glass)
Step 1: Measure Your Space and Keepsakes
This is where I used to skip steps and regret it. Always measure:
- The wall space where you’ll hang the shadow box
- Your largest keepsake (this determines the minimum depth you need)
- The overall dimensions of your frame (I once bought a frame that was 1/4 inch too wide for my spot – it drove me crazy for months)
Pro tip: If you’re hanging multiple shadow boxes together, use painter’s tape to map out the layout on your wall first. I did this for a gallery wall in our hallway, and it saved me from having to re-drill holes three times.
Step 2: Assemble the Frame
Most pre-made frames come with simple assembly instructions, but here’s what I do to make it easier:
- Lay out all the pieces on a clean surface. I use my dining table for this – it’s big enough to spread everything out.
- If your frame has a swing door (like the SwingFrame), assemble that first. I like to test the hinge movement before attaching it to the main frame.
- Attach the backboard. For wood frames, I use wood glue and clamps. For metal frames, I just screw them together according to the instructions.
- If your frame has a glass front, I recommend leaving it off until the very end to avoid scratches. I’ve learned this the hard way – I once scratched the glass while trying to position it, and it was impossible to buff out.
Step 3: Arrange Your Keepsakes
This is the fun part! But it’s also where I used to get overwhelmed. Here’s how I approach it:
- Start with your largest item and build around it. For my son’s sports memorabilia, that’s usually his baseball glove.
- Use acrylic adhesive dots to secure items. They’re removable and won’t damage your keepsakes. I keep a pack of these 3M Super Mounting Squares in my craft drawer for this.
- Leave some negative space. It’s tempting to fill every inch, but trust me – your display will look more intentional with breathing room.
- Step back and look at it from different angles. I once had a display where everything looked great from the front, but from the side it was a mess. Now I always check from multiple views.
If you’re displaying 3D items, I recommend using small acrylic stands or risers. I found these clear acrylic risers on Amazon that work perfectly for my seashell collection. They lift items up and create more visual interest.
Step 4: Hang the Shadow Box
This is where my farmhouse coffee table project skills come in handy. Here’s how I hang my shadow boxes for a perfect, level look:
- Use your stud finder to locate wall studs. I always hang heavy frames (anything over 10 pounds) into studs for safety.
- Mark the exact spot where you want the top of the frame to sit. I use a pencil and make a small dot.
- Hold the level against the wall and mark where the bottom of the frame will sit. Double-check that it’s perfectly level – I’ve had to rehang frames before because they weren’t straight.
- Drill pilot holes at each mark. I like to use a DeWalt drill with a masonry bit if I’m hanging on brick or concrete.
- Insert wall anchors (if needed) and screw in the hanging hardware that came with your frame.
- Carefully lift the frame onto the screws. I always have a second person help me with larger frames to avoid dropping them.
If you’re hanging multiple shadow boxes together, I recommend using a gallery wall layout tool to keep everything aligned. I once hung a row of shadow boxes without one, and they were all slightly off – it bugged me for years until I finally rehung them properly.
Creative Ways to Style Your Shadow Box
Now that you’ve built your shadow box, it’s time to make it look intentional. Here are some of my favorite ways to style them in our home:
1. Themed Displays
I love creating shadow boxes around specific themes. Here are a few of my favorites:
- Travel Memories: I have a shadow box in our entryway that displays tickets from our family trips, a map of our route, and small souvenirs from each place. It’s become a conversation starter for guests.
- Kids’ Milestones: My daughter’s shadow box includes her first lost tooth, a lock of her baby hair, and tickets from her first concert. It’s a time capsule of her childhood.
- Seasonal Decor: I have a shadow box in our living room that I change with the seasons. In fall, it’s filled with mini pumpkins and leaves. In winter, I swap in ornaments and a tiny artificial tree.
Pro tip: If you’re displaying photos, I recommend using photo corners instead of glue. They’re acid-free and make it easy to swap out photos later.
2. Gallery Wall Combinations
Shadow boxes look amazing in gallery walls. I combined three of them with some of my kids’ artwork in our hallway, and it’s become one of my favorite spots in the house. Here’s how I did it:
- I started by laying all the frames and artwork on the floor to play with the layout. I used painter’s tape to map out the spacing.
- I mixed different sizes – two 8×10 shadow boxes and one 11×14 frame with my daughter’s painting.
- I used a gallery wall grid to keep everything level. It’s a game-changer!
- I hung them all at the same time so I could adjust as I went. I had to move one frame down by an inch to make the spacing look right.
If you’re new to gallery walls, check out my step-by-step guide. It includes all my best tips for making your wall look intentional.
3. Lighting Tricks
Good lighting can make your shadow box display pop. Here’s what I’ve learned:
- For a museum look, I use battery-powered LED strips behind the display. They cast a soft glow that makes everything look more intentional.
- If your shadow box has a glass front, I recommend using a picture light that clips to the top. It’s perfect for displaying photos or delicate items.
- For 3D items, I like to use small spotlights. I found these mini LED spotlights that run on batteries and can be aimed exactly where I need them.
I made the mistake of using harsh overhead lighting on one of my displays, and it washed out all the colors. Now I always test the lighting from different angles before finalizing my arrangement.
Maintaining Your Shadow Box Display
Once your shadow box is up, you’ll want to keep it looking its best. Here’s my maintenance routine:
1. Dusting
I dust my shadow boxes every two weeks. I use a soft paintbrush to get into the nooks and crannies, and then I wipe down the glass with a microfiber cloth dampened with a little vinegar and water. It’s amazing how much dust can build up in just a few weeks!
2. Rotating Items
I like to rotate the items in my shadow boxes every few months. It keeps the display fresh and gives me a chance to swap in new memories. For example, I might take out the summer concert tickets and put in the fall festival wristbands.
3. Checking Adhesives
Every six months, I check the adhesive dots holding my keepsakes in place. If any of them are starting to lose their stick, I replace them. I keep a pack of 3M Command Strips in my craft drawer for this.
4. Protecting from Sunlight
I learned this the hard way – direct sunlight can fade your keepsakes over time. I have one shadow box in our living room that gets a lot of sun, and the concert tickets in it have already started to yellow. Now I use blackout curtains to protect it when the sun is strongest.
Final Thoughts (and What I’m Working On Next)
Shadow boxes have become one of my favorite ways to preserve our family’s memories. They’re not just about storage – they’re about creating visual stories that make our home feel personal. Plus, they’re a great way to display those keepsakes that would otherwise end up in a drawer or shoebox.
Right now, I’m working on a new shadow box for our upcoming family reunion. I’m collecting little items from each of our relatives to include – a program from my cousin’s wedding, a ticket stub from my aunt’s favorite concert, and even a tiny bottle of sand from my uncle’s beach house. It’s going to be a fun project, and I can’t wait to see how it turns out!
If you’re just starting out, don’t worry about making it perfect on the first try. My first attempt was a mess, but I learned from it and my displays have only gotten better. The most important thing is that your shadow box tells a story that’s meaningful to you.
Now I want to hear from you! What keepsakes are you thinking about displaying in a shadow box? I’d love to hear your ideas in the comments.
Frequently Asked Questions
What’s the best way to display 3D items in a shadow box?
For 3D items like trophies or seashells, I recommend using small acrylic stands or risers. They lift items up and create more visual interest. I found these clear acrylic risers on Amazon that work perfectly for my collection. You can also use museum putty or small easels to prop up items at different angles.
How do I keep my shadow box from looking cluttered?
This is something I struggled with at first. My advice is to leave some negative space and group similar items together. For example, I keep all my concert tickets in one section of my display, and all my seashells in another. It creates a more intentional look. Also, don’t be afraid to remove items if they’re not adding to the display.
What’s the best way to hang multiple shadow boxes together?
I use a gallery wall layout tool to keep everything aligned. I also recommend using the same type of frame for a cohesive look. If you’re mixing different sizes, I like to use the largest frame as the anchor and build around it. And always, always use a level!
How often should I dust my shadow box?
I dust mine every two weeks. I use a soft paintbrush to get into the nooks and crannies, and then I wipe down the glass with a microfiber cloth. If you have a lot of dust in your home, you might need to do it more often. I also check the adhesive dots holding my keepsakes in place every six months to make sure they’re still secure.
Can I use a shadow box for my kids’ artwork?
Absolutely! I have a shadow box in our kitchen that displays my kids’ favorite drawings. I use photo corners to secure the papers so I can easily swap them out as their tastes change. It’s a great way to display their creativity without taking up a lot of space.
What’s the best way to display photos in a shadow box?
I recommend using photo corners or acrylic adhesive dots to secure your photos. They’re acid-free and won’t damage your prints over time. I also like to use a mat board to give my photos some depth. You can find these at any craft store, and they come in a variety of colors. If you’re displaying multiple photos, I like to arrange them in a grid pattern for a clean, intentional look.