
Knot Pillows: The Cozy, Handmade Accents That Actually Get Used
I’ll admit it,I was skeptical at first. When I saw those twisty, organic-shaped pillows popping up everywhere, I thought, “Cute, but how practical are they?” Turns out, they’re both: stylish home decor that actually gets used (my kids have claimed two as their “reading nooks” already).
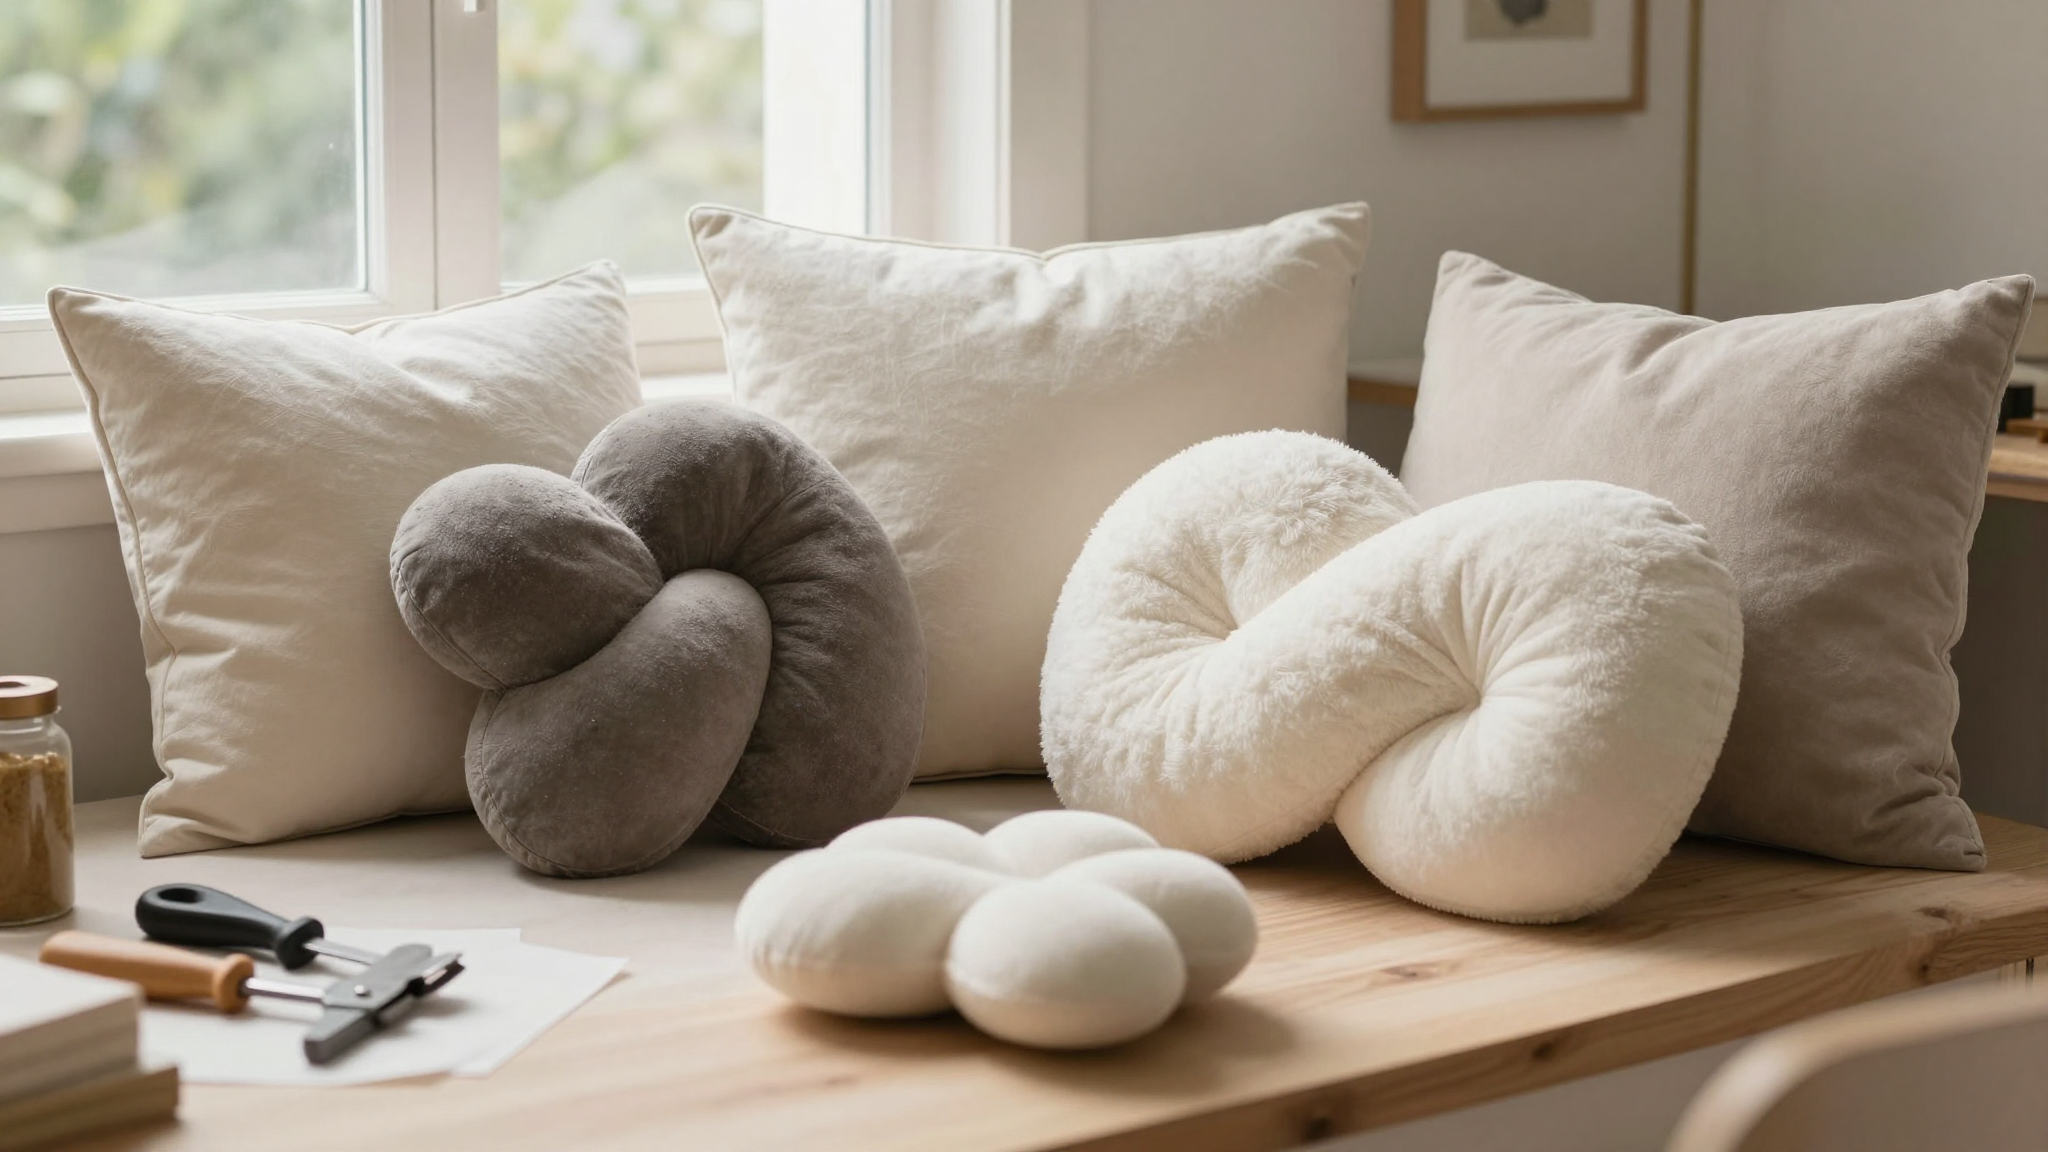
These sculptural accents,inspired by Icelandic designer Ragnheiður Ösp Sigurðardóttir,aren’t just for Instagram. They’re the kind of piece that makes your living room feel like a curated gallery while still being soft enough to nap on. And the best part? You can make them yourself with just a few supplies and a little patience (I burned through three fabric strips before getting the hang of it).
I’ve spent the last few weeks testing different materials, stitching techniques, and styling tricks to figure out what works,and what doesn’t. Here’s what I’ve learned, along with a step-by-step guide to making your own. No advanced sewing skills required, just a willingness to laugh at your first few attempts (trust me, mine looked like a tangled ball of yarn at first).
Why Knot Pillows? The Story Behind the Trend
I’ve always been fascinated by how old ideas get reinvented in new ways. Knot pillows are a perfect example. They trace back to something as simple as sailors tying ropes,practical, functional, and full of character. Fast-forward a few centuries, and designers like Sigurðardóttir turned those same knots into modern home decor.
What I love most about them is how they bridge the gap between art and comfort. They’re not just pretty to look at; they’re meant to be touched, squeezed, and leaned on. And because they’re made from sustainable materials like natural latex and organic cotton, they’re kinder to the planet than most store-bought decor.
I’ll be honest,I tried making one with regular polyester fill first, and it just didn’t have the same squishy, inviting feel. The difference when I switched to a mix of polyester fiberfill and latex foam pellets was night and day. Now, I can’t imagine my couch without at least one of these pillows draped over it.
If you’re curious about the history, there’s a great short video that dives into how these designs evolved from Viking-era knots to today’s trendy living room staples. But if you’re like me and just want to jump in and make one, skip ahead,I’ve got you covered.
DIY Knot Pillow: What You’ll Need (and What I Wish I’d Known)
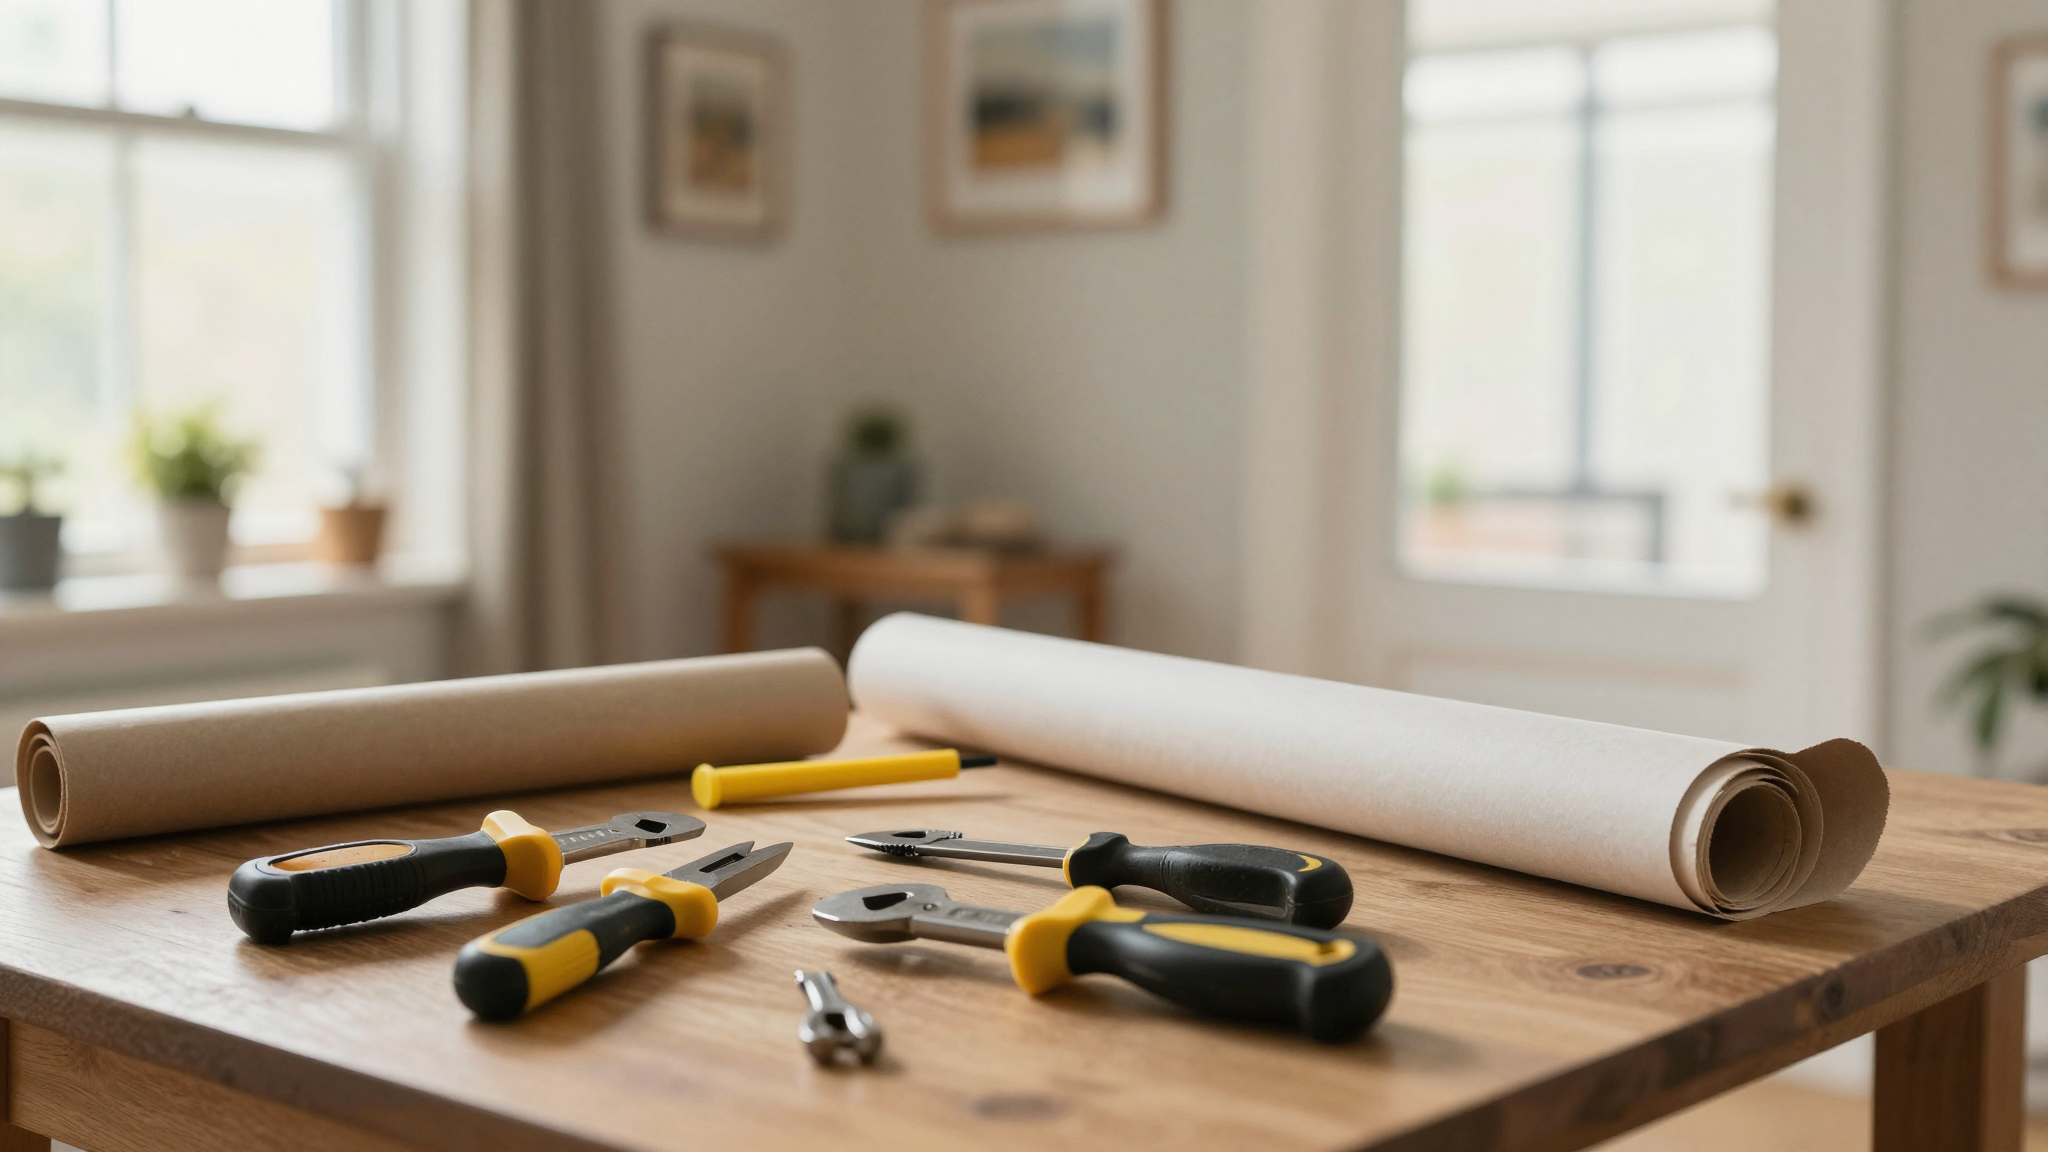
Before you start, let me save you some time (and a few choice words). Here’s exactly what you’ll need, plus the mistakes I made so you don’t have to repeat them:
- Stretchy knit fabric (I used a soft, breathable cotton blend from Joann Fabrics,it’s pricier but worth it for the texture). Pro tip: Avoid stiff fabrics like denim or canvas; they won’t drape right.
- Polyester fiber fill (3 pounds should be enough for a medium-sized pillow). I started with 2 pounds and had to run back to the store halfway through.
- Cardboard tube (the kind from a paper towel roll works in a pinch, but I grabbed a thicker mailing tube for better structure).
- Sewing machine (or a needle and thread if you’re feeling ambitious,I tried hand-sewing the first one and regretted it immediately).
- Scissors (sharp ones! Dull scissors will fray your fabric edges, and trust me, you don’t want to deal with that).
- Fabric marker or chalk (for marking your cuts,don’t skip this step like I did the first time).
Oh, and one more thing: patience. My first attempt looked like a failed science experiment, but the second one turned out great. Don’t get discouraged if yours isn’t perfect right away.
Step-by-Step: How to Make a Knot Pillow
Alright, let’s get to the good stuff. Here’s how I made mine, with all the tweaks I learned along the way:
- Cut your fabric into strips that are 7 inches wide and at least 54 inches long. I started with 6-inch strips and ended up with a pillow that was way too squat. Seven inches gives you that perfect balance of height and squish.
- Sew the edges with a zigzag stitch, leaving one end open. This is where I messed up the first time,I used a straight stitch and ended up with gaps in the seams. A zigzag stitch is non-negotiable.
- Slide the sleeve onto your cardboard tube, then flip it inside out so the seams are hidden. This step took me a few tries to get right, but it’s worth it for a clean finish.
- Stuff it firmly. This is where the magic happens. I used a mix of polyester fiberfill and latex foam pellets for the perfect balance of softness and structure. Pack it tightly, but not so tight that it loses its shape.
- Tie the knots. This is the fun part! I watched a few tutorials before starting, and it made a huge difference. The key is to keep the tension even so the knots look intentional, not messy.
If you’re a visual learner like me, I found this step-by-step tutorial incredibly helpful. It walks you through each part with photos, which was a lifesaver when I was stuck on the stuffing step.
Pro Tips from My Trial and Error
Here’s what I wish I’d known before starting:
- Trace your knot with a second fabric sleeve if you want a polished look. I didn’t do this on my first pillow, and the raw edges showed. It’s an extra step, but it makes a huge difference.
- Adjust the length of your fabric strips to change the size of your knots. Shorter strips = smaller, tighter knots. Longer strips = bigger, looser loops. I made one of each, and the bigger knots look amazing on my sectional.
- Use a stuffing tool (or even a chopstick) to get into all the nooks and crannies. I tried stuffing mine by hand and ended up with lumpy spots. A tool makes it so much easier.
- Don’t skip the cardboard tube. I tried rolling the fabric without it the first time, and the knots didn’t hold their shape. The tube gives you that perfect cylindrical base to work with.
Oh, and one more thing,if you’re like me and love a good shortcut, you can upcycle old fabric from clothes or bedsheets. I used an old pair of jeans for one of mine, and it turned out great (plus, it saved me money!).
Styling Your Space with Knot Pillows
Now for the fun part: making these pillows work in your home. I’ve experimented with different placements and color schemes, and here’s what I’ve found:
First, let’s talk about color. I started with neutral tones,think soft grays and creams,but then I got bold and tried a deep teal. The teal one is my favorite because it pops against my sofa (which is a warm beige). If you’re unsure, stick to a color palette you already love in your space. For more ideas, check out my bedroom makeover guide,it’s got great tips on pulling together a cohesive look.
As for placement, I’ve found that knot pillows work anywhere you want to add a little texture and coziness:
- On the sofa: I layered mine with a chunky knit throw and a few smaller throw pillows. The mix of textures makes the space feel so inviting.
- In a reading nook: My kids claimed one for their bean bag chair, and now it’s their favorite spot to curl up with a book.
- On a bed: I added one to the foot of my bed, and it’s become my go-to spot to sit and scroll through my phone in the morning.
- On a chair or ottoman: A single knot pillow can elevate a plain chair or ottoman instantly. I did this with an old armchair, and it looks like it belongs in a magazine.
If you’re feeling really ambitious, you can even use knot pillows as part of a larger decor scheme. I hung a few on the wall in my daughter’s room (yes, really!), and they look like modern art. Just attach them with removable hooks so you can change things up whenever you want.
One thing I’ve learned is that knot pillows are super versatile. They work in modern spaces, cozy cottages, and even minimalist apartments. The key is to balance them with other textures,like wood, metal, or smooth ceramics,to keep the look intentional.
Final Thoughts (and What to Do Next)
If you’ve made it this far, you’re probably itching to start your own knot pillow. Here’s what I suggest:

- Grab your supplies (and maybe grab a coffee,this project is more relaxing than rushed).
- Start with one pillow so you can get the hang of the process before making a whole set.
- Have fun with it! These pillows are meant to be personal, so don’t stress about perfection. My first one is still a little lopsided, but I love it anyway.
- Share your creation! Tag me on Instagram @christinaprojects,I’d love to see what you come up with.
And if you’re looking for more ways to refresh your space, check out my upcycling guide or my list of must-have tools. Happy crafting!
FAQs: Your Knot Pillow Questions Answered
What’s the easiest fabric to work with for knot pillows?
I’ve tried a few, and stretchy knit cotton is the easiest. It’s forgiving, drapes well, and holds its shape. Avoid stiff fabrics like denim or canvas,they’re a nightmare to work with and don’t give you that soft, squishy feel.
How do I clean a knot pillow without ruining it?
If your pillow has a removable cover, toss it in the wash on a gentle cycle. For non-removable ones, spot-clean with a fabric-safe cleaner (I use Folex,it works great and doesn’t leave residue). Always check the care label first, though,some fabrics can shrink or bleed.
Can I make a knot pillow without a sewing machine?
Yes, but it’ll take longer. I hand-sewed one out of desperation when my machine was acting up, and it turned out fine (if a little slower). Use a strong needle and double up your thread for extra durability. If you’re not confident in your hand-sewing skills, consider investing in a basic sewing machine,it’s a game-changer for DIY projects.
Where can I buy pre-made knot pillows if I don’t want to DIY?
If you love the look but don’t have time to make them, check out Etsy for handmade options, or stores like Anthropologie and Urban Outfitters for trendy designs. I’ve seen some gorgeous ones in their living room sections!
How do I style knot pillows in a small space?
In a small space, less is more. I’d recommend one or two medium-sized pillows to avoid clutter. Place them on a sofa, a chair, or even a bed to add texture without overwhelming the room. If you’re short on space, consider hanging one on the wall as a statement piece,it’ll look like modern art!