
Custom Picture Frames: A Weekend Project That Actually Feels Doable
I’ll be honest – I used to think making my own picture frames was one of those “DIY projects for people with more time than sense.” Then I tried it with my kids’ school photos last year, and now I’m obsessed. There’s something magical about turning a simple 8×10 print into something that looks like it belongs in a gallery (even if it’s just hanging above our kitchen table).
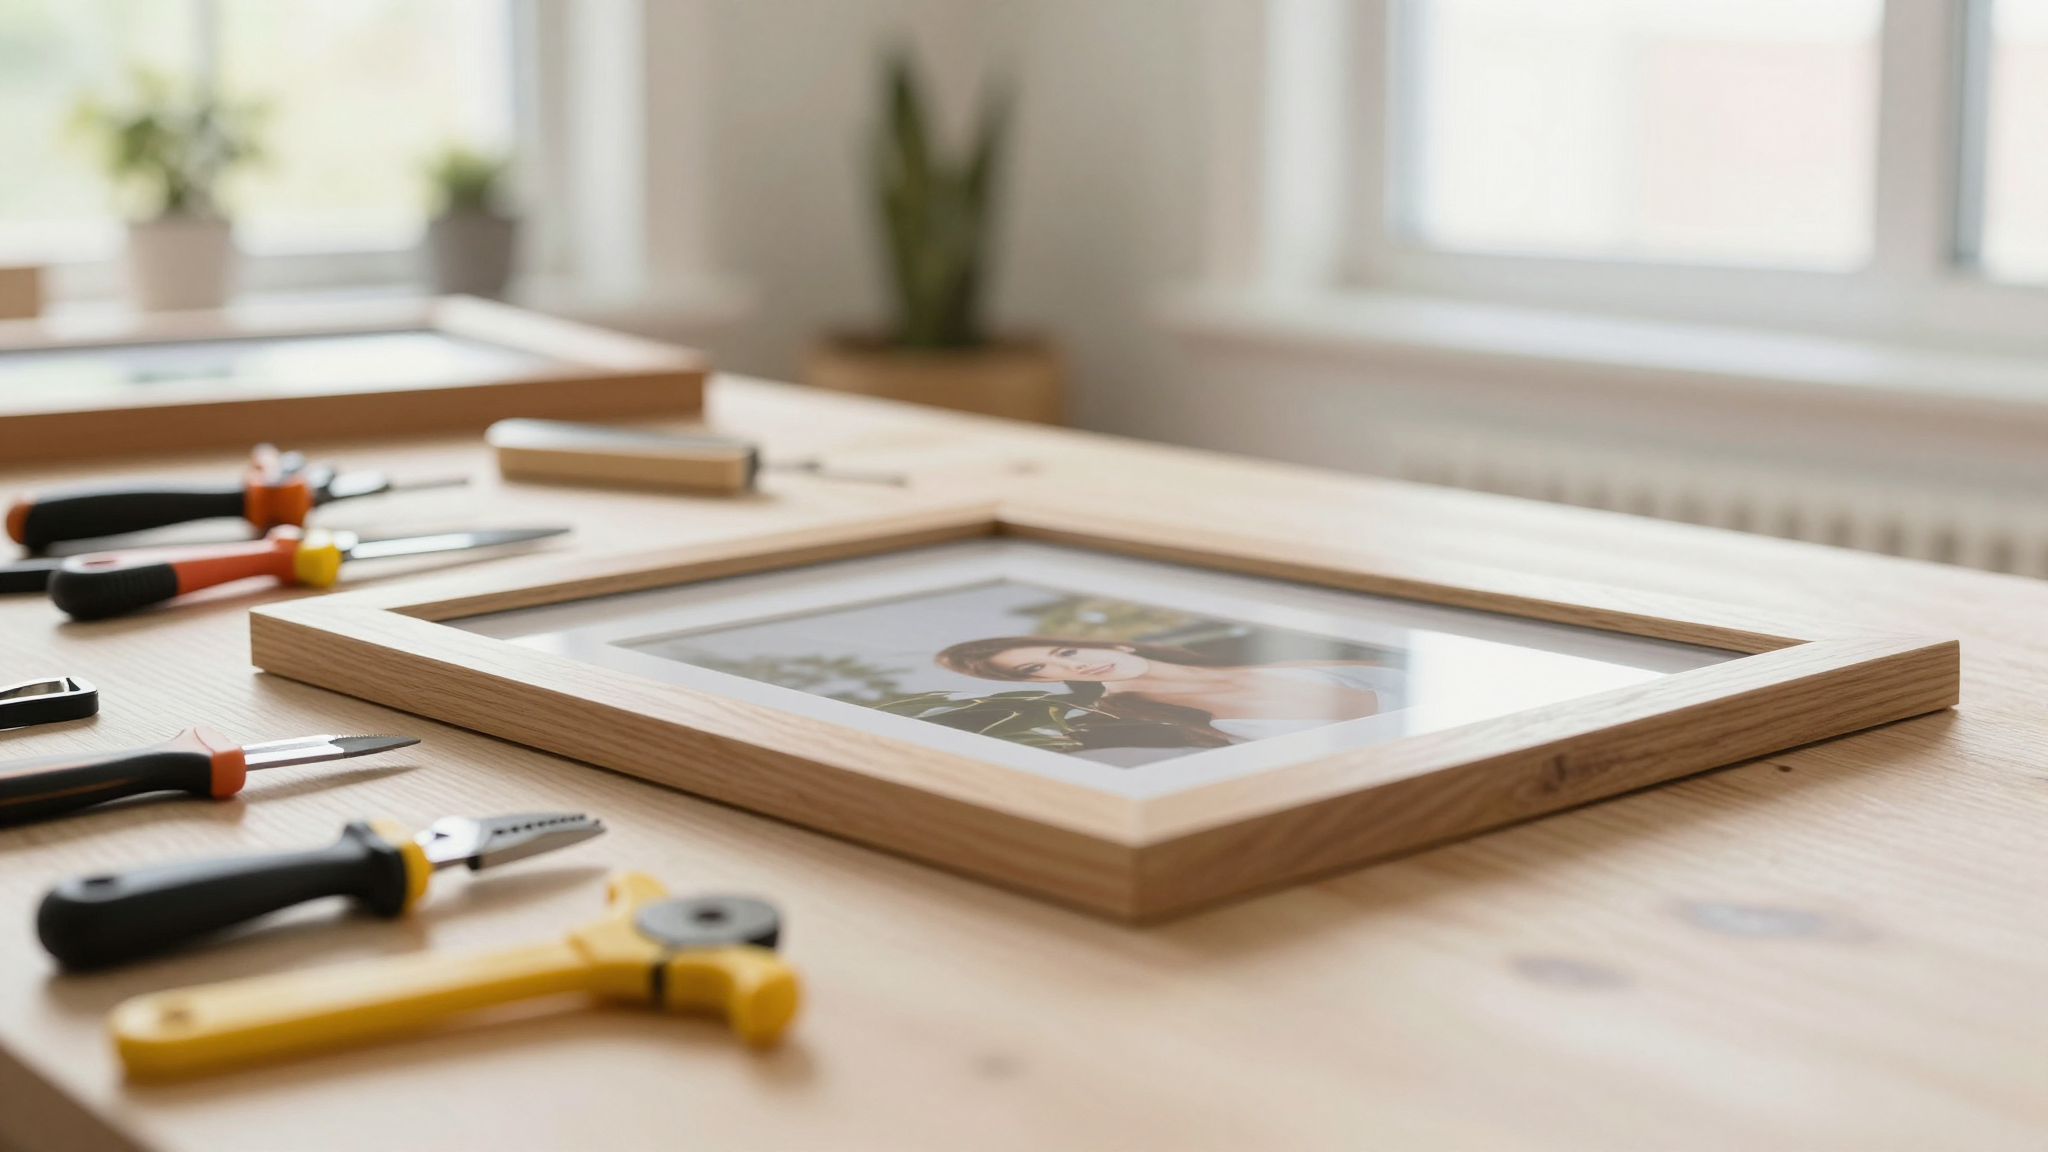
The best part? You can do this in a weekend with basic tools and materials from places like Target. No fancy equipment, no advanced woodworking skills – just some measuring, cutting, and a little creativity. I’ve made frames for everything from our family vacation photos to my daughter’s finger-painted masterpieces (yes, we framed that one), and each project has given our walls so much more personality than any store-bought frame ever could.
I still remember the first time I tried this. I bought some pre-cut wood strips at Target, grabbed my miter saw (which I borrowed from my neighbor because I didn’t own one yet), and ended up with frames that looked… well, let’s just say they weren’t perfect. But they were ours. And that’s what matters. Now I’ve got a whole system down, and I’m excited to share it with you so you can create something special for your own space.
Let’s talk about why this project is worth your time, what materials you’ll need, and how to actually make it happen without pulling your hair out. Oh, and I’ll share some of the mistakes I made along the way so you can avoid them!
Why Bother Making Your Own Frames?
I get it – when you’re short on time and just need something to hold your photos, it’s tempting to grab whatever’s on sale at the drugstore. But here’s the thing: custom frames let you create something that’s uniquely yours. They can match your home’s style perfectly, fit unusual sizes, and even become conversation pieces in their own right.
Take our living room, for example. We have this one wall that’s been bare for years because nothing we found in stores seemed to fit. Then I made a set of rustic wood frames in varying sizes, and now it’s become our favorite spot in the house. People are always asking where I got them, and I love being able to say, “I made these!”
Plus, it’s actually more affordable than you might think. A simple frame from a craft store can cost $20-$40, but you can make several for that same price. And if you’re framing something unusual – like a large poster or a quirky-shaped print – custom frames are often your only option.
I also love that this project lets me match frames to specific rooms. Our farmhouse-style kitchen gets rustic wood frames, while our modern bedroom has sleek metal ones. It’s a great way to tie your decor together without everything looking matchy-matchy.
And here’s a bonus: making your own frames is oddly satisfying. There’s something about seeing a raw piece of wood transform into something beautiful that just makes you feel accomplished. Trust me, after your first successful project, you’ll be hooked.
What You’ll Need to Get Started
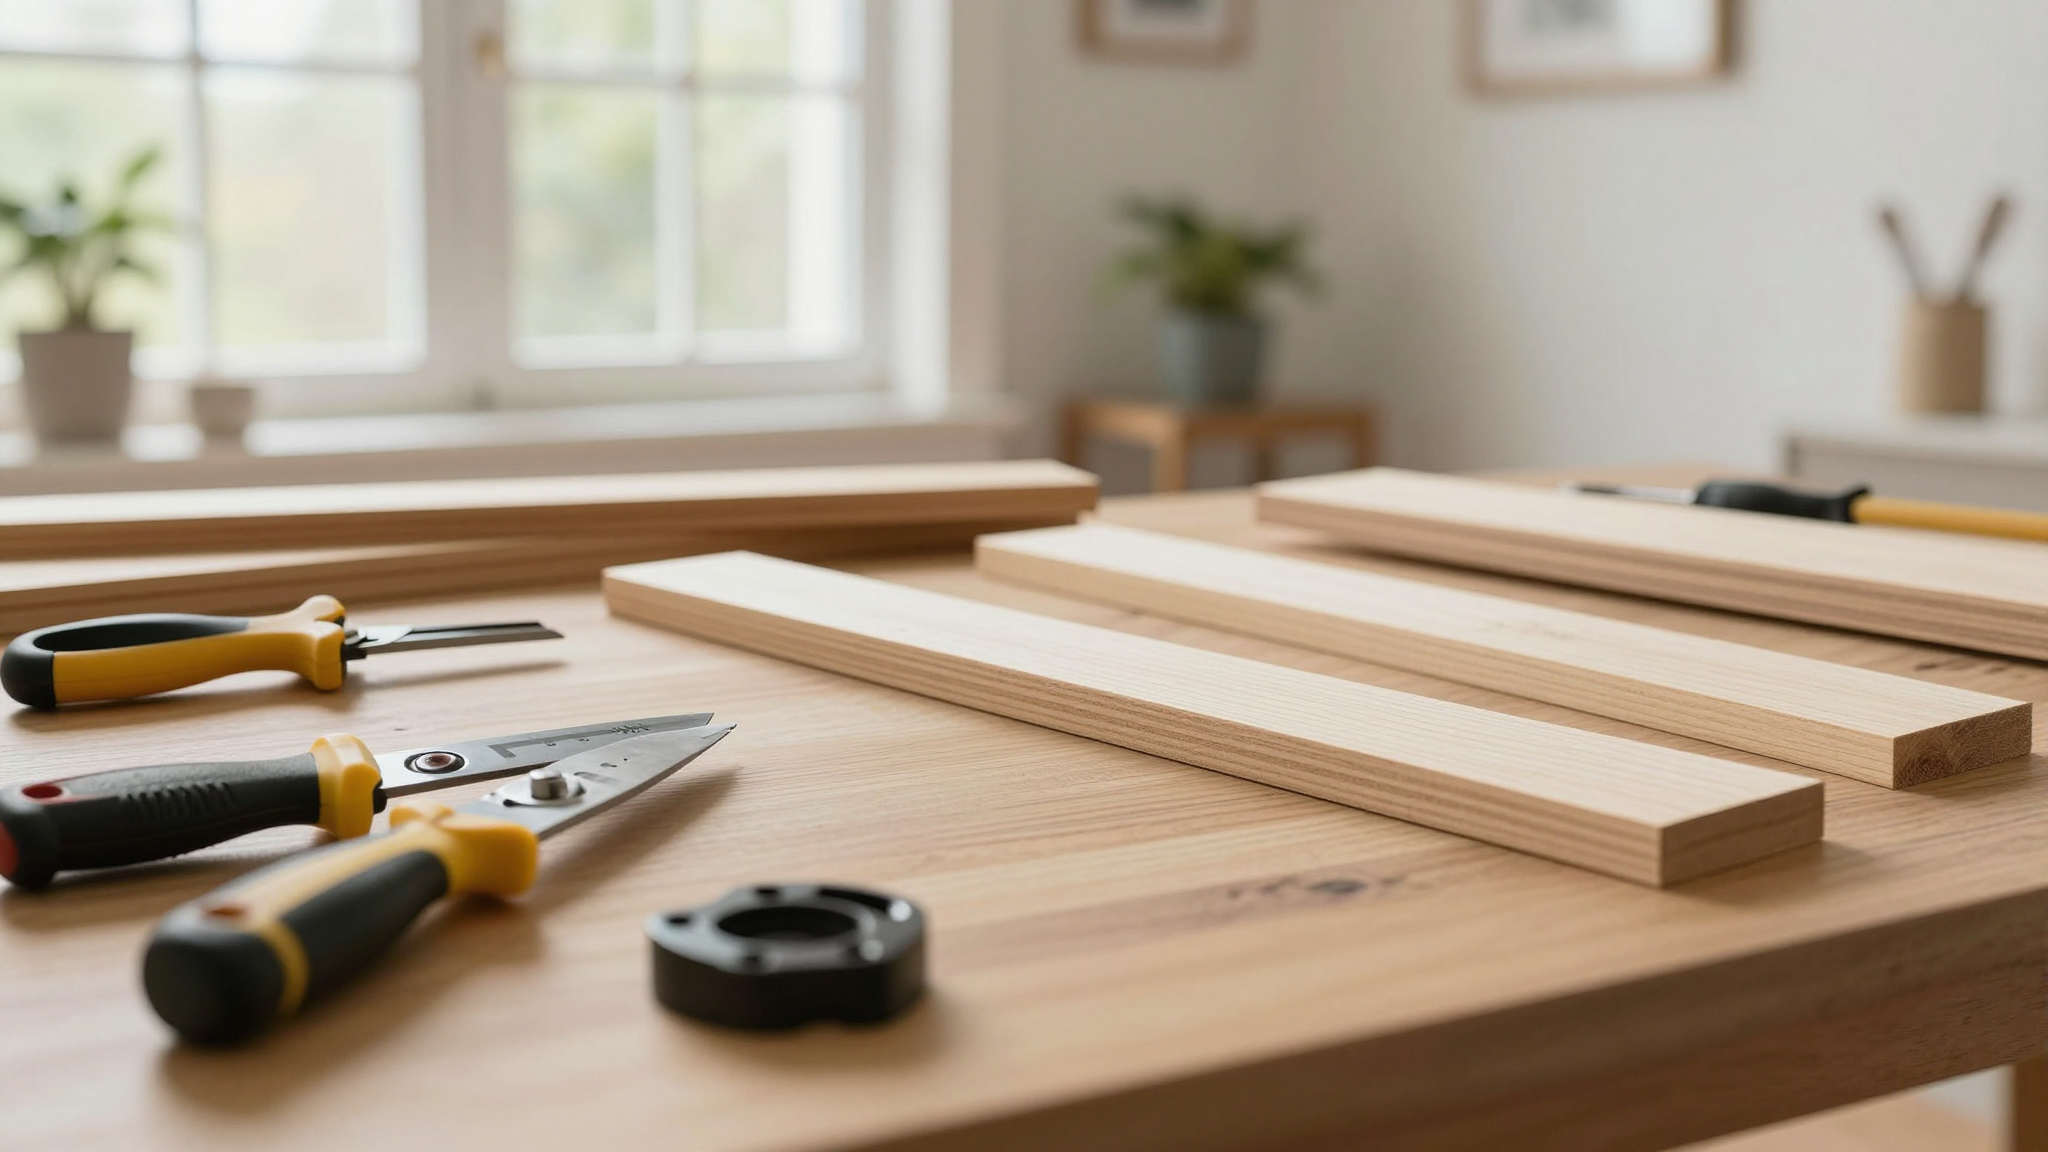
Don’t let the idea of “building” frames intimidate you. You don’t need a fully equipped workshop. Here’s what I actually use:
- Materials: Pre-cut wood strips (I get mine at Target – they have a great selection of widths and finishes), wood glue, sandpaper (120 and 220 grit), paint or stain, and a clear finish like polyurethane.
- Tools: A miter saw (or you can have the store cut your wood for you), a measuring tape, clamps, a paintbrush, and safety glasses (because splinters are no fun).
- Extras that help: A pencil for marking cuts, painter’s tape for clean edges, and a level if you’re hanging them yourself.
Pro tip: If you don’t have a miter saw, most hardware stores will cut wood for you. I’ve done this plenty of times when I’m in a hurry or don’t want to deal with sawdust in my garage. Just bring your measurements and they’ll do the cutting for a small fee.
One thing I learned the hard way? Don’t skimp on the wood glue. I tried using regular white glue on my first project, and let’s just say it didn’t hold up well. Now I always use Titebond III – it’s waterproof and dries clear, and it’s become my go-to for all wood projects.
Choosing Your Materials: Wood vs. Metal vs. Acrylic
This is where the fun begins! The material you choose will set the tone for your entire frame, so take some time to think about what will work best in your space.
Wood: The Classic Choice
Wood is my personal favorite because it’s warm, versatile, and easy to work with. You can stain it any color you want, paint it, or even leave it natural for a rustic look. Plus, it’s forgiving if you make a mistake – a little sandpaper can fix most imperfections.
I’ve used pine, poplar, and even reclaimed wood for different projects. Pine is the most affordable and easy to find, while poplar has a smoother surface that takes paint well. For a more high-end look, I’ve seen beautiful results with oak or walnut, but those can be pricier.
One of my favorite projects was making frames for our wedding photos using reclaimed barn wood. We found some old wood at a salvage yard, sanded it down, and gave it a light stain. The frames turned out so beautiful that they actually look like they belong in a fancy gallery – not just in our family room!
Metal: For a Modern Look
If you’re going for a more contemporary style, metal frames are a great choice. They come in finishes like brushed nickel, black, gold, and even copper. I used some simple metal strips to make frames for our daughter’s black-and-white portraits, and they look amazing against our white walls.
Metal frames are also great if you’re framing something with a lot of texture or color, because the simple, clean lines won’t compete with the artwork. And they’re super easy to assemble – just measure, cut (if needed), and attach the corners.
I will say that metal can be trickier to work with if you’re not used to it. The first time I tried to cut metal strips at home, I made a huge mess. Now I either buy pre-cut pieces or have the store cut them for me. It’s worth the small extra cost to avoid the frustration!
Acrylic: For a Sleek, Modern Look
Acrylic frames give you that super modern, minimalist look. They’re clear or come in fun colors, and they let the artwork really shine. I used some clear acrylic frames for our son’s science fair projects, and they look so professional!
The downside? Acrylic can be more expensive than wood or metal, and it’s not as forgiving if you make a mistake. You can’t sand it like wood, and scratches are more visible. But if you’re careful, it’s a gorgeous option for a contemporary space.
I also love using acrylic for floating frames – you know, the ones that look like the picture is just hanging in mid-air. They’re a little more advanced to make, but the effect is worth it. I’ve seen some beautiful examples on gallery walls that use this technique.
Planning Your Project: Sizes and Styles
Before you start cutting anything, you need to plan. This is where I’ve made some of my biggest mistakes – like cutting wood to the wrong size or not accounting for the mat. So let me share what I’ve learned to save you some headaches!
Measuring Like a Pro
First, measure your artwork or photo. I always measure twice – once to make sure I have the right dimensions, and again before I start cutting. It’s amazing how often I’ve caught a mistake in this second measurement!
Then, decide how wide you want your frame to be. Standard widths are usually 1-2 inches, but you can go wider for a more dramatic look. Just remember that wider frames will make your artwork look smaller in comparison.
Here’s my formula for sizing:
- Measure your artwork (let’s say it’s 8×10 inches)
- Add twice the width of your frame to each dimension (if your frame is 1.5 inches wide, add 3 inches to each side)
- This gives you the total size of your frame (for an 8×10 with 1.5-inch frames, that would be 11×13 inches)
Pro tip: If you’re using a mat, add the mat’s width to your calculations. For example, if your mat is 0.5 inches wide, you’d add 1 inch to each dimension of your artwork before adding the frame width.
Choosing Your Style
This is where you can really let your creativity shine! Do you want a simple, clean look? Or something more ornate? Here are some styles I’ve tried:
- Simple mitered corners: This is the classic look – clean lines and a polished finish. It’s what I used for most of our family photos.
- Floating frames: These look like the picture is suspended in mid-air. They’re a little more advanced to make, but the effect is stunning.
- Distressed frames: For a rustic look, you can sand the edges or use a special paint technique to make the wood look aged.
- Mixed materials: Combine wood with metal or acrylic for a unique look. I did this for our dining room frames, using wood for the main part and metal corners.
One thing I love doing is mixing frame styles in a gallery wall. For example, I might have some simple wood frames, some metal ones, and a few with a distressed finish. It creates visual interest and makes the wall feel more dynamic.
I also like to think about how the frames will work with the rest of the room. For our living room, I chose frames that complement our furniture and rug. It’s all about creating a cohesive look that ties everything together.
Step-by-Step: Building Your Frames
Now for the fun part – actually building your frames! I’ll walk you through my process, including some of the lessons I’ve learned along the way.
Gathering Your Supplies
Before you start, make sure you have everything ready:
- Your pre-cut wood or other materials
- Wood glue
- Clamps (I have a set of these clamps from Home Depot that I use for everything)
- Sandpaper (120 grit for initial sanding, 220 for final smoothing)
- Paint, stain, or other finish
- Brushes or rags for applying finish
- Safety glasses (trust me, you’ll thank me later)
I like to lay everything out on a clean surface before I start. It makes the process feel more organized and helps me see what I have to work with. I also keep a small notebook nearby to jot down measurements or notes.
Cutting Your Pieces
If you’re cutting your own wood, you’ll need to make 45-degree angle cuts at each end so the corners will fit together nicely. This is where a miter saw comes in handy, but like I mentioned earlier, you can have the store do this for you.
Here’s how I do it:
- Measure and mark your cuts carefully. Double-check your measurements before cutting!
- Put on your safety glasses.
- Make your first cut at a 45-degree angle. If you’re not sure about the angle, most miter saws have markings to guide you.
- Flip the wood and make the matching cut on the other end.
- Repeat for all four pieces of your frame.
Pro tip: If you’re making multiple frames, cut all the pieces for one frame before moving on to the next. This helps keep everything organized and makes it easier to keep track of which pieces go together.
I made the mistake early on of cutting all the pieces for all my frames at once, and then I got everything mixed up. Now I take it one frame at a time to avoid confusion.
Assembling Your Frame
Now it’s time to put everything together. This is where the wood glue comes in. I like to use a Titebond III because it’s strong and dries clear.
Here’s my assembly process:
- Lay out your four pieces on a flat surface to make sure they fit together properly.
- Apply a thin line of wood glue along the inside edge of one piece.
- Press the matching piece into place, making sure the corners line up perfectly.
- Use clamps to hold everything in place while the glue dries. I usually clamp for about 30 minutes, then check to make sure everything is still aligned.
- Repeat for the other two corners.
- Let the glue dry completely (usually overnight) before moving on to the next step.
One thing I learned the hard way? Don’t move your frames too soon after gluing. I once tried to “help things along” by moving a frame after just a few hours, and it ended up with a crooked corner. Now I’m patient and let the glue do its job!
Finishing Your Frame
Once your frame is assembled and the glue is dry, it’s time to add the finish. This is where you can really make your frame your own!
If you’re painting your frame, I recommend using a high-quality paint like Behr Premium. It goes on smoothly and gives a professional-looking finish. For wood, I like to use a stain like Minwax for a natural look, or a paint if I want something more colorful.
Here’s my finishing process:
- Lightly sand your frame with 120-grit sandpaper to smooth out any rough spots.
- Wipe away any dust with a damp cloth.
- Apply your first coat of paint or stain, following the product instructions.
- Let it dry completely (usually a few hours).
- Lightly sand with 220-grit sandpaper to smooth any imperfections.
- Wipe away dust again.
- Apply a second coat if needed.
- Once your paint or stain is completely dry, apply a clear finish like polyurethane to protect your frame. I like to use a Minwax Polycrylic for a durable, clear finish.
- Let your frame dry completely before hanging it.
Pro tip: If you’re using a dark stain or paint, you might need to apply a wood conditioner first to help the finish absorb evenly. I learned this the hard way when I tried to stain some pine wood without conditioning it first – the result was spotty and uneven.
Hanging Your Frames: Tips for a Perfect Look
You’ve made your beautiful frames – now it’s time to hang them! This is where a little planning goes a long way to make your walls look polished and intentional.
Planning Your Layout
Before you start hammering nails into your wall, I recommend doing a little planning. Lay your frames out on the floor in the arrangement you want, then step back and look at it. Does it feel balanced? Are there any gaps that look too big or too small?
I like to use painter’s tape to map out my layout on the wall. It’s a great way to visualize how everything will look without making any permanent marks. Just measure the distance between your frames and mark the spots on the wall with tape.
One thing I’ve learned is that it’s better to have frames that are slightly uneven in height than perfectly even but too far apart. Our eyes naturally follow the lines of frames that are hung at slightly different heights, which creates a more dynamic look.
Hanging Your Frames
Now it’s time to hang your frames. Here’s how I do it:
- Use a level to mark where you want the top of your frame to be. I like to start with the largest frame and work my way out from there.
- Make a small mark on the wall at the top of your level.
- Use a nail or picture hook to hang your frame, aligning the top with your mark.
- Repeat for the other frames, making sure they’re spaced evenly.
- Step back and admire your handiwork!
Pro tip: If you’re hanging multiple frames, I recommend using a laser level to make sure everything is straight. It’s a small investment that makes a big difference in the final look.
I also like to use picture hooks instead of nails when I can. They’re easier to remove if I want to rearrange my frames later, and they don’t damage the wall as much.
Creative Ideas for Your Custom Frames
Now that you’ve got the basics down, let’s talk about some creative ways to use your custom frames!

Gallery Walls
One of my favorite ways to use custom frames is in a gallery wall. It’s a great way to display a collection of photos, art, or even memorabilia. And the best part? You can make it as big or as small as you want!
For our family room, I created a gallery wall using a mix of wood and metal frames in different sizes. I started by laying everything out on the floor to get the arrangement just right, then I used painter’s tape to mark the spots on the wall. It took a few tries to get it perfect, but the result was worth it.
I also like to mix in some three-dimensional elements, like floating shelves or small decorative objects. It adds depth to the wall and makes it feel more dynamic. For example, I added a small floating shelf below some of our frames to display a few of our kids’ favorite toys.
If you’re new to gallery walls, I recommend starting small. Pick a few frames and arrange them in a simple layout. You can always add more later as you collect more artwork or photos.
Floating Frames
Floating frames are one of my favorite trends right now. They look like the picture is just floating in mid-air, which creates a really modern, sophisticated look. And the best part? They’re not as hard to make as you might think!
To create a floating frame, you’ll need to build a box-like structure that holds your artwork in place. It’s a little more advanced than a simple frame, but the effect is stunning. I used this technique for some of our wedding photos, and they look amazing in our bedroom.
If you’re not sure how to make a floating frame, there are plenty of tutorials online. I found a great one on DIY accent walls that walks you through the process step by step.
Themed Frame Collections
Another fun idea is to create a collection of frames that all have a similar theme. For example, you could do:
- All wood frames in different stains for a natural look
- All metal frames in different finishes for a modern vibe
- Frames with a consistent color scheme, like all white or all black
- Frames with a specific style, like all distressed or all minimalist
I did this in our kitchen with a set of rustic wood frames. I used different widths and stains, but they all have a similar rustic feel that ties the space together. It’s a great way to create a cohesive look without everything being identical.
You can also theme your frames by the subject of the photos or art inside. For example, you could have a collection of frames displaying all your travel photos, or all your kids’ artwork. It’s a fun way to tell a story with your decor!
Final Tips and Tricks
Before you start your project, I want to share a few final tips and tricks that I’ve learned along the way.
Start Small
If you’re new to making custom frames, I recommend starting with a simple project. Maybe make a frame for a single 8×10 photo before tackling a whole gallery wall. It’s a great way to get comfortable with the process and build your confidence.
I remember my first project was a disaster. The corners didn’t line up, the paint was streaky, and I was ready to give up. But I kept at it, and now I’m making frames that I’m actually proud of. So don’t get discouraged if your first attempt isn’t perfect!
Embrace Imperfections
One of the things I love about handmade frames is that they’re not perfect – and that’s what makes them special. A little unevenness or a visible brushstroke just adds character. So don’t stress too much about making everything perfect. Instead, focus on having fun and creating something that you love.
I have a frame in our living room that has a tiny chip in the corner. It drives me crazy every time I look at it, but my husband loves it because it’s “imperfectly perfect.” And you know what? He’s right. It’s the little imperfections that make our home feel like ours.
Experiment with Different Materials
Don’t be afraid to try new things! I’ve made frames out of everything from reclaimed wood to old book covers. The possibilities are endless, and you never know what you’ll come up with.
For example, I once made a frame out of an old license plate I found at a flea market. It was a little tricky to work with, but the result was unique and conversation-starting. Now it’s one of my favorite frames in the house!
Have Fun!
Most importantly, have fun with your project. This is your chance to create something that’s uniquely yours, so don’t be afraid to let your personality shine. Whether you’re making frames for your kids’ artwork or your favorite travel photos, the most important thing is that you enjoy the process.
I still remember the first time I hung up a frame I made and felt that sense of pride. It was like a little piece of me was now part of our home. And that’s what DIY is all about – creating things that make your space feel like yours.
Now, grab your materials and get started! And if you run into any snags, just remember – I’ve been there too. The most important thing is to keep going and enjoy the process. Happy crafting!
Frequently Asked Questions
What tools do I need to make custom picture frames?
You’ll need a miter saw (or have the store cut your wood for you), wood glue, clamps, sandpaper, paint or stain, and a clear finish. Don’t forget safety glasses!
Can I make custom frames without a miter saw?
Absolutely! Many hardware stores will cut wood for you. Just bring your measurements and they’ll do the cutting for a small fee. I’ve done this plenty of times when I’m in a hurry.
What’s the best wood to use for picture frames?
Pine is the most affordable and easy to find. Poplar has a smoother surface that takes paint well, while oak or walnut give a more high-end look. Reclaimed wood is great for a rustic feel.
How do I choose the right size for my frames?
Measure your artwork, then add twice the width of your frame to each dimension. For example, an 8×10 photo with 1.5-inch frames would need an 11×13-inch frame.
What’s the best glue for wood frames?
I recommend Titebond III. It’s waterproof, dries clear, and gives a strong bond. Avoid regular white glue – it’s not strong enough for frames.
How do I hang my frames for a perfect look?
Use a level to mark where the top of each frame should be. Start with the largest frame and work your way out. For a dynamic look, hang frames at slightly different heights.
Can I make floating frames?
Yes! Floating frames require building a box-like structure to hold your artwork. There are plenty of tutorials online that walk you through the process step by step.
What’s the best way to finish my frames?
For a natural look, use a stain like Minwax. For a painted finish, I recommend Behr Premium. Always apply a clear finish like polyurethane to protect your frames.
How do I create a gallery wall?
Lay your frames out on the floor to plan your layout. Use painter’s tape to mark spots on the wall. Start with the largest frame and work your way out, keeping spacing consistent.
What if I make a mistake?
Don’t worry – mistakes happen! Sandpaper can fix rough edges, and a little extra paint can cover up imperfections. The most important thing is to keep going and enjoy the process.