
How I Make Memory Books That Feel Like a Hug (Not Just a Gift)
There’s something magical about flipping through a book and suddenly remembering the exact smell of a vacation, the sound of laughter at a birthday party, or the way your heart felt on your wedding day. These aren’t just photos,they’re time capsules of the moments that shaped us. And honestly? The ones I’ve made for my kids, my parents, and even myself have become some of the most treasured things in our home.
I’ll never forget the year I made a memory book for my mom’s 60th birthday. I spent weeks digging through old shoeboxes of photos, scanning in ticket stubs from her first concert (The Eagles, 1982,she still gets misty-eyed talking about it), and even including a handwritten recipe for her famous apple pie. When she opened it, she cried. Not little tears, either,the kind that make you grab for tissues and then laugh because you’re both a mess. That’s the power of a well-made memory book. It’s not just a gift. It’s a conversation you can hold in your hands.
Whether you’re celebrating a birthday, a retirement, or just the chaos and joy of everyday life, I’m here to walk you through how to create something that feels uniquely yours. No design degree required. Just a little patience, a lot of heart, and maybe a cup of coffee (or wine, no judgment).
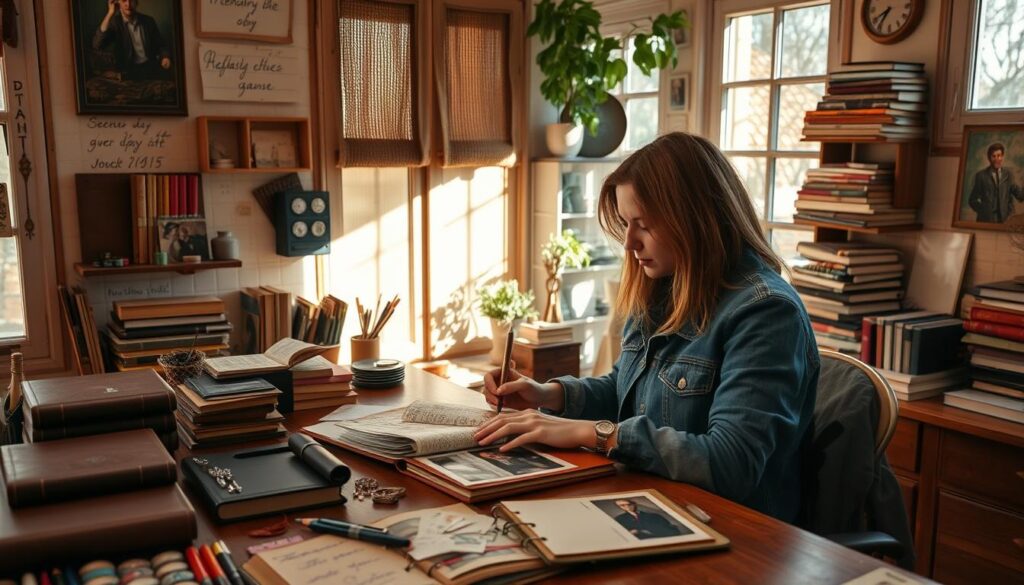
Where to Start: Finding Your Theme and Gathering Your Treasures
Before you even open a design app, you need to feel your way into the project. Ask yourself: What’s the emotion you want this book to carry? Is it nostalgia? Celebration? Love? My first memory book was for my daughter’s first year, and I went all out with soft pastels and tiny handprints pressed onto the pages. (Pro tip: Use washable paint and an old T-shirt as a stencil,it’s messier than it sounds, but so worth it.)
For my husband’s 50th birthday, I leaned into a vintage travel theme because he’s always wanted to see the world. I printed old maps, added ticket stubs from road trips we’d taken, and even included a page with “bucket list” destinations we still want to visit. The key? Let the theme guide your choices. If it’s a retirement book, think warm tones and textures,maybe even a faux leather cover. If it’s a birthday, go bold with bright colors or inside jokes only your friend group would get.
I like to use Mixbook for this step because their “Pick Your Theme” templates save me hours of staring at a blank screen. But if you’re more of a hands-on person (like me), grab a notebook and sketch out a rough layout first. Trust me, the time you spend planning here will save you from a frantic 2 a.m. “Why does this look terrible?” moment later.
Now, let’s talk photos. You don’t need a professional camera,just clear, well-lit images. I once made the mistake of using blurry phone shots for my sister’s wedding book, and it drove me crazy every time I looked at it. (Lesson learned: Natural light is your best friend. Shoot near a window, and avoid flash unless you’re going for that “deer in headlights” effect.)
Don’t forget the little things. A pressed flower from a first date, a concert wristband, a handwritten note from a grandparent,these are the details that make a memory book feel alive. I once included a burnt piece of toast from my son’s first attempt at cooking (yes, really) because it’s now one of his favorite memories. It’s not about perfection. It’s about authenticity.
And here’s a tip I learned the hard way: Edit ruthlessly. Too many photos crowd the pages and lose impact. I once tried to fit 50 images onto 10 pages for a family reunion book, and it looked like a chaotic collage. Now, I limit myself to the best 10-15 shots per section. Quality over quantity, every time.
Designing Your Book: Where the Magic (and a Few Curses) Happen
This is where things get fun,and, if I’m being honest, a little frustrating at first. But stick with it. Your book will thank you.
The first decision? Cover and paper. I’ve used a few different options over the years, and here’s what I’ve learned:
- Hardcover: Best for heirloom-quality books (like wedding albums or retirement gifts). The lay-flat option is a game-changer for panoramic photos,no more awkward gutters ruining your shots. I used a hardcover for my parents’ 40th anniversary book, and it’s held up beautifully after years of flipping through it.
- Softcover: Great for lightweight projects, like a travel journal or a quick birthday surprise. It’s easier to mail and fits in a purse, but it’s not as durable long-term. I made one of these for my best friend’s trip to Italy, and she still carries it in her backpack.
- Premium paper: If you’re printing at home, grab acid-free photo paper to keep colors vibrant. For digital prints, I love Shutterfly’s matte finish,it’s less glare-y than glossy and feels more luxurious.
Now, the layout. This is where I’ve had to remind myself: There’s no wrong way to do this. My first attempt at a memory book was a disaster,I overcrowded the pages, used 10 different fonts, and somehow made a family photo look like a crime scene. (Too much contrast, not enough white space. Rookie mistake.)
Here’s what I do now:
- Start with a template. Mixbook and Canva have gorgeous pre-made layouts. Pick one that matches your theme, then tweak it. For my daughter’s baby book, I used a minimalist grid to keep it clean and timeless.
- Vary your photo sizes. One full-page shot (like a family portrait) paired with smaller images (candid laughs, close-ups) creates visual interest. I love mixing in polaroid-style borders for a playful touch.
- Add text with intention. Captions, quotes, or even short stories bring the photos to life. For my husband’s book, I included little notes like, “This is where you burned the pancakes but we still ate them because we were starving.” (He laughs every time he reads it.)
- Embellish thoughtfully. Digital stickers, washi tape, or scanned-in handwritten notes add personality. I once scanned my mom’s handwritten recipe cards and used them as backgrounds for food-related pages. It’s the little details that make it feel personal.
And if you’re anything like me, you’ll second-guess everything. Did I use too much pink? Should I have cropped that photo differently? Here’s my advice: Step away for a day. Come back with fresh eyes, and you’ll see what’s working (and what’s not) much more clearly.
Making It Last: Tips for a Book That Feels Like a Heirloom
You’ve put so much love into this,now let’s make sure it stands the test of time. I’ve made some expensive mistakes here (looking at you, that one book with the flimsy glue that fell apart after a year), so let me save you some heartache.
First, paper matters. If you’re printing at home, use acid-free, archival-quality paper. It’s pricier, but it won’t yellow or crumble. For digital prints, I stick with matte or pearl finishes,they’re less prone to scratches than glossy. (I learned this after my sister’s wedding book got a big smudge on the cover after one party. Oops.)
Second, binding. Lay-flat books are worth the extra cost if you’re including panoramic shots or spreads. I used one for my niece’s first-year book, and it’s perfect for those adorable “baby in a pumpkin patch” photos where you want to see the whole scene.
Third, protect the cover. If you’re gifting it, wrap it in tissue paper or a cloth bag to keep it scratch-free during transport. For books you’ll handle often (like a family photo album), I spray the cover with a light clear sealant to add a little extra durability.
And finally, leave room to grow. If it’s a milestone book (like a retirement or graduation), add a few blank pages at the end. You never know when you’ll want to add a new memory,like a post-retirement trip or a college graduation update.
When to Give It: Milestones That Deserve a Memory Book
Some moments are too special for just a card or a text. Here’s how I’ve used memory books to celebrate the big (and not-so-big) moments in life.
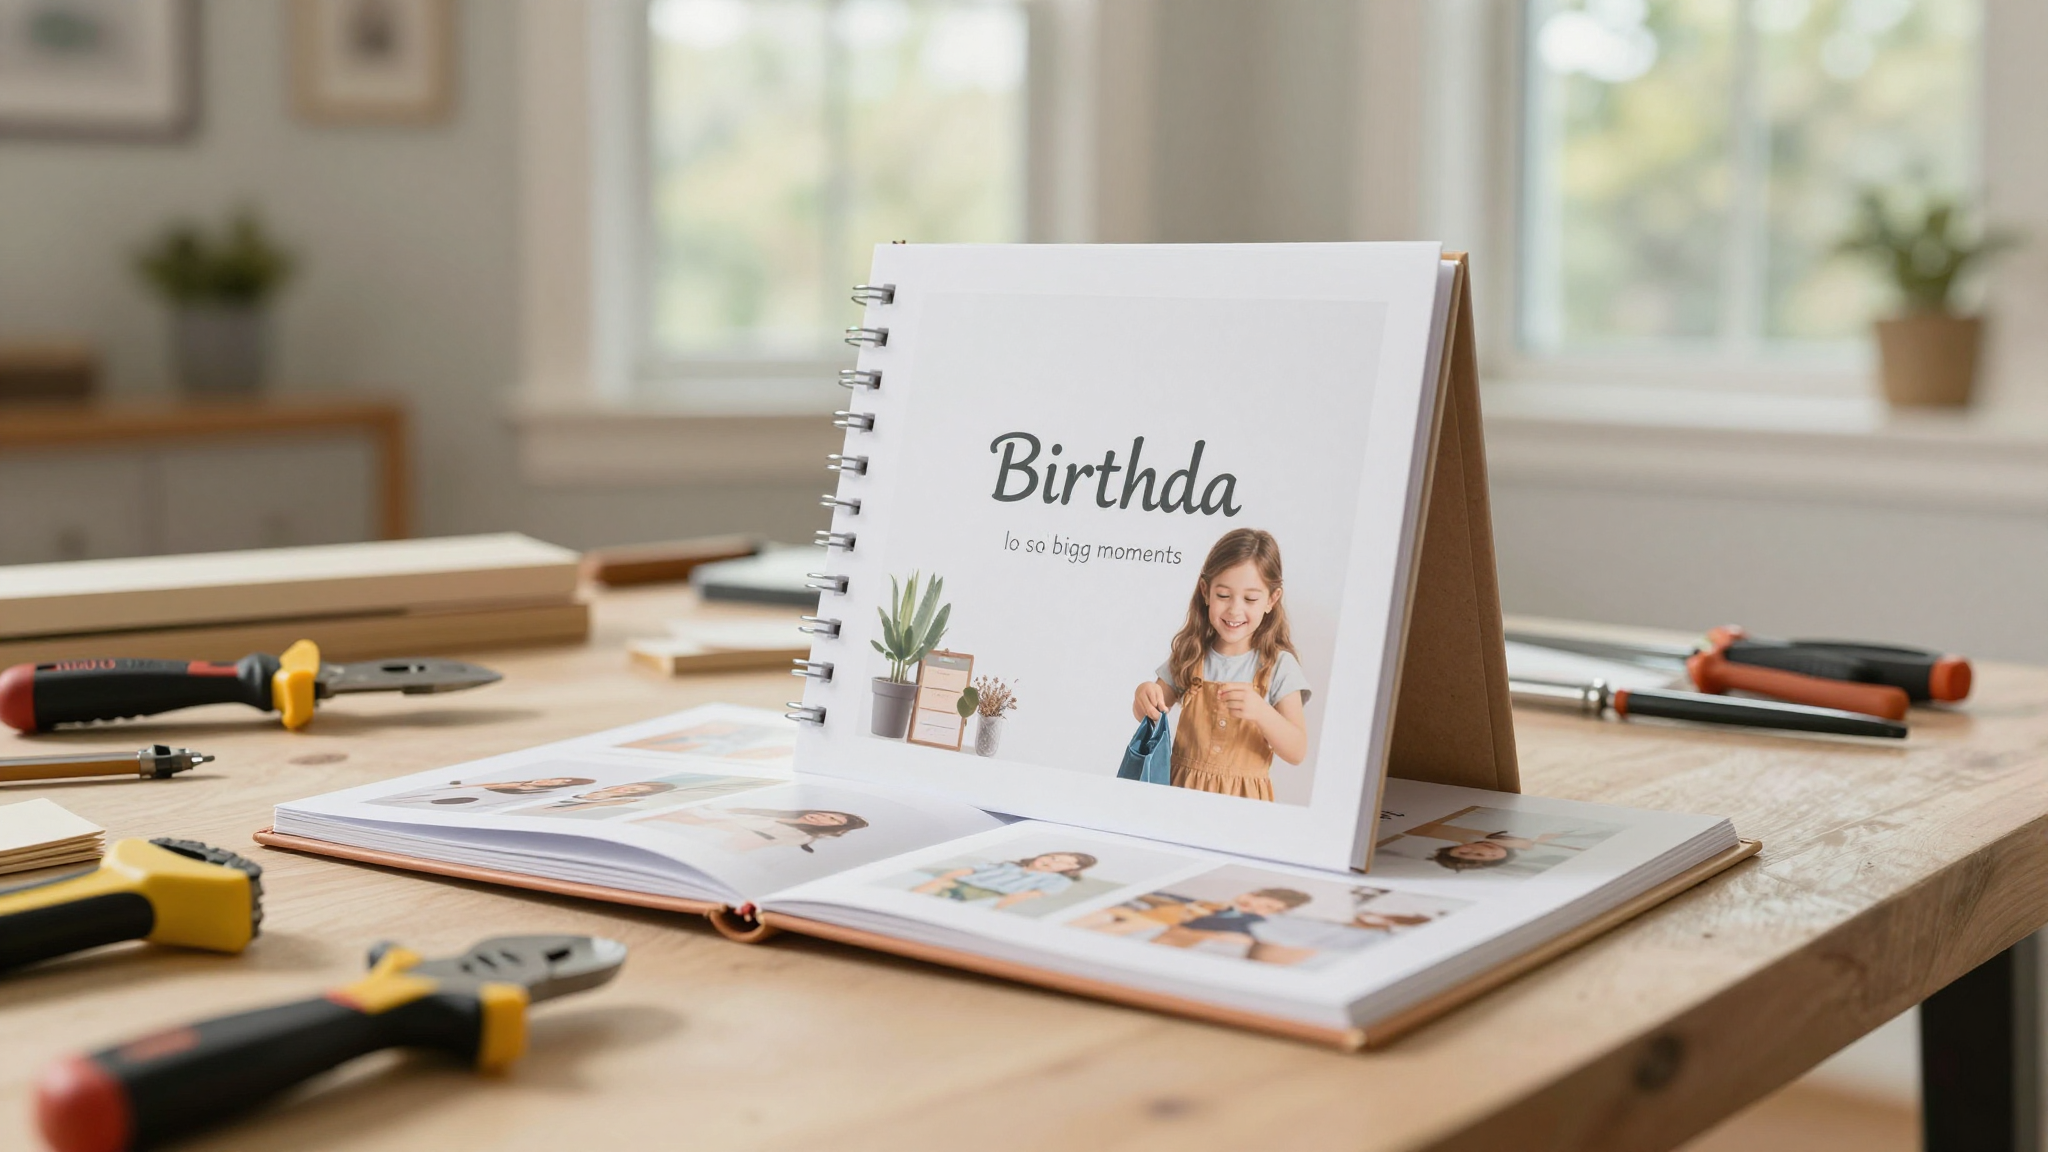
Birthdays and Anniversaries: The Classics
For birthdays, I love mixing childhood photos with handwritten notes from friends and family. One year, I made a book for my best friend’s 40th and included letters from her kids, her parents, and even her dog’s “autograph” (yes, I forged it. She loved it.).
Anniversaries are perfect for timelines. I did this for my parents’ 40th, and we laid out photos from each decade of their marriage. The captions told little stories,like “1985: The year Dad tried (and failed) to grow a mustache” or “2002: When we finally got a dishwasher and never looked back.” They laughed, cried, and then immediately started planning their 50th.
Retirements, Graduations, and Other Big Moments
Retirement books are some of my favorites to make. They’re a chance to celebrate a career and the person behind it. For my dad’s retirement, I included photos from his office, notes from coworkers, and even a page about his “secret talent” (turns out, he’s an amazing whistler. Who knew?).
Graduation books are a little different,they’re about looking forward as much as looking back. I made one for my nephew’s high school graduation, and I included his acceptance letter to college, a page of “advice from his favorite teachers,” and even a “bucket list” for his first year away. He still pulls it out before big exams for a boost of confidence.
Pro tip: Display it. A memory book looks stunning on a coffee table or mounted on a gallery wall. I framed a few pages from my daughter’s baby book and hung them in her room. Every time she walks by, she stops to point at something new she notices.
Final Thoughts (And a Little Push to Get Started)
I could go on forever about memory books,because once you start, you’ll see how much joy they bring. But I’ll leave you with this: Don’t wait for the “perfect” moment. Life moves fast, and those little details (the burnt toast, the concert wristband, the handwritten note) matter more than you think.
So grab your photos, pick a theme, and start playing with layouts. And if you get stuck? That’s what I’m here for. Check out my other DIY projects for more inspiration,or just send me a message. I’d love to see what you create.
Now, go make something that tells your story.