
5 Real Ways to Modernize Your Outdated Kitchen Cabinets (Without Replacing Them)
I’ll be honest,my kitchen used to look like it was stuck in 2005. Dark, heavy cabinets, dated hardware, and a color scheme that made me want to hide my coffee mugs. When I realized a full cabinet replacement wasn’t in the budget (or the timeline), I rolled up my sleeves and got creative. What I found? A few strategic updates can make even the most tired kitchen look fresh, modern, and,dare I say,*designer-worthy*.
No, I’m not promising a magazine-worthy transformation overnight. But I am telling you that with some paint, new hardware, and a little elbow grease, you can give your kitchen the upgrade it deserves. Here’s exactly how I did it,and where I learned the hard way.
Why I Chose DIY Over a Full Renovation
Let me set the scene: I’m standing in my kitchen, staring at cabinets that were once a bold choice (in 1998). The wood was scratched, the paint was chipping, and the brass handles looked like they belonged in a time capsule. My options were:
- Spend thousands on new cabinets (not happening).
- Live with the dated look (also not happening).
- DIY it myself (the winner).
I’ve always loved hands-on projects,whether it’s updating my fireplace or stripping carpet from my stairs,so this felt like the perfect challenge. Plus, I’ve learned that small changes can make a huge difference. For example, swapping out old hardware on my coffee table made it look brand new, and I figured the same logic applied here.
Here’s the thing: I didn’t want my kitchen to look like every other Pinterest-perfect space. I wanted it to feel like me. So I focused on updates that were budget-friendly, doable in a weekend (or two), and,most importantly,wouldn’t require me to call in a professional (because let’s be real, my husband’s idea of “helping” is holding the paint can).
Evaluating Your Kitchen: What’s Worth Updating?
Before you grab a paintbrush, take a step back and really look at your cabinets. I spent an entire afternoon opening every door, checking every hinge, and noting what needed attention. Here’s what I learned:
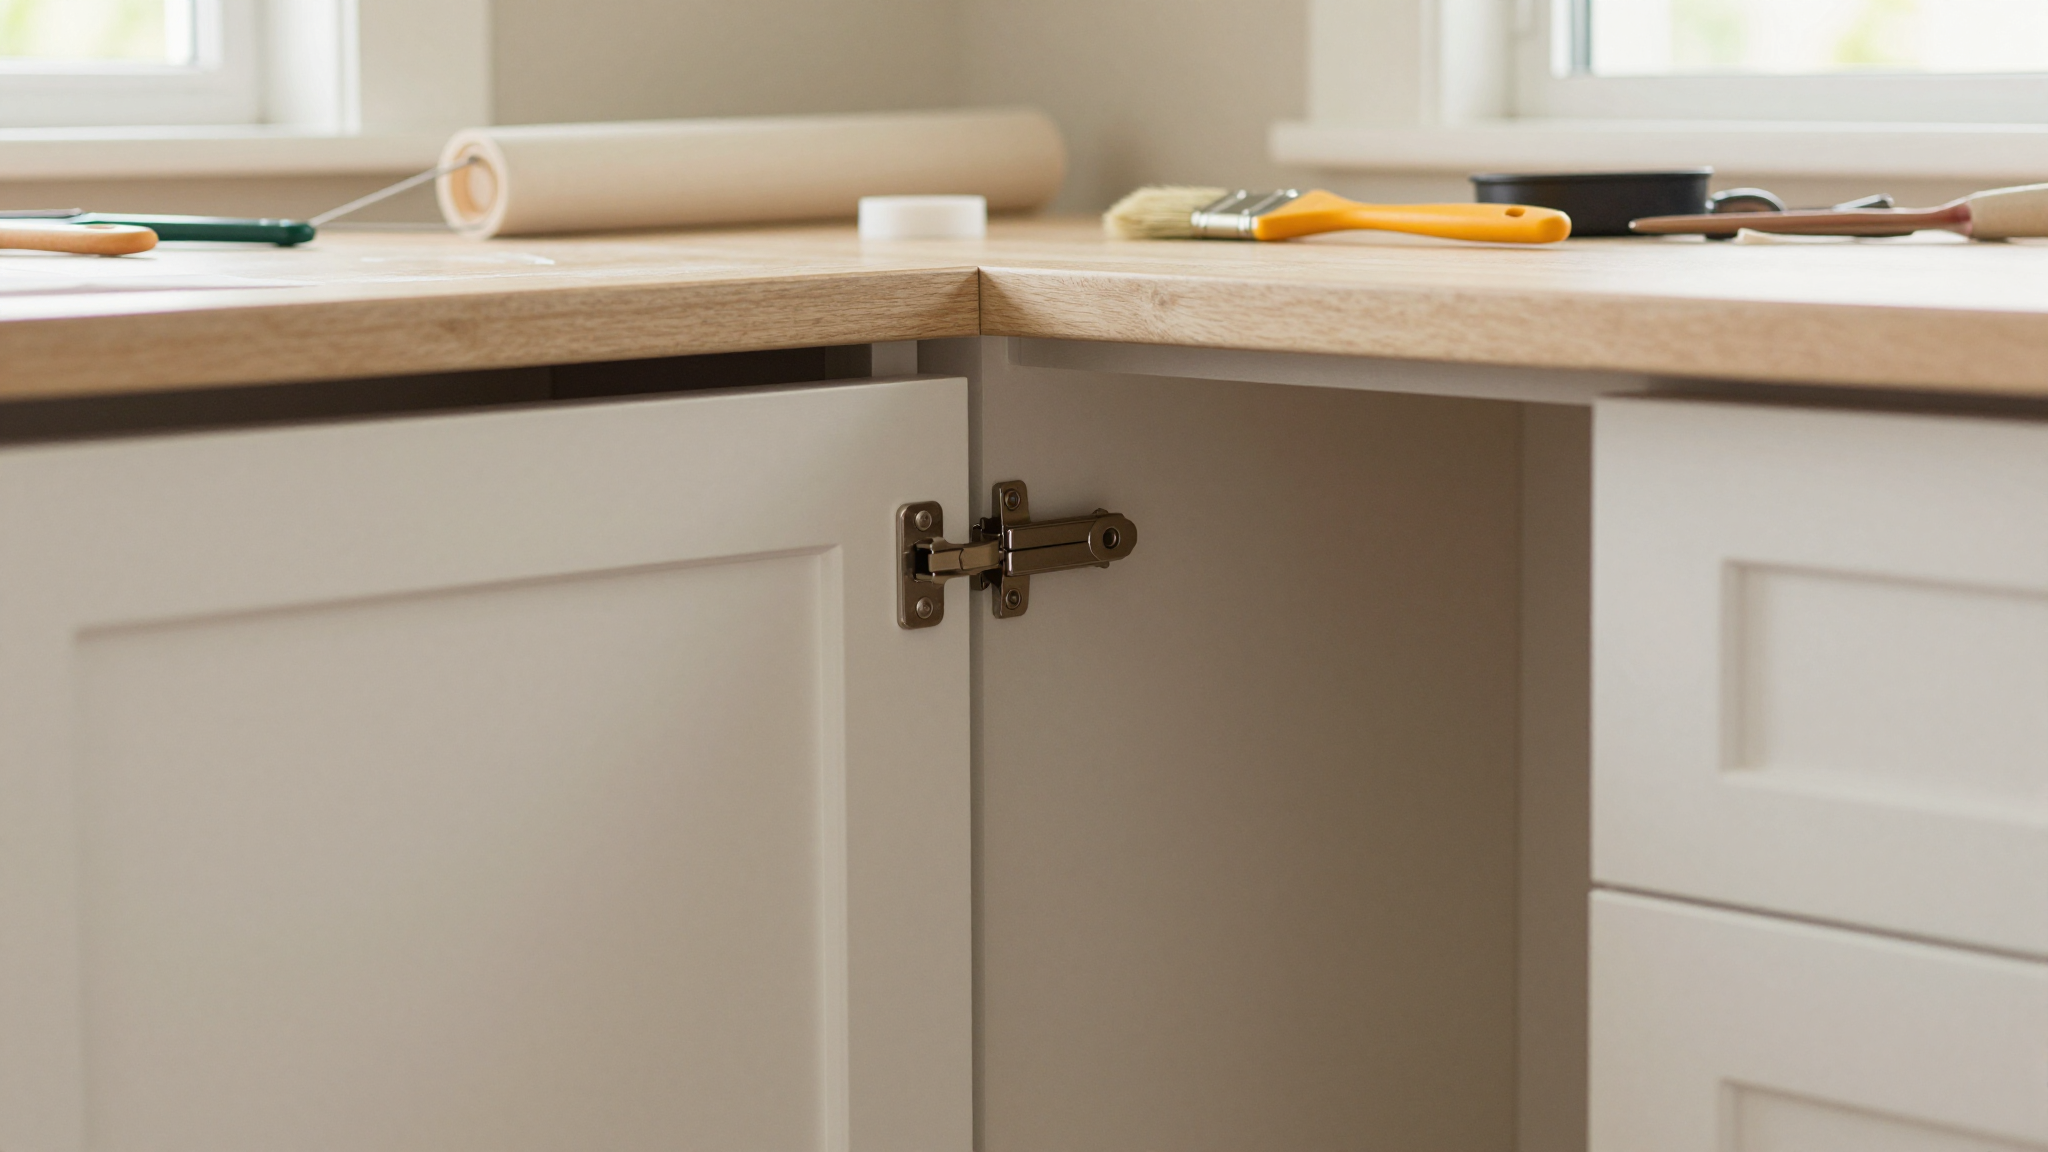
Start with the Basics: Check the Structure
First, I inspected the actual condition of the cabinets. Were the doors hanging crooked? Did the drawers stick? Were there deep scratches or water damage? My upper cabinets were in decent shape, but the lower ones had seen better days,especially the one where my toddler “helped” me organize the pantry (read: drew on it with a Sharpie).
I also checked the material. Mine were made of solid wood, which meant I could sand and paint them without worrying about laminate peeling. If your cabinets are laminate, you’ll need to be more careful,sanding too aggressively can ruin the surface. (I learned this the hard way when I tried to distress a cheap IKEA cabinet and ended up with a mess. Pro tip: Always test a small area first!)
Identify Your Style Goals
This is where I got stuck at first. I knew I wanted a brighter, more open feel, but I wasn’t sure how to get there. So I did what any self-respecting DIYer does,I created a mood board. I pinned images of kitchens I loved, noted the colors, and looked for patterns.
What I realized? I didn’t want a stark, all-white kitchen (too sterile for me). Instead, I wanted warmth with a modern twist. That meant keeping some wood tones but updating the rest with a fresh coat of paint and sleek hardware. I also decided to add some accent elements, like open shelving and glass inserts, to break up the heavy look of the cabinets.
If you’re not sure where to start, ask yourself:
- Do I want a light, airy feel? (Think white, gray, or soft pastels.)
- Do I prefer a bold, dramatic look? (Deep blues, blacks, or even a two-tone scheme.)
- Do I want to keep some of the original character? (Distressing or whitewashing can add texture without a full overhaul.)
My advice? Don’t overthink it. Your kitchen should work for you, not for a design blog. (Trust me, I’ve seen enough “perfect” kitchens that look like no one actually cooks in them.)
5 Easy (and Affordable) Ways to Modernize Your Cabinets
Now, let’s get to the good stuff,the actual updates. These are the five strategies I used to transform my kitchen, ranked from easiest to most involved. (Spoiler: They all took less than $200 and a weekend’s worth of work.)
1. Paint: The Quickest (and Most Impactful) Update
I’ll never underestimate the power of a fresh coat of paint. My cabinets were a dark, outdated stain, and painting them a soft white instantly brightened the whole space. Here’s how I did it:
Choosing the Right Color and Finish
I spent way too much time staring at paint swatches at the hardware store. My rule of thumb? Pick a color that complements your countertops and backsplash. Since my countertops were quartz with gray veining, I went with a warm white (Benjamin Moore’s “Chantilly Lace”) to keep things light and airy.
For the finish, I chose a satin paint. It’s durable, easy to clean, and hides imperfections better than a glossy finish. (I learned this after my son “helped” me paint and left fingerprints everywhere. Satin hid them like a champ.)
Prep Work: The Secret to a Flawless Finish
This is where most people mess up,and where I almost did too. I thought I could skip sanding because the cabinets “looked fine.” Big mistake. The paint didn’t adhere well, and I ended up with a patchy finish.
Here’s what I should have done (and what I did the second time around):
- Clean the surfaces with a degreaser (I used Krud Kutter) to remove grease and grime.
- Sand lightly with 120-grit sandpaper to rough up the surface. Wipe away dust with a tack cloth.
- Apply a high-quality primer (I used PPG’s Kilz Original) to seal the wood and prevent tannin bleed.
- Paint in thin coats with a high-quality brush (my go-to is Purdy’s Angel Hair Brush) and a mini roller for large surfaces. Let each coat dry completely before adding another.
Pro tip: If you’re painting over dark colors, you might need three coats. Don’t rush it,patience is key!
The Hardware Upgrade
Once the paint was dry, I swapped out the old brass handles for matte black pulls. The contrast made the cabinets look intentional and modern. (I found mine at Anthro,affordable and stylish!)
If you’re not ready to commit to new hardware, even a fresh coat of paint on the old knobs can make a difference. I did this with my bathroom vanity last year, and it looked like new for a fraction of the cost.
2. Distressing and Whitewashing: Adding Texture and Character
If you love the look of shabby-chic or farmhouse-style kitchens, distressing or whitewashing your cabinets is a game-changer. I did both,distressing the lower cabinets for a rustic touch and whitewashing the upper ones for a soft, vintage feel.
Distressing for a Rustic Vibe
Distressing is easier than it looks. Here’s how I did it:
- Lightly sand the edges and corners of the cabinets with 80-grit sandpaper to create a worn look.
- Use a damp cloth to wipe away dust.
- Apply a glaze or stain to the distressed areas for depth. I used Minwax’s Dark Walnut Stain and rubbed it into the sanded spots with a rag.
- Let it dry, then seal with a clear polycrylic for protection.
I messed up my first attempt by sanding too aggressively and creating deep grooves. Lesson learned: Start light and build up the distressing effect gradually.
Whitewashing for a Soft, Airy Look
Whitewashing gives cabinets a faded, weathered appearance,perfect for a coastal or farmhouse kitchen. Here’s my method:
- Mix equal parts white paint and water to create a thin, milky solution.
- Apply the mixture with a brush, working against the wood grain.
- Let it sit for a few minutes, then wipe away the excess with a clean cloth. This creates a translucent, streaky effect.
- Let it dry completely, then apply a clear wax or sealant to protect the finish.
I whitewashed my upper cabinets and loved how it made the space feel larger and brighter. It’s a great option if you want a vintage look without the heavy, dark tones.
3. Two-Tone Cabinets: Creating Depth and Contrast
One of my favorite updates was painting my upper and lower cabinets different colors. I kept the uppers white (for brightness) and painted the lowers a soft gray (for contrast). The result? My kitchen instantly looked more dynamic and intentional.
Choosing Your Colors
When picking colors, think about the flow of your kitchen. Darker lower cabinets ground the space, while lighter uppers make it feel open. I chose:
- Upper cabinets: White (to reflect light).
- Lower cabinets: Gray (to add depth and contrast).
If you’re unsure, test colors with ColorMatch or grab some sample pots and paint small sections of your cabinets. (I did this and ended up with three different grays before settling on the right one.)
Tips for a Clean, Professional Look
Painter’s tape is your best friend here. I used FrogTape’s Delicate Surface Tape to create crisp lines between the upper and lower cabinets. I also sanded the edges lightly to help the paint adhere better.
Pro tip: If you’re not confident in your taping skills, use a painter’s pencil to mark the lines first. It’s a lifesaver!
4. Updating Hardware: Small Change, Big Impact
This is the easiest (and cheapest) update you can make. New knobs and pulls instantly modernize your cabinets,and they take less than an hour to install.
Choosing the Right Hardware
I replaced my old brass knobs with matte black pulls, but the options are endless. Here’s what to consider:
- Finish: Matte black, brushed gold, or stainless steel all look modern. I avoided shiny finishes because they show fingerprints too easily.
- Style: Sleek, minimalist pulls work for contemporary kitchens, while decorative knobs suit traditional spaces.
- Size: Larger pulls look great on deep drawers, while smaller knobs work for upper cabinets.
I found my hardware at Wayfair and Anthro,both have affordable options that look high-end.
Installation Tips (So You Don’t End Up Like Me)
My first attempt at swapping hardware was a disaster. I didn’t measure the screw holes, and the new knobs were crooked. Here’s how to do it right:
- Measure the distance between the screw holes on your old hardware. Write it down!
- Use a template (or trace the old holes) to mark the new positions. This ensures everything lines up perfectly.
- If the new hardware is larger, fill the old holes with wood filler, sand smooth, and touch up with paint.
- Use a level to make sure everything is straight before driving in the screws.
I also learned that a cordless drill makes this job a breeze. No more stripped screws or uneven hardware!
5. Adding Molding and Trim: Instant High-End Upgrade
If you want your cabinets to look custom (without the custom price tag), molding and trim are the way to go. I added a simple crown molding to the top of my upper cabinets and a thin trim around the edges of the doors. The result? They looked like they were built by a pro.
Choosing the Right Molding
I picked a simple, flat trim from Home Depot for the cabinet edges and a classic crown molding for the tops. The key is to match the style of your kitchen:
- Modern kitchens: Sleek, minimalist profiles.
- Traditional kitchens: Ornate, detailed moldings.
- Farmhouse kitchens: Rustic, distressed wood trim.
Installation Steps
Here’s how I did it (and what I learned along the way):
- Measure and cut the molding to fit your cabinets. I used a miter saw for clean, precise cuts.
- Apply construction adhesive to the back of the molding, then press it into place. I used Liquid Nails,it’s strong and dries clear.
- Secure with finish nails (I used a brad nailer for a clean look).
- Fill gaps with caulk and sand smooth. Then paint or stain to match your cabinets.
My biggest mistake? Not testing the fit before cutting. I ended up with a few pieces that were slightly too long. Always measure twice, cut once!
Bonus: Lighting and Glass Inserts for a Modern Touch
While I was at it, I added a few extra touches to really elevate the space:
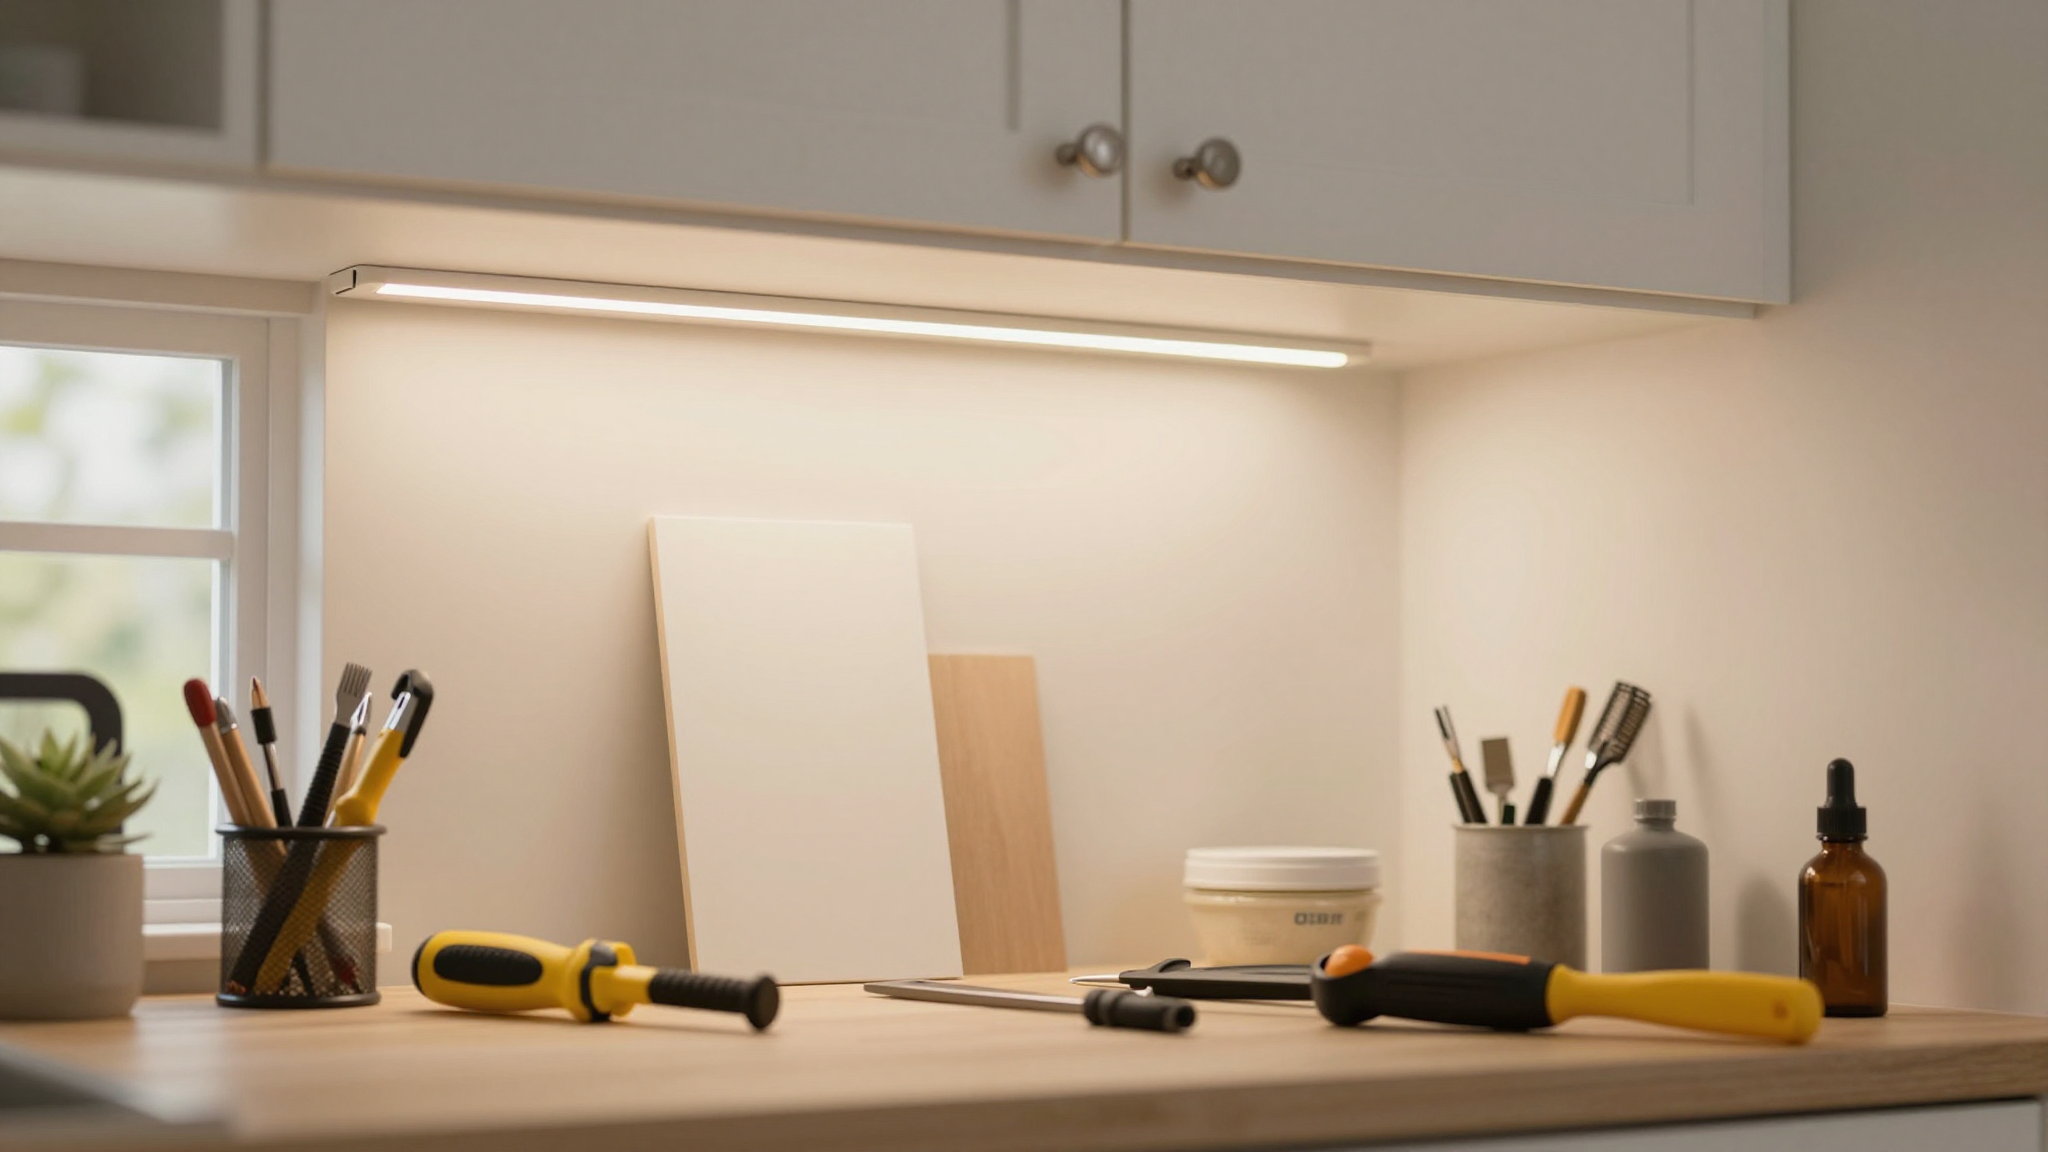
Under-Cabinet Lighting
I installed LED strip lights under my upper cabinets to brighten the countertops. It’s a small change that makes a huge difference,especially when I’m chopping veggies at night.
Glass Cabinet Doors
I replaced the solid doors on a few upper cabinets with frosted glass inserts. It opens up the space and lets light through, making the kitchen feel larger. Plus, it hides the clutter inside (because let’s be real, no one needs to see my mismatched Tupperware).
Final Thoughts (and What I’d Do Differently)
Looking back, I’m so glad I tackled this project myself. Not only did it save me thousands of dollars, but it also gave me a kitchen I love,one that’s functional, stylish, and uniquely mine.
If I could do it over, I’d:
- Spend more time planning the color scheme (I changed my mind three times!).
- Invest in a better paint sprayer (my arm still remembers the roller work).
- Distress the cabinets before painting (I learned this the hard way when I chipped the paint while sanding).
But here’s the thing: It doesn’t have to be perfect. My cabinets aren’t flawless, and that’s okay. They’ve got character now,just like the rest of my home.
So if you’re on the fence about updating your kitchen, just start with one thing. Paint a cabinet. Swap out the hardware. Add some molding. Small changes add up to a big difference.
And if you need more inspiration, check out how I added charm to my home with other simple updates. Your kitchen can be fresh, modern, and full of personality,without the renovation price tag.
Now, who’s ready to grab a paintbrush?