
How I Built a Kid-Friendly Backyard Play Area Without Breaking the Bank
Let me tell you,building a backyard play area for my kids was one of those projects that started with a Pinterest board full of dreams and ended with me covered in sawdust, arguing with a level that refused to cooperate, and my 7-year-old asking, *”Mom, why is the slide crooked?”* (Spoiler: It wasn’t.) But here’s the thing: it worked. And more importantly, my kids love it. No fancy designer touches, no expensive pre-fab sets,just a whole lot of planning, a few hard-learned lessons, and a backyard that’s finally useful instead of just a place for the dog to dig holes.
If you’re staring at your own backyard wondering how to turn it into a safe, fun space for your kids without selling a kidney, I’ve got you. This isn’t about “transforming your space” or “elevating your outdoor experience.” It’s about making a place where your kids can run, climb, and get dirty,without you losing your mind (or your wallet) in the process. And trust me, I’ve made enough mistakes along the way to save you from repeating them.
Why a Kid-Friendly Backyard Matters (And How to Start)
I’ll be honest: when I first started planning this, I was overwhelmed. My backyard was a patchy lawn with a sad little patio set and a swing that creaked every time the wind blew. But after watching my kids beg to go to the park every weekend,only to come home and immediately ask, *”Can we go back?”*,I knew I had to do something. Outdoor play isn’t just about burning off energy (though, let’s be real, that’s a huge part of it). It’s about giving them a space to explore, get messy, and use their imaginations without me hovering over them every second.
Here’s the thing: you don’t need a huge yard or a massive budget to make this happen. What you do need is a little strategy. Before I bought a single board of wood or a bag of mulch, I sat down with a notebook (and a glass of wine, because planning is hard) and asked myself a few key questions:
- What are my kids’ ages and interests? My 5-year-old is all about digging in the dirt and pretending she’s a dinosaur, while my 9-year-old wants to build forts and climb anything taller than he is. Their needs are totally different, so I had to design a space that could grow with them.
- What’s my budget? I set a hard limit of $500 for materials (and yes, I went over it,more on that later). Knowing my spending cap upfront kept me from impulse-buying a $200 wooden castle that would’ve looked amazing in the catalog but would’ve taken up half my yard.
- How much time can I realistically spend on this? I’m a mom, not a contractor. I needed a plan that wouldn’t require me to quit my job to finish. Breaking it into smaller projects (like building the sandbox one weekend and adding the climbing structure the next) made it feel manageable.
Pro tip: If you’re anything like me, you’ll get way too excited and try to do everything at once. Don’t. I once spent an entire Saturday building a “perfect” playhouse, only to realize my kids would outgrow it in a year. Now? I focus on modular, adaptable features,things I can change or expand as they get older. (And yes, that crooked slide? It’s still standing. My kids think it’s “cool” now.)
If you’re looking for more ways to add charm to your home on a budget, check out my 5 DIY projects to instantly add charm to your home. Some of the same principles,like repurposing materials and keeping it simple,apply to backyard projects too!
Safety First: How I Kept My Kids (and My Sanity) Intact
Let’s get one thing straight: safety isn’t just a checkbox on a list. It’s the whole reason we’re doing this. I’ve seen enough YouTube videos of kids taking header-first tumbles off wobbly play structures to know that cutting corners here is a bad idea. So before I even picked up a hammer, I made a list of non-negotiables:
1. The Surface: Where Soft Meets Practical
I’ll admit it: I initially thought I could just lay down some AstroTurf and call it a day. (Spoiler: I was wrong.) After my husband nearly broke his ankle tripping over a hidden tree root, I realized I needed a surface that was actually safe. Here’s what I learned:
- Rubber mulch is my new best friend. It’s soft, drains well, and,unlike wood chips,doesn’t get soggy when it rains. I bought a 2-cubic-foot bag for about $30, and it covered a 10×10-foot area. (Pro tip: If you have a lot of space, look for bulk options online. I found a great deal on Home Depot’s bulk mulch that saved me a ton.)
- Poured-in-place rubber is the gold standard, but it’s expensive,like, “$10 per square foot” expensive. I opted for a hybrid approach: rubber mulch under the play structure and artificial turf in the high-traffic areas. It’s not perfect, but it works.
- If you’re on a super tight budget, sand or pea gravel are cheap alternatives. Just make sure to rake them regularly to keep them even.
Oh, and that tree root? I dug it up. (Yes, with a shovel. No, it wasn’t fun. But my husband’s ankle thanked me.)
2. The Equipment: Sturdy, Not Fancy
I’ll be the first to admit: I’ve bought cheap plastic play sets before, only to watch them collapse under the weight of one excited 7-year-old. This time, I splurged on a few key pieces:
- A wooden climbing structure from Amazon (yes, I know, but it was on sale and had great reviews). It cost $150, which is more than I wanted to spend, but it’s held up for two years of rough play.
- A DIY sandbox (more on that below) because I couldn’t find one that wasn’t either too small or too expensive.
- A swing set from a local hardware store. I spent an extra $20 on heavy-duty hardware to make sure it wouldn’t wobble.
If you’re handy, you can build your own climbing structure,just make sure to use the right tools and follow a solid plan. (I used this YouTube tutorial and modified it to fit my space.) Safety features like soft landing zones and secure fencing are non-negotiable. I also added a gate latch that my kids can’t open (because, of course, they tried).
3. The Extras: What I Didn’t Think About (But Should Have)
Here’s where I learned the hard way:
- Shade is a must. I spent one summer watching my kids roast in the sun like lobsters because I didn’t think to add a pop-up canopy. Now? I’ve got a 10×10-foot shade sail from Home Depot for $50. It’s a game-changer.
- Storage solves everything. Before I organized, my backyard looked like a toy bomb went off. Now? I’ve got weatherproof bins (also from Home Depot) labeled for bikes, balls, and sand toys. It’s not pretty, but it works.
- Lighting matters. I thought I’d never need backyard lights until the first time I had to chase a runaway soccer ball at dusk. Now I’ve got solar-powered path lights lining the edges of the play area. They’re cheap and easy to install.
If you’re curious about other ways to add practical (and stylish) storage to your home, check out my post on DIY stair makeovers. Some of the same organizing principles apply to outdoor spaces!
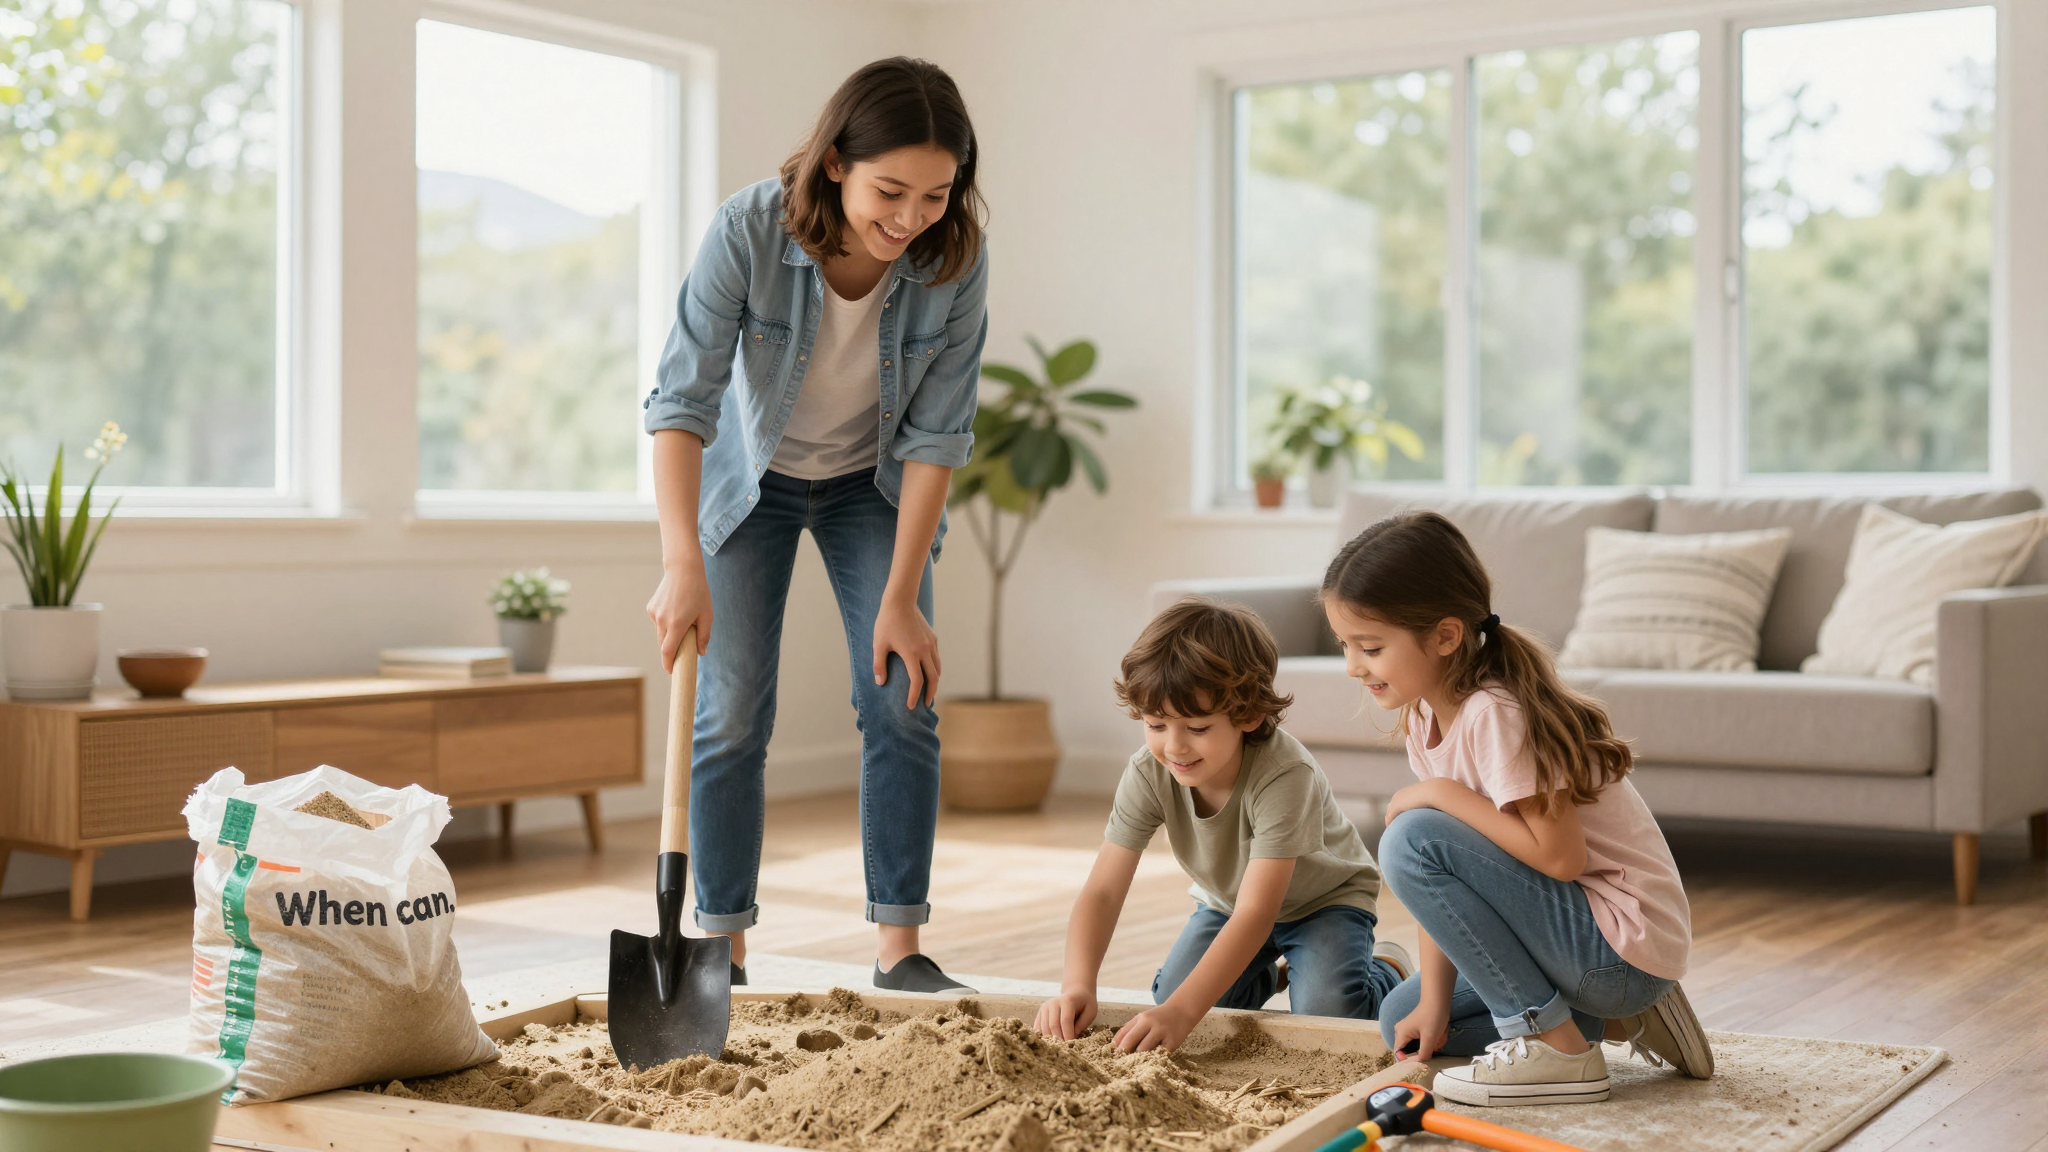
DIY Sandbox: The Project That Taught Me Patience
Let me set the scene: It’s a Saturday morning, and I’m standing in my backyard with a shovel, a bag of sand, and two very excited kids asking, *”When can we play in it?”* The answer? Not for another three hours, because I had no idea what I was doing.
Here’s what I wish I’d known before starting:
1. Location, Location, Location
I picked a spot under a tree because it looked “cute.” Big mistake. The first time it rained, the sandbox turned into a mud pit. Lesson learned: pick a flat, well-drained spot far from overhanging branches. I ended up moving the sandbox to the other side of the yard, which meant redoing half the work. (Worth it, but still.)
2. The Box: Build It Right the First Time
I started with a simple wooden frame, but I didn’t account for how sand spills. Now? I’ve got a raised sandbox with a lid (yes, it’s ugly, but it works). Here’s how I did it:
- Built a 3×6-foot frame out of 2×6 pressure-treated lumber (because it won’t rot). I screwed it together with deck screws and reinforced the corners with L-brackets.
- Lined the bottom with landscape fabric to keep the sand from mixing with the dirt underneath.
- Filled it with play sand (not the cheap stuff from the hardware store,that gets everywhere and turns to mud when wet). I used 20 bags of sand for a 2-inch depth, which cost about $60 total.
- Made a plywood lid to keep out rain and critters. (Yes, squirrels will dig in your sandbox if you let them.)
If you want to get fancy, you can add a drainage layer of gravel at the bottom, but I skipped it this time. For now, the lid does the trick.
3. Making It Fun (Without Breaking the Bank)
Here’s where I let my kids take the lead. They picked out a few key additions:
- A water table (I found a used one on Facebook Marketplace for $15). They fill it with water and “cook” with their toy kitchen.
- A themed sandbox. Right now, it’s a “dinosaur dig site,” but next week it might be a “pirate treasure hunt.” The kids love it, and it costs nothing but their imagination.
- Sensory bins. I filled a few plastic bins with rice, beans, and water beads (supervised, of course) for a different texture experience. (Pro tip: Buy the water beads in bulk,they’re cheaper that way.)
If you’re looking for more ways to spark creativity in your kids’ play space, check out my post on creative gallery walls. The same principles,like mixing textures and themes,apply to outdoor play areas too!
Building a Climbing Structure: Where I Learned to Measure Twice
I’ll admit it: I bit off more than I could chew with this one. I watched a few YouTube videos, bought a bunch of wood, and thought, *”How hard can it be?”* Spoiler: Harder than I expected. But here’s what I did right (and wrong) along the way.
1. The Materials: Don’t Skimp (But Don’t Overdo It Either)
I started with cedar lumber because it’s rot-resistant and looks nice. Big mistake: I didn’t account for how much it would cost. A 4×4 post alone ran me $20, and I needed four of them. Lesson learned: pine lumber is cheaper and works just as well if you seal it with outdoor poly.
For the platform, I used 2×6 pressure-treated boards and screwed them together with 3-inch deck screws. I also added diagonal braces to make sure it wouldn’t wobble. (Trust me, wobble is the enemy.)
2. The Assembly: Follow the Plan (Or Regret It)
I found a free plan online and followed it as closely as I could. But here’s where I messed up: I didn’t pre-drill the holes for the screws. Big mistake. The wood split in three places, and I had to start over. Always pre-drill. It’s annoying, but it saves you from tears (and wasted wood).
I also added a rope ladder (because my kids begged for one), but I made sure to secure it with heavy-duty eye bolts and tested it with my husband’s weight before letting the kids near it.
3. The Safety Features: Non-Negotiable
Here’s what I did to make sure this thing wouldn’t turn into a liability:
- Soft landing zone: I laid down a 4-inch layer of rubber mulch under the entire structure. No excuses.
- Secure fencing: I added a 3-foot-tall fence around the perimeter to keep little ones from wandering too close to the street.
- Regular inspections: Every few weeks, I check for loose screws, splinters, or wobbly parts. So far, so good.
If you’re not sure where to start with tools, check out my guide on the essential tools every homeowner should have. A good drill, saw, and level will save you hours of frustration!
Creative Zones: Where the Magic Happens
Here’s the thing I realized too late: a backyard play area isn’t just about swings and slides. It’s about giving your kids a place to play,the way they want to. So I added a few zones that let them explore, create, and (occasionally) drive me crazy.
1. The Dress-Up Corner
I raided my kids’ old dress-up clothes, added a few thrift-store finds, and hung them on a pegboard I mounted to the fence. Now it’s a “costume shop” where they can pretend to be pirates, princesses, or (my personal favorite) “dinosaur trainers.”
2. The Art Station
I set up a plastic folding table with a few buckets of chalk, watercolors, and a roll of butcher paper taped to the fence. The kids “paint” the fence, the sidewalk, and occasionally each other. (I keep a hose nearby for cleanup.)
3. The Mini Garden
This was my husband’s idea, and it’s been a hit. We sectioned off a 4×4-foot plot, filled it with potting soil, and let the kids plant herbs, flowers, and even a few tomatoes. They water it (sometimes too much), pull weeds (sometimes the wrong ones), and feel so proud when something actually grows. (Pro tip: Start with fast-growing plants like sunflowers or beans. Instant gratification = happy kids.)
4. The “Quiet Zone”
Yes, I know,”quiet” and “kids” don’t always go together. But I created a little nook with a hammock, a few floor cushions, and a stack of books. It’s not used often, but when it is, it’s a lifesaver on those days when I need five minutes of peace.
If you’re looking for more ways to add personality to your home (or backyard), check out my post on DIY fireplace makeovers. The same principles,like mixing textures and adding personal touches,apply to outdoor spaces too!
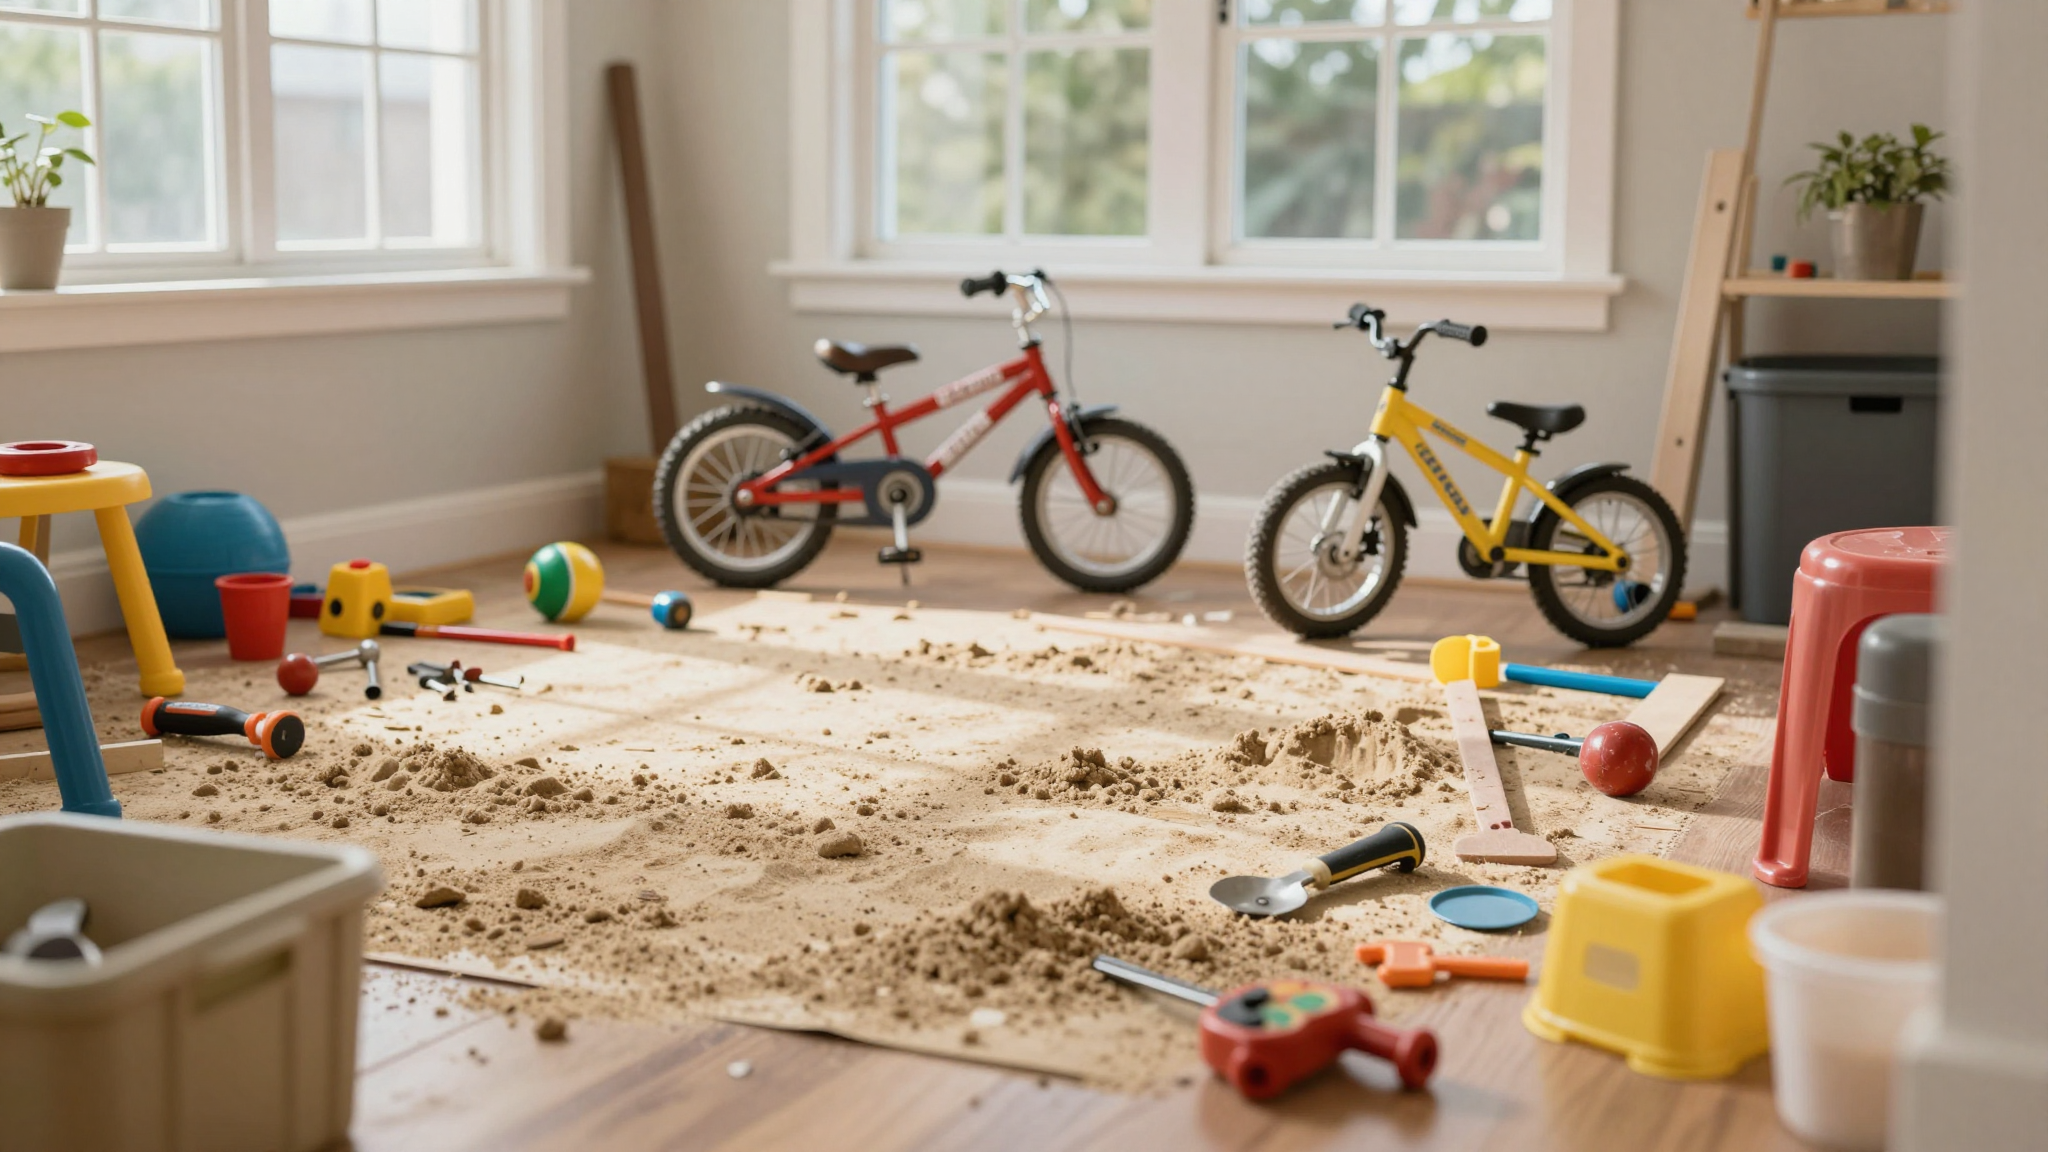
Storage: The Unsung Hero of Backyard Play
Let me tell you something: a cluttered play area is a nightmare. Toys everywhere, bikes left in the middle of the yard, and sand tracked into the house. I’ve been there. So I made storage a priority.
1. Weatherproof Bins
I bought a few plastic storage bins with lids from Home Depot and labeled them with a Sharpie: “Balls,” “Sand Toys,” “Bikes.” It’s not pretty, but it works. I keep them under the deck, where they stay dry and out of sight.
2. Hanging Baskets
I mounted a few metal hanging baskets to the fence for smaller items like jump ropes and frisbees. It keeps them off the ground and (mostly) organized.
3. A Designated “Toy Jail”
Yes, I call it that. It’s a wooden crate where toys go when they’re out of place. The kids know: if their stuff isn’t put away, it goes in the “jail” until they clean up. (It’s not perfect, but it cuts down on the chaos.)
If you’re struggling with storage in other parts of your home, check out my post on DIY stair makeovers. The same organizing principles,like using vertical space and keeping things accessible,apply to backyards too!
Adding Natural Elements: Because Dirt Is Fun
I’ll be honest: I used to think “natural elements” meant fancy rocks and a koi pond. Then I realized my kids just want to play in the dirt. So I kept it simple.
1. A Rock Climbing Wall
I found a few flat rocks at a local landscaping supply store and stacked them to create a mini climbing wall. It’s not fancy, but my kids love it. (And it’s free exercise for them!)
2. A Dirt “Dig Site”
I sectioned off a corner of the yard and filled it with play sand and a few shovels. Now it’s a “dinosaur dig” or a “treasure hunt” depending on the day. No fancy equipment needed,just dirt and imagination.
3. A Mini Pond
This was a splurge, but it’s worth it. I bought a pre-formed pond liner from Home Depot and filled it with water. We added a few plastic frogs and a solar-powered fountain for a little extra fun. The kids love it, and it’s surprisingly low-maintenance.
If you’re looking for more ways to bring nature into your home, check out my post on winterizing your home. Some of the same principles,like using natural materials and keeping things simple,apply to outdoor spaces too!
Seasonal Maintenance: Keeping the Fun (and Safety) Alive
Here’s the thing no one tells you: a backyard play area isn’t a “build it and forget it” project. It takes work to keep it safe and fun. But it’s worth it.
Spring
- Inspect the play structure for loose screws or rotten wood. I had to replace one of the 4×4 posts after it splintered.
- Refresh the rubber mulch under the swing set. It compacts over time, so I add a fresh layer every year.
- Set up the water table and let the kids “test” it. (Translation: they splash each other for an hour.)
Summer
- Add a shade sail or pop-up canopy. Trust me, you’ll thank me later.
- Set out the sprinkler and let the kids run through it. (It’s the cheapest water park ever.)
- Check the sandbox lid to make sure it’s still sealing out critters.
Fall
- Rake up leaves and sticks from the play area. I’ve learned the hard way that a hidden branch = a skinned knee.
- Store summer toys and bring out the football and soccer ball.
- Add fall decorations like pumpkins or a scarecrow. (My kids think it’s “spooky cool.”)
Winter
- Cover the sandbox and water table to protect them from snow and ice.
- Shovel a clear path to the play structure. (I’ve had to dig out my kids more than once.)
- Set up a sledding hill if you have the space. It’s free entertainment!
If you’re looking for more ways to keep your home (and backyard) in tip-top shape year-round, check out my post on HVAC maintenance basics. Some of the same principles,like regular inspections and seasonal updates,apply to outdoor spaces too!
Final Thoughts (And a Challenge for You)
Here’s the truth: building a kid-friendly backyard isn’t about perfection. It’s about play. It’s about the time my 5-year-old spent “digging for fossils” in the sandbox for an hour. It’s about the way my 9-year-old’s face lit up when he finally climbed to the top of the structure he “helped” build. It’s about the muddy footprints, the lost toys, and the fact that I can finally sit outside with a cup of coffee while my kids run around like little maniacs.
So if you’re staring at your backyard thinking, *”I don’t even know where to start,”* here’s my challenge to you: Start small. Pick one thing,a sandbox, a climbing structure, a simple storage solution,and make it happen. You don’t need a Pinterest-perfect space. You just need a place where your kids can be kids.
And if you get stuck? Ask for help. Join a local parenting group, watch a few YouTube tutorials, or just grab a friend and a six-pack of beer and build something together. (Trust me, it’s more fun that way.)
Now go build something. Your kids will thank you.